Two Ways to Make DIY Hair Scrunchies

This tutorial is great for getting use out of all that leftover fabric - you know, when you have too much to throw away but not enough to start another project. This tutorial will teach you how to sew hair scrunchies from scratch and make all your cheerleading goals come true! If you want to see more fabulous tutorials check out my Youtube channel here!
Tools and materials:
- Leftover fabric
- Elastic
- Scissors
- Sewing machine
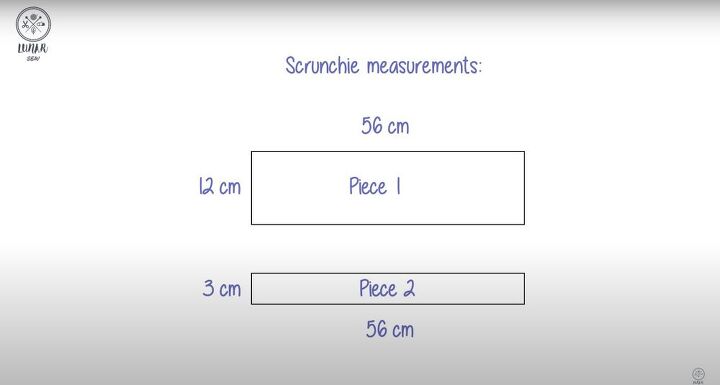
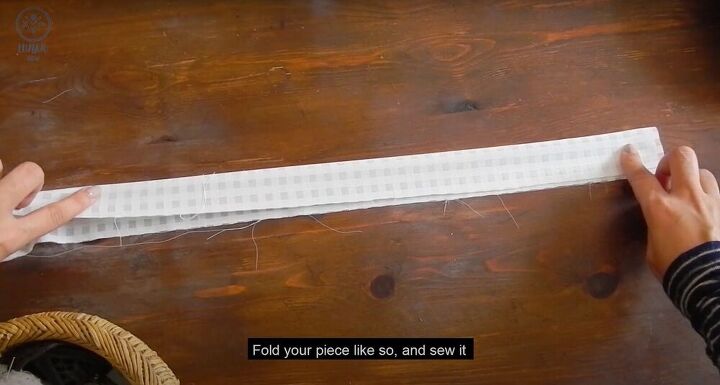
Prepare your fabric
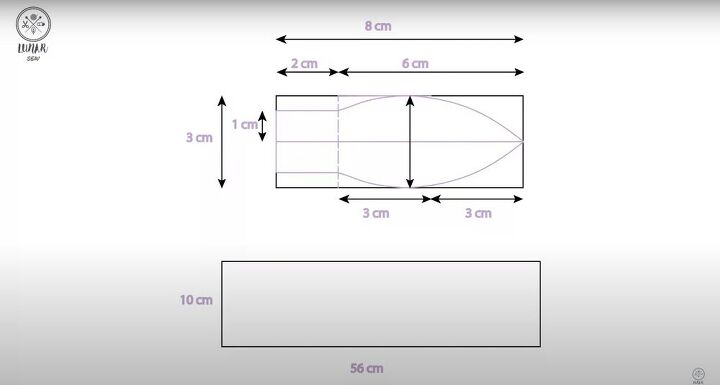
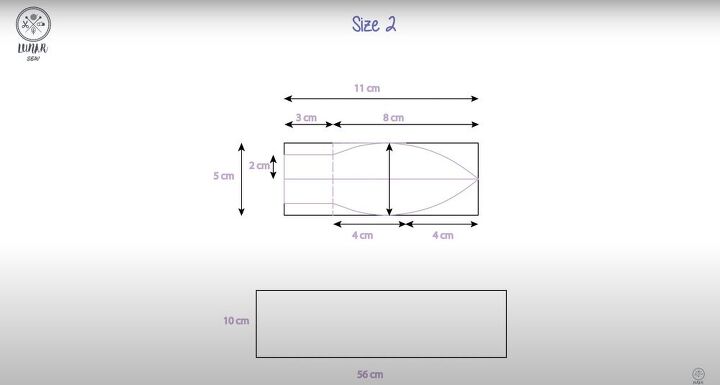
Using the measurements in the image above, cut out your fabric. You should end up with two pieces: the scrunchies piece and the band piece. Fold your band piece in half and iron it flat so that there is a line running down the length of the fabric.
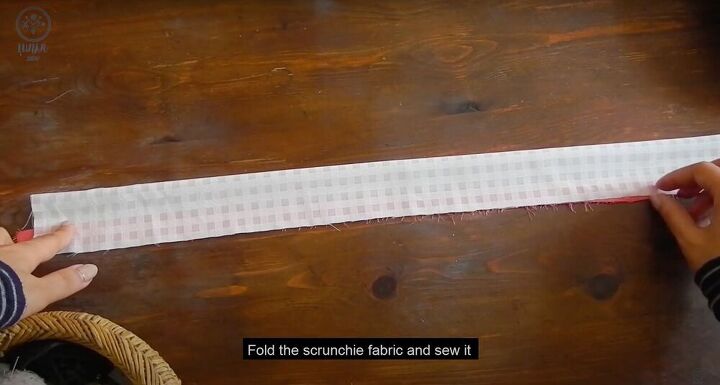
Connect the scrunchie piece and the band piece
Take your folded band piece and place it on the edge of the scrunchie piece. The folded edge should be facing inwards. Next, fold the scrunchie fabric in half, over the band piece and sew along the open edges.
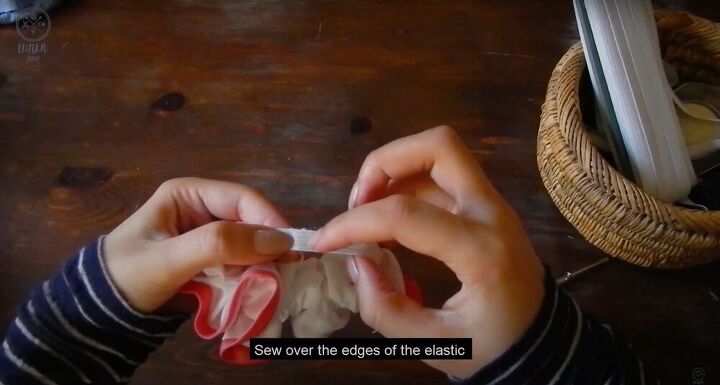
Insert the elastic
Turn your scrunchie fabric right side out and cut off any dangling strings. Next, measure and cut out the elastic that will go in the scrunchie. Using a sewing tool or safety pin, insert the elastic into the scrunchie until it is sticking out from both sides. Then, sew the two edges together.
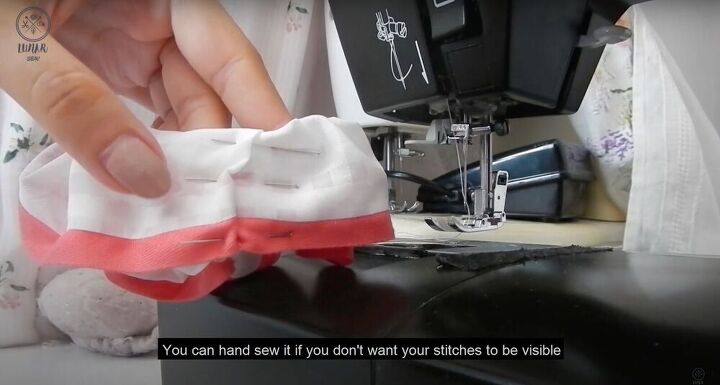
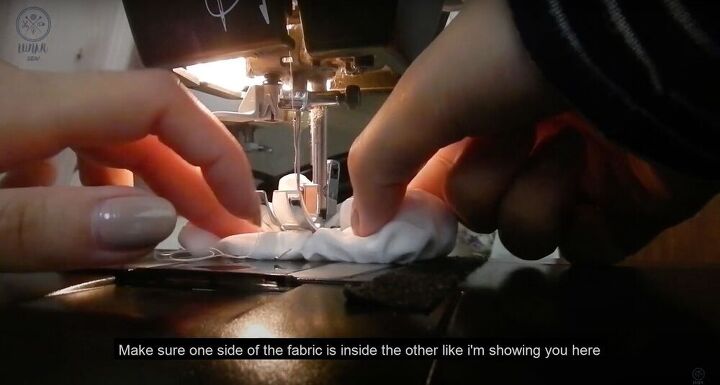
Close the edges
Fold over the opened edges of the scrunchie and try to push one into the other. Once you have, secure the fit with a pin. Next, sew the edges closed. If you want a cleaner look with less visible thread marks, hand sew the edges, otherwise use a sewing machine to finish up the scrunchie.
Cut your fabric
For the second scrunchie, cut out a rectangle that is ten by 56 centimeters (that is approximately four by 22 inches). Fold your fabric in half and sew it closed along the open edge.
Connect the edges
Cut out a 20 centimeter (or about eight-inch) piece of elastic and connect the edge to a sewing tool or safety pin. You can make the elastic longer if you want to. Next, push your elastic through until the edges are peeking out from either side. Place one edge over the other and sew them together. Then repeat the same process as before and place one edge of the scrunchie into the other, pin it closed and sew.
Cut out your bow
To create the bow, grab some fabric and cut it out using the dimension from the images above. The size of your bow will depend on your own personal preference (as well as the size of your scrunchie). Place the template you cut out onto the wrong side of the fabric and pin it into place. Then, use some scissors to cut out two pieces.
Sew the bow together
Take your two bow pieces and pin them together, right sides together. Sew around the edges. Make sure to leave a small opening (we will need to turn the bow right side out!) Now, once the two ties are conjoined, use the small opening you left to turn the bow right side out.
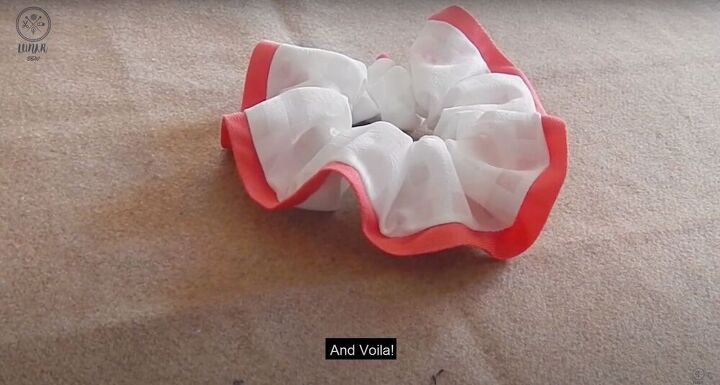
Finish the scrunchie
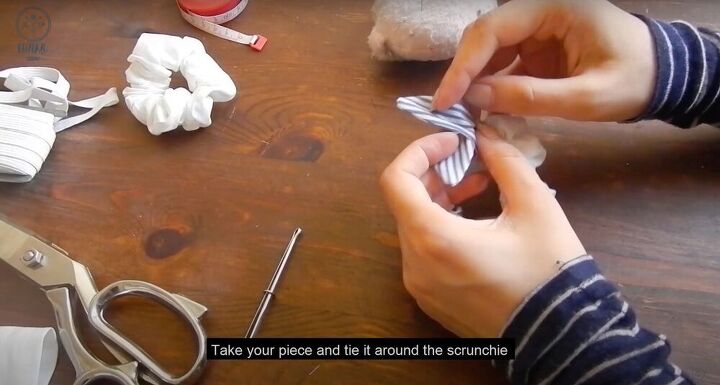
To finish your bow, press it and sew over the opening you left. Next, tie your bow around your scrunchie. Take extra care to make sure the bow comes out looking nice. And you’re done!
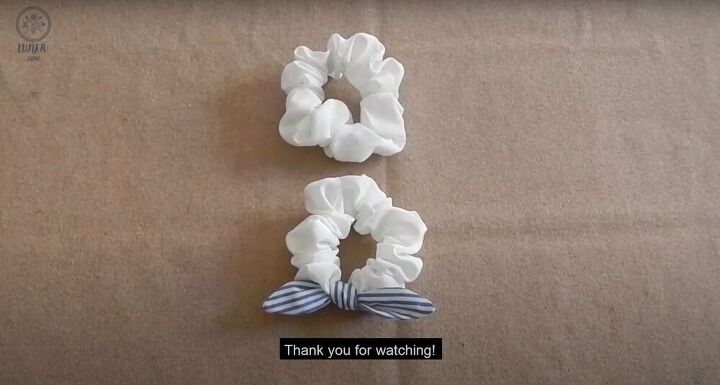
These DIY scrunchies are so easy to make and so cute to wear. I love using my different fabrics to make these hair accessories and then having something to match my previous creations! These scrunchies can be made from almost any leftover fabric, so don’t throw it away! Save it for a great hair day.
The author may collect a small share of sales from the links on this page.


Comments
Join the conversation
Very cute bow detail :)