Make Your Own Double Clutch Wallet, the Super Simple Way

Clutch wallets are fun, especially when there are loads of bold colors involved! The contrast can make an exciting and trendy accessory to have in your clutch stash! Today, I am going to show you how to sew a double-clutch wallet. I know the process may seem long, but when you get into the groove of things, it's pretty simple and, not to mention, exceptionally fun to sew! The result is totally worth it. You can sew a double-clutch wallet with any color, fabric, and prints that you'd like; the choice is yours!
Tools and materials:
- Sewing machine
- Pins
- Rulers
- Fabric-Outer layer
- 1 22㎝ × 27㎝ (8¾″ × 10¾″)
- 1 22㎝ × 37.5㎝ (8¾″ × 15″)
- 1 21㎝ × 22㎝ (8⅜″ × 8¾″)
- Lining ( fabric )
- 1 22㎝ × 27㎝ (8¾″ × 10¾″)
- 1 22㎝ × 37.5㎝ (8¾″ × 15″)
- Interface
- 15 mm snap button
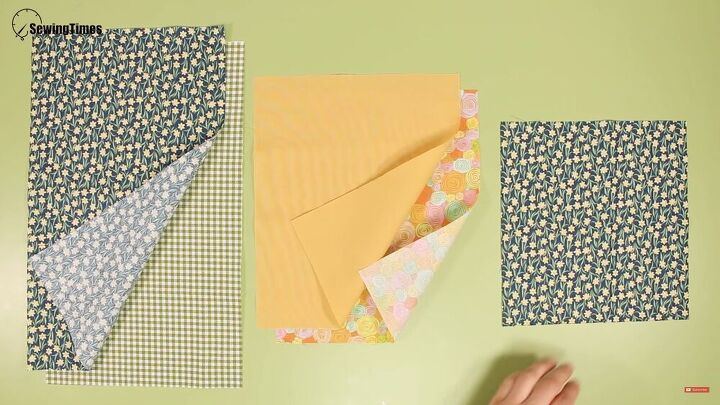
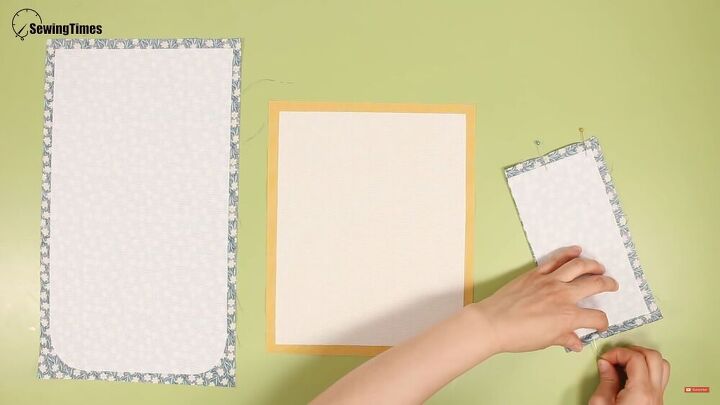
Arrange your sheets
Arrange your sheets as shown above. You should have one outer layer and inner layer for the bigger pieces and one smaller outer layer.

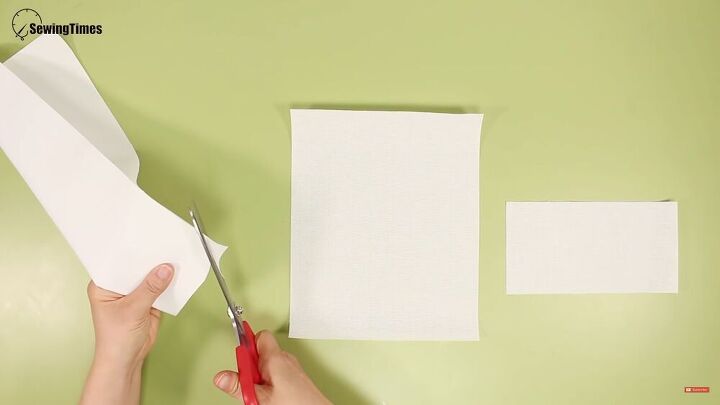
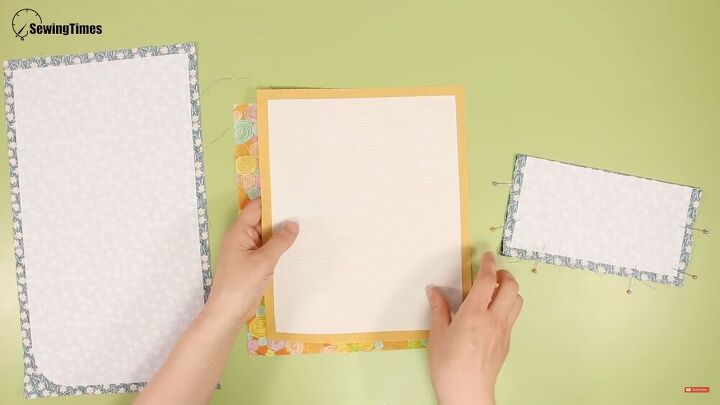
Interfacing
Interfacing is one of the essential parts that will keep your wallet steady and upright. Use a mid-weight, woven, fusible interfacing. Cut three pieces, and they should be a little smaller than your fabric pieces. For exact measurements, see above.
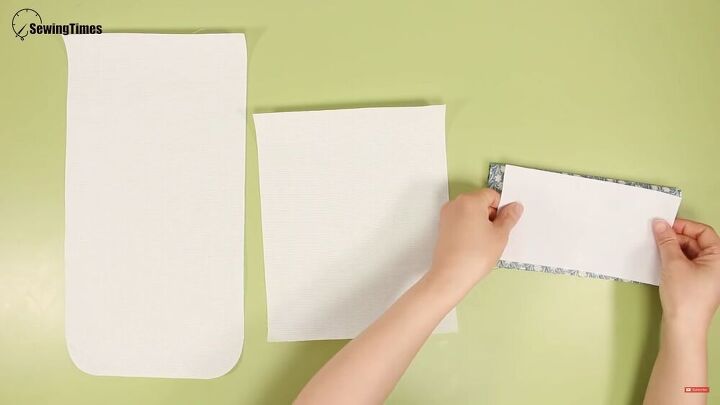
Make rounded tips
On the biggest interfacing piece, cut rounded ends at the bottom. Do this by folding the bottom slightly in half and cutting a half-circle shape on the ends. Folding will also ensure both sides are the same.
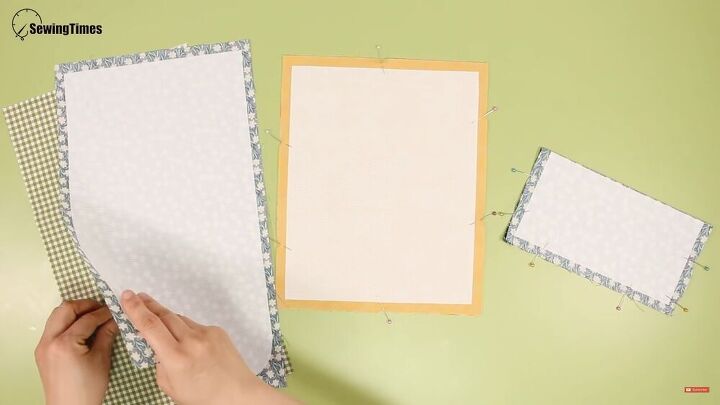
Iron on the interfacing
Now it's time to fold and iron, accordingly! First, fold your smallest outer layer fabric piece in half so that the inside sticks out. Then place your smallest interfacing sheet on the top. With the next two pieces, simply turn your outer layer fabric around so the print faces down and place your interfacing on top.
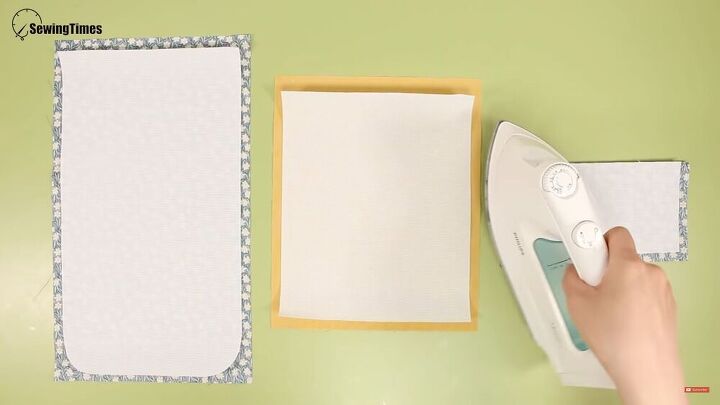
Next, iron your interfacing carefully, so nothing moves out of place.
Pin everything in place
It's almost time for the fun part- sewing! But before, it's best to pin the fabrics. For the smaller piece, pin along the edges where the interfacing meets the fabric.
For the medium-sized fabric, grab your second fabric piece, turn it right side up and put your fabric with interfacing right on top, then pin in place.
The same step applies to the biggest piece.

Stitch and leave a gap
Before you stitch around each piece, mark the top of each fabric piece in the middle. This will be your gap that you will turn inside out in the next two steps. So, for now, simply stitch around each fabric piece, right on the interfacing. Leave a gap-like pocket in the center.
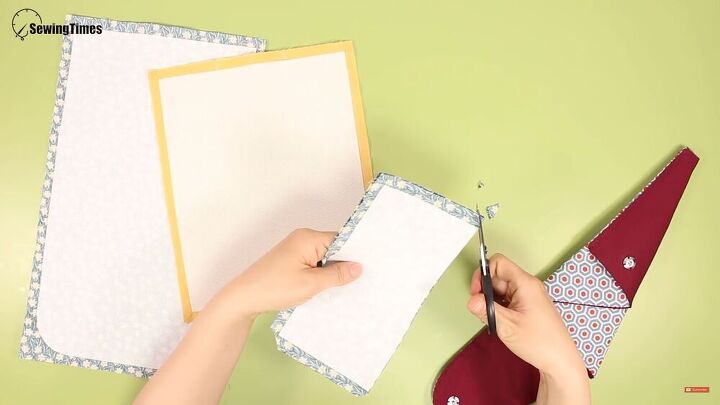
Snip, snip, snip!
With a pair of sharp scissors, snip off each corner of your sewn fabric pieces. For the biggest piece, snip the ends on top and cut along the curved end at the bottom.
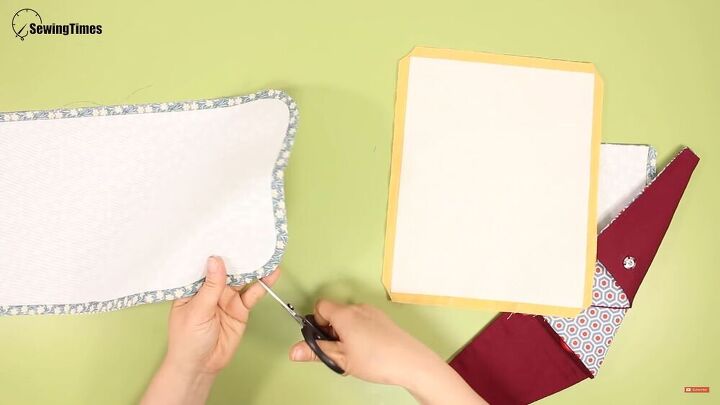
Next, cut small frill-like structures along the curved ends of the biggest piece. Then take an iron and press in all the edges of your fabric.
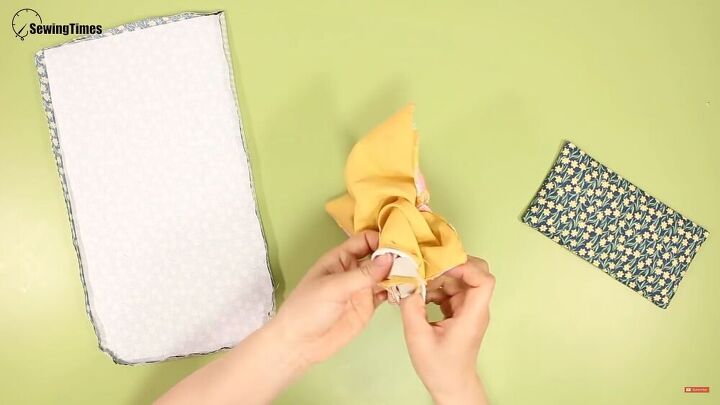
Turn inside out
Now that everything is stitched and in place, go ahead and turn your pieces inside out by placing your fingers inside the pockets and pushing through the fabric, so the interfacing is now on the inside.
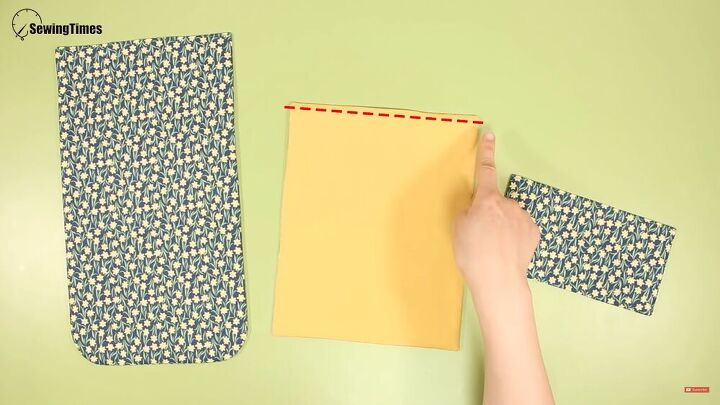
Stitch the open pockets
The gaps no longer serve you, simple stitch a neat, straight line over the medium and big piece. For the small piece, stitch a neat line on the opposite end of the gap, thus leaving the gap open.
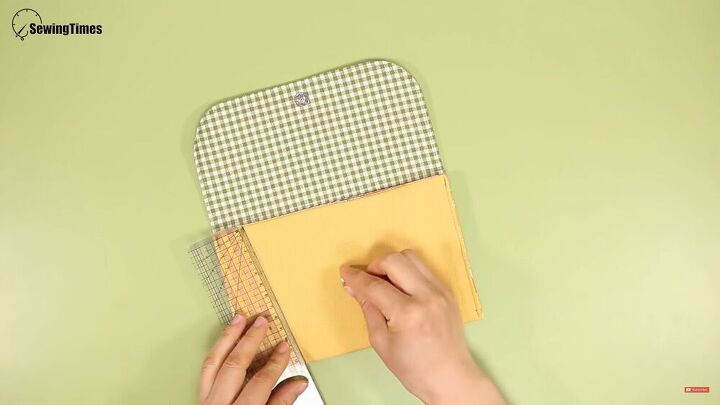
Attach small piece to biggest piece
With a ruler, measure 9 1/4 inches and place the small piece on the big piece, making sure the ruler's tip touches the end of the small piece.
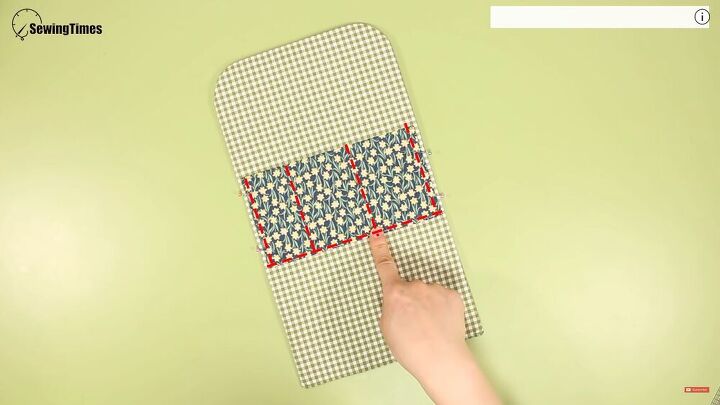
Make compartments and sew
With a marker, mark three lines into three equal parts; these will be for your compartments. Once your markings are done, sew around and along the compartment lines accordingly.
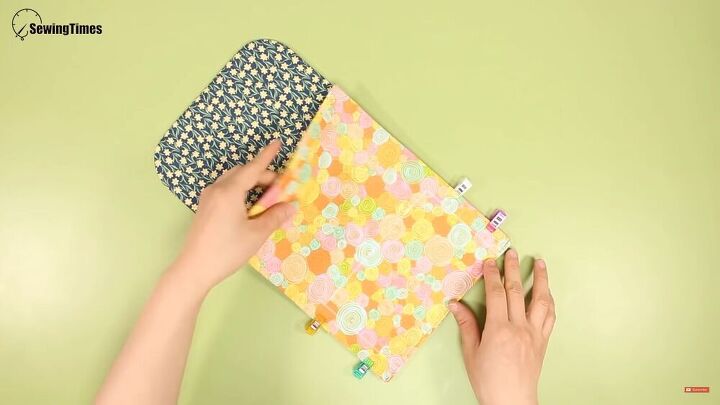
Sew the second piece
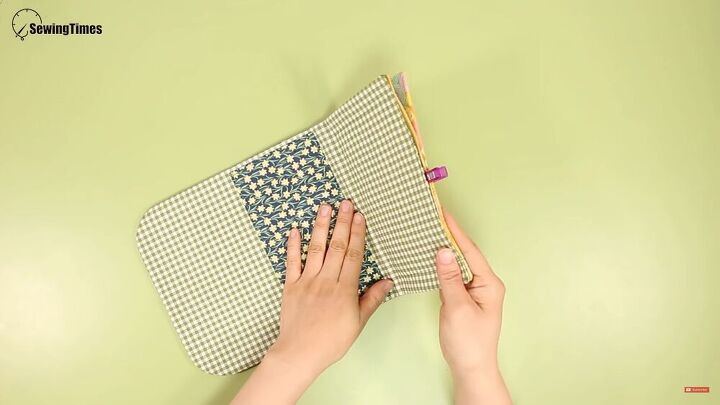
Next, take your second, medium piece and place it on the other side of the bigger piece. The small piece will be facing down. Place the medium piece on the end so that the rounded edges are facing up.
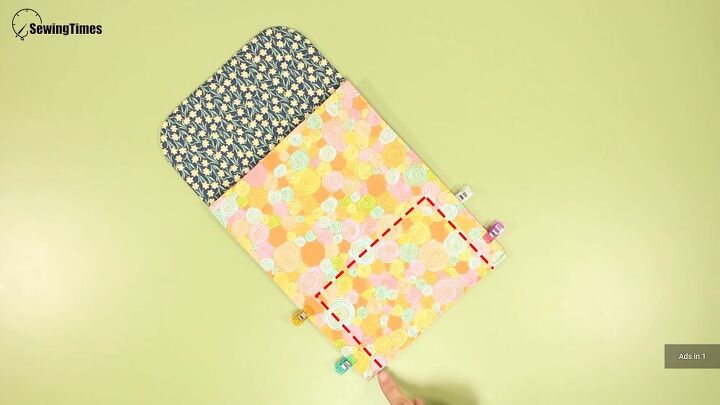
Measure ¾ inches from both sides and make a mark with your chalk. From those markings, measure 4 ¼ inches upwards and draw a line on either side. Finish off with a horizontal line across your lines. Sew along the lines you just drew.
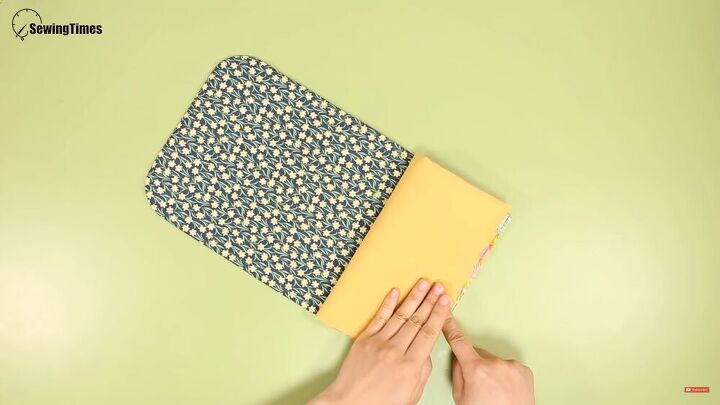
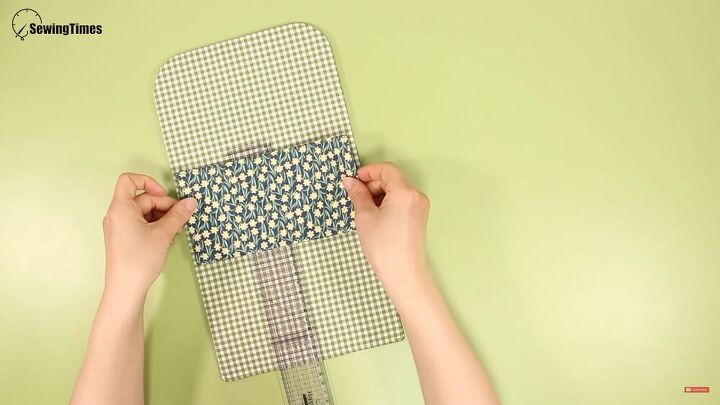
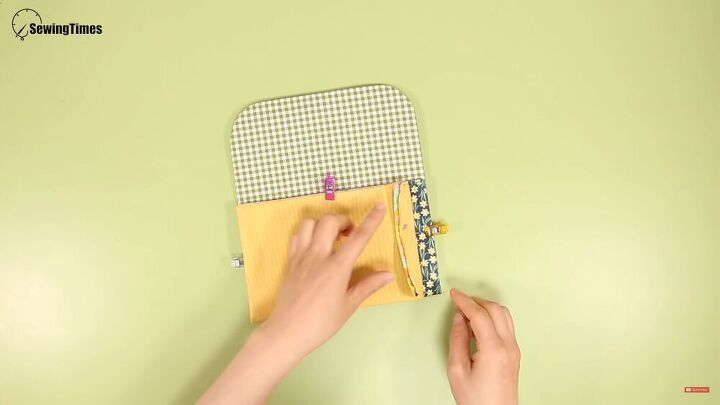
Fold the medium piece
Now half of your medium fabric should be sewn on the big piece. Next, fold over your medium piece and pin in place.
Next, turn the whole piece so that the small piece with the compartments is facing up. Then fold the bottom part backward, over the small piece. Now you should start seeing your DIY come to life!
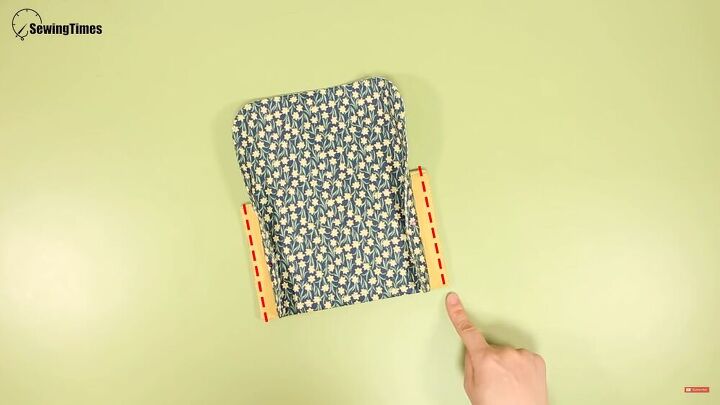
Pin and sew
Now, pin the fold of the purse on either side from underneath. Lightly fold over and pin the sides of the compartment on top, so that the sides of the compartment underneath is visible. Stitch around the whole purse as shown above.
Once sewn, unpin your front compartment, switch over and fold backward the compartments you have just sewn; giving space to allow you to sew the front compartment on either side.
Add the snap button
Now for the final touch! Finish off your lovely DIY clutch wallet by sewing on your snap button. Measure ⅝ inches from the top of your purse and measure 2 ⅝ inches from the top of the bottom half. With a needle and thread, sew the top part of the button on top, and sew the bottom part of the bottom in the middle of your purse.
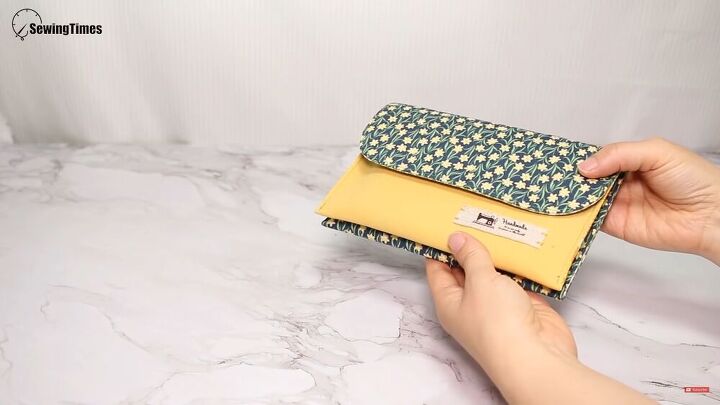
Would you look at that? You have a lovely, easy double-clutch wallet. Isn't it the best feeling in the world to have this lovely fashion accessory knowing that you did it yourself? I hope you enjoyed this tutorial, and even better, I hope you enjoy your stunning new DIY clutch!
The author may collect a small share of sales from the links on this page.


Comments
Join the conversation
I have looked at many DIY projects here and never liked anything enough to comment. Your idea was ingenious! You could seriously make extra money by selling those...just let people buy their own material and do their own measurements beforehand. I think women would snap these up fast! Great job!!
This is super cool! I have a tutorial for a wallet with pockets but the way you attached your sections was genius!