Beautiful, Easy Boho Hat Look Without Breaking the Bank

I recently saw an influencer wearing an amazing boho hat with cut-out triangular shapes. It's seriously dope! I fell in love with the style but obviously, not the price. It's worth a few hundred dollars, and I wasn't going to buy that boho hat with that price tag. So, I decided to do the next best thing, and that's making my very own version! You won't believe how super simple it is to recreate and looks just as lovely as the original design. All you need is a black boho hat and a couple of tools to get started!
Tools and materials:
- Boho hat
- Scissors
- Precision knife
- Professional cutter
- Marking pen/ chalk
- Paper
- Pins
- Iron
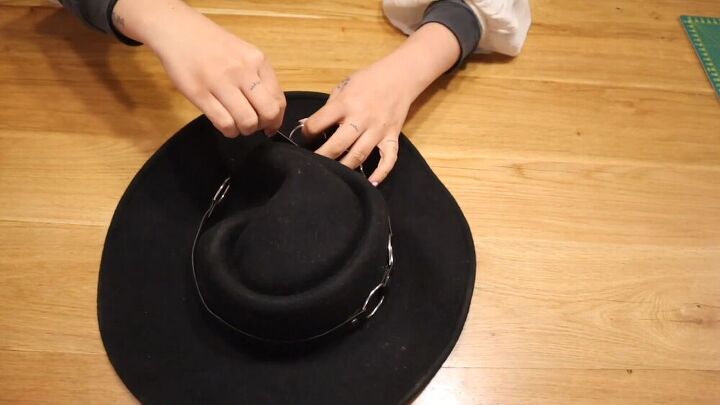
Prepare your boho hat
If you have a boho hat lying around, this is the perfect opportunity for you to upstyle it. In my tutorial, I had a hat with a leather/chain accessory piece. I carefully removed it and made sure no other things were dangling. If you have a plain, black boho hat, then skip this step. If you don't have a hat, there are tons of places to buy inexpensive ones.
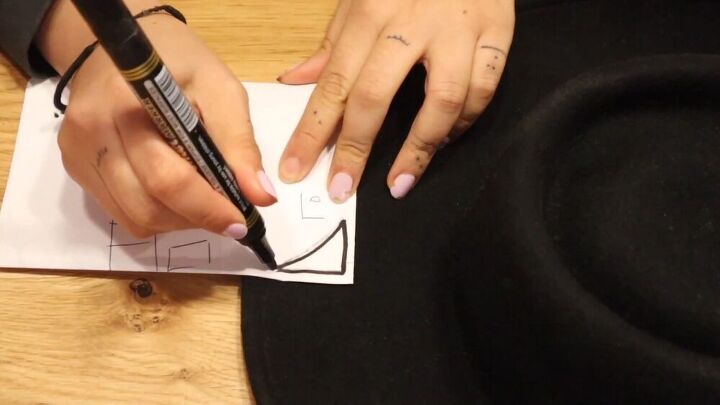
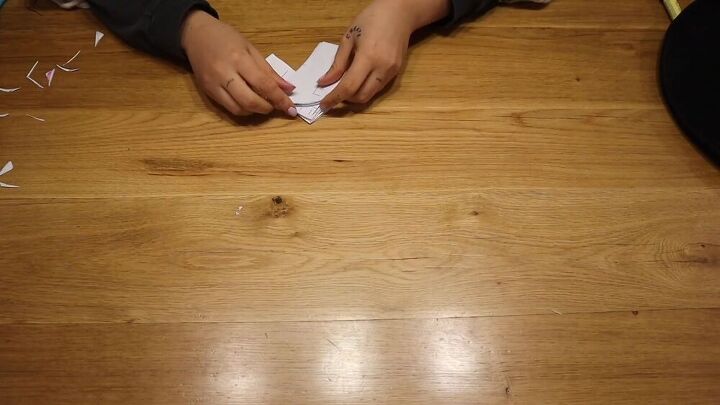
Fold your paper and draw triangles
Next, take your paper, fold it in four, and on the top corner where the fold is, take a pen, and draw a triangle with the tip facing the fold.
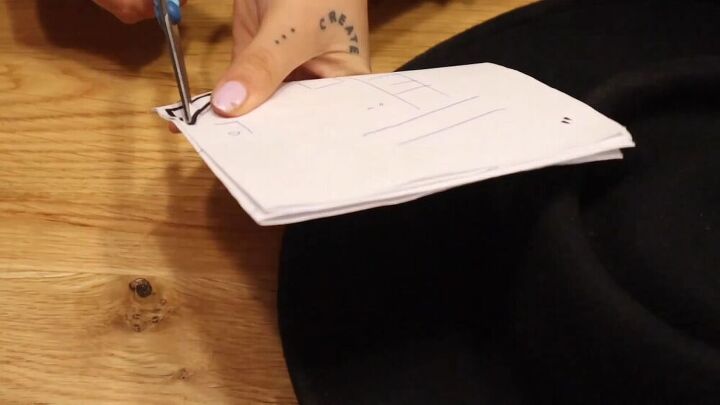
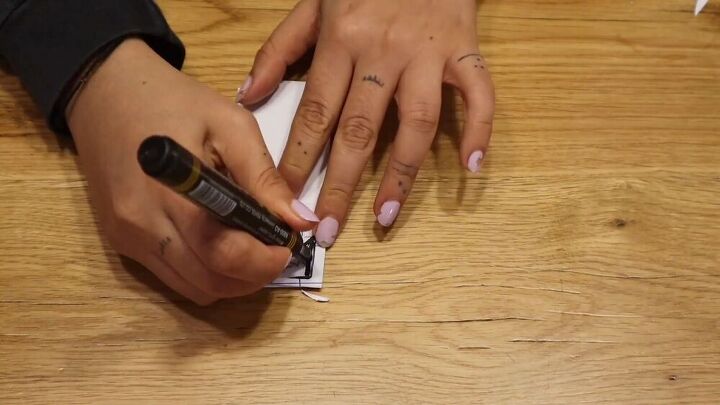
Cut out your triangle
It's time to make some origami! Now, cut your triangle. Do not cut it on the outside, along the shape, because that will defeat the purpose. Cut inside the shape by folding the paper a little, snipping a hole in the middle of the pattern, and inserting your scissors so that you can cut the shape.
When you unfold the paper, you should have 4 triangles in a flower-like pattern.
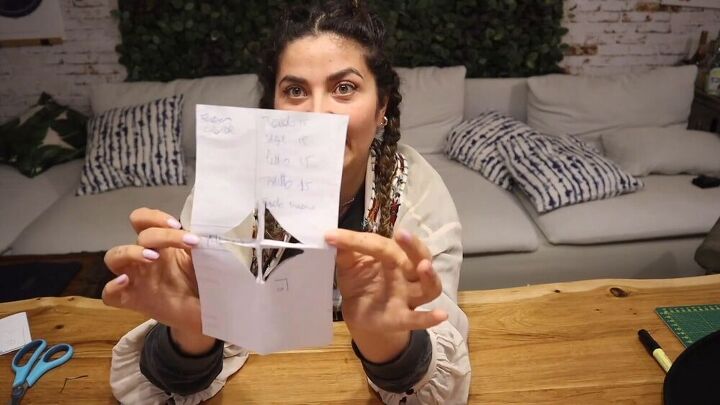
Repeat step 3
Repeat step 3, but this time with a medium-sized triangle, and on another piece of paper, a smaller triangle. This ensures that you will have 3 variations. Place the first origami that you created on top of your newly folded paper and trace the triangle. This process will automatically make the same shape but smaller.
For the third, smaller set of triangles, use the medium-sized sheet to trace it out. Once you have made two more sheets, cut the triangles as explained in the step above.
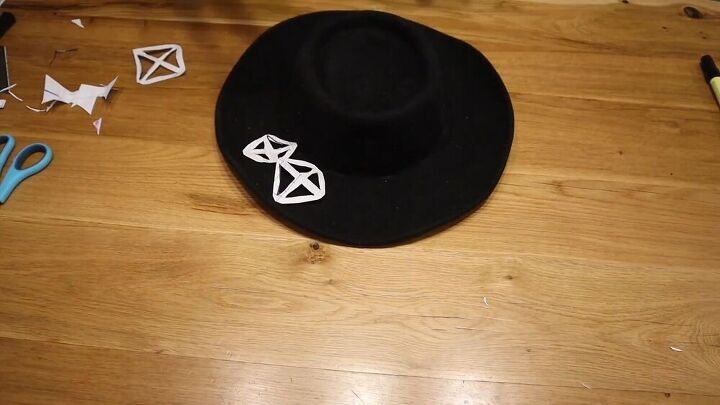
Cut around the triangles
Cut around the whole shape so that you don't have unnecessary paper that could disrupt your DIY project. Simply cut around it so that it's easier to work with.
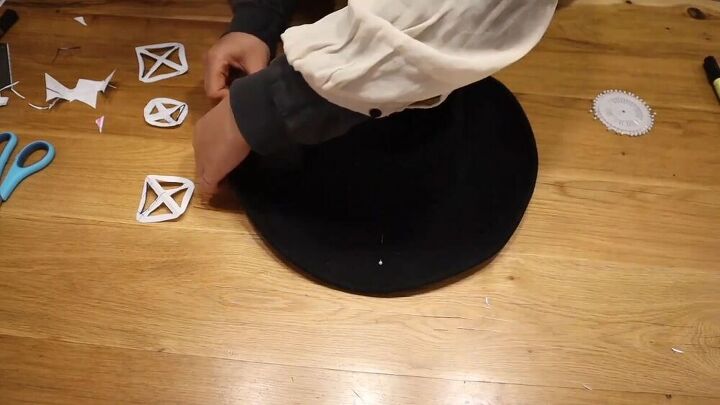
Place your markings
Make sure the biggest triangles are placed in parallel to each other around the hat. Place pins as a marking point so that you know where to start.

Trace your shapes on the hat
After your markings are done, with a pen (or better yet, chalk) draw inside the triangular pattern on the hat. I used a black pen (black on black, genius, right?), so you can't really see it in my video tutorial. But I could see it just fine.
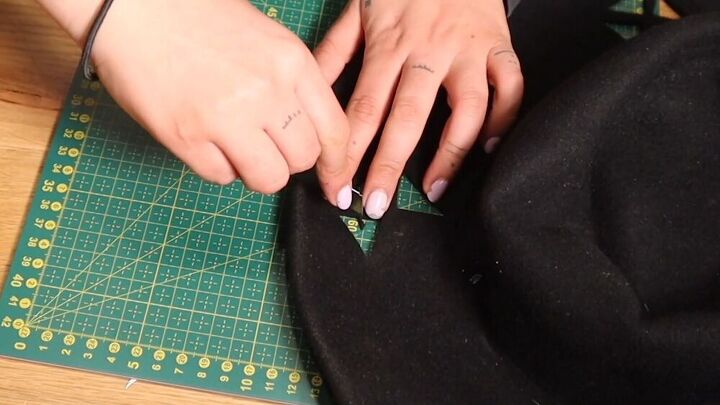
Cut out the triangles
With your precision knife (yes, be careful while doing this), Place your hat on a cutting sheet and start cutting out your triangles. Cut the vertical and horizontal line, and then lastly, do the diagonal line. You will notice I curved my triangles, which gave it a little edge, which I liked. Do whatever you prefer, though. It's your drawing, and feel free to let your creative juices flow!
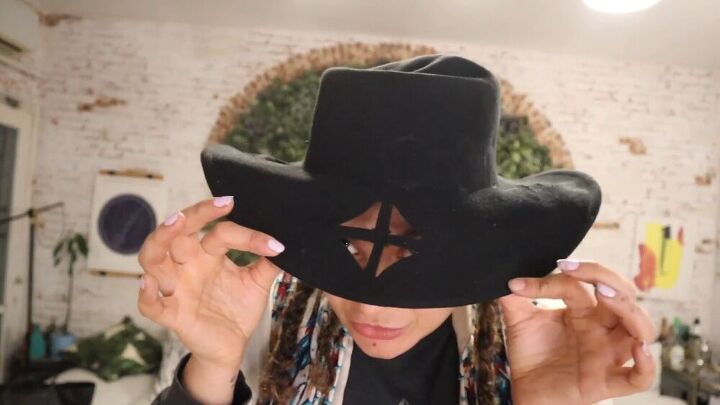
Check positioning
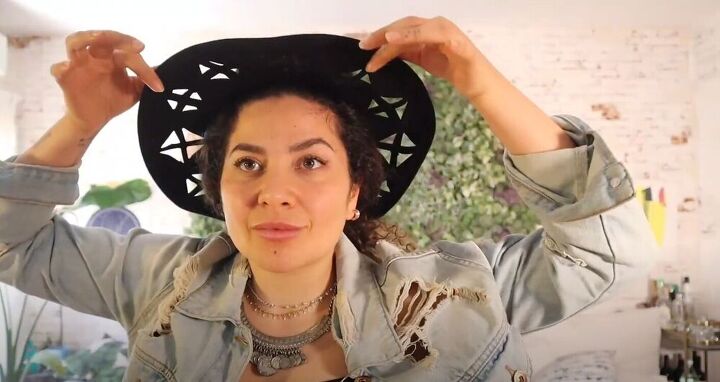
After, place the boho hat on your head and check that the triangles are in fact parallel to each other. This will also give you a better view of how to place the rest of the triangles.
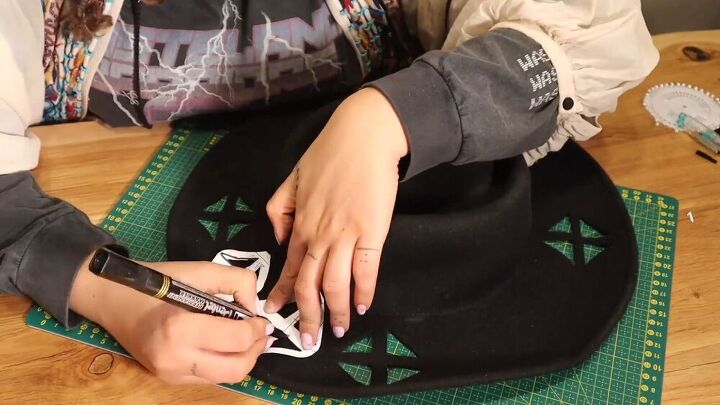
Trace and cut the rest
Place your origami triangles in the empty spaces, trace, and cut! The pattern is really up to you! Go wild and have fun!
TIP:
Make sure you don't cut out too much fabric, especially by the outer rim of the boho hat. Otherwise, your hat may droop!
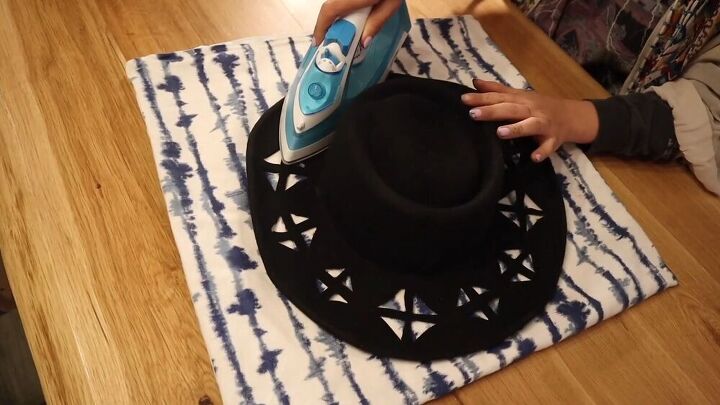
Use your iron
Iron out your hat so that the fabric stands up and is sturdy.
And…. you are done! I Love, love, love this look! It's so chic and so easy to create. I love how good it looks, and I love the fact that I didn't break the bank! You can also wear it with loose hair braids, or even a headscarf! I hope you enjoy this masterpiece as much as I do!
The author may collect a small share of sales from the links on this page.


Comments
Join the conversation
That's such a clever idea!
I believe I have the perfect brown suede hat, that this pattern would look perfect on it & change the whole style. Now, if I can just keep my daughter from loving it too !