Make a Natural Tie-Dye With Onion Skins & Turmeric

Say goodbye to ink that contains harsh chemicals! Have you ever considered using mother nature's natural dye to upcycle your clothes? If you are looking to tie-dye old clothes, then you have to watch my step-by-step guide in achieving a natural tie-dye with zero-waste on the environment. I love living my holistic lifestyle through clothing, too and so in this tutorial I will show you how a combination of onion skins and turmeric will give you a wonderful plant-based tie-dye effect without using hazardous products and chemicals. I’m sure you’re interested to see how it’s done, so get your boring, old, white clothes out, and let's get to it.
Tools and materials:
- White t-shirt and pants
- Onion skins
- Turmeric
- Baking soda
- Elastics
- Squeeze bottles

Pick out your white clothes
I got my clothes ready, I decided to tie-dye my sustainable white clothes that are either second-hand or bought from a brand that recycles clothes.
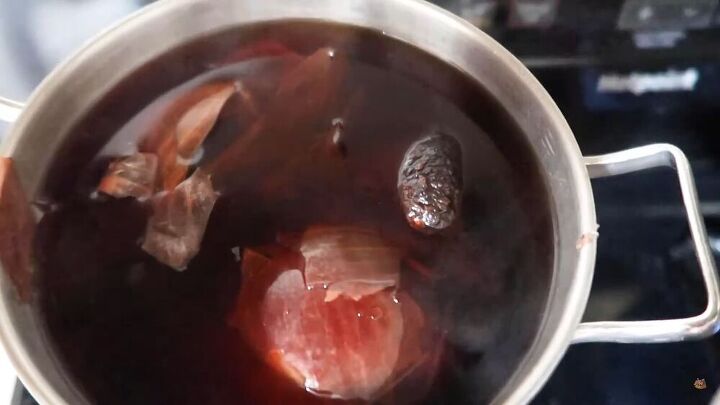
Boil your onion skins
Collect a generous handful of onion skins. Add them to a pot with water and let it simmer for about an hour. After an hour, let it cool off so that it’s at a nice room temperature before going ahead with the tie-dye.
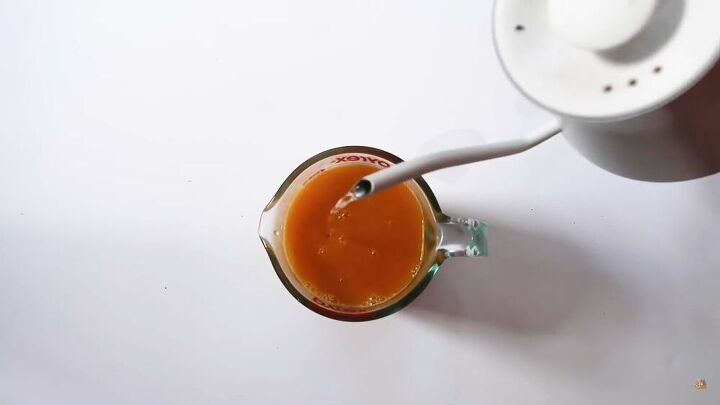
Make the turmeric solution
Boil water and add about two tablespoons of turmeric. Stir it so that everything is dissolved and you get this lovely deep burnt orange color.
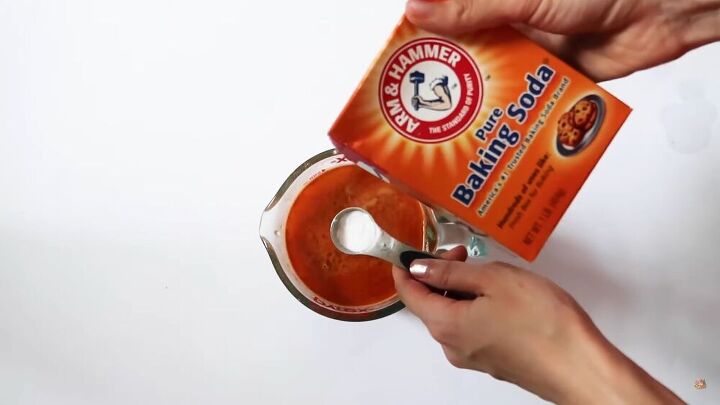
Add baking soda
Next, add two teaspoons of baking soda to your turmeric solution. The baking soda’s function is to change the PH and turn it into a more reddish color.
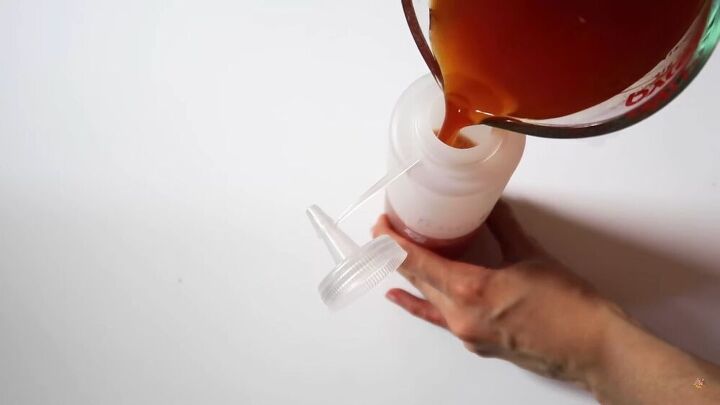
Transfer your solution
Now that both the onion leaves and turmeric solutions are ready, transfer them into squeeze bottles, or better yet, if you have any similar bottles lying around in the house, then feel free to re-use those. This tutorial is all about upcycling, after all.
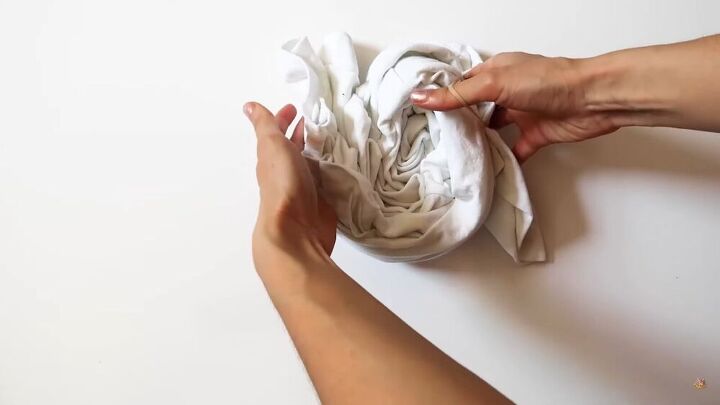
Tie-dye pattern folding
Start with your shirt, pinch it in the center and twirl it so it makes a spiral shape. Spiral the whole shirt so that it ends up looking like a giant cinnamon bun.
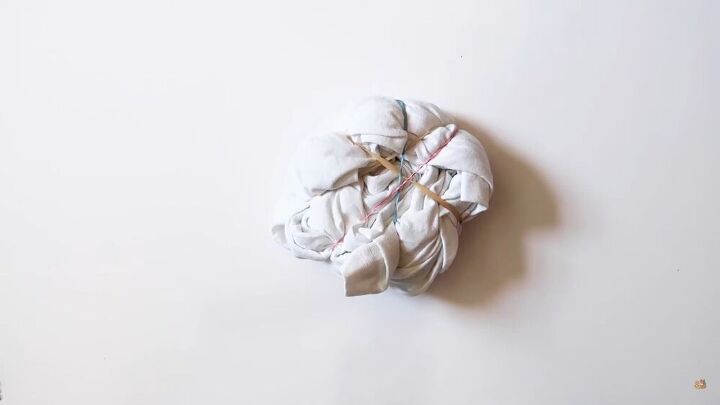
Next, put your elastic bands around the shirt so that it holds it in place and segments the sections on the shirt; making it easier for you to apply the natural tie-dye.
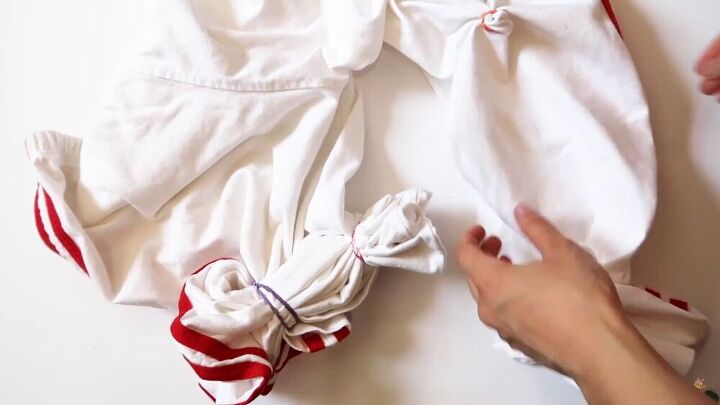
Pleat your pants and add elastics on either side of each pleat so that it holds them in place. Repeat the step through the legs.
TIP:
Pre-wash your clothes so that the natural dye really pops out. I didn’t do this before, as I was too excited to start the project.
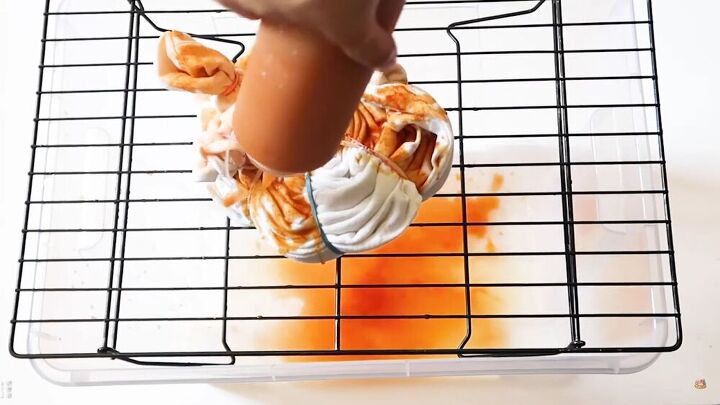
The exciting part begins
You can either tie-dye your clothes in a tub or over a rack with a plastic box at the bottom, as I've done. As you see, with each segment, I used a different tie-dye. One segment got the onion solution, and the next got the turmeric. Repeat the process, making sure that you generously add your natural dyes throughout. Remember, this is ultimately your creation, so you can do whatever you like, I’m just showing you the starting points. When you’re done, turn the shirt over and repeat the process.
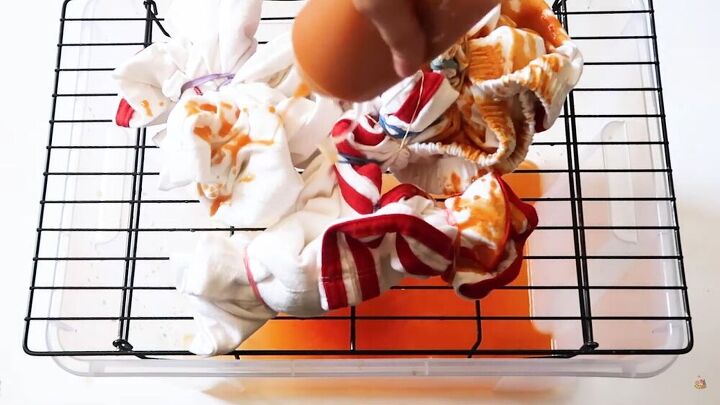
Next, dye your pants, I used a different color for each section. Again, there’s no rule here- do what you think will look great!
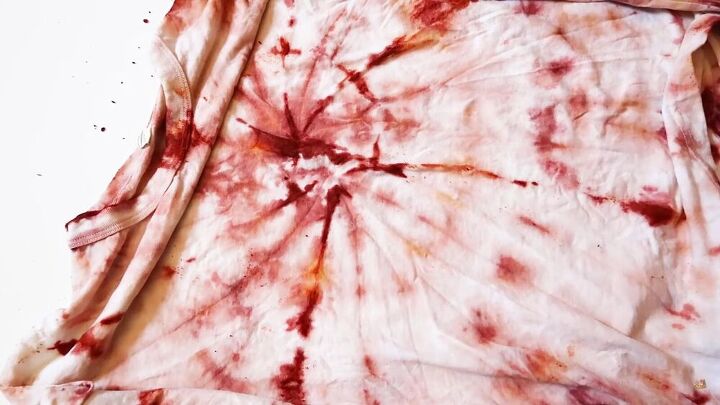
Unfold
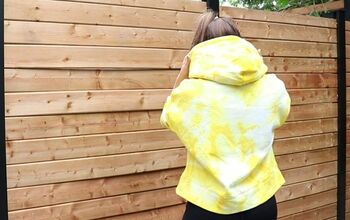
I waited 2-3 hours before unfolding. This gives the natural dye time to seep into the fabric. Look how lovely these colors are! This looks absolutely amazing!
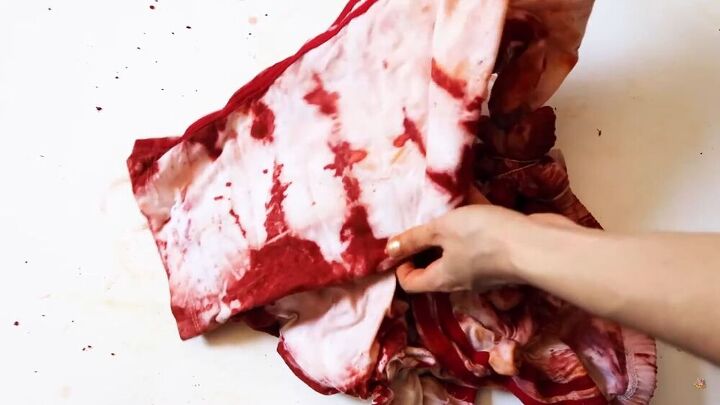
Here's how the pants turned out, and It literally takes my breath away. It looks amazing!
TIP:
When removing the elastics, don’t cut them, simply remove them so that you can re-use them again.
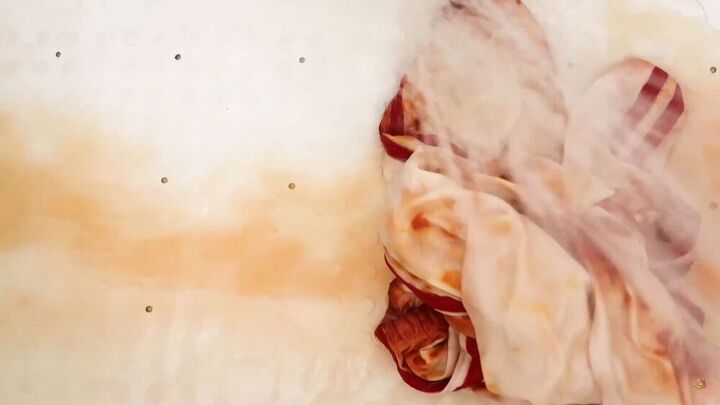
Leave it out to dry & rinse
Leave them out to dry, and then rinse your clothes in lukewarm water. You will notice that some of the colors wash away but that’s normal. What you are left with is the true color of the solution you created.

I love this so much and I didn’t have to spend money on buying more items, everything I used was household items that I own. Upcycling at its finest! I hope you guys enjoyed this tutorial and that instead of throwing unwanted clothes away, you can turn them into something magical!
The author may collect a small share of sales from the links on this page.


Comments
Join the conversation
My grandmother used to dye her hair with onions skins during WWII. God rest her soul!
I'll used to do this with my pupils 50 years ago with fabric paints which were quite expensive!
I will try it with onion peels/ turmeric and baking soda!
🙏 Thanks