Make a Quick DIY Face Mask With Filter Pocket & Nose Wire

It’s time to scrap the disposable face masks! Not only are they cluttering the environment, but they are not fashionable at all. Make your own DIY face mask and stand out from the crowd. You will love this easy-fitted face mask tutorial, that is double-sided, giving you two prints to choose from. Also, the interfacing acts as a filter, giving you a face mask with a filter pocket too, now that’s functionality at its finest! Let’s get sewing!
Tools and materials:
- 100% cotton fabric- two prints
- Interfacing- pellon 830 easy pattern
- ⅛ elastic
- Twist ties or garden ties
- Fabric Scissors
- Rotary cutter
- ZigZag scissor
- Pin or fabric clips
- Matching thread
- Mask template- available here
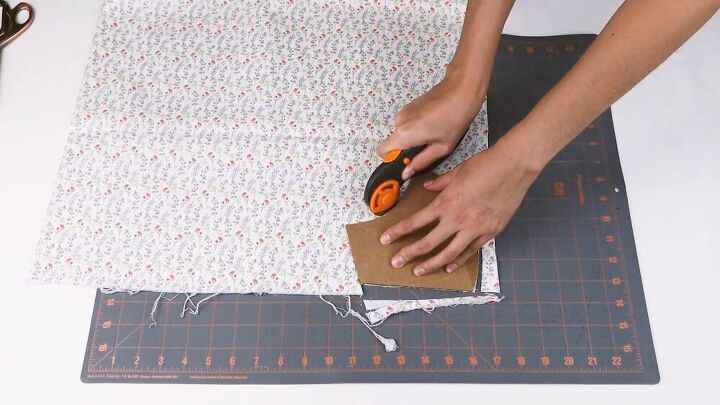
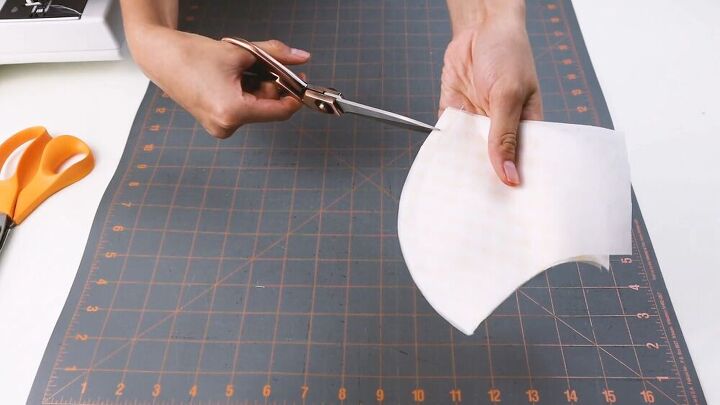
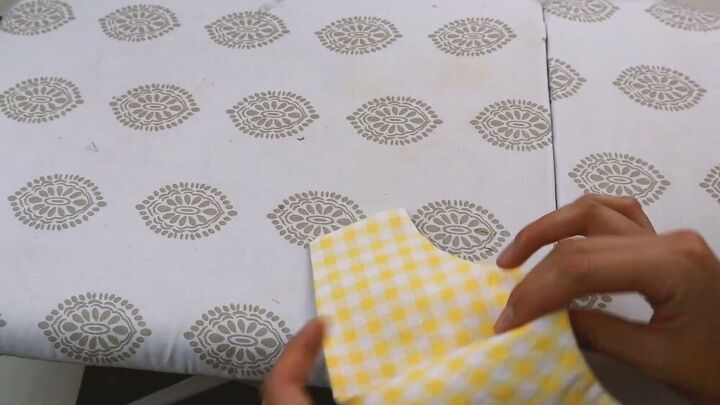
Cut the fabric
With your fabric scissors, cut out the fabric pieces using the template provided in the materials section above. Fold your fabric so you get two pieces in one cut. You will need to do this for both of your prints.
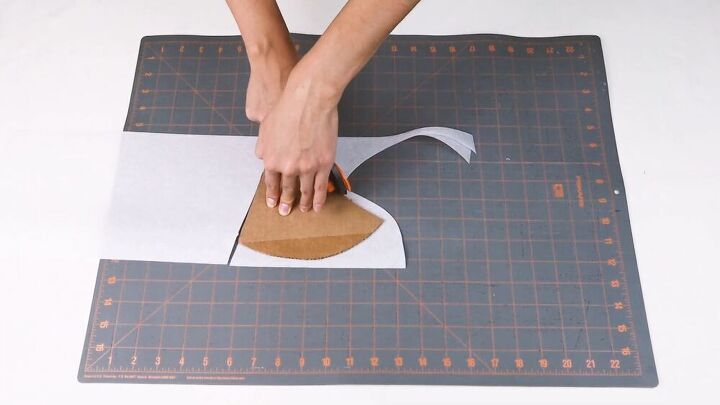
Repeat the process for the interfacing. I like to have two layers for my face mask, so I have cut out 4 total pieces.
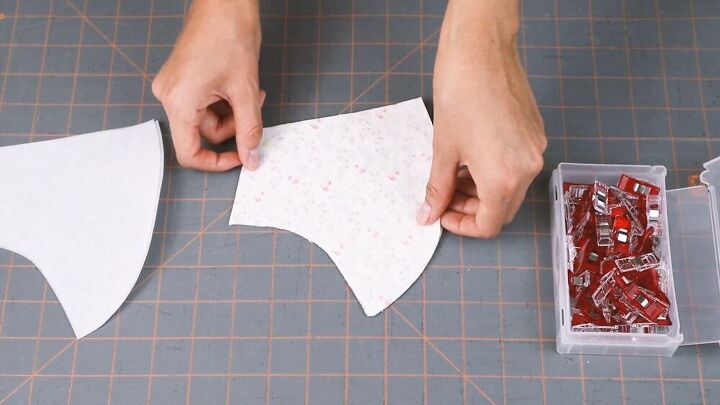
Piece your fabric together
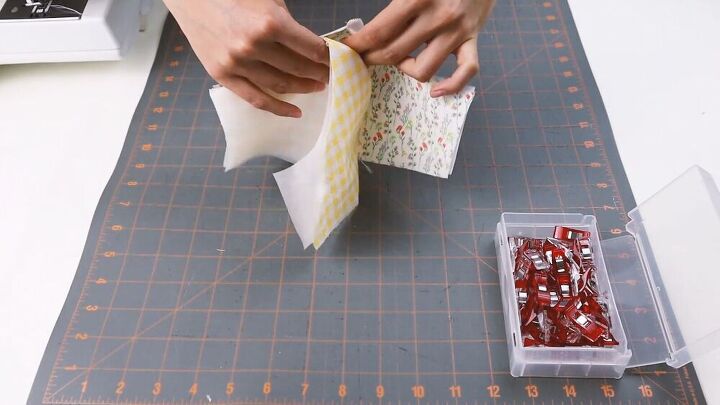
Before we start the fun part of sewing your DIY face mask, piece your fabric together in the correct order. Take two of your printed fabric pieces, and lay them right sides together. Then, take your interfacing and line them up on both sides of the fabric. Make sure you line them up as best you can.
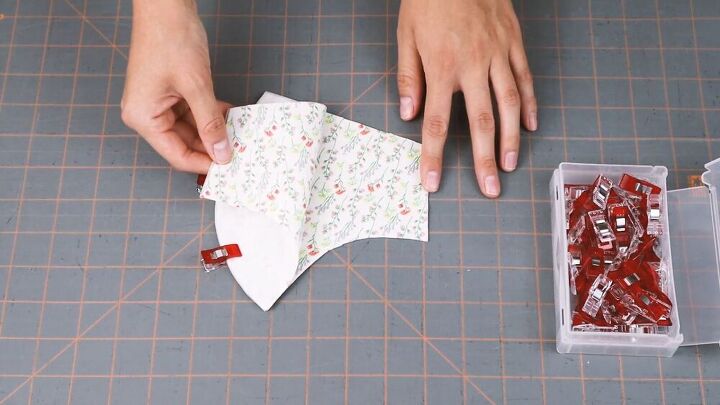
Use pins or clips to hold them together. You should have- 1 interfacing piece, 1 printed fabric piece facing up, 1 printed fabric piece facing down, and lastly, 1 interfacing piece on top. Repeat this process on your other fabric piece as well.
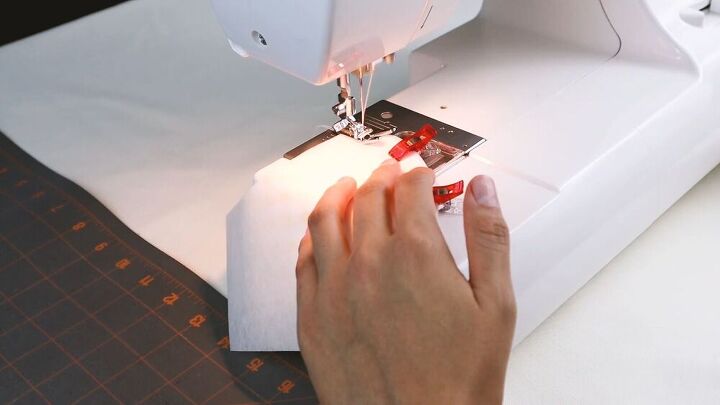
Sew, baby!
Now that you have your two piles ready to go, first, sew along the curved side of each face mask. Use a regular, straight stitch on your machine with a ¼ stitch seam allowance. Be sure to repeat this on the other side as well.
TIP:
Make sure to backstitch at both the start and end of your pieces. This prevents the threads from coming loose later on.
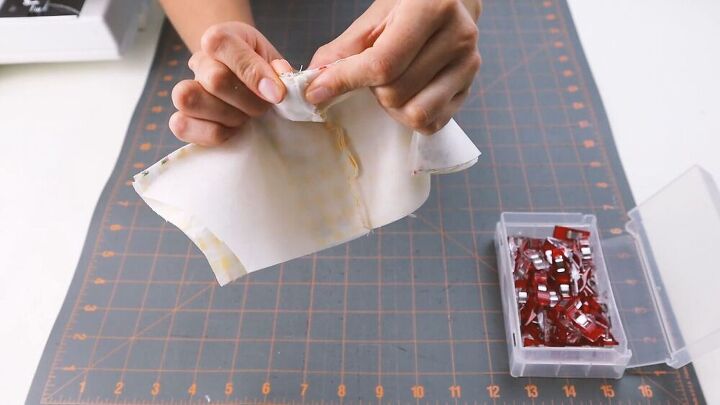
Make small cuts
Make small cuts along the curves of each piece. This will prevent the fabric from bunching up or pulling on itself. Make sure the cuts aren't too deep so that they won’t rip at the seam you just stitched.
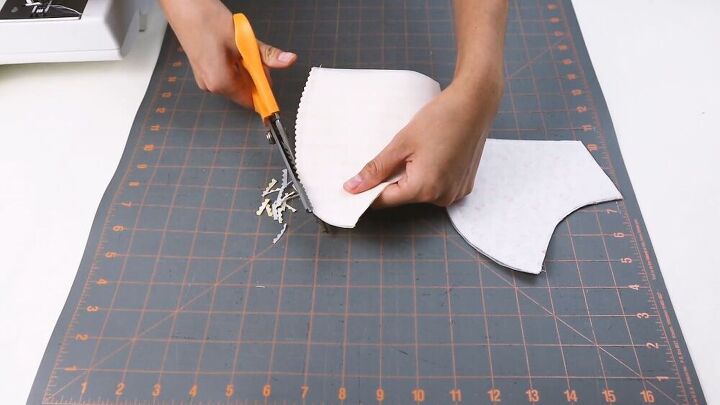
Optional
Instead of cutting small slits, you can use your zigzag scissors. Remember, this isn’t necessary. Using the above-mentioned technique will do the same job.
Put the mask together
Decide which print will be on the outside of your face mask, and what print will be inside. Once this has been established, take the piece that will be the inner fabric and turn it right side out. Place your inner fabric inside your outer piece by first lining up the inner seams.
Take note of the flaps of your middle seam. On the outer fabric piece, press your middle seam flap to the right. On the inner piece fabric seam, press the flap to the left. Next, clip the middle with both flaps pressed on opposite sides of each other and clip the rest of the top piece.
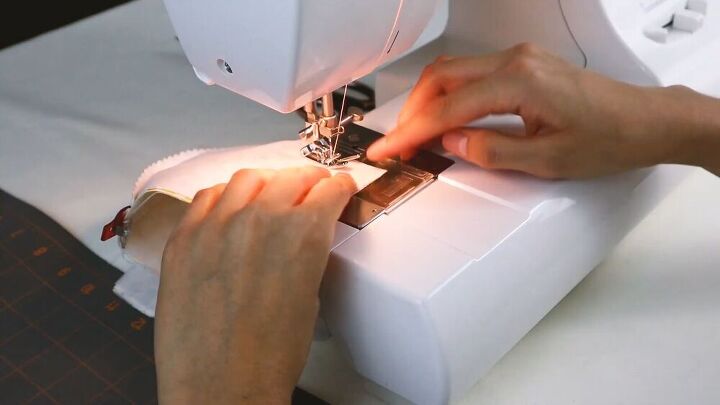
Start sewing
You can now sew along the top and bottom edge. While I mentioned that backstitching is important, in this step, make sure to backstitch along the middle seam, too.
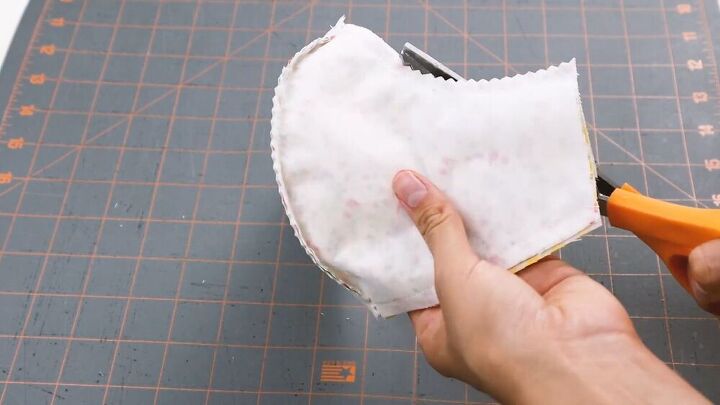
Make more slits
Since both the top and the bottom part are also rounded, cut some more slits around the edge. Again, you can also use zigzag scissors should you wish. The choice is yours!
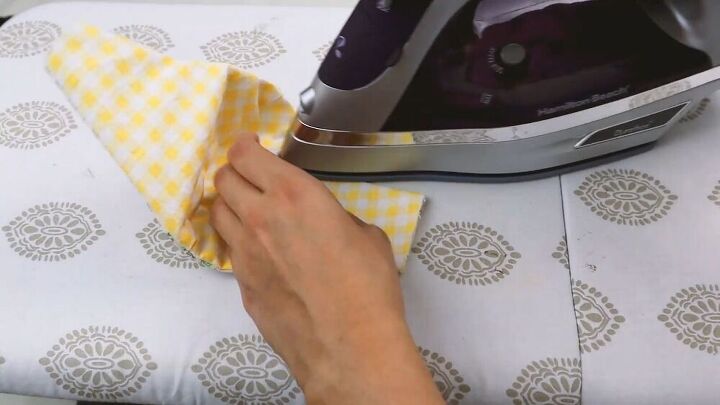
Turn the mask inside out & iron
Using your fingers, slide them through the side of the mask where the opening is and carefully turn the mask inside out. Iron out the edges of your face mask so that they lay flat, giving your mask a nice, finished look.
Fold the sides
Measure about a ¼ inch of your seams on the side and fold the edges inwards. This will hide the raw edge. Iron this flat.
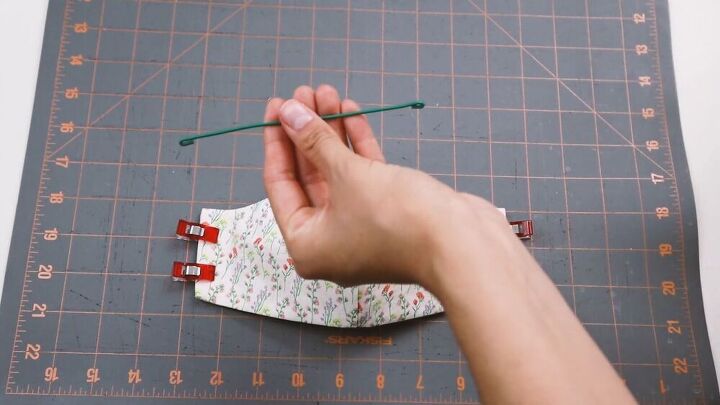
Nose wire
We are almost done, just a few more steps until you have your perfect fitted DIY face mask. Now it’s time to add the nose wire to the mask itself. Here, I’m using a garden wire that is 5 inches long, with the ends folded inwards, as pictured.
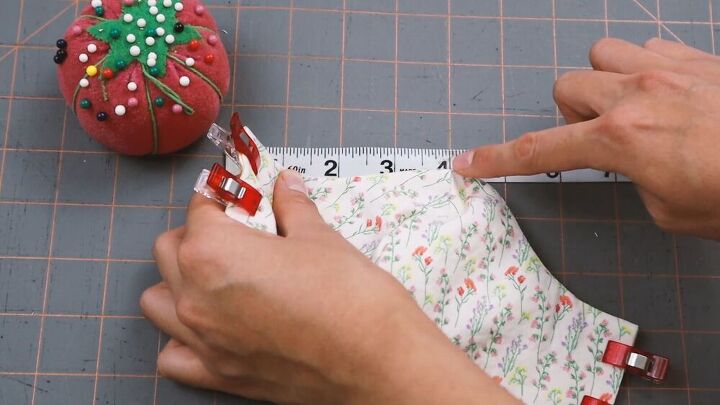
We need to make a pocket on the face mask so that the wire can fit into it, snugly. Get your measuring tape out, and measure from the center seam 2 ¾ inches on either side. Mark the spot on either side with a pin. So now you have measured a pocket size of about 5 ½ inches long, which is more than enough to fit the wire.
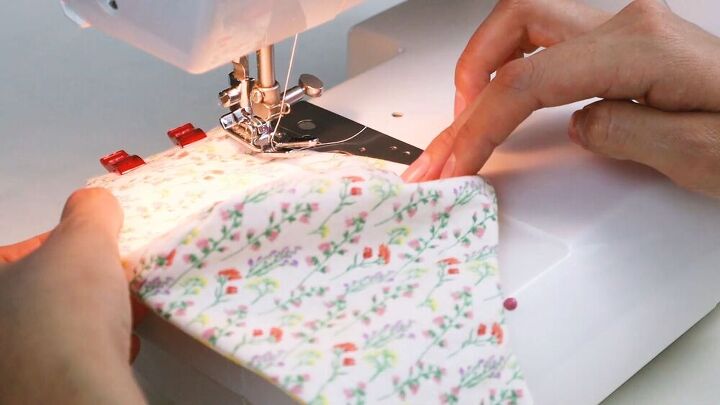
Sew the pocket
Using your pin as a guide, line up your sewing needle right at the edge of the mask. Once you have your sewing needle in place, remove the pin and start sewing your pocket. Sew a ¼ inch down and backstitch. Next, raise your presser foot while your needle is still lowered inside the mask. Turn your mask 90 degrees so that you can sew parallel to the top edge.
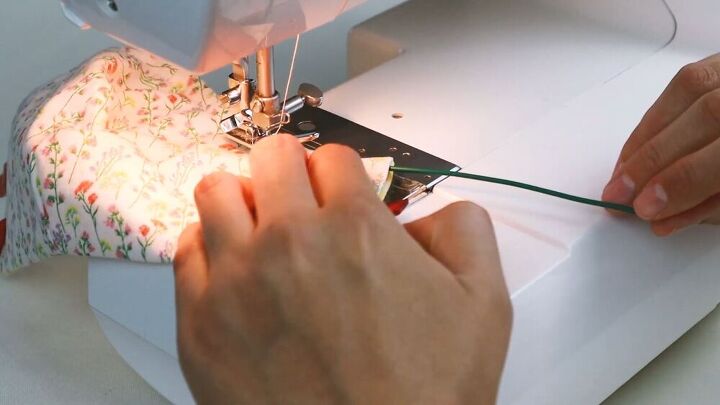
Keep sewing until you reach the other pin. Do not close up the pocket yet, as you want to insert the nose wire through the side of the mask.
Raise your pressure foot and insert the nose wire all the way through the pocket you’ve just sewn.

Rotate your mask 90 degrees, lower your presser foot and close the pocket. Don’t forget the backstitch as you want to secure the stitch.
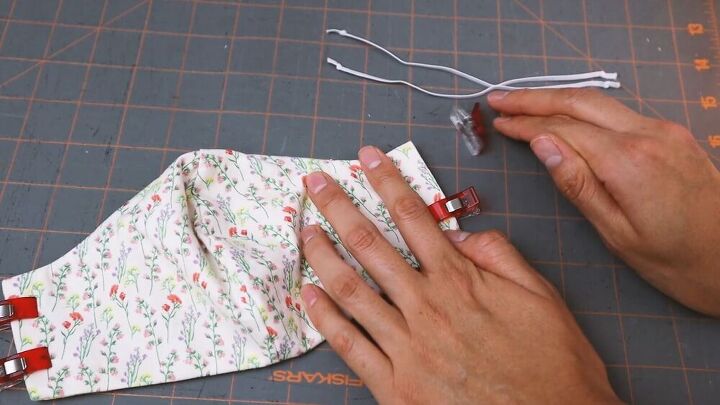
Attach your elastic
This is the last step! Take your ⅛ inch elastic and cut out two 7 inch long pieces. Make a little knot on all the ends.
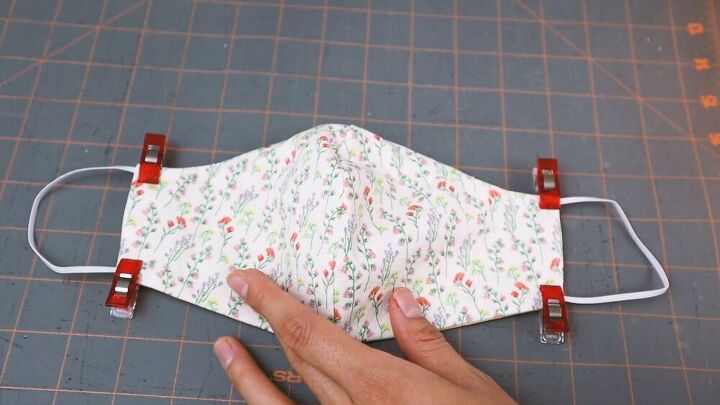
Insert your elastic to the face mask's side edges and secure with a fabric clip. Insert the elastic by a ¼ inch so you have room to sew it on. Also, now is the best time to try on the mask to make sure the elastics fit your face comfortably without pulling on your ears. Extend or shorten the elastic if needed.
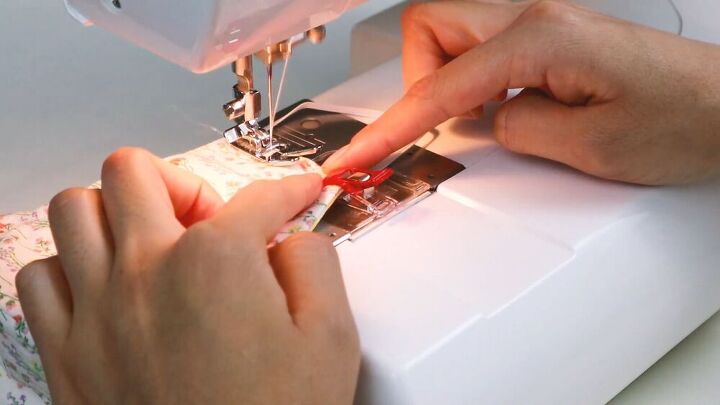
Sew your elastic on by staring from the middle of the side part of the face mask, sewing backward, and then stitching back and forth over the elastic to ensure it stays in place and on the edge. Repeat this on all 4 sides.

Kudos to you! You now have a lovely face mask that can be worn over and over. It’s stylish, it’s breathable, and it has its very own filter. The way it fits over the face looks so chic and elegant, I would never trade this for a disposable. This DIY face mask is well worth the effort. I hope you enjoyed this tutorial as much as I enjoyed presenting it to you! Stay safe!
The author may collect a small share of sales from the links on this page.


Comments
Join the conversation
Thank you for this great mask and very clear instructions! I couldn't find the pattern or where to subscribe to your channel.
Love this tutorial, first one that includes a nose wire. I wear glasses and if there is no wire, I am constantly defogging my glasses. Both my sewing machines need service, will hand sew at least a couple so I have an extra clean one available.