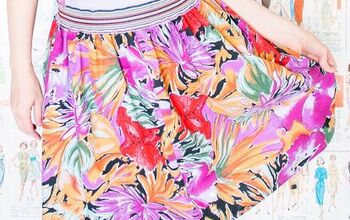
Make a Fashionable Elastic Waist Skirt in 2 Hours

Basic elastic waist skirts are a classic fashion piece. Today I’m going to show you how to make this lovely, timeless skirt with a Rebecca Paige Arabella pattern that you can find in the link below. So what makes this skirt special? It is an elastic waist skirt along the back with a flat band along the front. This type of skirt calls for printed, flowy fabrics since it’s a very comfortable skirt to wear. So, if you’re looking to sew a lovely, comfy, and basic elastic waist skirt, then let’s go ahead and start this fun tutorial!
Tools and materials:
- Arabella fashion skirt pattern, get it here
- Fabric (knits, woven, cotton)
- Sewing machine
- Elastic
- Pins
- Clips
- Measuring tape
- Interfacing

Cut out the pattern
The pattern as above-mentioned comes with three different looks, a mini, maxi, or midi skirt. Decide which one suits you best and cut out the patterns.
Create side seams and pockets
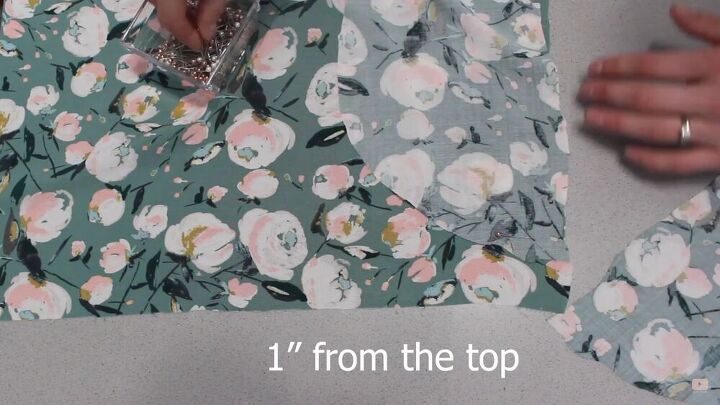
We are going to start with the pockets. Measure 1 inch down from the top of your skirt panel and attach the pockets. Place the right sides together and make sure your pocket is facing down. Do this on either side. Next, pin these in place. You should have 4 pockets, with two for each panel on either side.
Once your pins are in place, topstitch the front side and iron it flat.
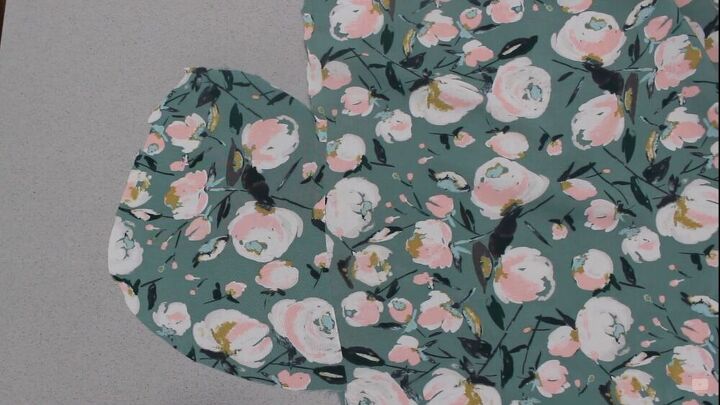
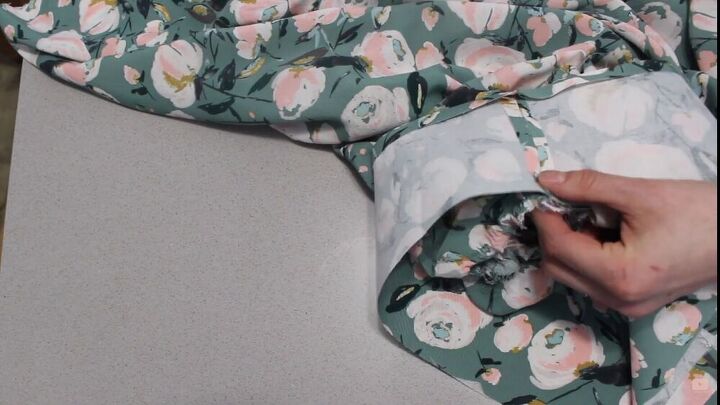
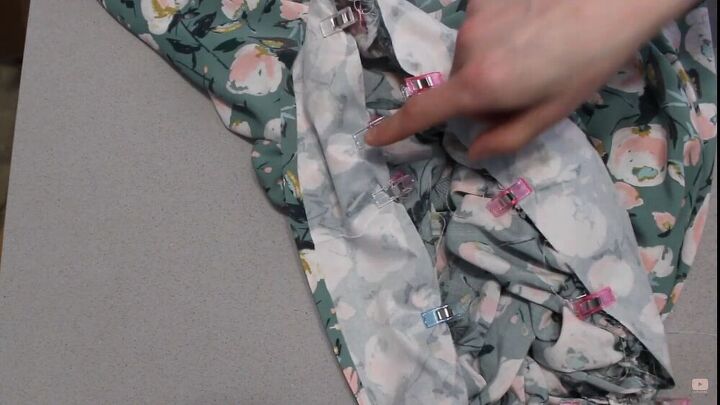
Now fold your dress over and place the right sides together. Pin in place. Because my fabric is somewhat slippery, I am using fabric clips that do a better job at holding. Next, sew around your curved pockets and proceed downward, stitching the side seams of your skirt. You should now have your pocket formed, in-seam!
Sew the waistband
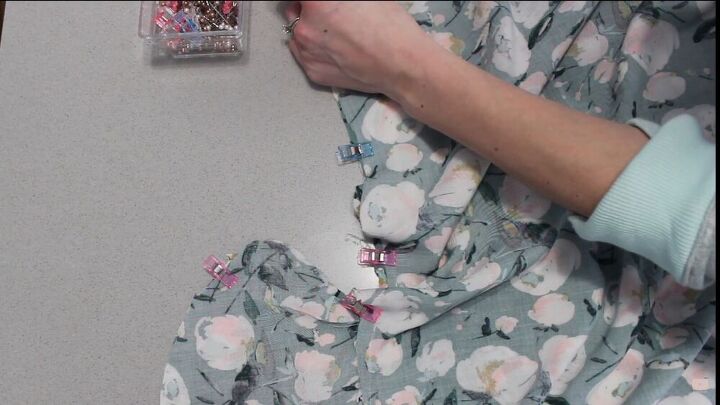
Let’s move on to the waistband. Take the two pieces of your waistband and attach them together, right sides facing each other. Clip or pin them along your side seams as shown.
TIP-
For a sturdier fit, add interfacing so that it holds your waistband in a more upright manner.
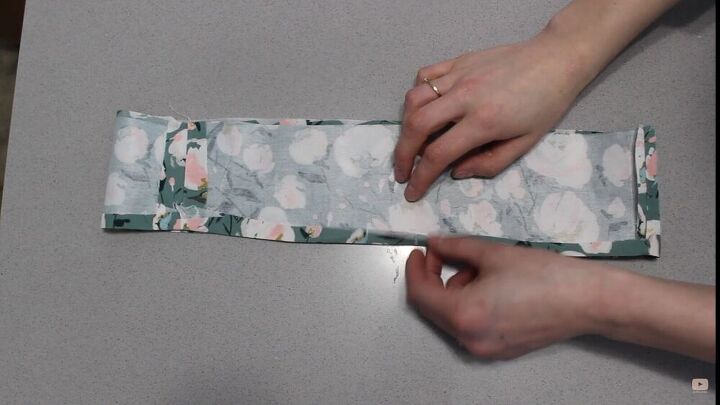
Next, press the seam allowance along one edge.
Stitch skirt panels
Stitch the skirt panels together with a long, straight stitch, going all around the edge of the skirt panels. Do two of these stitches.

Now, pull and gather around the skirt to create those desired pleats. Be sure to gather all the way around the skirt so that it will fit the perimeter of where the waistband will be sewn on.
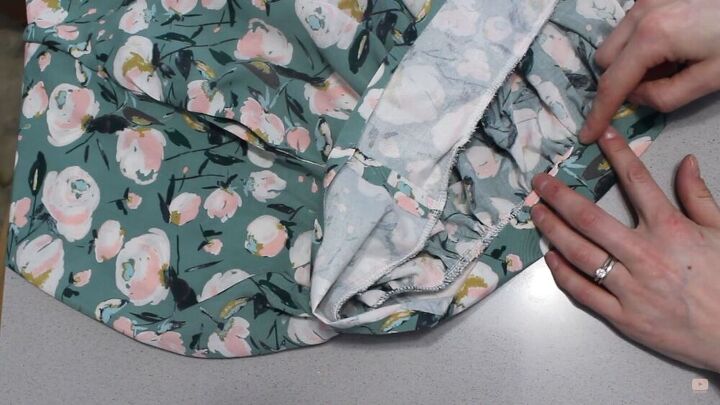
Attach the waistband to the skirt
Now that your skirt is pleated and your waistband is ready, it’s time to sew these together. On the edges, place them right sides together as shown.
Pin the waistband to the skirt, making sure you have a lovely, straight placement so that the side seams of the waistband line up with the side seams of your skirt. You will have a little extra fabric at the front, and that is totally fine because that’s the look you want to achieve.

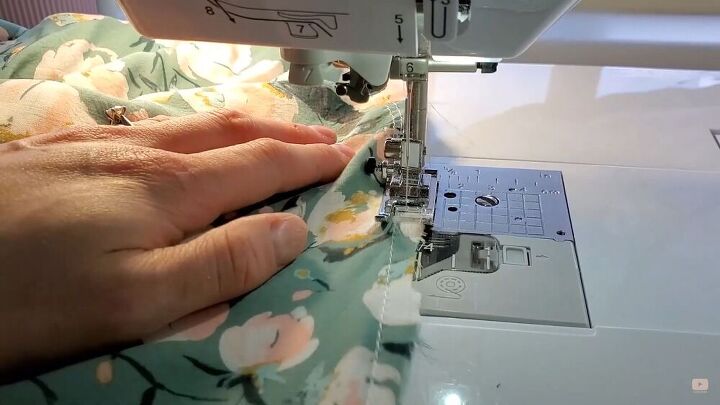
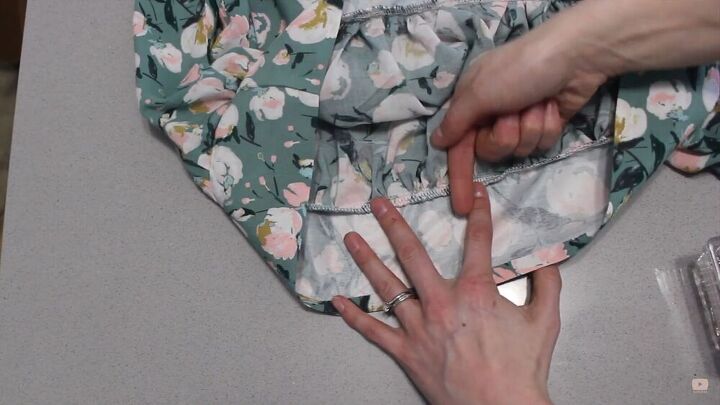
Stitch the waistband to the skirt, using your regular seam allowance, all the way around the perimeter of your skirt. Once you’re done, give it a good press down and serge along your stitch lines for a lovely, clean finish.
Press the edges
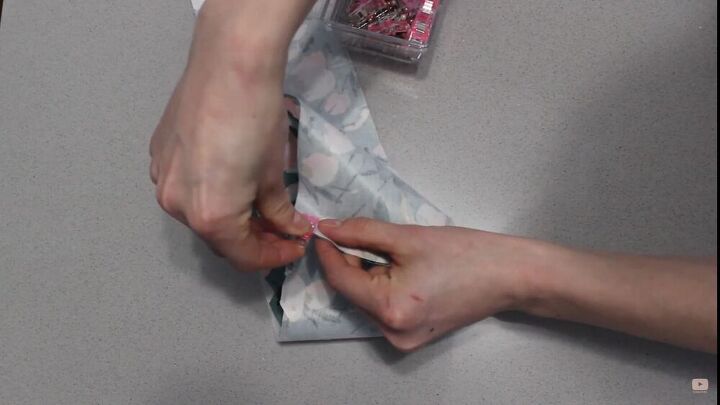
Now, fold over your waistband so that the folded edge of the waistband’s fabric meets the seam you have just stitched. Pin in place and make sure it’s very precise. When you’re done, press the fold.
Sew the fold
This is entirely up to you; either sew the fold with a machine or you can do it by hand. I opted for the latter option because I wanted to make sure it’s accurate. If you go the machine stitching route, make sure you sew along the ditch of the waistband so that the topstitching lines won’t be visible.
Don’t forget to leave an opening so that it's easier to insert the elastic inside.
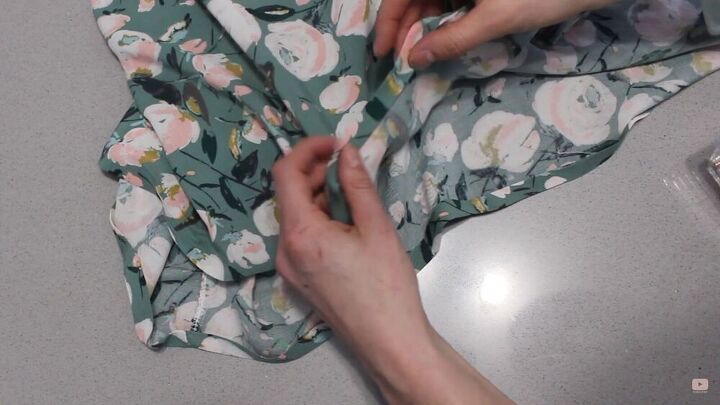
Sew the bottom hem
Fold a double hem along the bottom of the skirt and topstitch together, all the way around the edge.
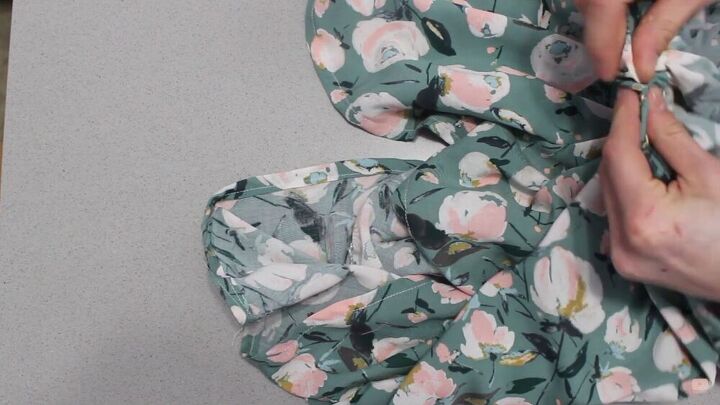
Add the elastic
Add your elastic with the help of a safety pin. Push it through the waistband and stitch the edges when done.

Wasn’t that fun? I love this look, I love how comfortable it is and how it fits well owing to the elastic waistband and the flowy fabric. If you want to look flattering, I suggest you go ahead and sew your own DIY elastic waistband skirt in beautiful floral prints and patterns. I hope you enjoyed my sewspiration tutorial, happy sewing!
The author may collect a small share of sales from the links on this page.


Comments
Join the conversation
Very pretty skirt :)
This is so beautiful!