How to Upcycle a 90’s Velour Shirt Into a Split Sleeve Blouse
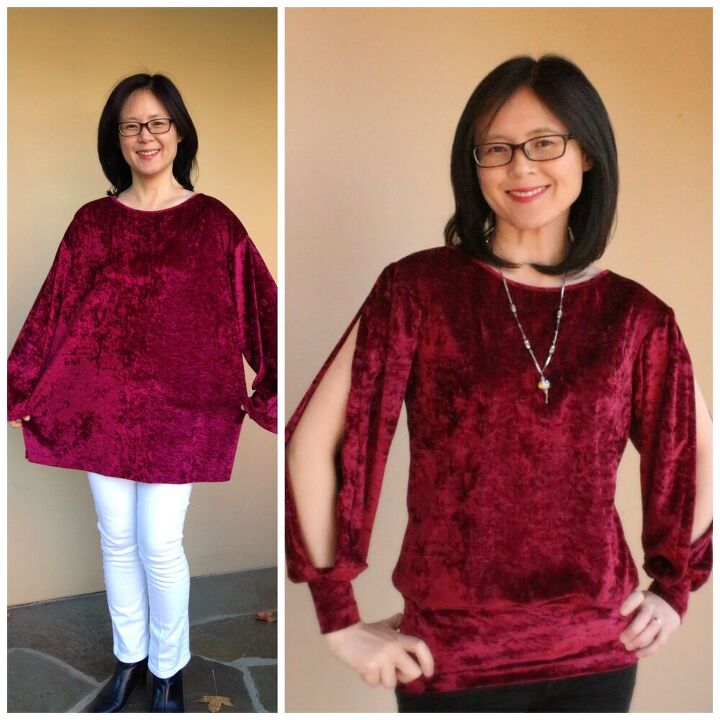
The 90’s are back. When I spied this stretch velour shirt at the thrift store for $4, I had flashbacks of Dr. Martins, the TV show Friends and grunge music. Crushed velvet and velour were a hot trend back then, so I resurrected it by recycling this velour shirt by adding split sleeves.
Here’s a high level overview of the refashion:
- Reshape bodice with new armholes and dropped waist
- Reshape sleeves with split seams and cuffs
- Attach gathered sleeves to bodice
Step 1 – Reshape the Bodice
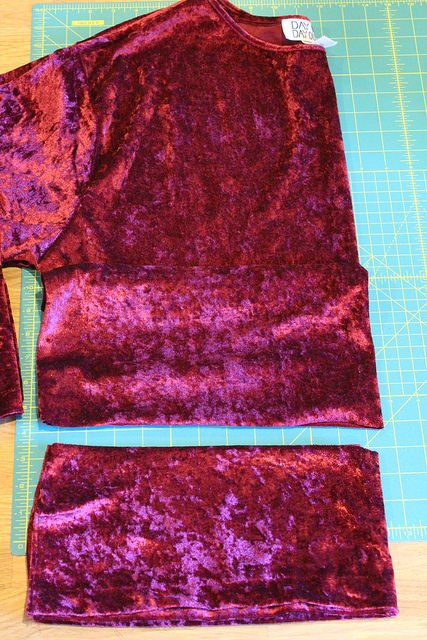
Cut off the bottom 6″ of the hem and sew a new waistband. I made mine 34″ to fit around my hips. Save the rest for the cuffs.
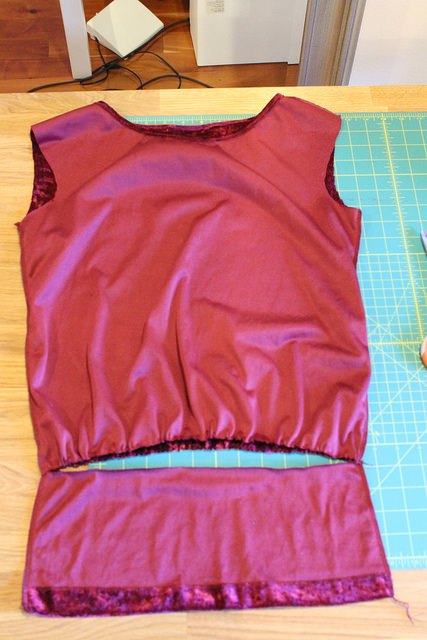
Chop off the sleeves and take in the sides of the bodice. I cut the bodice right above my hips because I wanted the fabric to drape around my body. I reshaped the armholes with an old sewing pattern. Gather the bottom of the bodice with a running stitch until it’s the same width as the waist band.
With right sides together, pin the bodice to the waistband and serge together.
Behold the new bodice. I’m really digging the dropped waist.
Step 2 – Reshape the Sleeves
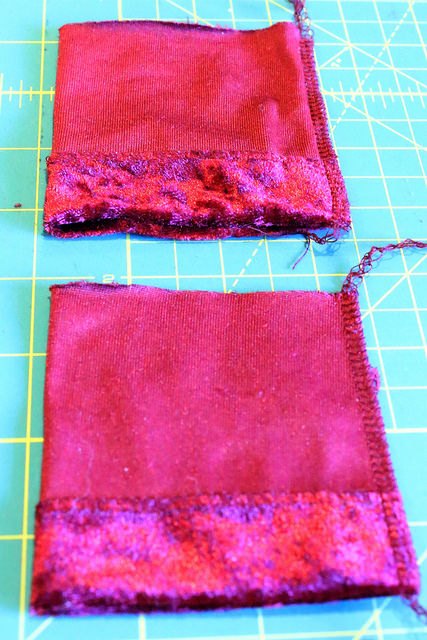
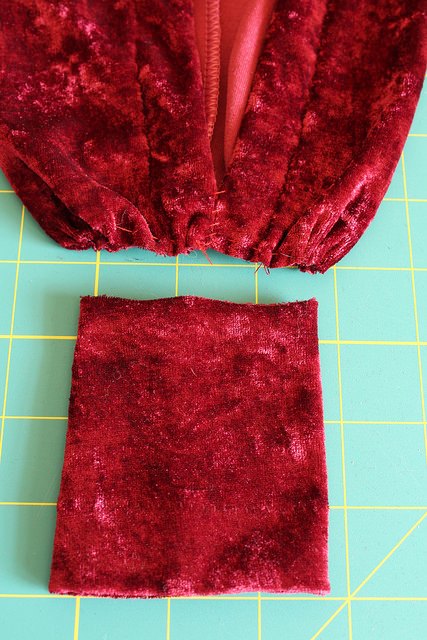
Make 2 cuffs with the leftover waistband. I made mine 3″ high and 7″ wide.
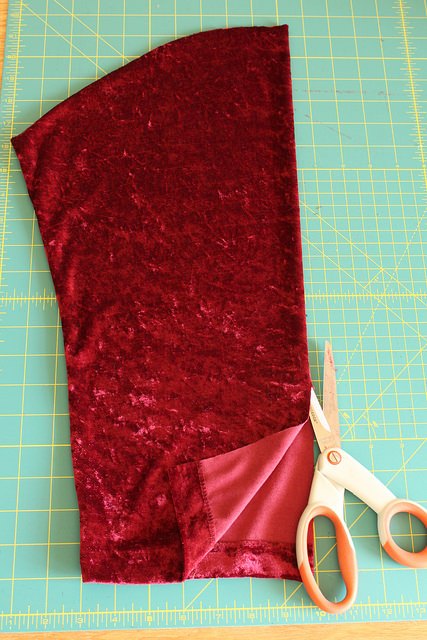
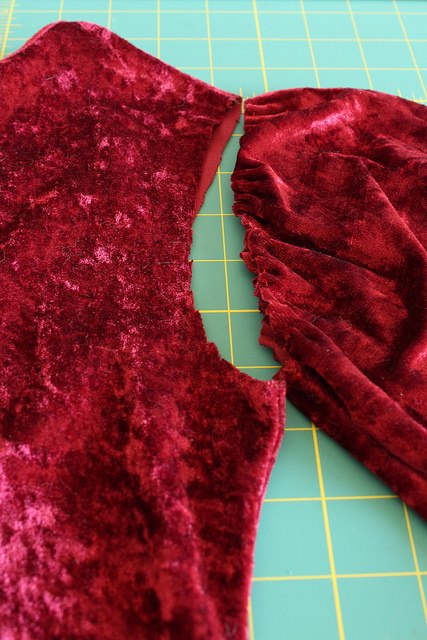
Cut open the sides of the sleeves.
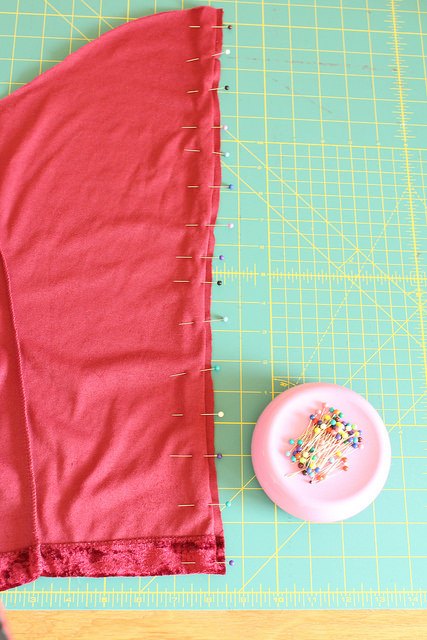
I finished the edges of the split sleeves with the blind stitch foot on my serger. It’s a great feature that finishes and hems at the same time. It’s an easy process, but I had to prep the edges. Fold the hem 1″ and then fold back the sleeve so the raw edge sticks out about 3/8″. The serger finishes the raw edge and simultaneously catches the edge of the fold.
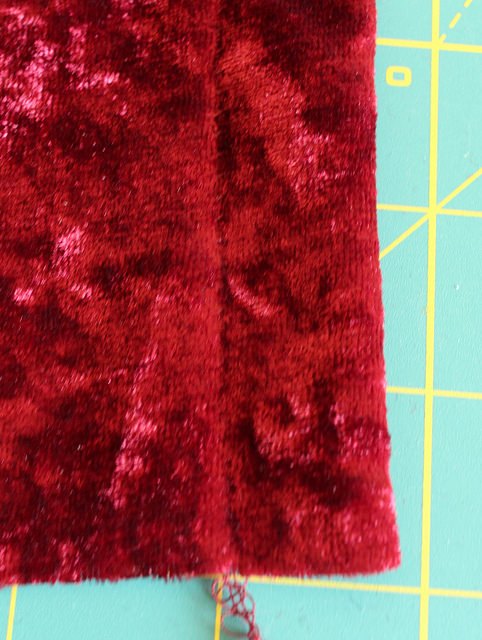
Here’s the outside of the sleeve. If you look closely, you will see tiny stitches holding the fabric in place. It’s hard to see, hence the name blind stitch.
.
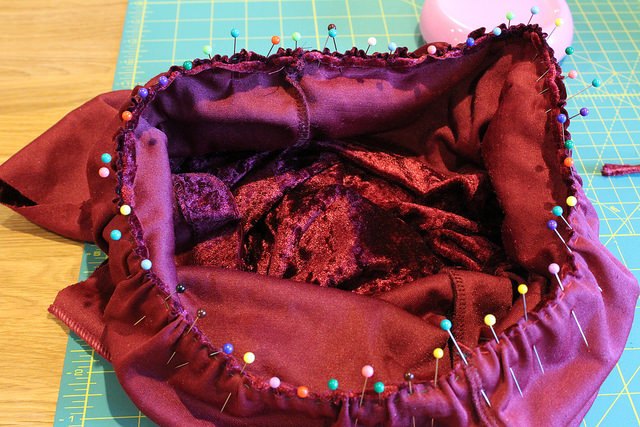
Gather the bottom of the sleeve until it’s the same width of the cuff.
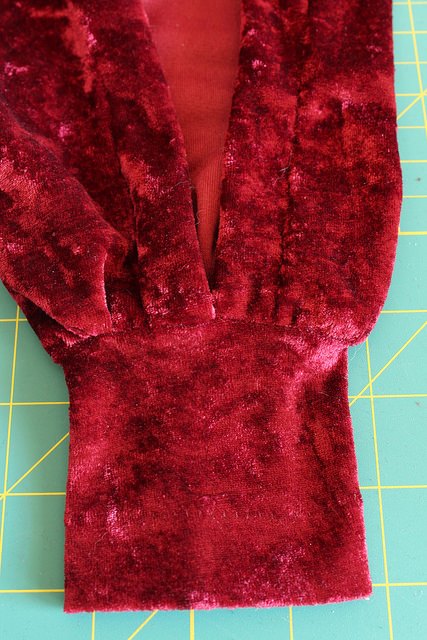
Pin the sleeve to the cuff and serge together.
Step 3 – Attach Gathered Sleeves to the Bodice
Gather the sleeve until it’s the same size as the armhole. With right sides together, serge the sleeve to the bodice.

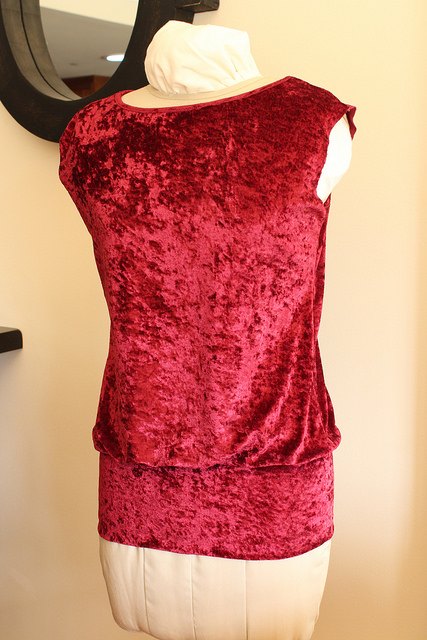
To focus attention on the sleeves, I kept the bodice simple. I was initially hesitant about the drop waist, but I like the way it echoes the sleeves.
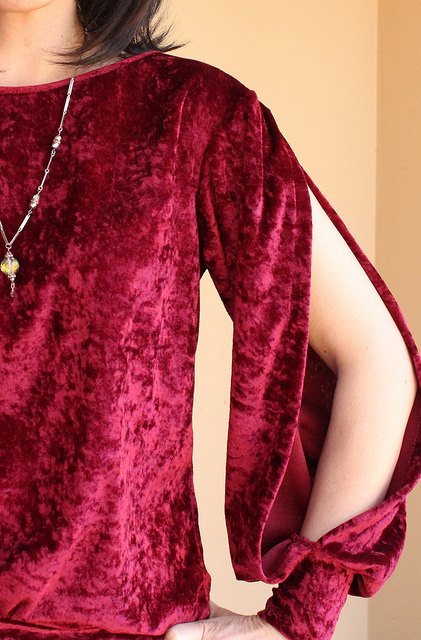
The velour sleeves drape beautifully around the cuffs. So dramatic!

This was one of those easy projects that took more time to write than make. Reusing the hem and keeping the collar made this project go faster.
By the way, I must give credit where it is due. I stole this idea from fellow refashioner Laura, the Accidental Seamstress, over at the Refashion Co-op, who was inspired by Beth Huntington and her book The Refashion Handbook. I got her book for Christmas, and it is chocked full of creative refashions. I can’t wait to get started on her projects. I got a bunch of refashion books for Christmas, and this is by far my favorite. Now go out and get it!
The author may collect a small share of sales from the links on this page.


Comments
Join the conversation
Like the color, too.
Prettiest refashion! Wow! You really took it from drab to fab! And now you’re ready for a holiday party in something no one else will have on. And that color is great on you. Thanks for sharing.