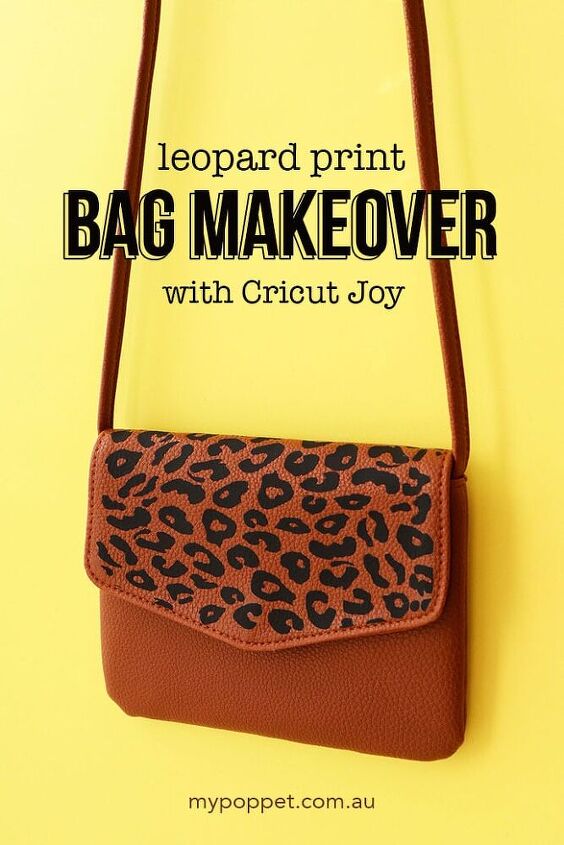
Leopard Print Bag Makeover With Cricut Joy
Make over a plain bag with a hint of leopard print. This easy iron-on vinyl project takes only a few minutes to make, and will upgrade a thrift shop find into a trendy leopard print bag.
This craft project is a collaboration with Cricut – This post contains affiliate links
There’s nothing I love more than making-over a thrift store find.
This week Emma found a cute little leather look bag for only a few dollars at our local oppy. As cute as it was, I thought it could do with some added pizzazz!
Leopard print adds fun to every outfit, and as far as I’m concerned, you can never have too much.
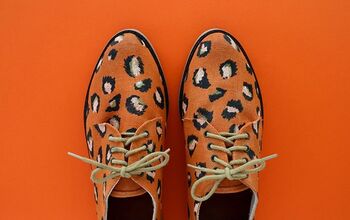
Looking to upgrade an old pair of shoes? Try this easy Leopard Print Shoe Makeover.
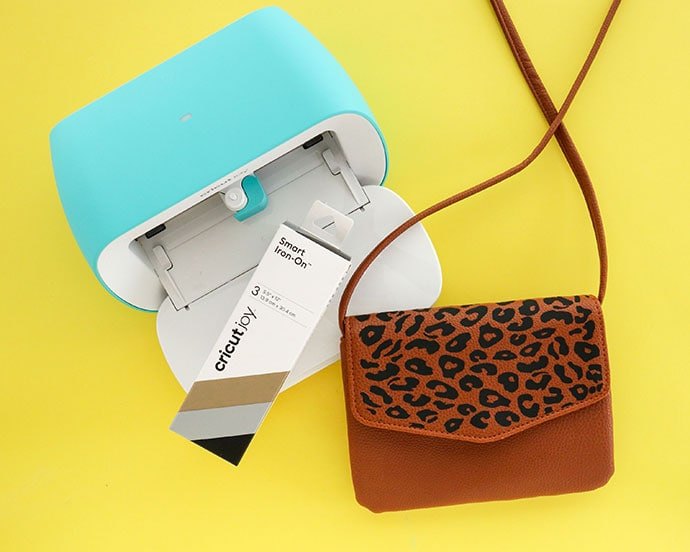
I’ve been looking for an excuse to fire up my new Cricut Joy cutting machine, and a Leopard print bag makeover was the perfect project.
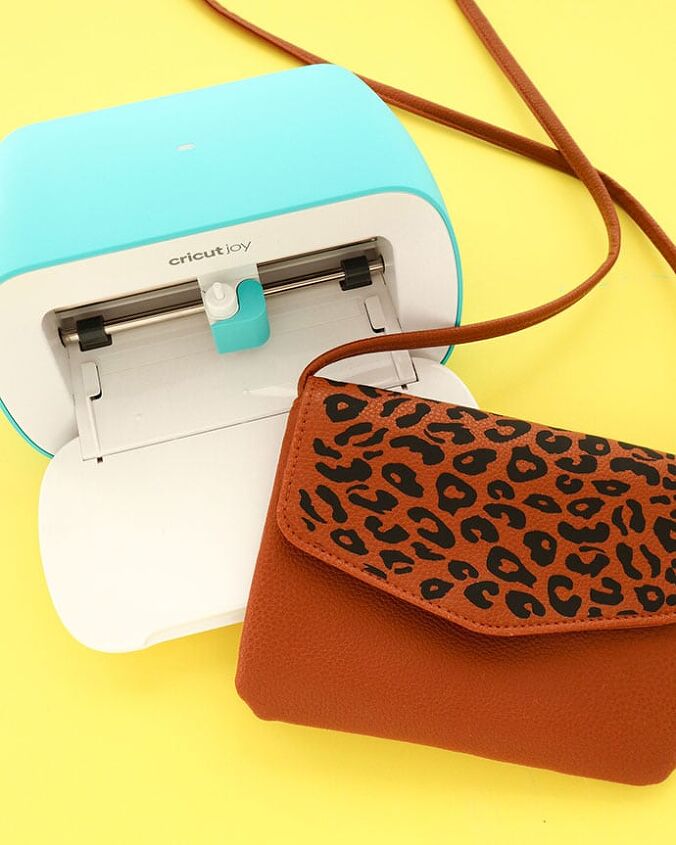
Its compact size (5” x 8”) means that you can conveniently DIY fun personalised projects almost anywhere.
The Cricut Joy is button free and uses Bluetooth to connect to your phone, tablet or laptop for easy on-the-go crafting.
I’ve used an existing animal print design from the Cricut Maker Space for this bag makeover. It was really easy to crop and resize it to fit, just using the Cricut app on my phone.
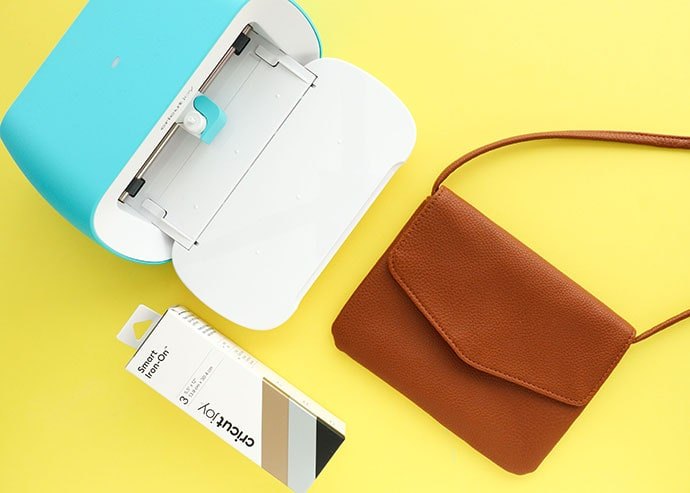
I had some matte black Smart Iron-on vinyl left over from my last Cricut Joy project – Iso Award Ribbons – which was the perfect size for this easy bag makeover.
Regular iron-on vinyl with a mat can be used to make this bag also.
The Smart Iron-on is designed to work with the Joy machine for easy mat-free cutting.
An Easy Press 2 makes easy work of ironing the vinyl on, but you could also use a regular iron if you don’t have one.
You may also enjoy these Cricut projects:
DIY Leopard Print Bag Makeover with Iron-on Vinyl
If your wardrobe needs a refresh, consider adding some leopard print to an old bag.
You can add iron-on to real leather or faux leather. It’s durable and will stand up to every day use.
I was a bit apprehensive about using a heat press on faux leather because it’s essentially plastic. Heat and plastic don’t always play nice!
But ironing with a lower temperature still worked well, and only a few spots required a little bit of extra heat to really set the iron-on adhesive properly.
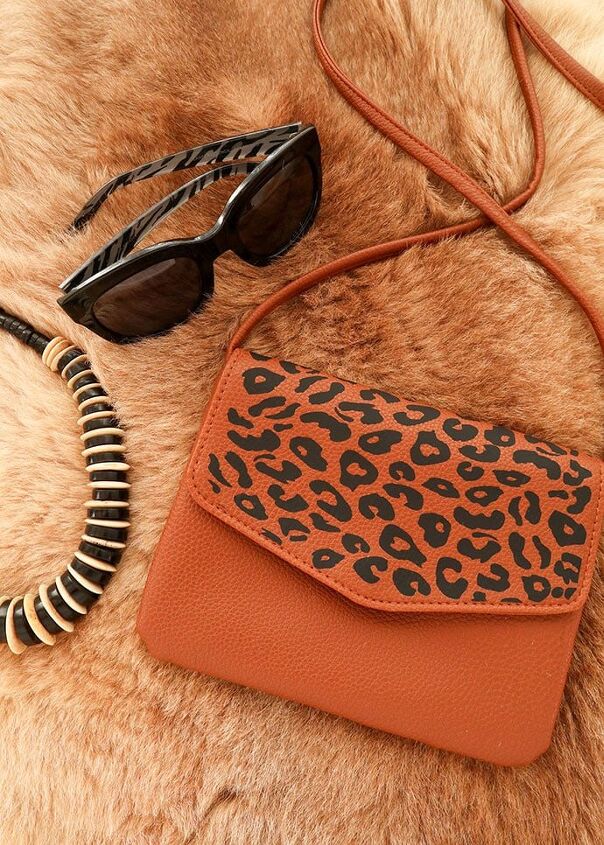
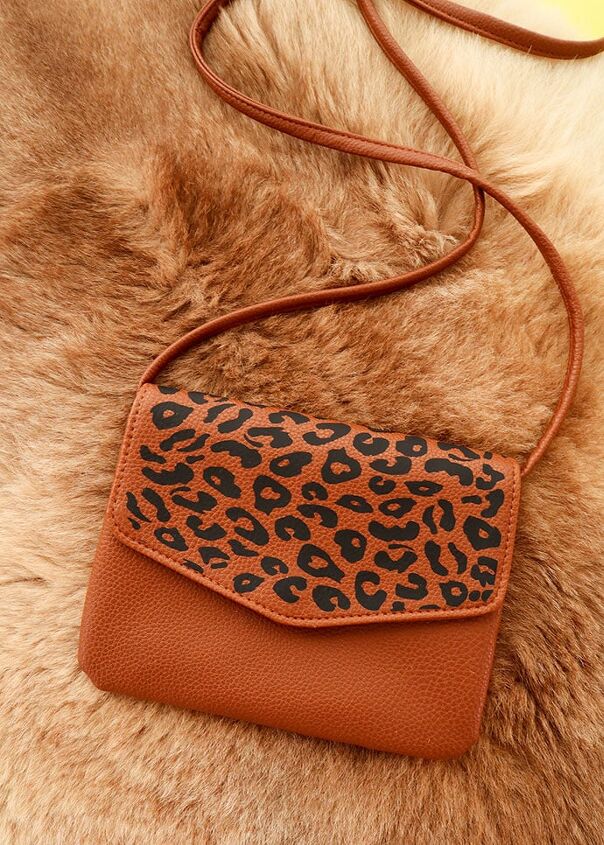
The bag turned out super cute and Emma has already claimed it as her own.
If you want to really dial up the glam, try using a gold foil iron-on.
You will need:
- Cricut Joy (or any other Cricut cutting machine) ( Amazon US | Cricut)
- Cricut Joy Smart Iron-on in Black Matte (Regular iron-on can be used with a mat) ( Amazon US | Cricut)
- Small Leather or Faux Leather bag with flap – similar to this one
- Cricut Design Space account (free to sign up)
- Cricut access subscription (optional)
- Computer, ipad or smart phone
- Cricut basic tool set ( Amazon US | Cricut)
- Cricut Easy Press 2 or Mini Press or regular iron
- Cricut Easy Press Mat ( Amazon US | Cricut) or fabric pad/tea towel
- Non-stick Baking paper
How to: Prepare the design for cutting iron-on vinyl
1. Open Leopard Print Bag Makeover project in Cricut Design Space or use this Cheetah print pattern design if you need a larger size.
2. Measure your bag flap and adjust the size to suit the size of your bag. If using ‘Smart Iron-on’ your max width will need to be 4.5″ (11.4cm).

3. Click on ‘Make it’ and select material. Choose without mat if using ‘smart’ material, or with mat if using regular iron-on. Make sure you select ‘mirror’ for iron-on vinyl.
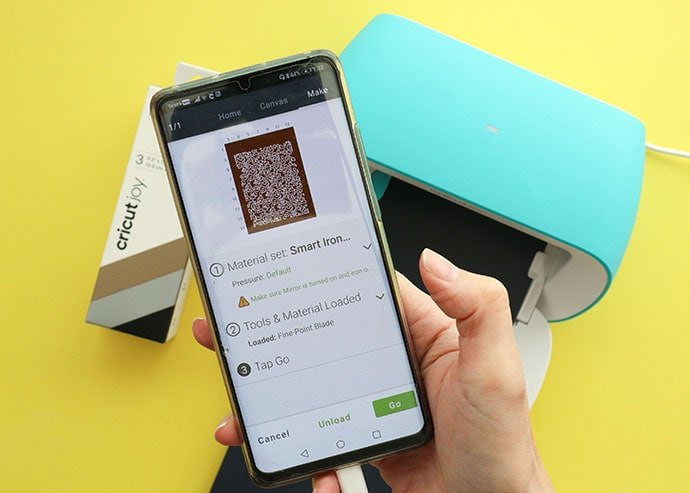
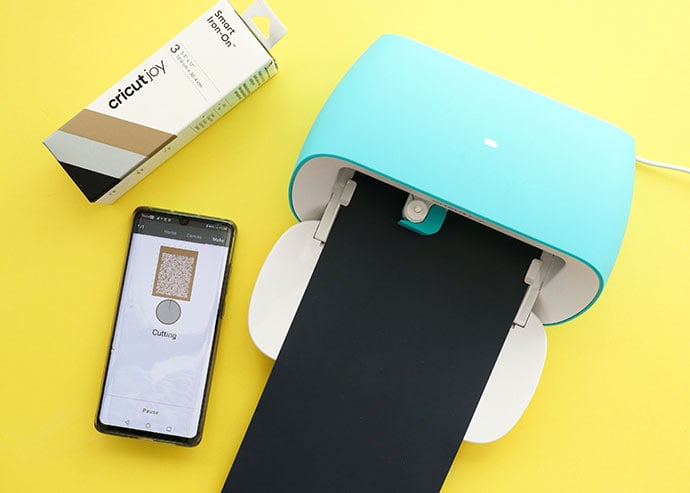
Cutting and preparing vinyl
4. Follow the Design Space instructions and feed vinyl into cutting machine (shiny side down) and start cutting function. The Cricut Joy will pre-measure and align the vinyl before the cutting starts to ensure there is enough material for the project.
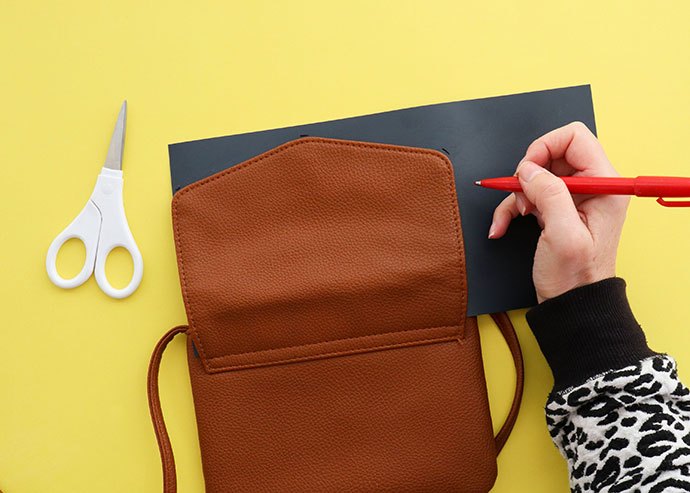
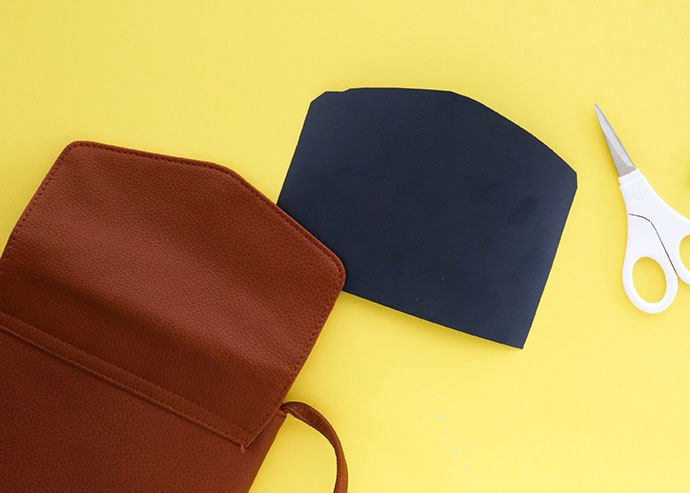
5. Once the cutting is finished, trace the bag flap onto the iron-on vinyl and then trim to shape.
6. Remove excess vinyl, taking care not to remove any of the design. The Joy ‘smart material’ has quite a heavy backing film that makes it very easy to weed.
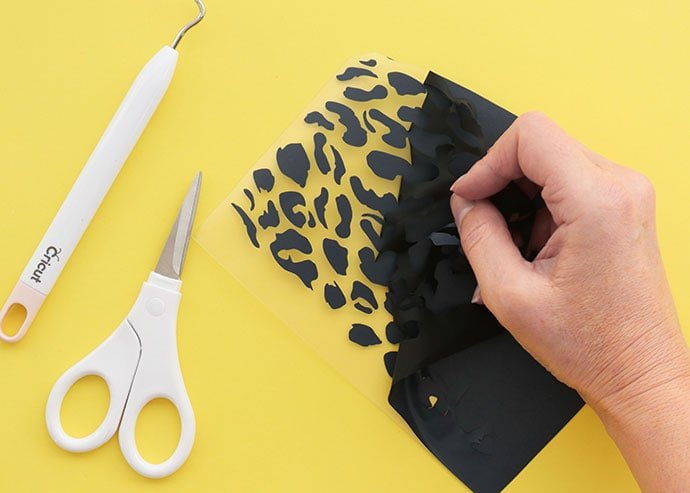
7. Use the weeding tool to remove any remaining vinyl from the center of the leopard spots.

Finishing Bag
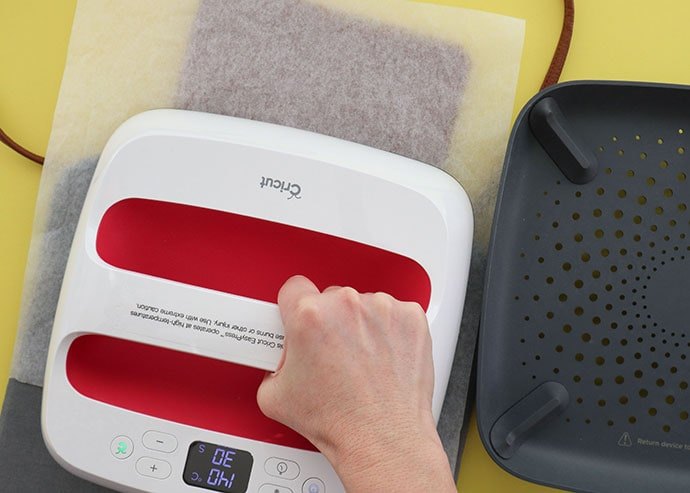
8. Plug in and warm up your Easy Press 2 and select temperature according to the instructions on the Cricut Heat Guide. I’ve selected the base material as Faux Leather. Recommended settings – 140C/280F, preheat material for 5 sec. (use non-stick baking paper).
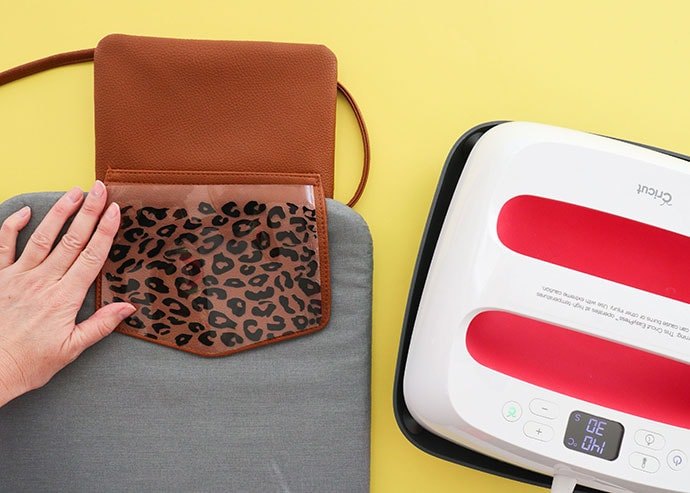
9. Position iron-on vinyl designs onto the top of the bag flap making sure the surface is nice and flat. Cover with non-stick baking paper and press (with light pressure) for 30 sec.
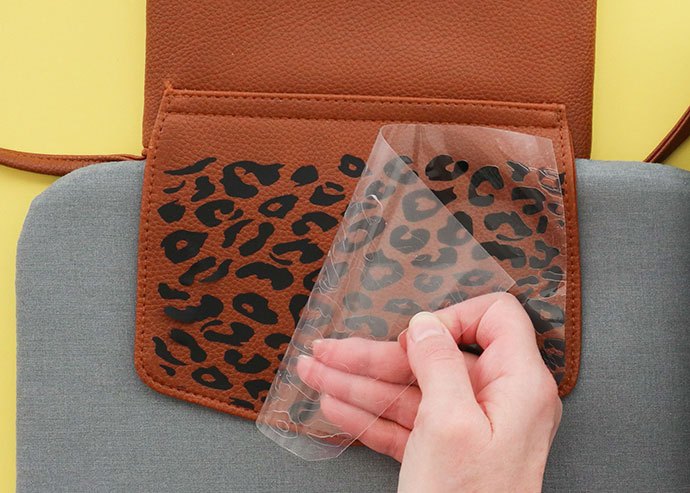
10. Allow to cool slightly and gently peel away the carrier sheet. Because the faux leather can only tolerate low temps, you may find some of the iron-on hasn’t fully adhered. If this happens, cover the design with non-stick backing paper and press again for 5-10 seconds till design is fully stuck on.
All done! Don’t forget to unplug your Easy Press!
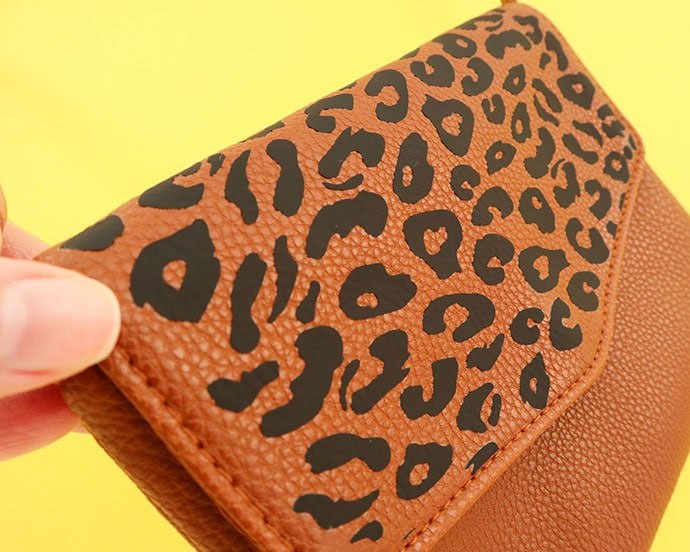
Doesn’t the matte black vinyl look lovely and natural against the textured grainy faux leather?
Don’t limit your self to just making-over a handbag. I bet there are tons of other accessories in your wardrobe that could do with a little leopard print glam!
The author may collect a small share of sales from the links on this page.


Comments
Join the conversation
Great idea!
Very nicely done.