No-Sew DIY Poncho - The Ultimate Tips and Tricks

Hey, fashionistas! I’m here to show you how you can make a DIY poncho the easy way! And, guess what? There’s no sewing involved! That’s right! I’m going to show you how to make a poncho with 4 mini tutorials; giving you cute styles and ideas, so that you are as sleek and stylish as ever every time you walk out your front door! Literally, all you need is a scarf and a pair of scissors. If you don’t own scarves, you can always grab a couple from your local thrift store, or even buy a fabric that gives off a scarf kind of vibe. You’re going to learn how to make a no-sew poncho in just a few, simple steps. Ready? Let’s do this!
Best fabric scissors!
Tools and materials:
- Blanket scarves or 2 yards of fabric - at least 60 inches wide.
- Scissors
- Fabric glue
- Grommets
Tutorial 1- Poncho with belt holes
Fold and create a neckhole.
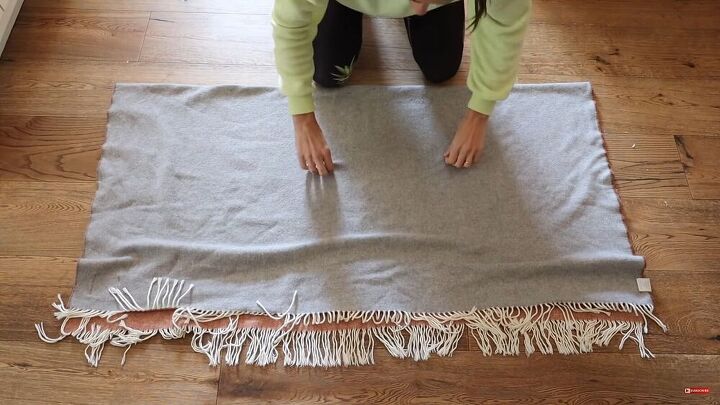
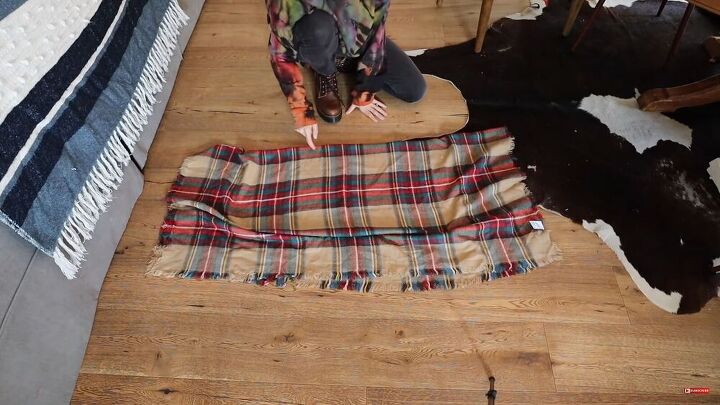
Grab your blanket scarf, fold it in half so it gives you as much length as possible.
Next, create a neckhole. Before you start cutting away, stagger the front fabric, so that it sits a little higher than the bottom fold. The reason being is that once a neckhole is cut, the fabric automatically falls forward.
TIP-
If your neckhole is about 1 inch deep, then stagger your fabric by 1 inch.
Fold in half and cut open
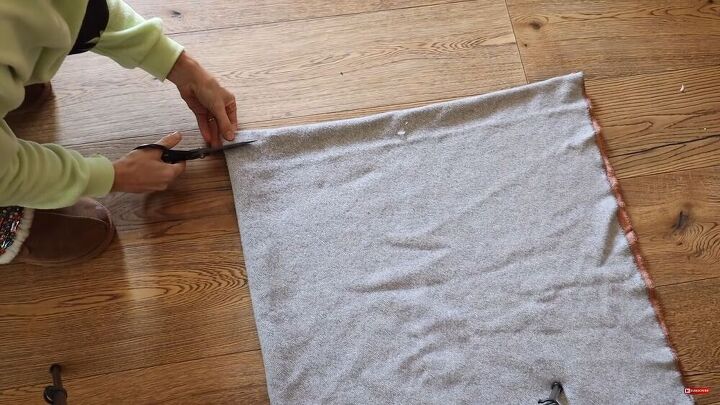
Fold it in half to find your center and cut your neckhole. As you can see, the neckhole is tiny, I cut it at 1 inch down and 2 inches wide; that’s all you need.
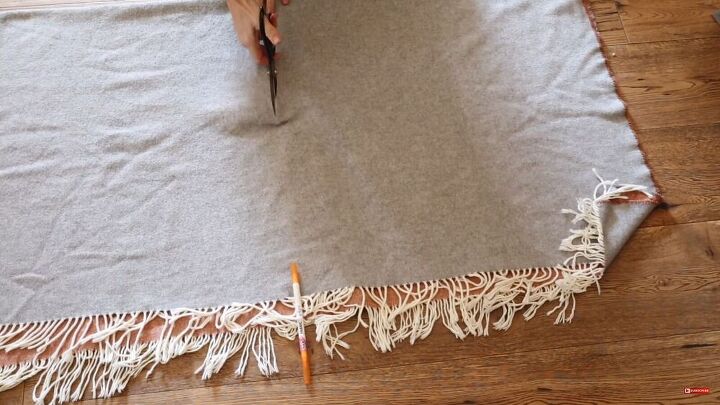
Find the center of the neckhole and cut straight down. You can place a pen in the end, to help direct you so that you cut a straight line.
So, here’s one look. You can totally wear this! But if you are looking at maybe adding a belt, then I have the perfect hack for you!
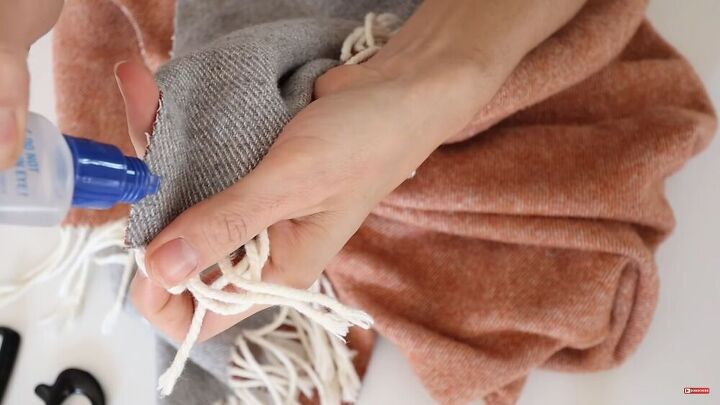
Use fabric glue
Here’s an amazing no-sew hack- if you want to hem your sides, you can use fabric glue. Simply add a thin layer of glue to the sides. This will also help prevent your fabric from fraying.
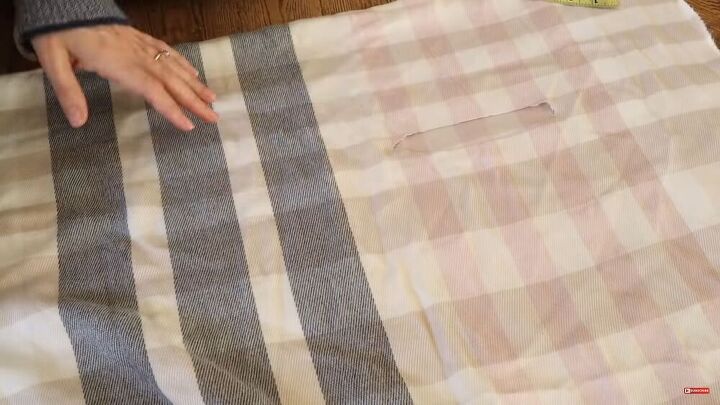
Install the grommets
Now it’s time to add in our holes. So, wear your poncho and see where you’d like to add in your holes, making sure the belt would loop in easily all while sitting comfortably on your waistline. Pin your markings, here I did two markings at the back and front.
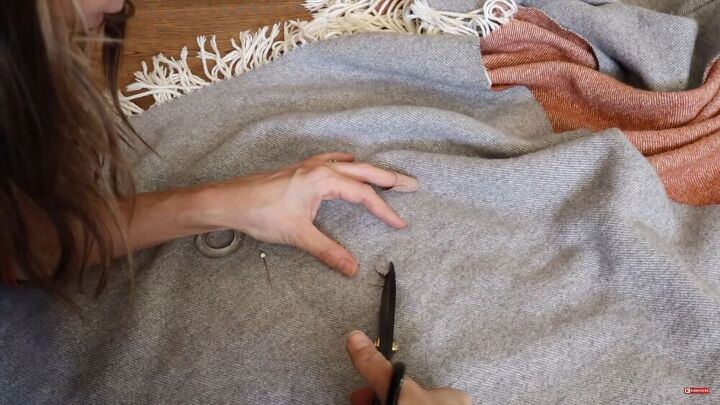
So, how do you add holes without sewing? Easy! Use grommets. This is a really fun hack. Here I used upholstery grommets that are easy to use and install. Taking one pin from the front side cut a hole in the middle of your fabric by pinching the fabric and kind of piercing it with your scissors. Then, cut a hole that is slightly smaller than the grommet’s sized hole.
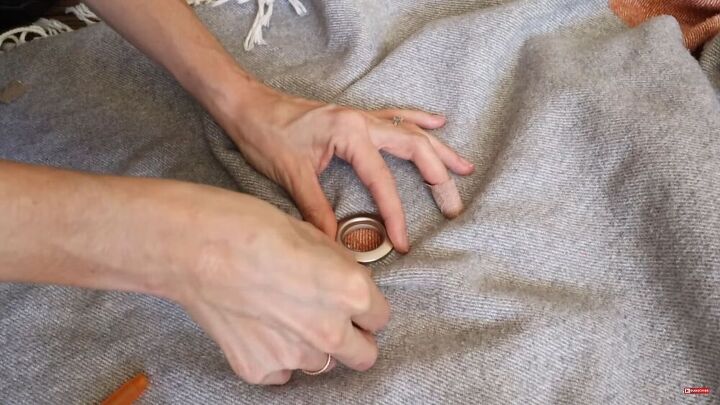
Take the grommet with the grooved backing and place it under the fabric. Then, take your other grommet and place it on top. Using your palm, add some force until you hear a pop, and voila, your grommet is installed. Repeat this step on the other side of the front part, by mirroring the placement of the grommet you just placed. Do this by folding your poncho in half. Install the grommets on both the front and back.

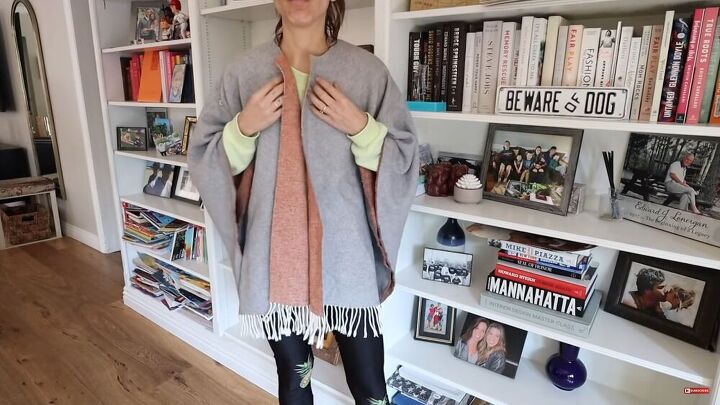
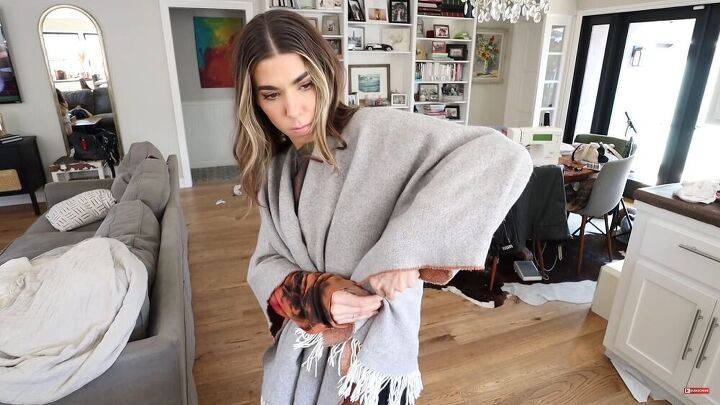
Here’s the result! I love how the belt looks so sophisticated and give the poncho a more formal vibe.
TIP-
For the back holes, do not mirror the front parts because the markings are not the same owing to the whole piece’s draping nature. The pin I place at the back is actually much further down than the front side’s holes. Follow the original markings you did, and do not mirror the front sides.
Tutorial 2
Cut the fabric
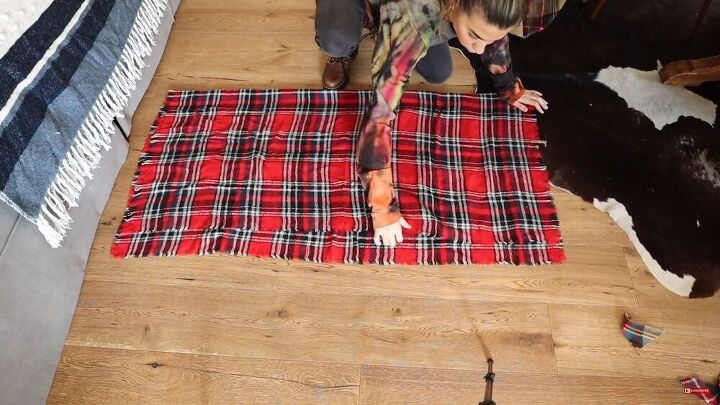
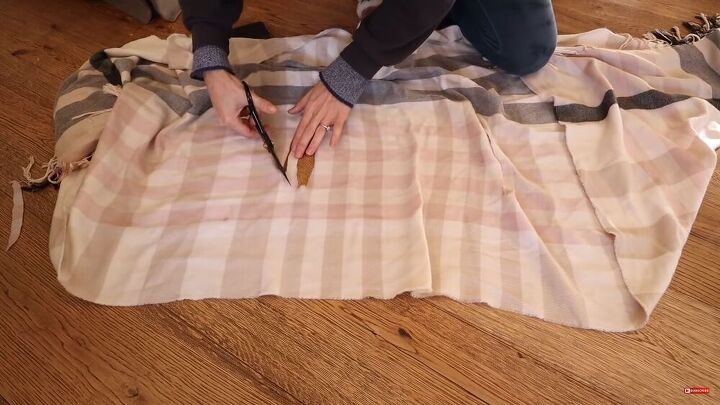
This one’s a quick and easy super tip, you will absolutely love this hack! It’s a 30-second version of what we just did. Here I used a classic checkered scarf. Simply fold the fabric widthwise, and then fold it in half to get the center measurement.
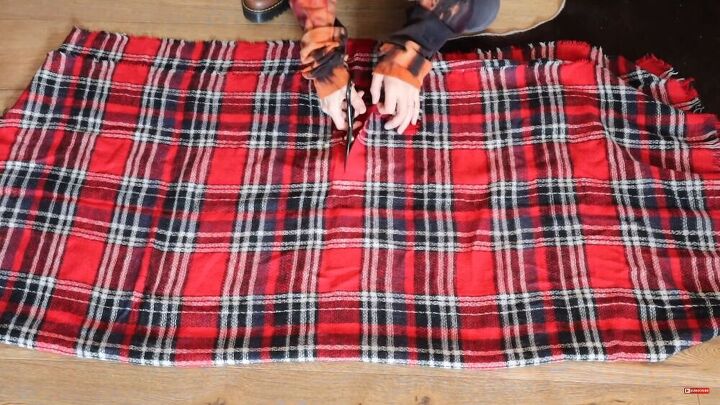
Next, cut right through the middle. There’s no neckhole, no fray check, and no buttons; just cutting going on here!
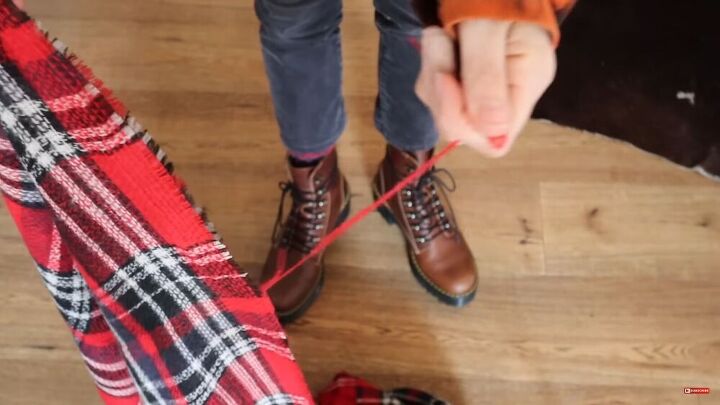
Once the middle is cut, fray out the edges, to give it a lovely rough look.

Wrap it over your shoulders and you’re done!. As you can see, it works perfectly. You could still belt it if you want, or let it hang loose. Talk about a nifty party trick, huh?
Tutorial 3- Poncho versions
Fold and cut neckhole
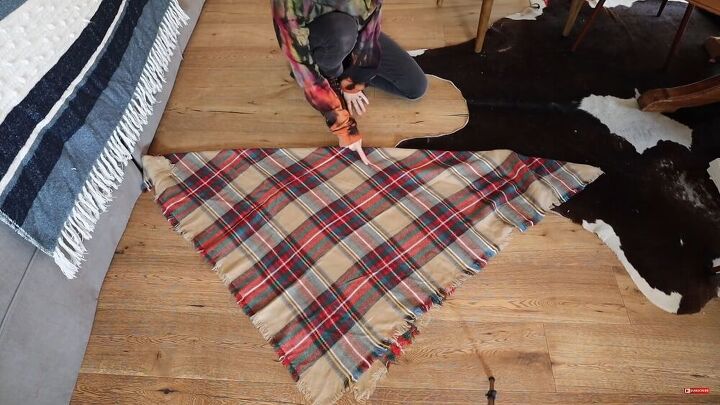
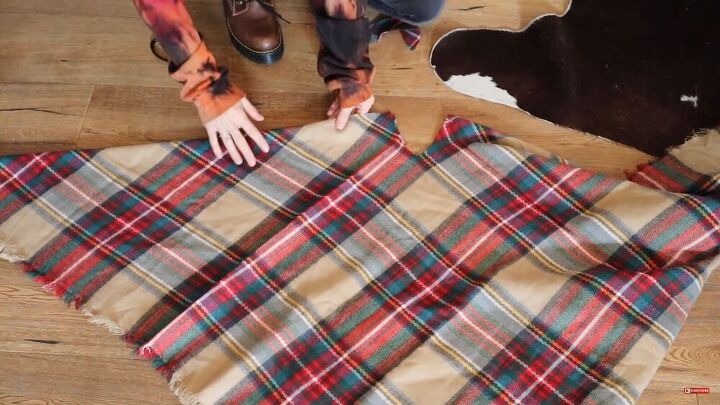
There are two ways to do this look. If you want a triangular poncho shape, fold it in half into a triangle, and cut your neckhole. This will give you an angular style.
If you want a straight-cut look, then fold it widthwise and simply cut open the neckhole. You should have something like what is pictured here.
Make a triangular neckhole
I decided to go with the triangle style. Here, I folded it in half, cut my neckhole, and I cut a triangular neckhole on this one. To do this, simply find the center of your neckhole, cut a slit, and then cut from either side towards the tip of the slit.
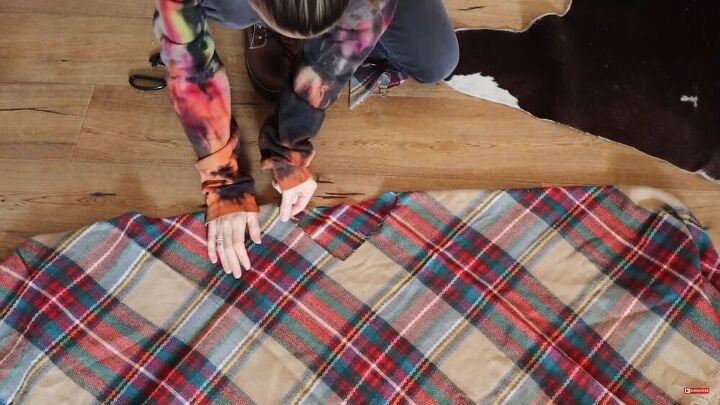
At the back, I cut the v-neck wider, so I have a more rounded neckhole in the back and a smaller v-neck in the front. I also frayed around the opening.

I paired this poncho with heels, and I love the color combo here! What do you guys prefer, triangular or square angled ponchos?
Tutorial 4- Vest poncho
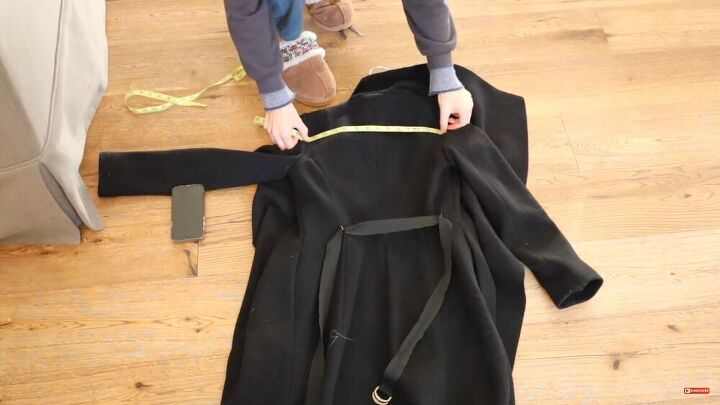
Measure the length of your back
This one’s a cool look. To do this, take a good fitting jacket and measure the back. Measure between the armholes. For me, it was about 14 inches. Fold your scarf in half, and measure your armhole at 7 inches.
Cut armholes
Cut shallow armholes as shown. Make them small at first because some fabrics are really stretchy and open wider than usual. After trying it on, it was way too small. I proceeded to cut the holes bigger.
Wear it and see if it still needs adjusting. If not, great! If yes, simply pin where you want it to be cut so you have an exact measurement. I then cut the hole accordingly with the pin as my guide.

And, we’re done! How awesome does this look?
I hope you enjoyed these 4 mini tutorials as much as I did! Next time you have a few large scarves, or even fabric lying around, you can put them to good use and make your own, easy poncho. Now you’ve got the ultimate guide on how to do these babies! DIY Poncho, Orly style!
The author may collect a small share of sales from the links on this page.


Comments
Join the conversation
Anyone make these for sale? I am not coordinated enough to make my own.
I made mine using a blanket and put a separating zipper down the front. ❤️🙏