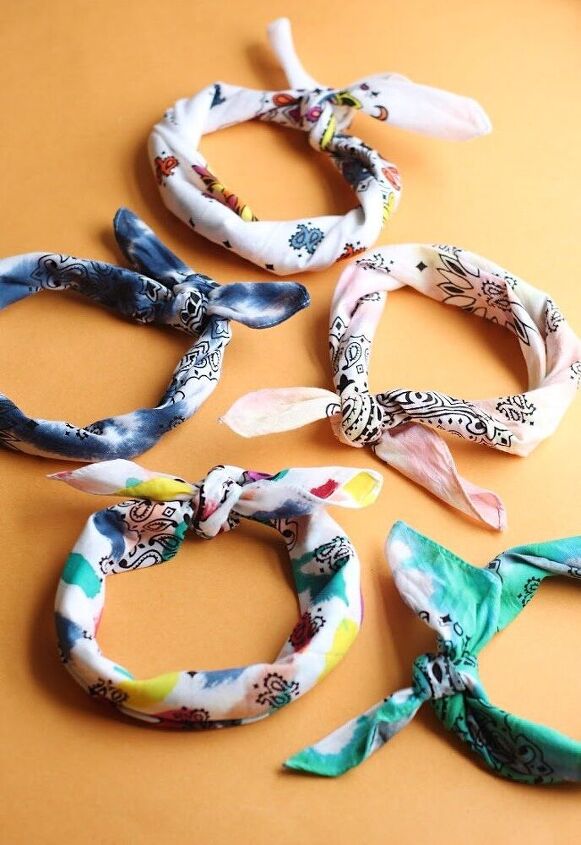
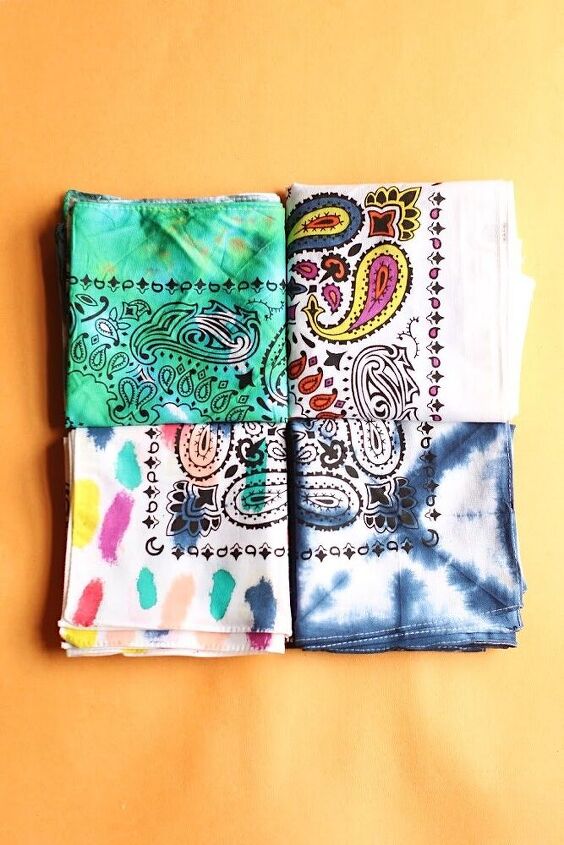
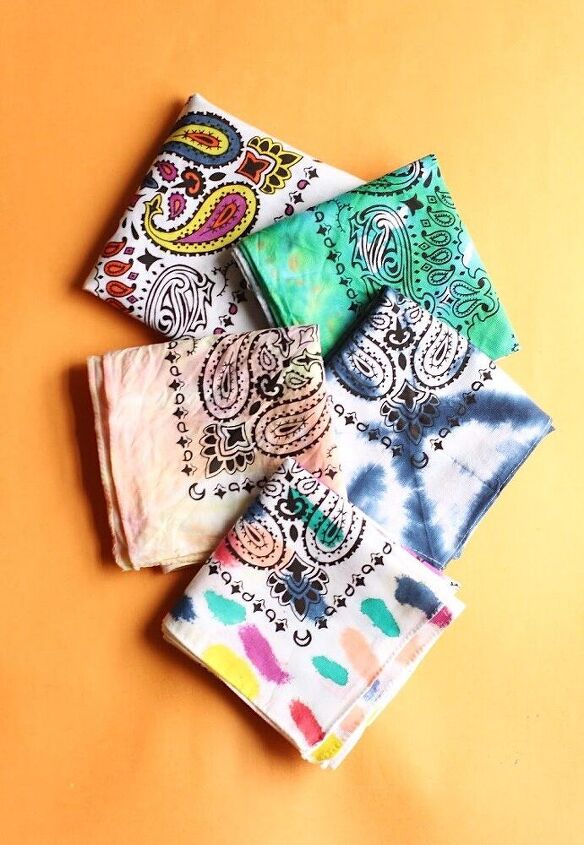
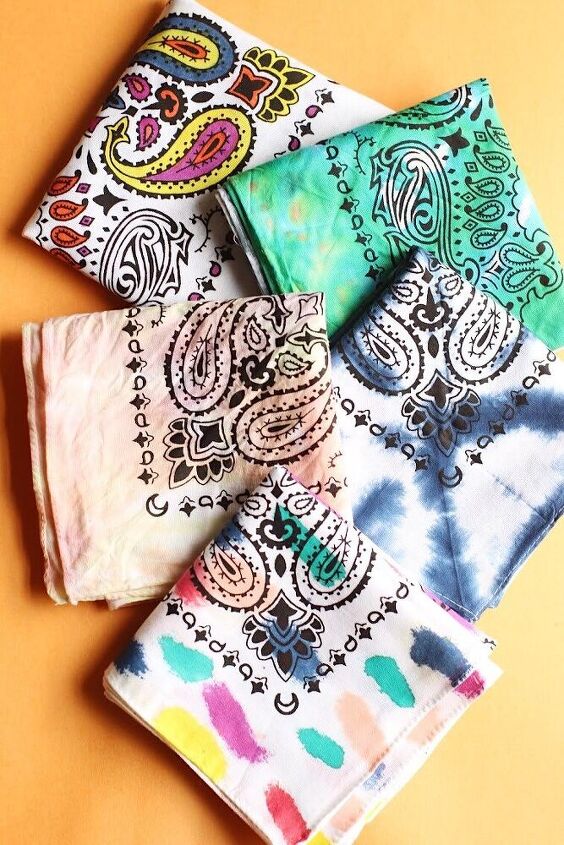
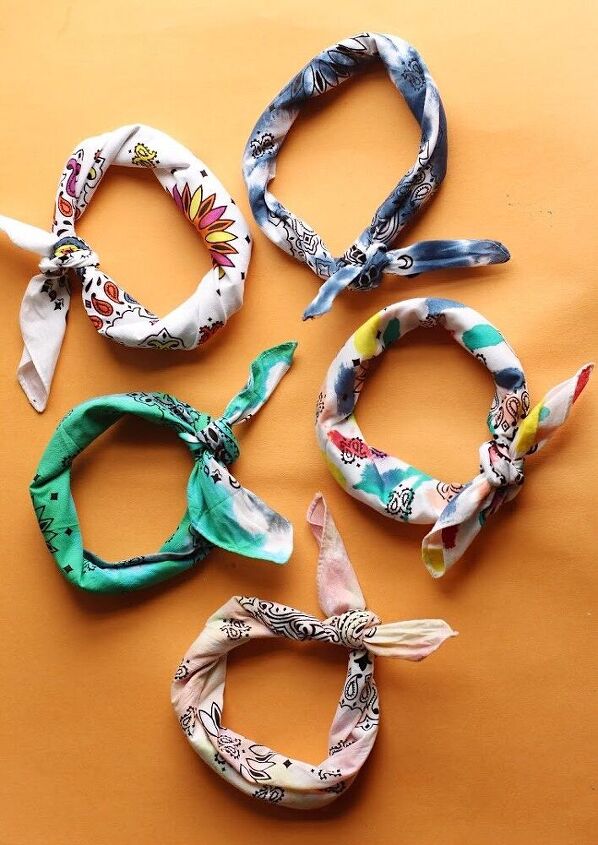
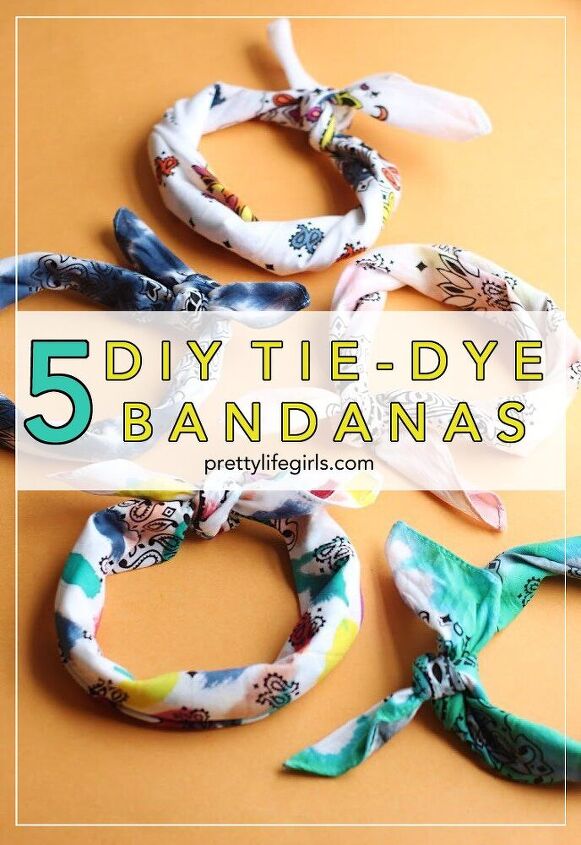
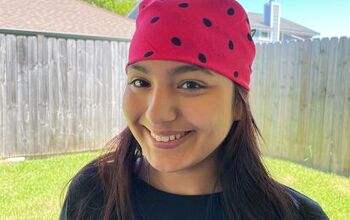
5 DIY Tie Dye Bandanas, 5 Ways!
These DIY Tie Dye Bandanas are sponsored by Tulip. All opinions expressed are ours alone.
One of my favorite trends of the spring and summer have been bandana scarves! I love the effortless way they add a pop of color, pattern, and interest to a basic outfit. As a result of this affection, you know I felt compelled to make my own, and GUYS, it was so much fun.
If you have followed this blog for a while you know that we are lovers of tie-dye, especially in the summer, and you might even remember a couple of other fun posts we did with tie-dye (you can find our tie dye t-shirt headbands here, and our tie-dye maxi dress here). So, when I decided to make a pile of bandanas to jazz up my summer wardrobe I knew I had to do it with tie-dye!
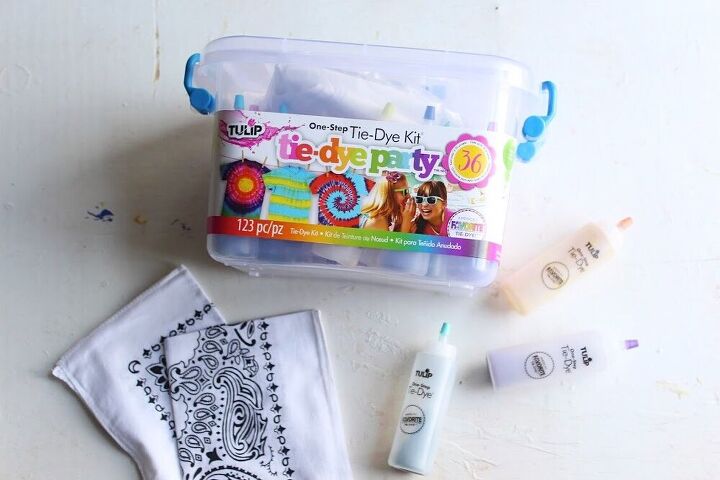
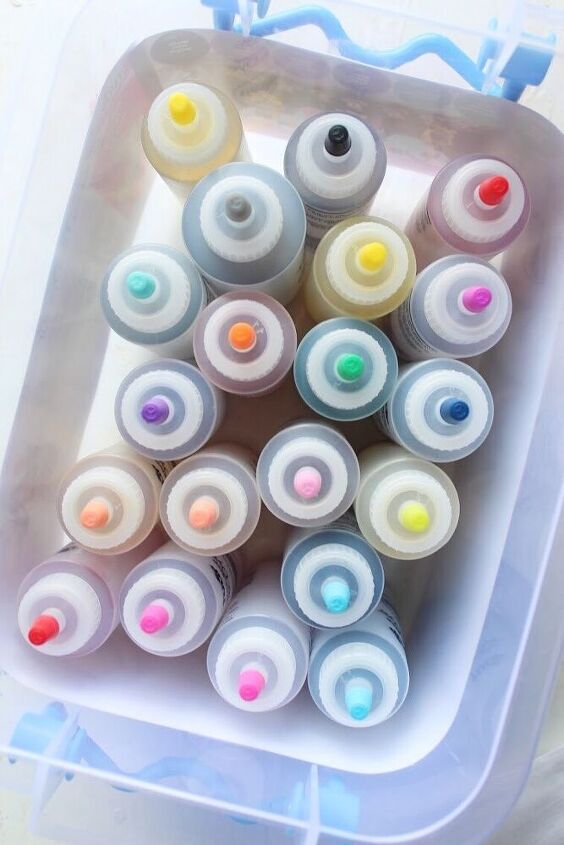
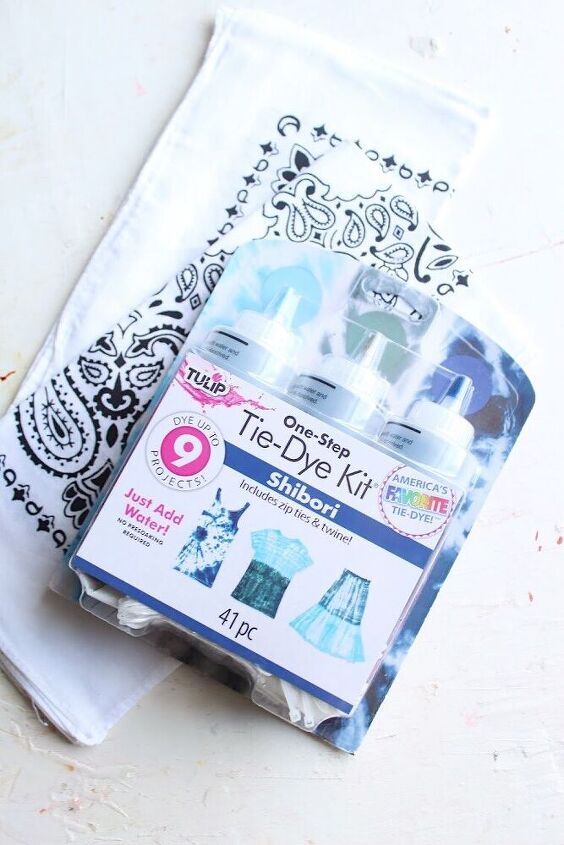
To make these tie dye bandanas we used our favorite tie-dyes from Tulip and tried out 5 different methods to make a handful of one-of-a-kind bandanas. For some of them we used the awesome Tulip One-Step Tie-Dye Kit with over 36 colors and for some of them we used their wonderful Tulip One-Step Shibori Tie-Dye Kit. The possibilities are endless with these kits in your arsenal and making these was such a blast.
Supplies Needed for your DIY Tie Dye Bandanas
- Tulip One-Step Tie Dye Kit: Tie-Dye Party (these kits come with everything you need from elastics to gloves!)
- Tulip One-Step Tie Dye Kit: Shibori
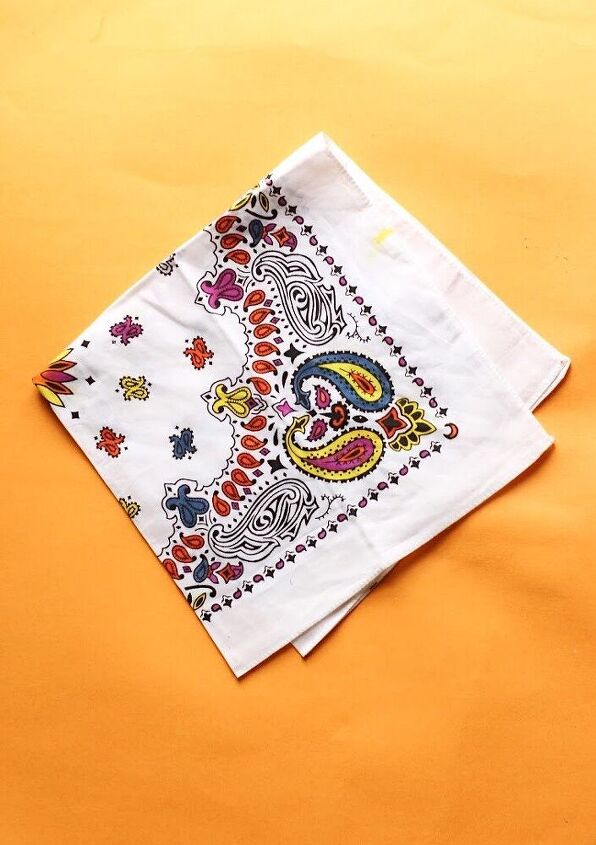
- White Bandanas
- Paint Brushes
5 Cute Ways to Make DIY Tie Dye Bandanas
Tie Dye Bandanas Method 1: Pastel Dyed
For this method, instead of filling the bottles with the recommended amount of water, we kept adding extra water until the color had washed out a little and lightened up. You can test the color before adding it to your bandana to make sure it's the shade you'd like by squirting it on a paper towel or old, white dish towel. Once the color is as light as you'd like, twist it up using whatever technique you'd like, secure with rubber bands, and apply tie-dye according to package directions.
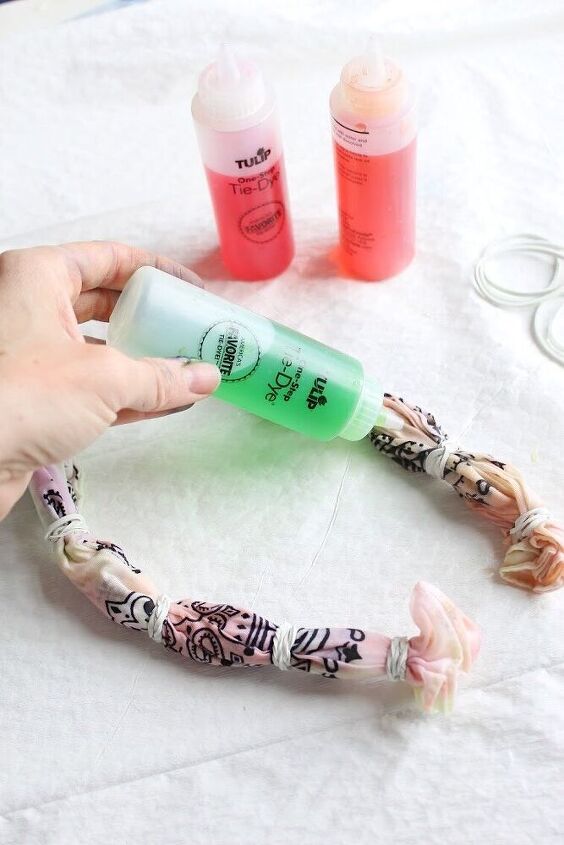
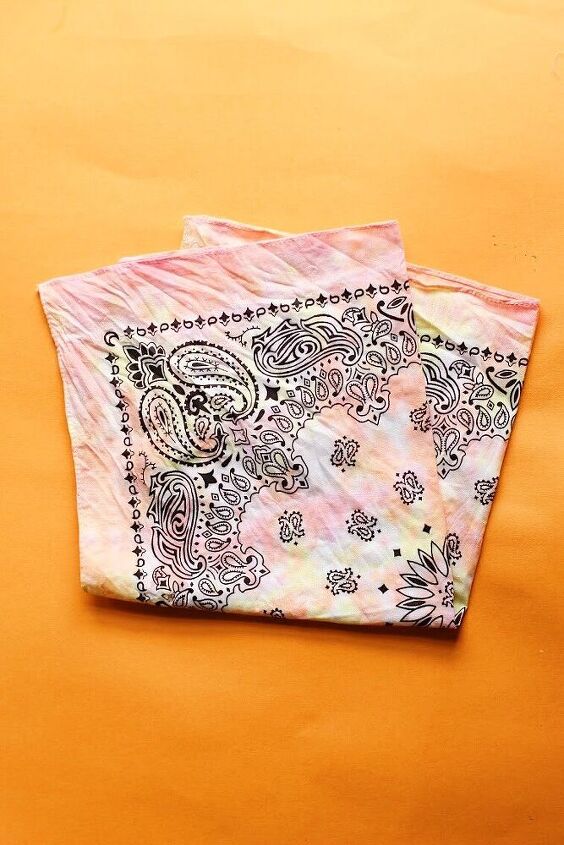
Isn't it gorgeous? I love how subtle these colors are making this tie dye bandana perfect for everyday wear since it's not too flashy.
Tie Dye Bandanas Method 2: Brush Strokes
This method is so fun and really allows you to be creative! Just fill the bottles according to the package directions, then remove the lids and dip a paint brush in the color of your choice. Then, create small brush strokes with the color of your choice, repeating with all of the colors until you have filled the bandana with brush strokes! Let dry according to package directions.
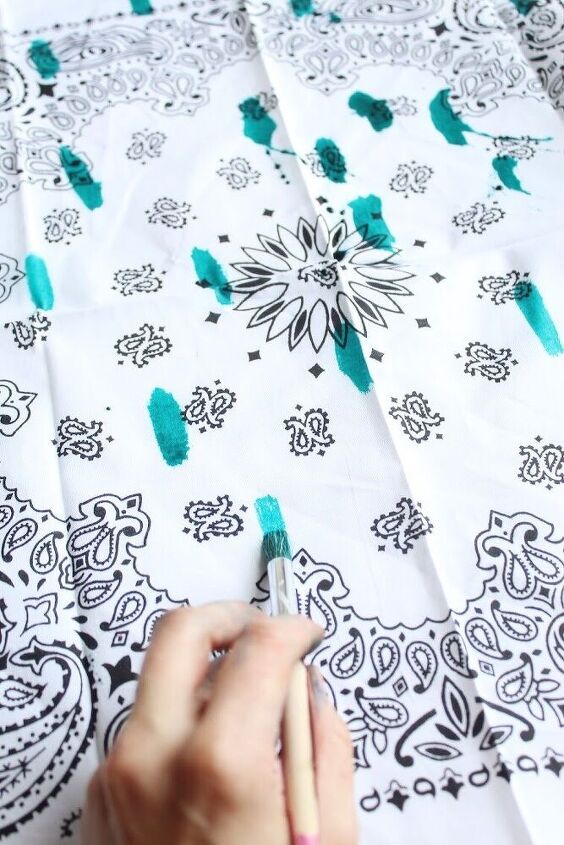

This one miiiight be my favorite. Don't tell the other tie dye bandanas.
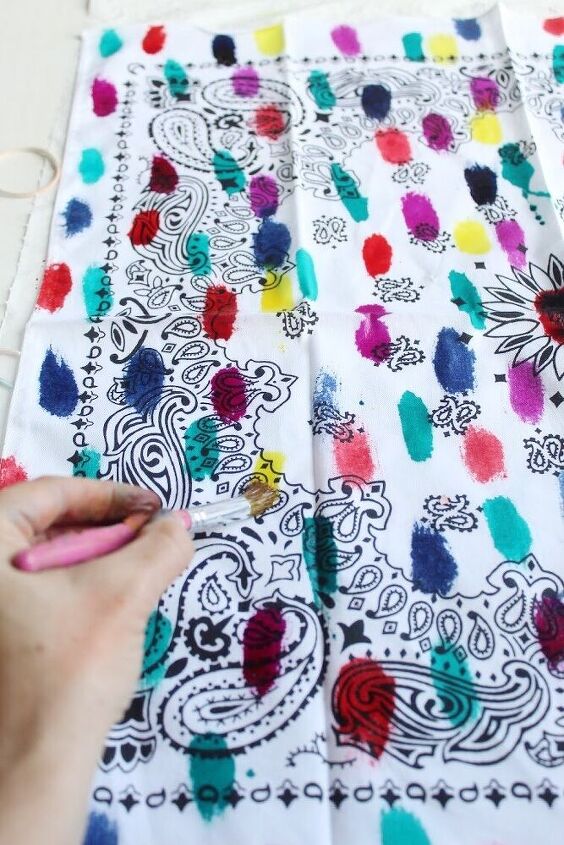
Tie Dye Bandanas Method 3: Color Inside the Lines
This method will make you feel like a kid coloring in a coloring book and it feels GOOD. Just fill the bottles with water according to package directions, remove the lids and use your paint brush to apply the dye right inside the design of the bandana. The colors are so vibrant against the white bandana and make the design pop right out at you!
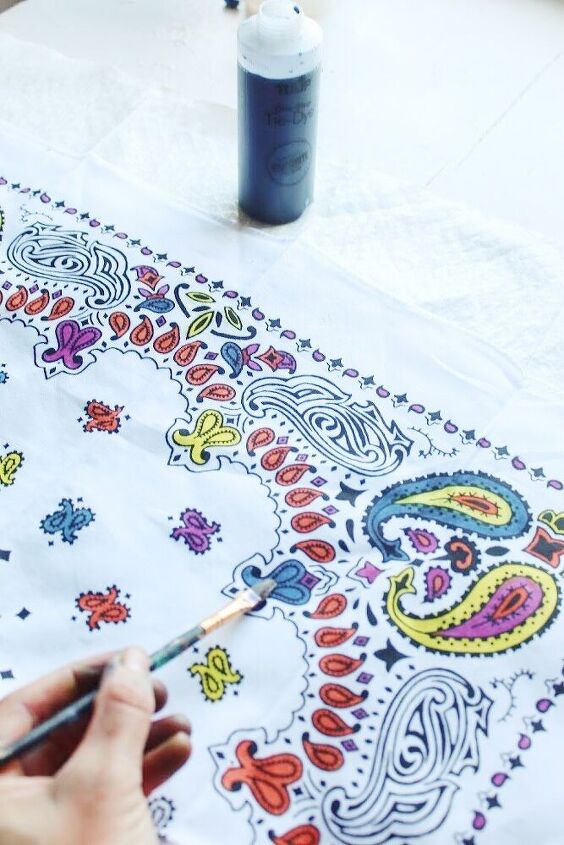
I love the vibrancy of tie-dye. You'd never know that this one was DIY because of the way it soaks into the fabric like it is a part of it!
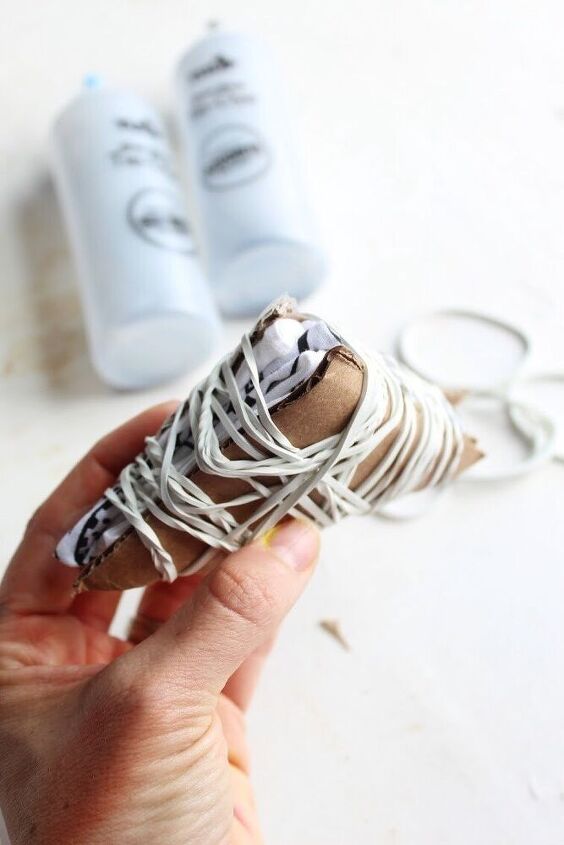
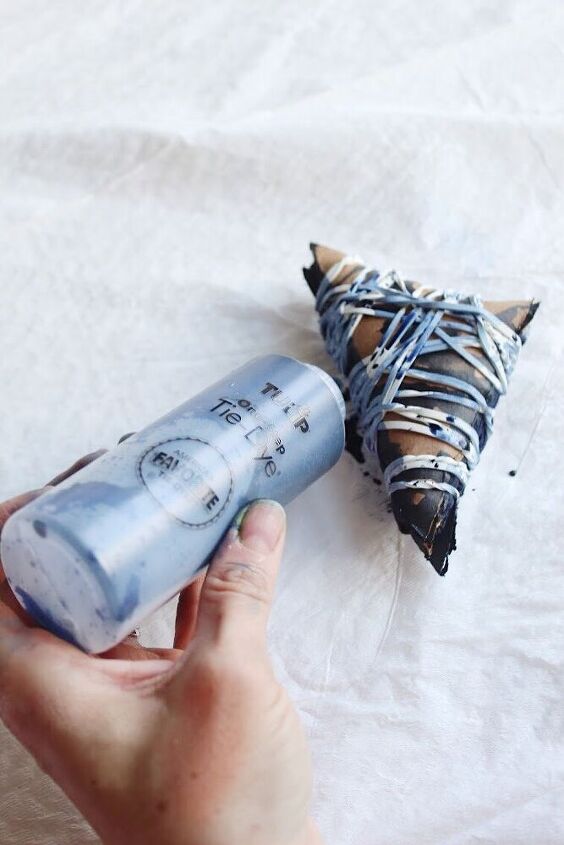
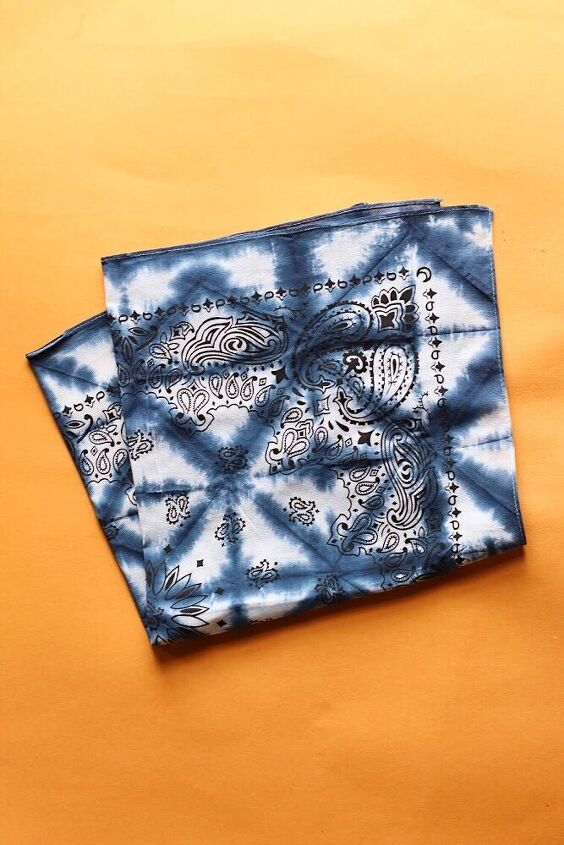
Tie Dye Bandanas Method 4: Shibori-Inspired
For this method you'll use your awesome Shibori kit! You can fold and bind this any way you'd like and there are lots of tips on Pinterest for the various ways you can fold to create incredible designs. I folded my bandana like an accordion and then into a triangle, then bound it with two pieces of cardboard and lots of rubber bands from the kit. Next, I soaked it with the Shibori dye and let it set according to the package directions. I'm obsessed with the pattern and the richness of the blues in this kit!
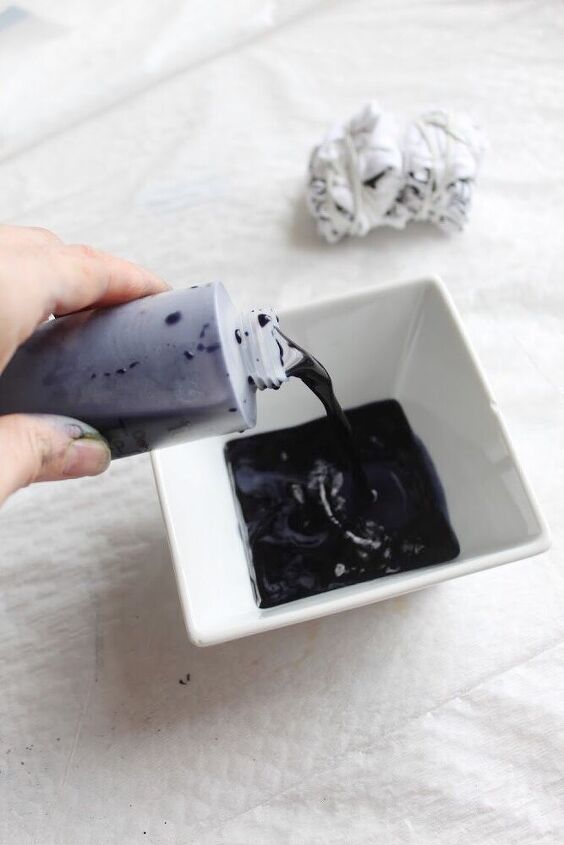
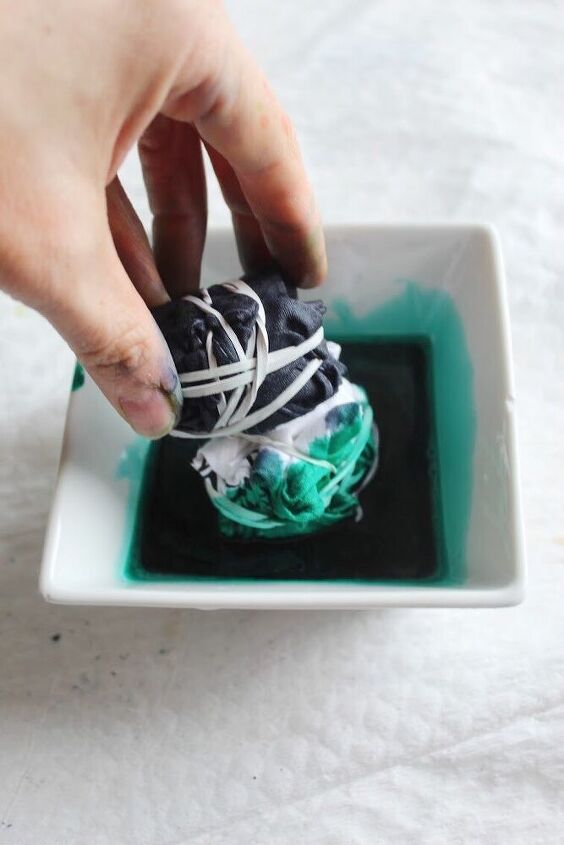
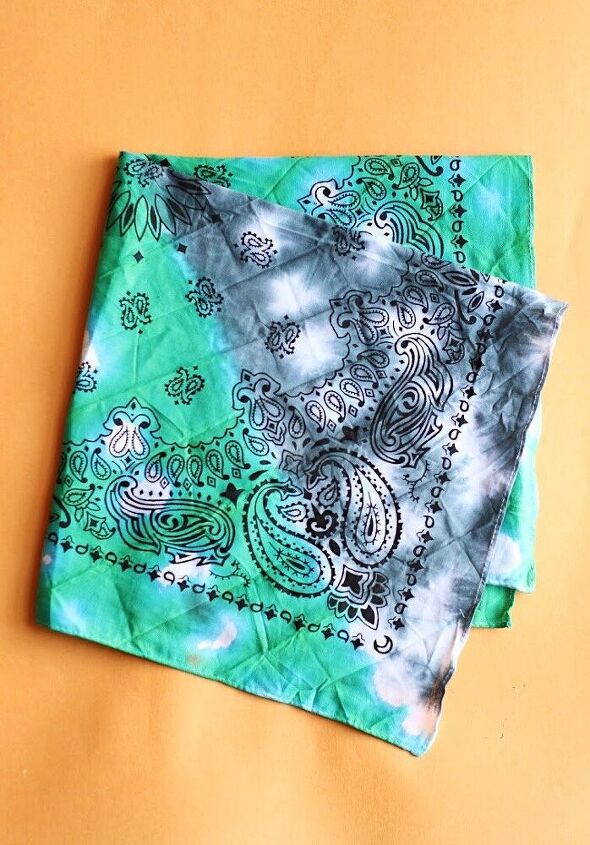
Tie Dye Bandanas Method 5: Dipped
For this method you'll do everything according to your package directions, but with a twist at the end. Just mix your dyes, twist and bind your bandana with rubber bands, and then, instead of squeezing the dye on the bandana, dump it in a bowl and dip it! Dipping it gives you a little more control over where you'd like the dye to go over squirting the dye. To create this two-toned bandana I dipped one side in green dye and the other in grey. So fun!
That's it! Now you've made 5 gorgeous tie dye bandanas and your summer wardrobe is going to get the pop it has been missing! Which method is your favorite?

I love how each of these tie dye bandanas are so unique and some of them don't look like they were made with tie-dye at all! Tie-dye is so versatile and easy to use and it's fun to think outside of its traditional methods for application! Plus, all of those colors in the Tulip One-Step Tie-Dye kits are gorgeous and apply wonderfully whether it's your first time working with them or whether you are obsessed and use them every summer (that's me).
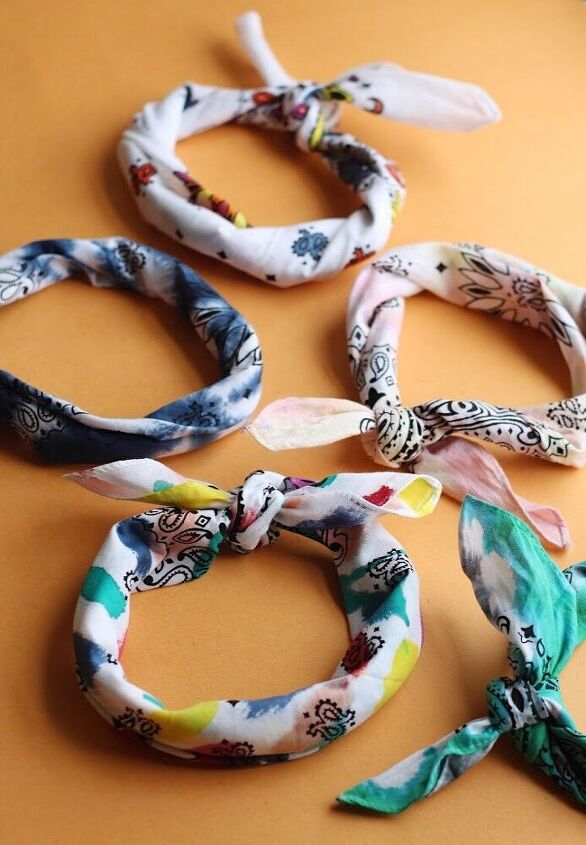
Once everything is dry, just roll, twist and tie these tie dye bandanas around your neck! You're gonna look cuuuute!
Now, spill! Are you planning to bust out the tie-dye this summer? What are you making? Wanna give these tie dye bandanas a try? We'd love to hear!
Happy tie/dye-ing!
ox. Liz
The author may collect a small share of sales from the links on this page.


Comments
Join the conversation
love these ideas!
Great idea!