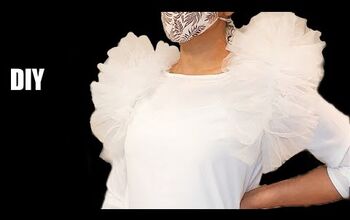
Ruffle Shoulder Sweater Refashion // How to Sew Shoulder Ruffles
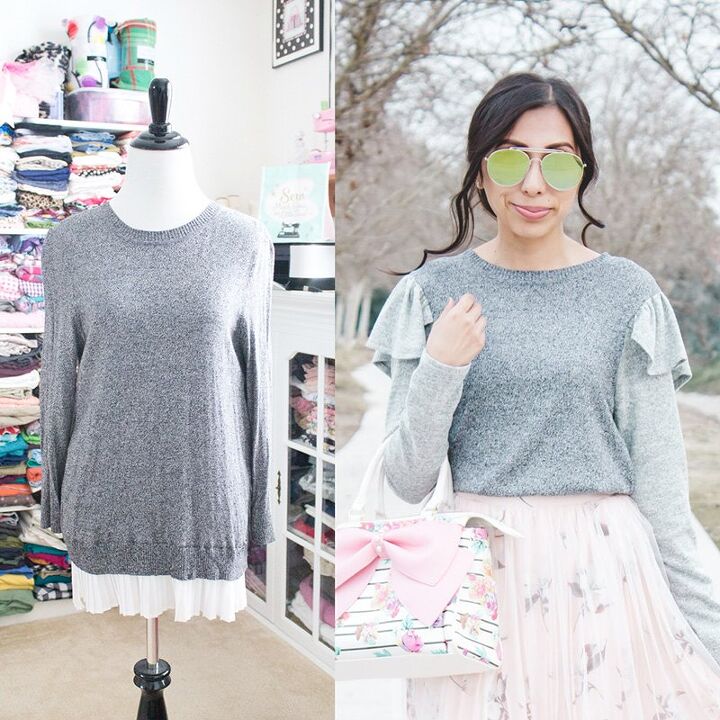
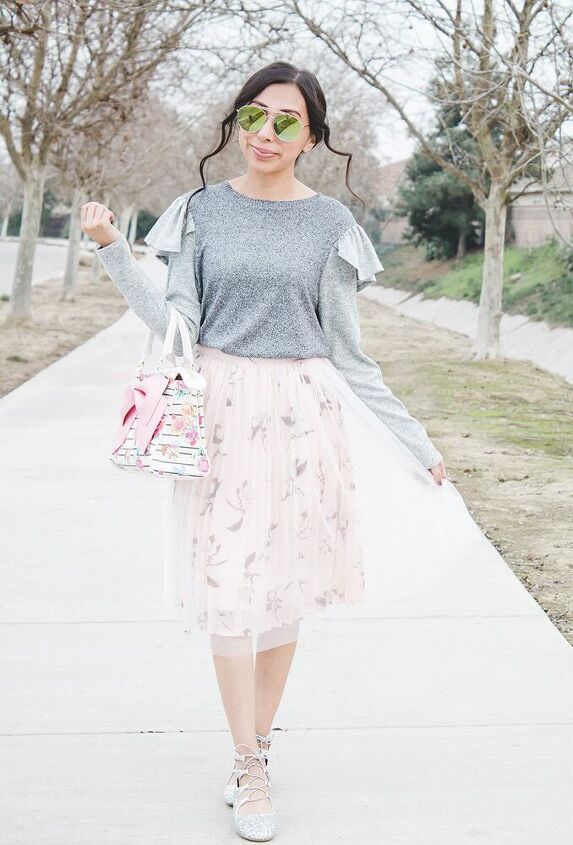
I'm a huge fan of ruffles. They're just so feminine and they can instantly change up the style of any garment. This ruffle shoulder sweater started off as a grey sweater with a weird fit in the sleeve area. The shoulder area got overstretched somehow and the sleeves fit at a weird length between 3/4 sleeve and long sleeve.
I had some leftover grey sweater knit from when I made my Fall 2017 Capsule Collection, and I thought it was the perfect match for this refashion.
This tutorial can be used to add ruffles to any top, sweater, even dress you may have in your closet.
The possibilities are endless! You don't even have to change the sleeves like I did in this refashion. I only did that because the sleeves didn't fit me.
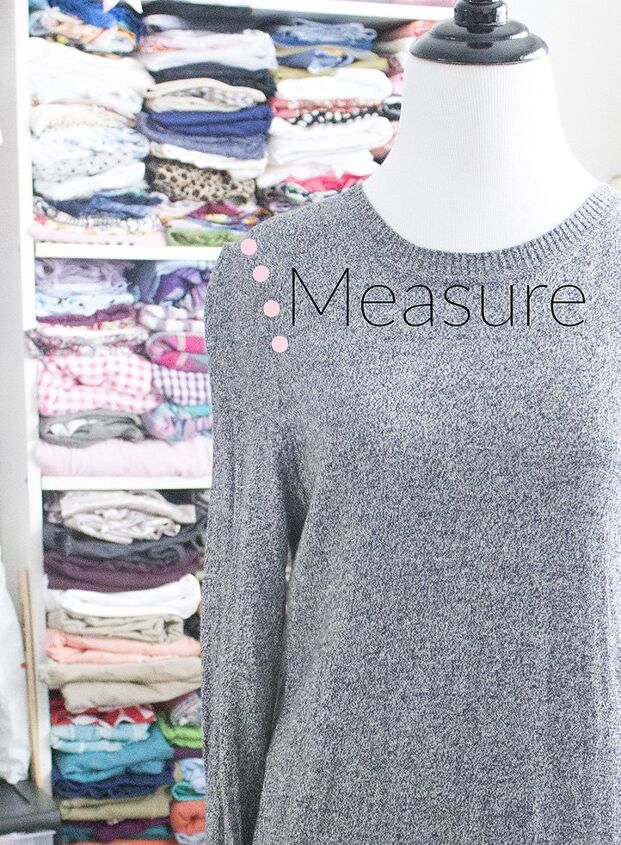
Steps:
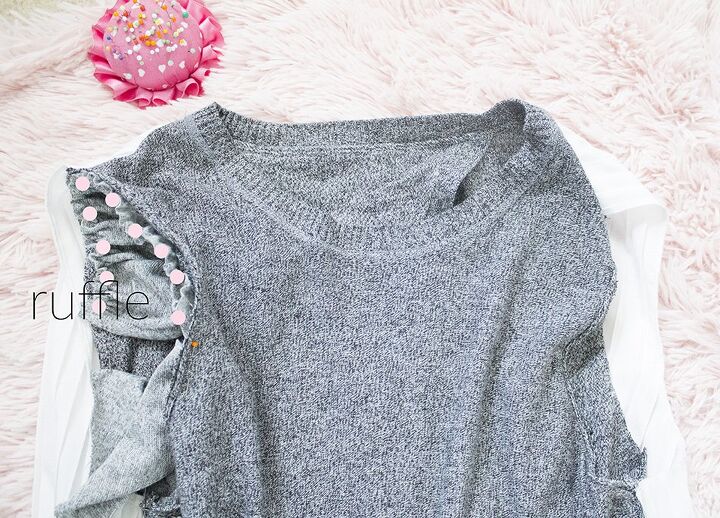
1. I measured the shoulder, where my new ruffles were going to be sewn on. (The pink dots)
Then, I placed a marking where the bottom pink dot is at. I did the same thing on the back side.
This was to figure out where I would sew my ruffle piece later on.
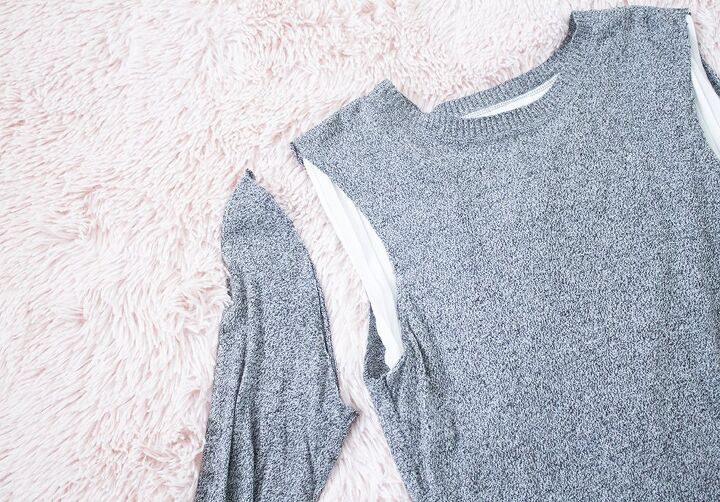
2. Since the sleeves on this sweater didn't fit well, I cut them off.
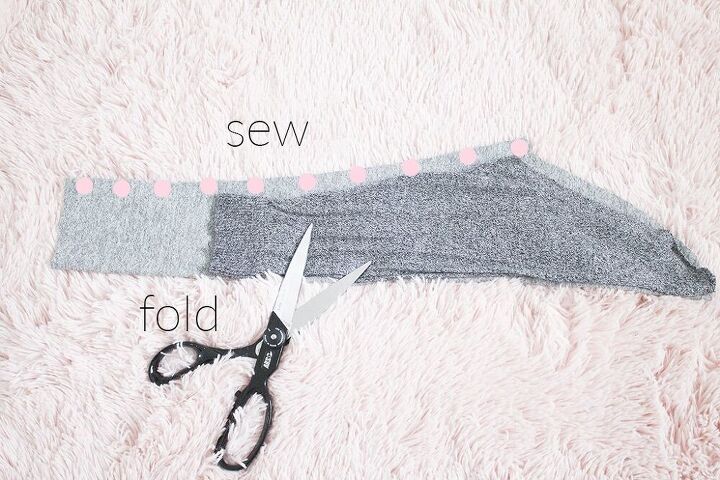
3. I cut out my new sleeves using the old ones as a guide. (On the fold). I wanted some cozy long sleeves, so I added length to the new ones. I sewed the sleeves closed, where the pink dots are at.
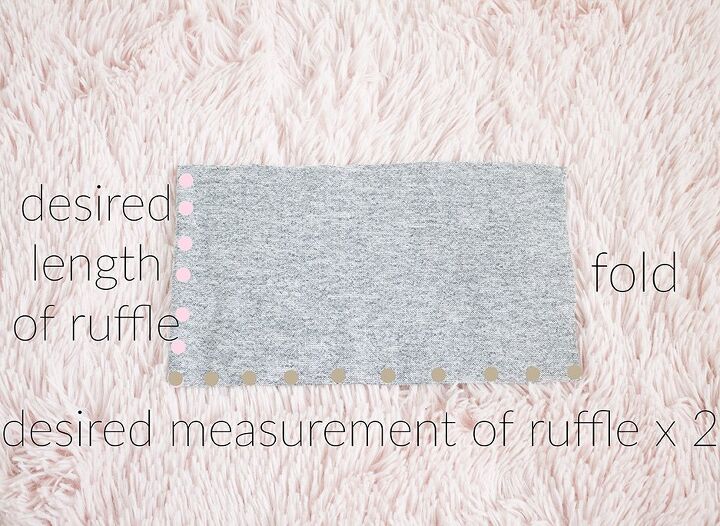
4. Next, it was time to cut out the new ruffles. I used two measurements here, and I color coded them to make it easier. (The rectangle was cut on the fold)
Pink Dots: This is the desired length of the ruffle. I made mine 5 1/2" long. They can be either shorter or longer. Ruffles of all sizes look great, in my opinion. :)
Tan Dots: Remember that measurement from Step 1? Well, double that measurement. Mine was 9", so it would be 18".
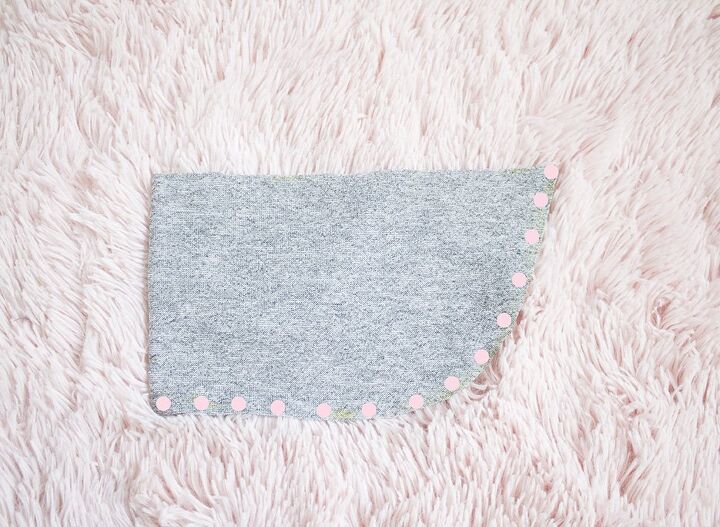
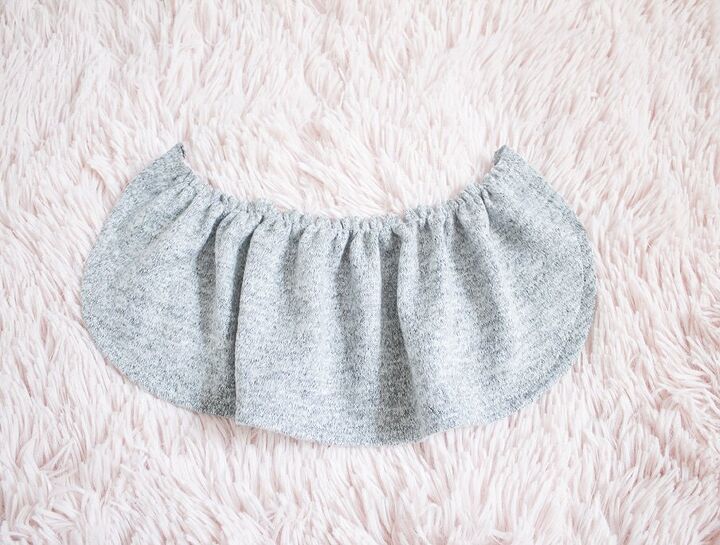
5. I cut a curve on the rectangle, as shown below. The piece is still on the fold.
You can round it out more or less, depending on your liking.
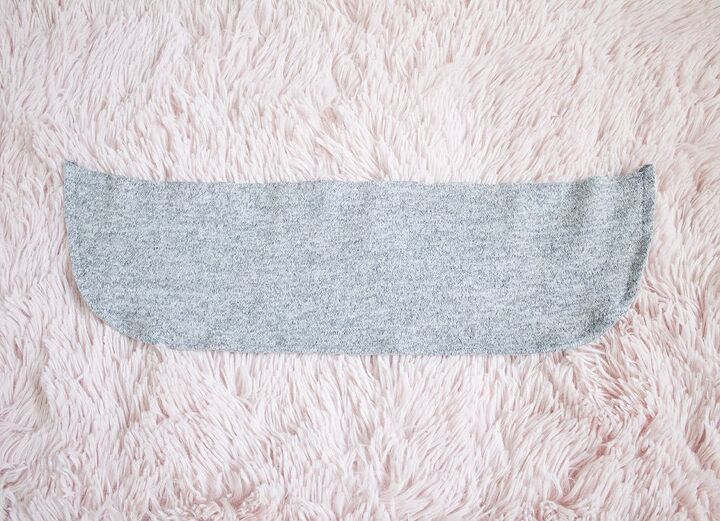
6. I opened up my ruffle piece and hemmed it.
7. I sewed a gathering stitch on the top of the ruffle piece.
8. Next, it was time to sew on the ruffle piece and the new sleeve. I pinned the ruffle piece first, right sides together. (Meaning the right side of the sweater was facing the right side of the ruffle piece)
I matched up the ruffle piece with the markings I made in Step 1.
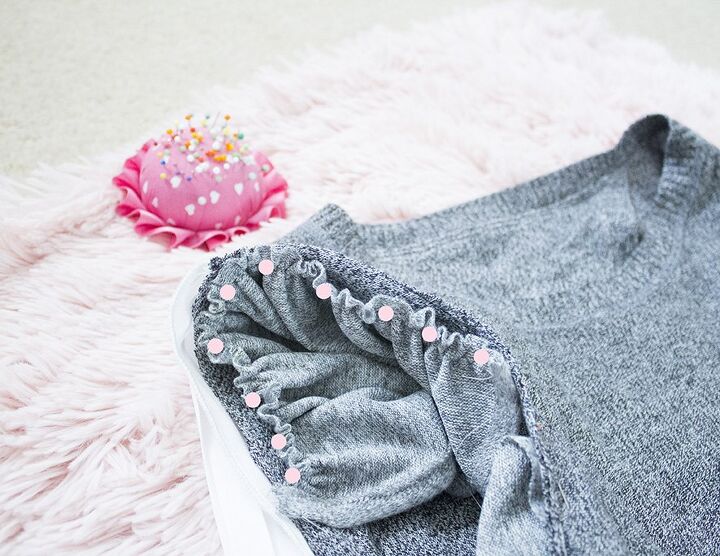
Here is a closer look at how I pinned the ruffle piece to the sweater. I sewed a basting stitch to hold it together while I pinned the sleeve next.
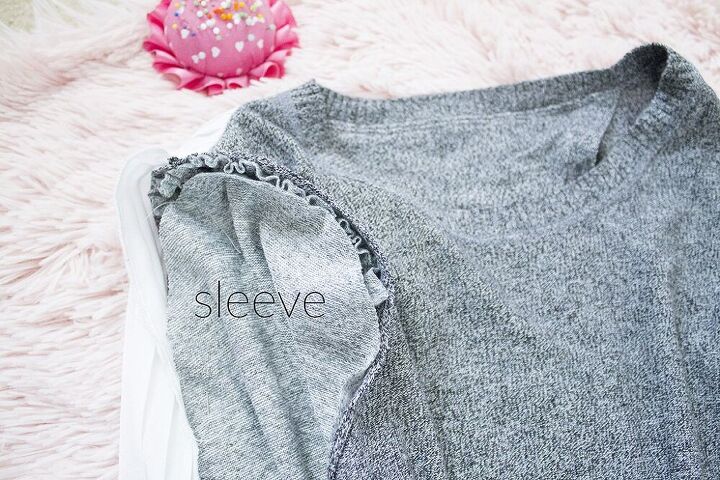
10. Then, I pinned the sleeve to the sweater, right sides together. (Meaning the right side of the sleeve was facing the right side of the sweater) Then, I sewed all around the armhole.
At this point, I had already sewn the sleeve shut, as mentioned in Step 3.
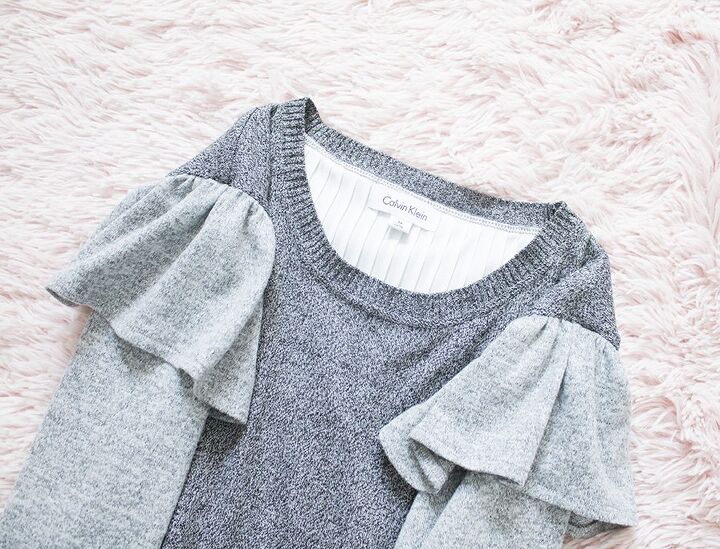
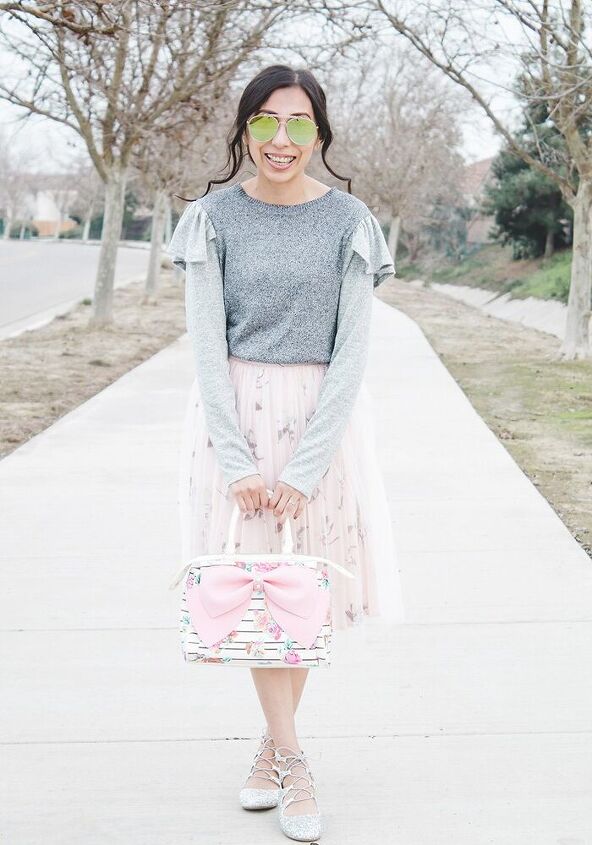
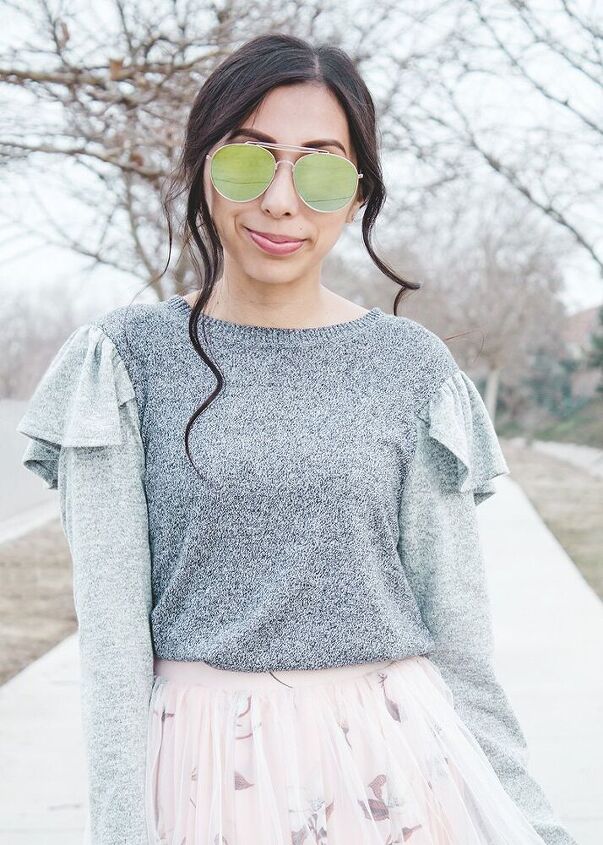
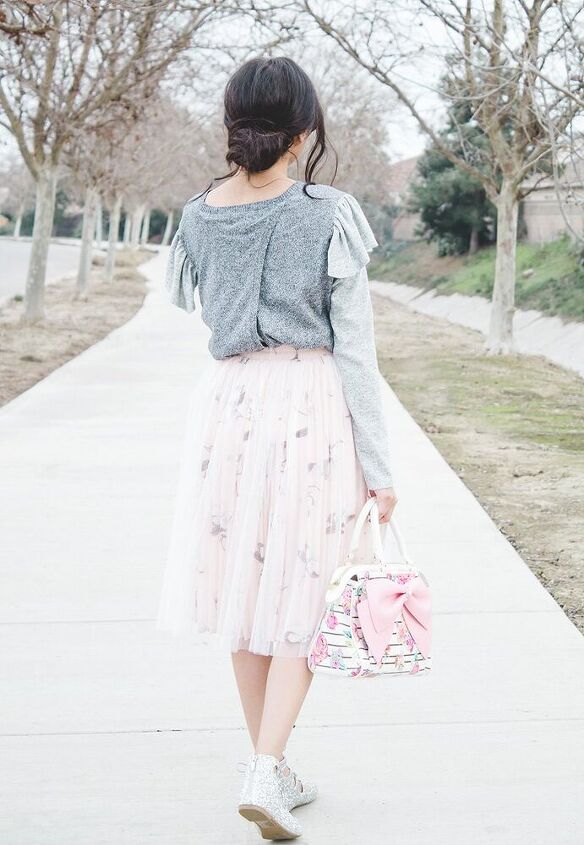
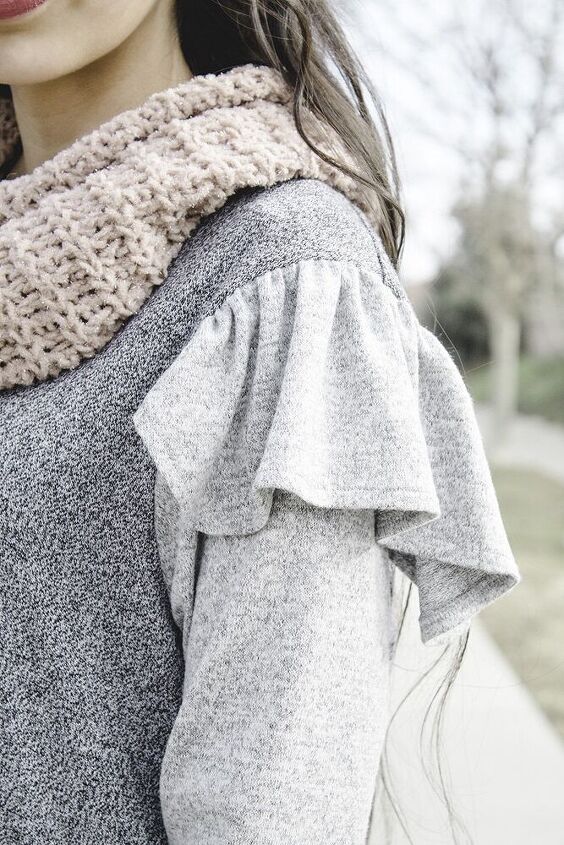
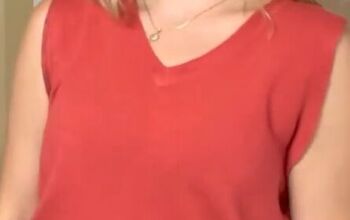
New shoulder ruffles!
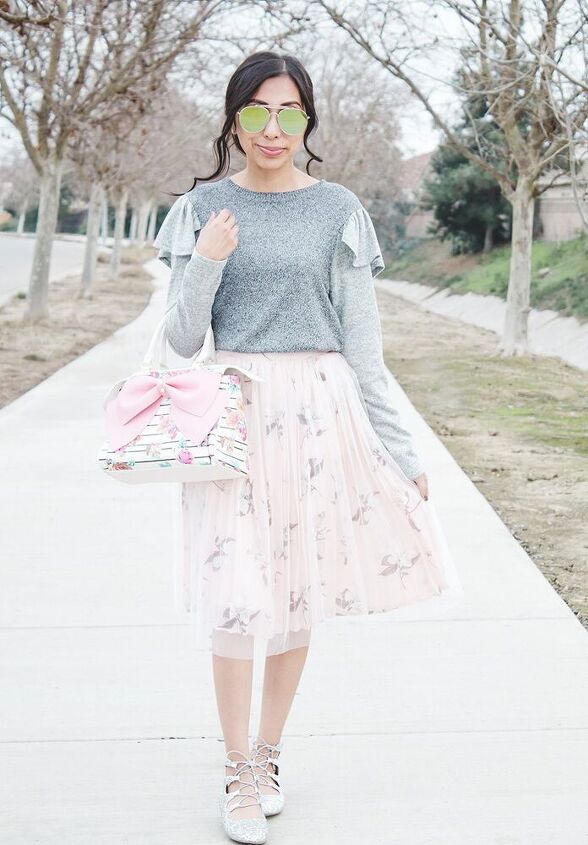
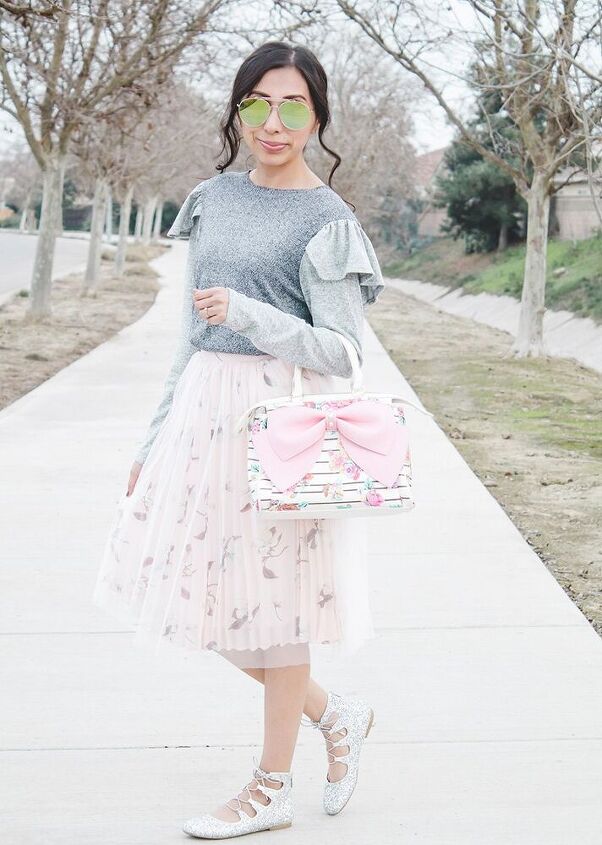
Adding shoulder ruffles was an excellent way to upgrade a sweater that I wouldn't have worn, had it not been refashioned. Many variations and ruffle styles can be made, using this tutorial. Your new refashioned tops can feature double ruffles, longer ruffles, shorter ruffles, and more!
I'd love to see what you create with your ruffles!
The author may collect a small share of sales from the links on this page.


Comments
Join the conversation
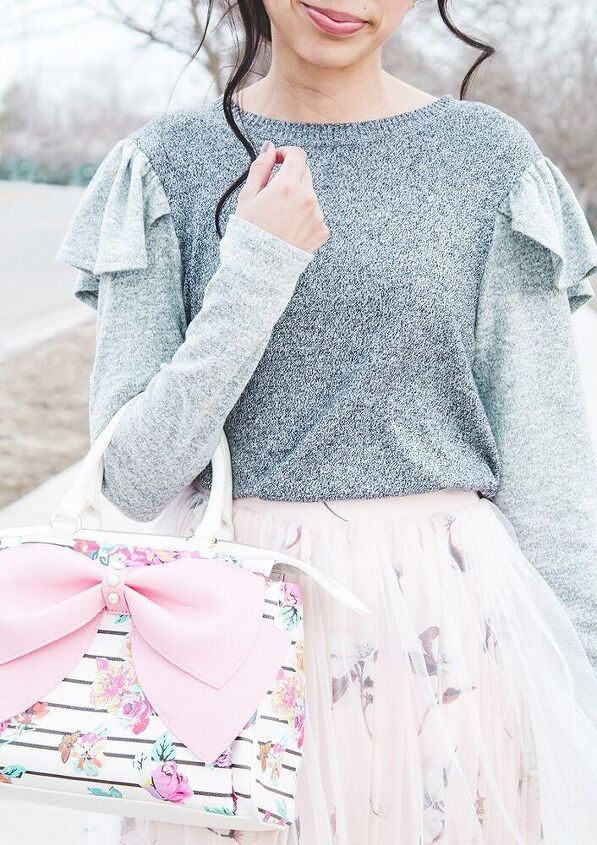
Super cute and love the bag bow. Good job.
Love your style.
It still looks 😖 awful!