Tutorial - Fall & Winter Earrings
A few posts ago, I shared a couple of pictures of jewelry that I made, and several people wanted to know how I did it.
Well, I am not a pro at this, I just wanted to make something for myself to wear and started playing with beads a couple of years ago. Even though my first love is sewing, I very much enjoy jewelry making too. I don't know all the correct names for all the parts, and I don't know if I can explain how I did it either. But, I will do my best.
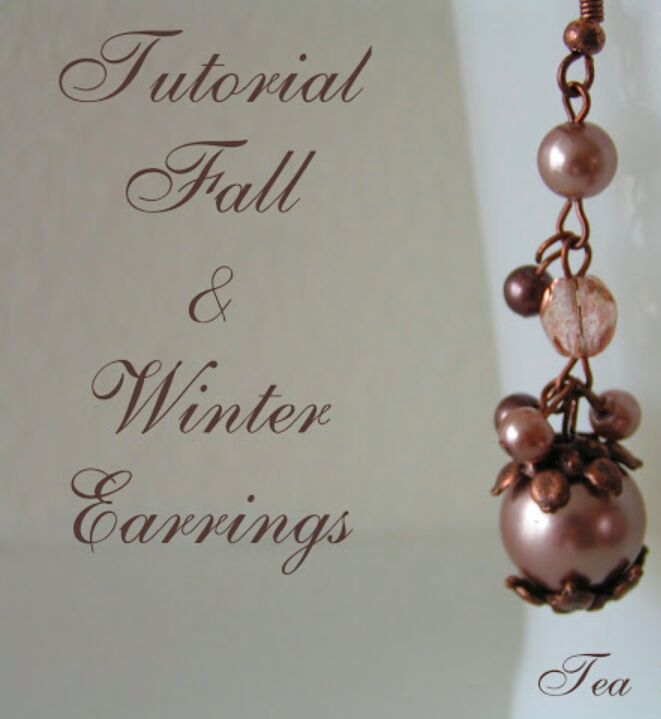
I have been wanting to make some earrings for the fall. When we took the family trip last week, I saw a few pretty brown acorns on branches in the canyon. That inspired me to make these.
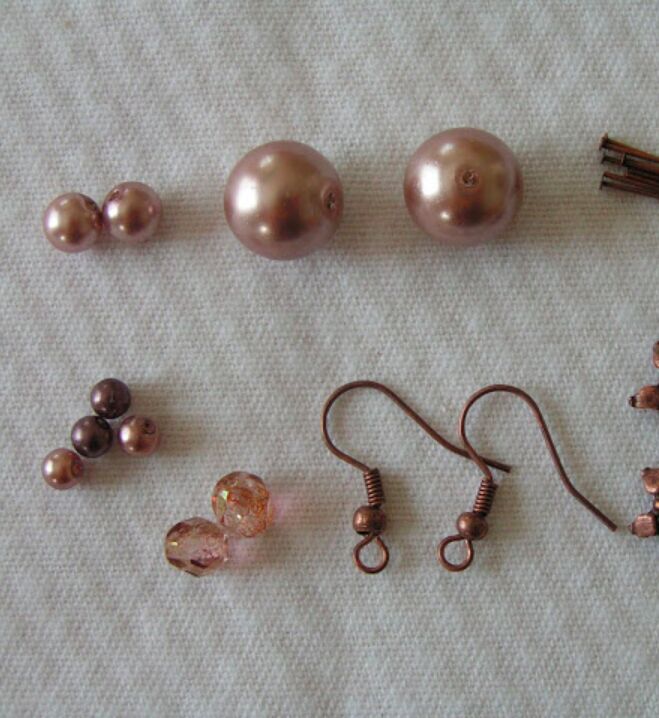
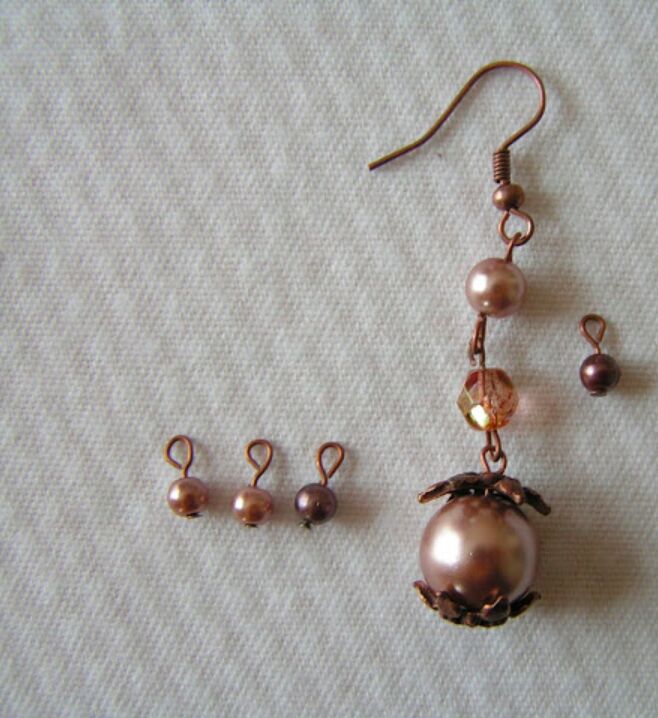
{You will need}---for one set of earrings
- some head pins, and eye pins
- 2 earring wires
- 4 bead caps
- 2 large pearls
- 2 medium pearls
- 2 fire-polished crystals
- 8 small pearls(4 light color/ 4 dark color)
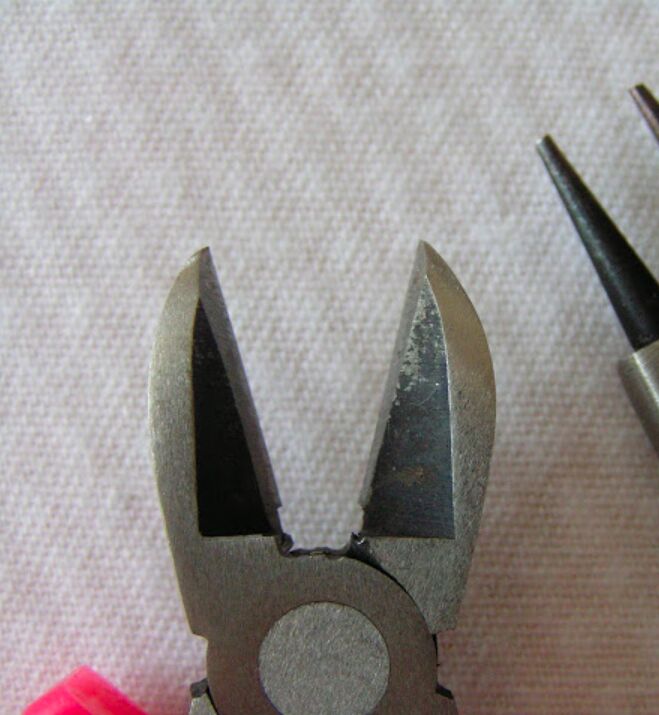
For the tools... you will need round nose pliers and a wire cutter.
{How to}
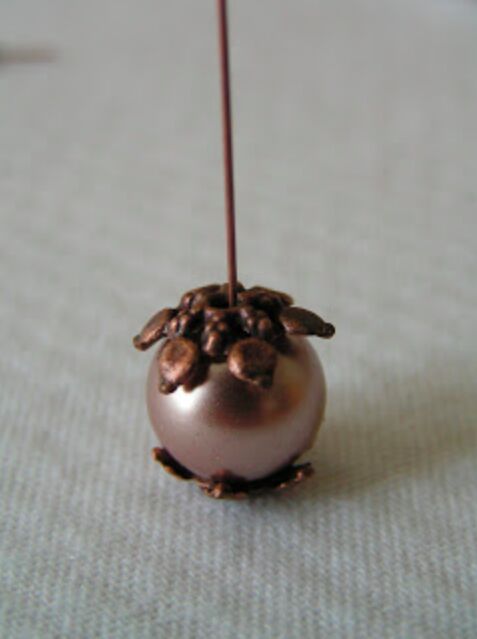
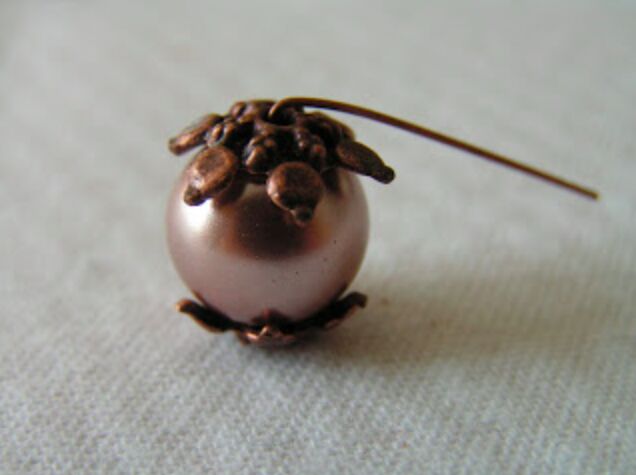
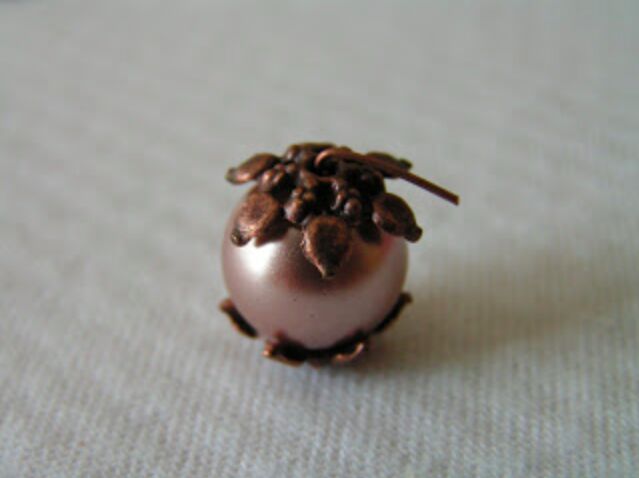
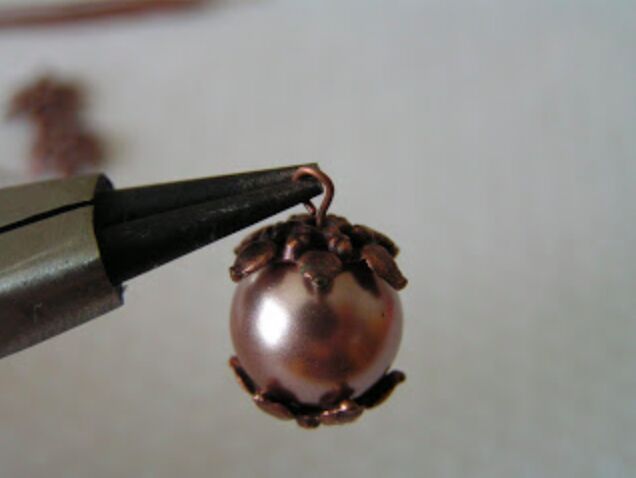
1. On a head pin, string bead caps and a large pearl. Bend the wire, cut the wire about 3/8" and using round nose pliers, make the loop.
2. Using the same method on step 1, make all the parts necessary.
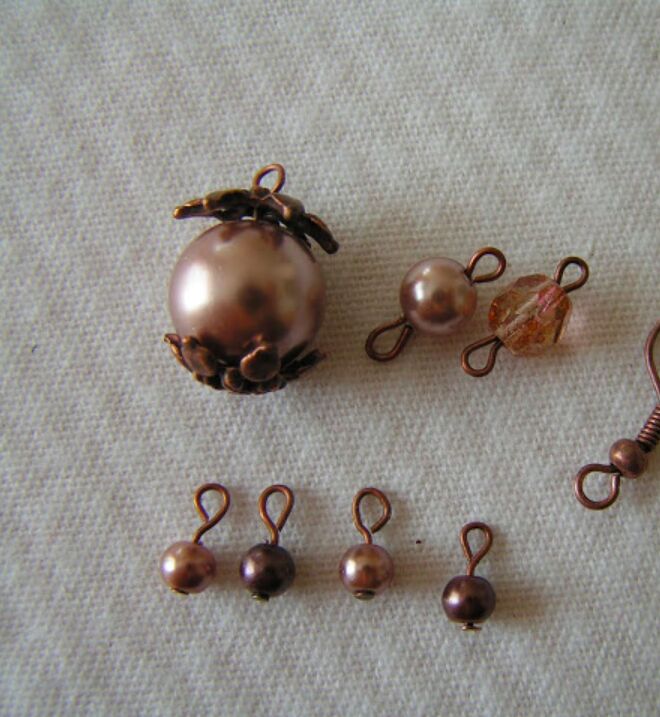
3. Connect the large pearl with the bead caps, fire-polished crystal, and medium pearl. Attach the small pearls between the bigger beads. Use the pictures as a guide.
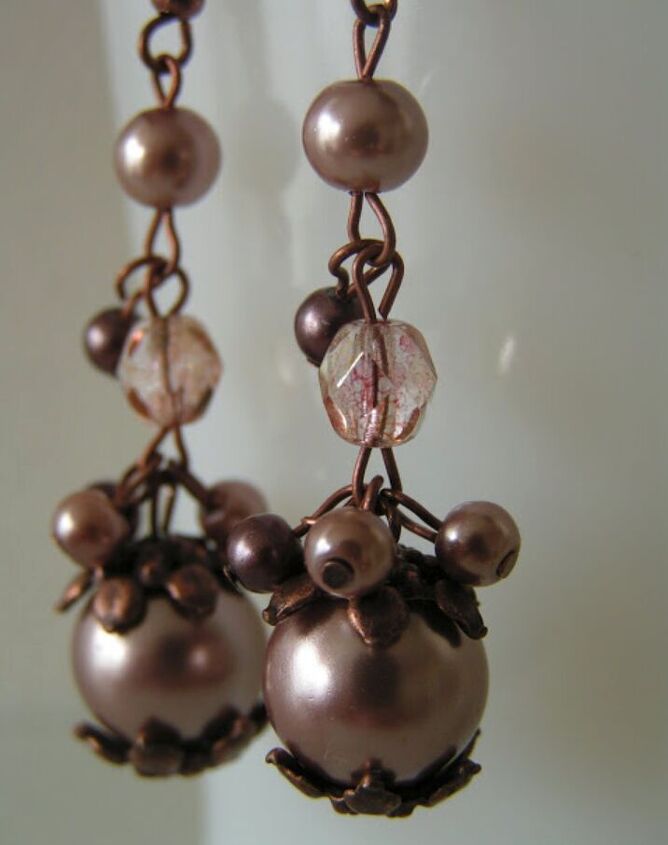
4. Time to enjoy!
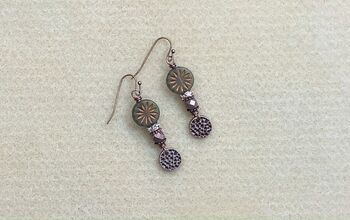
I am working on some more jewelry, once I spread everything out, lots of design ideas flooded my mind. It is so fun to coordinate different beads and parts to create something totally different from each other.
The author may collect a small share of sales from the links on this page.


Comments
Join the conversation
Beautiful!