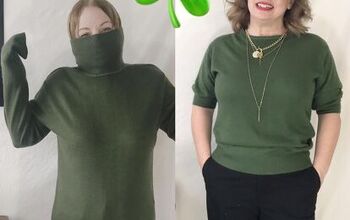
Make A DIY Top From an Old Pillowcase With a Few Simple Steps

Have an old pillowcase lying around? Before you discard it, why not recycle and transform it into a DIY top? It’s an amazing project for beginners and a great way to reuse fabric instead of trashing it. In this tutorial, I will show you how to sew a top in just a few steps. Find a pillowcase, and let’s do this!
Tools and materials:
- Pillowcase
- Sewing machine
- Measuring tape
- Pins
- Scissors
- Matching thread
- Safety Pin
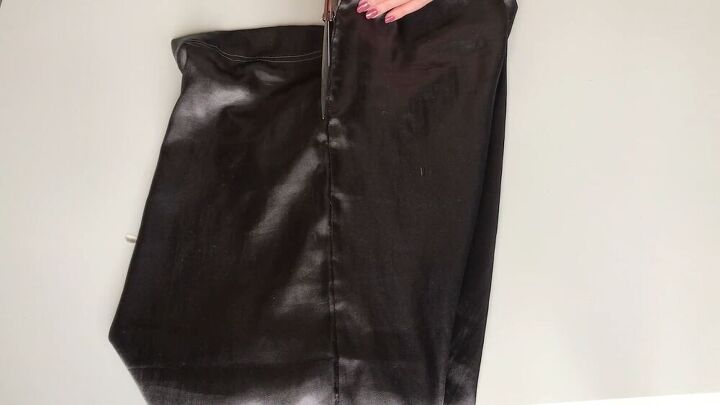
Take the pillowcase apart
To make the top, you need one long piece of fabric. So, take the pillowcase apart by cutting the side seams and the top fold.
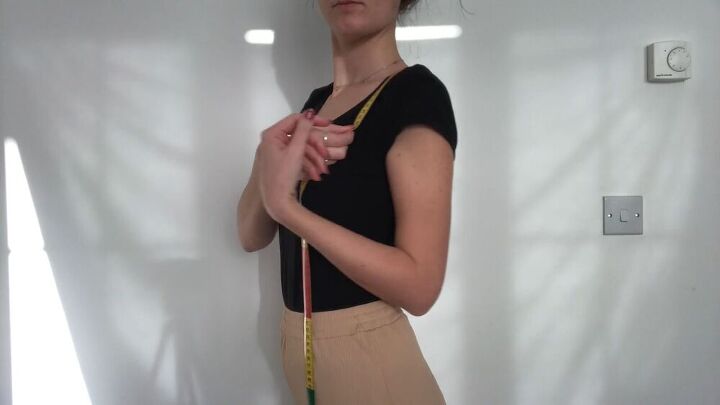
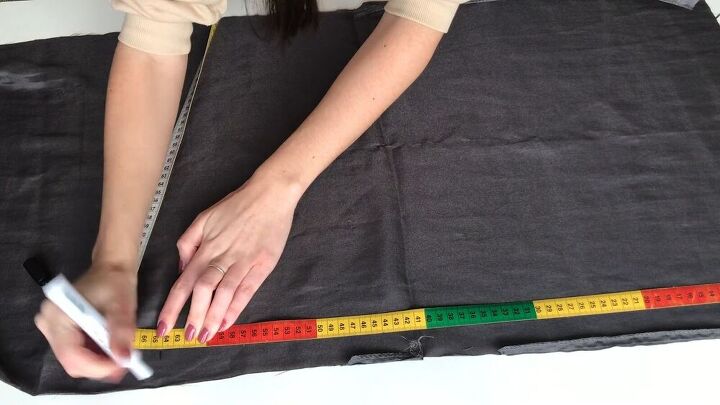
Measure yourself
Measure your bust and shoulders and take note of these measurements as you will need to divide them accordingly.
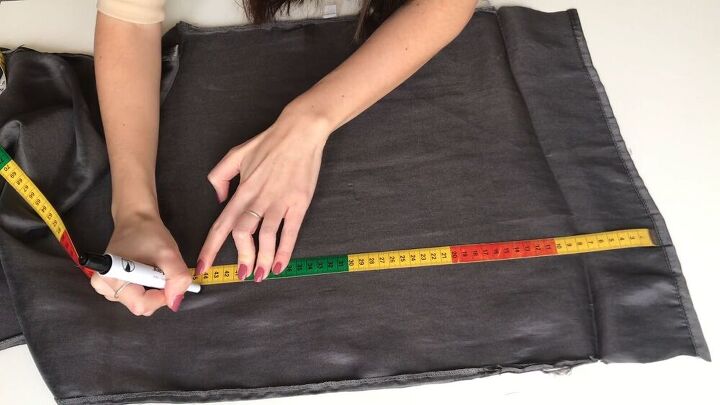
Draw the measurements and markings
For the back of the top, dive your bust measurement by 2 and mark the length on your pillowcase, adding a seam allowance, too.
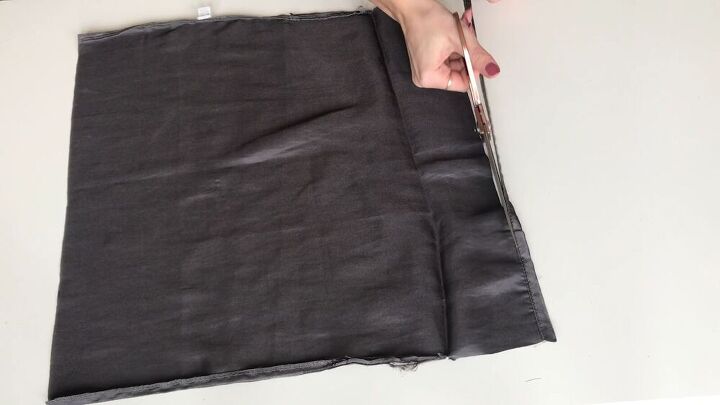
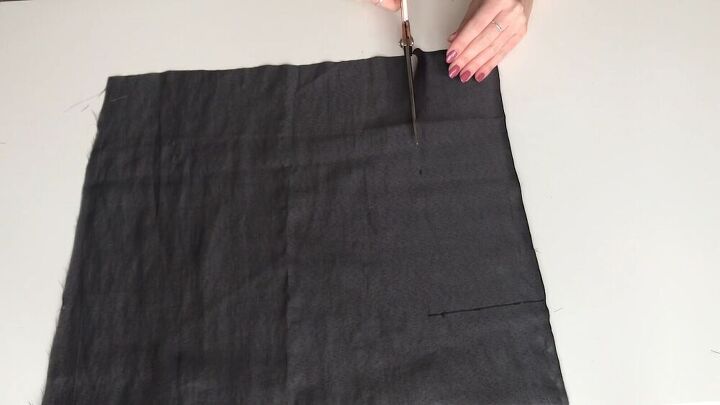
Cut out the piece, and if there’s a hem, you can get rid of that as well.
For the front of the top, repeat the same step but multiply your bust measurement by 1.5. Cut out the fabric piece and clean up any raw edges on the side.
For the shoulder straps, mark your shoulders' length on the fabric and add a width of 10cm.
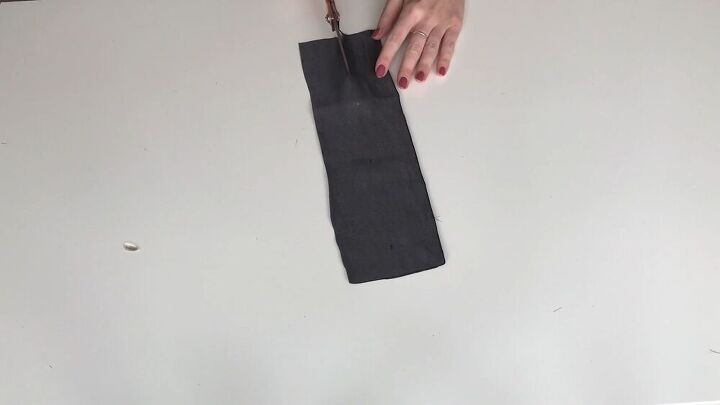
Cut out the strip and mark it halfway down the middle. Cut it in half, so you are left with two straps.
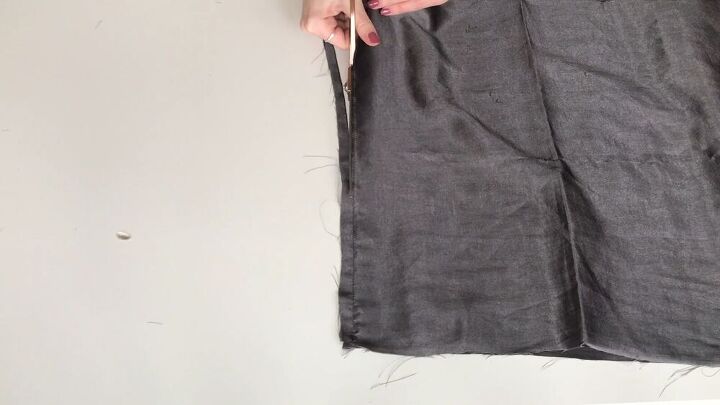
Sew the pieces together
Place your back piece onto your front piece and sew the pieces together, right sides facing. Cut off the excess seam allowance.
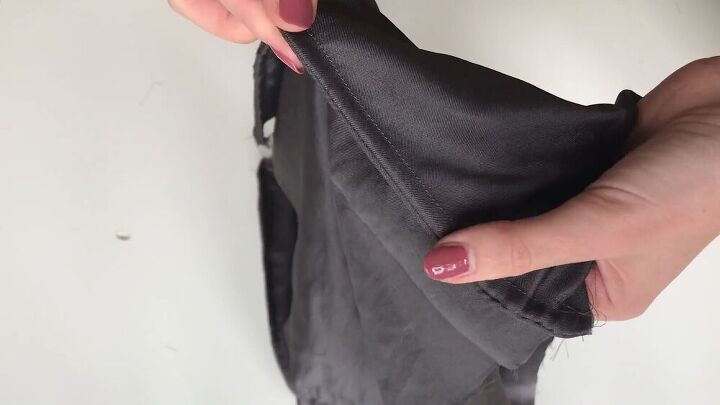
Turn your top inside out and sew along the seam, stitching the raw edges. This is called a french seam.
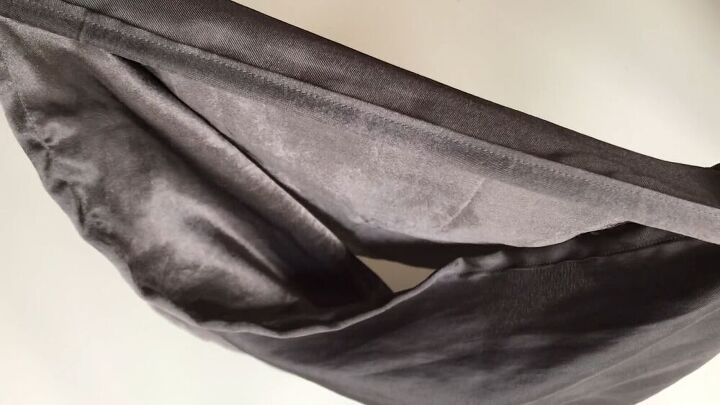
Hem the bottom and top with a rolled hem, as shown.
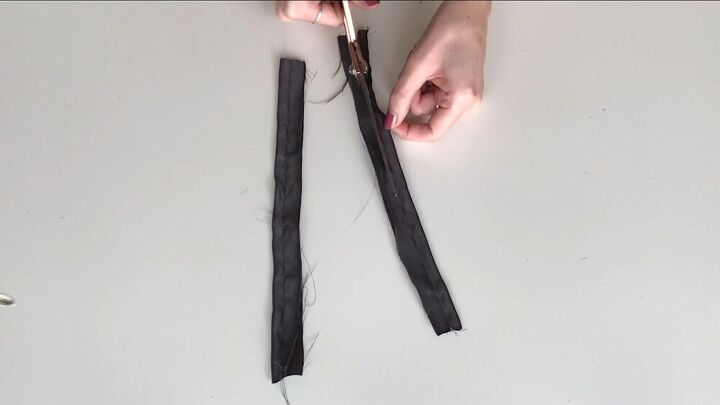
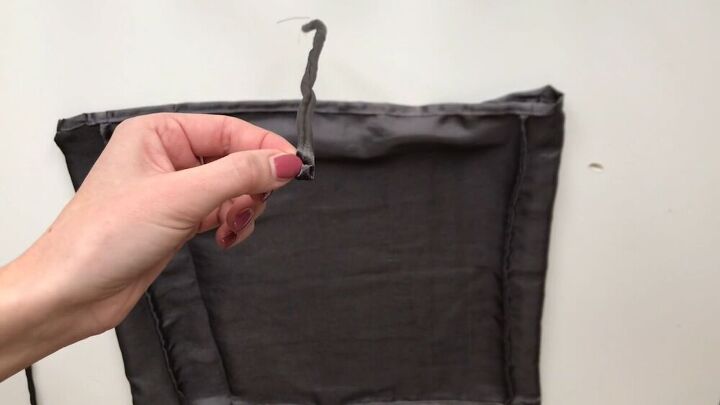
For the straps, fold them in half, lengthways with the right sides facing. Sew along the seam but not so close to the edge. Then, cut off the excess seam allowance.
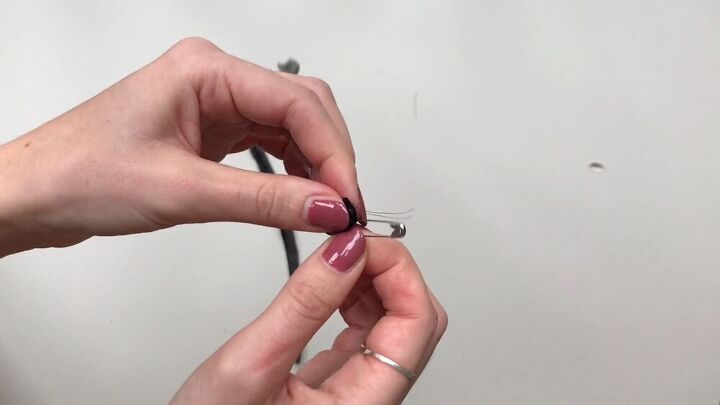
Using a safety pin, turn the straps right sides out.
Attach the straps to the top by folding the ends over twice and placing them equally far apart on the top. Sew it down with a couple of stitches.
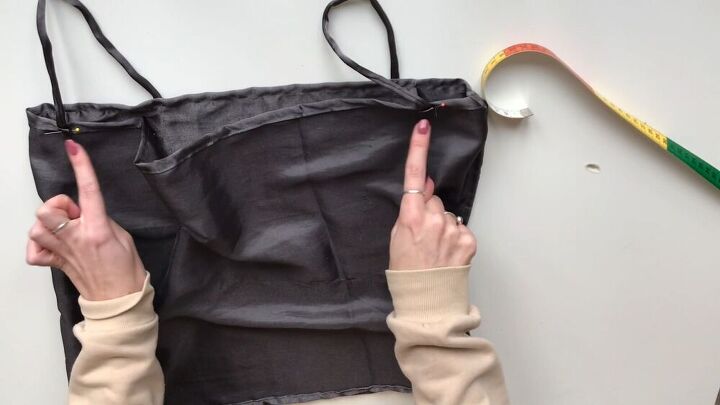
Repeat the step on both ends of the strap.
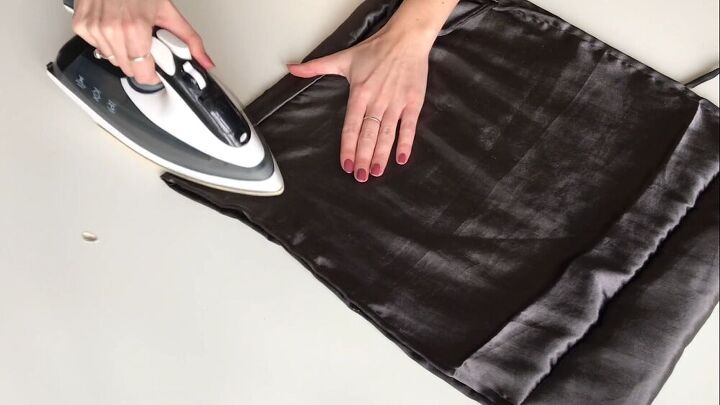
Lastly, press the shirt so that your glamorous DIY top will look great when worn.
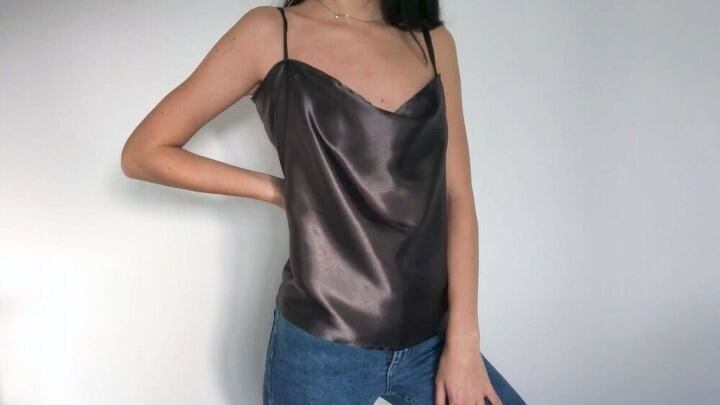
There you have it, an easy pillowcase upcycle. Who would have thought this lovely top was once a pillowcase? I love this idea, and I love how quick it is to make without much effort either. So, are you already rummaging around looking for a pillowcase? I hope you enjoyed this DIY top tutorial. Until next time!
The author may collect a small share of sales from the links on this page.


Comments
Join the conversation
Why stop there when You can add extra color by using multiple ones of other color to mix it up a bit and would take care of bigger breasted women. Just add extra seams to bring in the color.
Maybe I'm the minority but, "Thank You", for NOT bedazzling and blinging up such a sophisticated & classy top. Keeping it simple doesn't scream "hey, look at me, look at me!" It just speaks volumes of Elegance and confidence. This is definitely a case of,:"Less is MORE!"
Great idea & execution!
Sorry I underestimated the article & this project. I am so glad I stopped in🤩.
My only complaint is now, I've GOT to go out & buy new pillow cases so my blouse doesn't scream, "Going out to mow the lawn!" 😂😂🤣
Again, very nicely done.