Sewing 101: Sew a Buttonhole in a Few Easy Steps

I’m sure you’ve seen countless sewing tutorials where you’re required to sew on a buttonhole. While many know how to do this- sort of, a lot of the newbies have no clue on how to make a buttonhole on a sewing machine. Don’t worry- I’ve got you covered and I'm going to show you a few simple steps so that you can successfully sew a buttonhole without breaking a sweat! It’s easier than you think!
Tools and materials:
- Piece of fabric
- Measuring tape
- Chalk or Chalk pen
- Button
- Buttonhole foot
- Seam ripper
- Thread
- Sewing machine
Get everything prepped
So, you don’t need my exact brand of sewing machine to do this, most sewing machines have kind of the same function. Also, get a piece of fabric to practice on, a chalk pen, and a ruler or measuring tape.
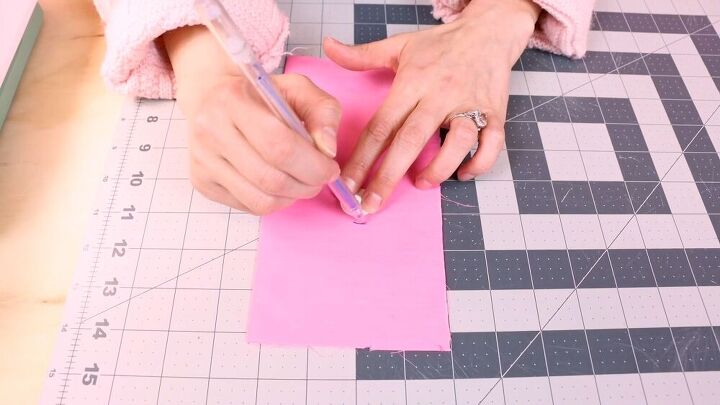
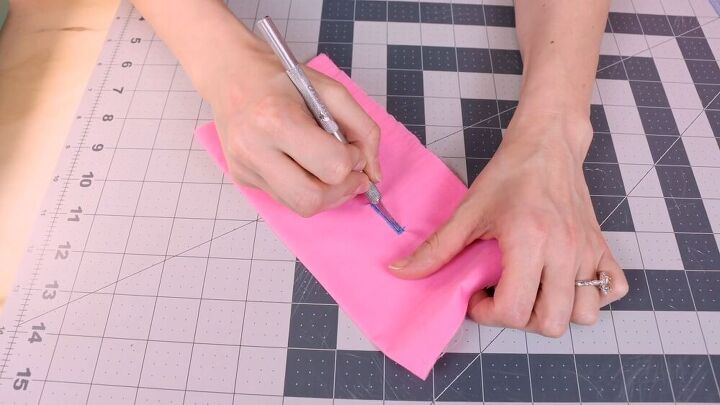
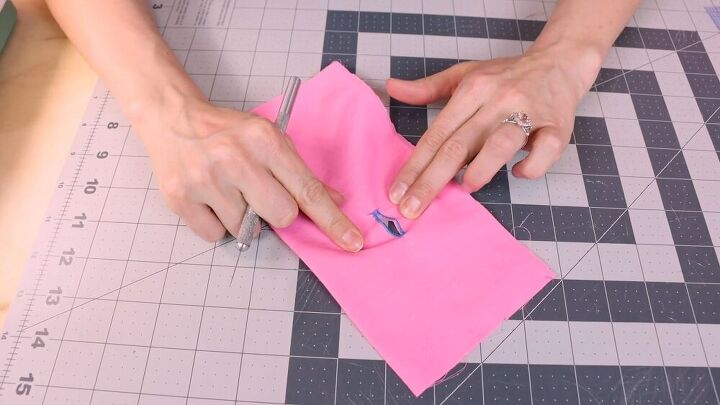
Draw your hole
Take your desired button ( any size will do, but for practice purposes, go for a larger size). Place it on the fabric piece, and with a chalk pen mark the top and bottom of the button’s diameter.
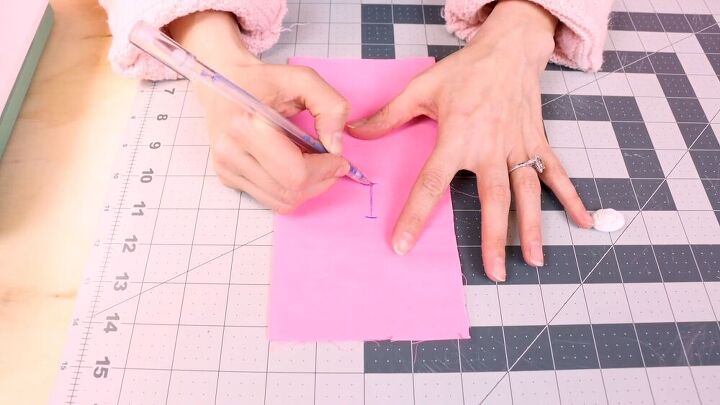
What you’re left with are two horizontal lines. Draw a line in the middle, between these two lines. This is where your buttonhole is going to be stitched. What you have done, is a guide to help you when you start making the buttonhole stitch.

Another way to do this is to measure your button. Mine was around ⅞ of an inch. Then, go ahead and measure ⅞ inches and draw a line, adding a tiny bit more to the measurement, too.
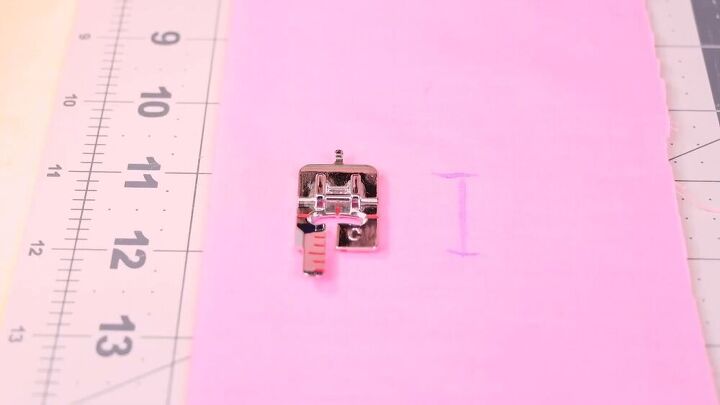
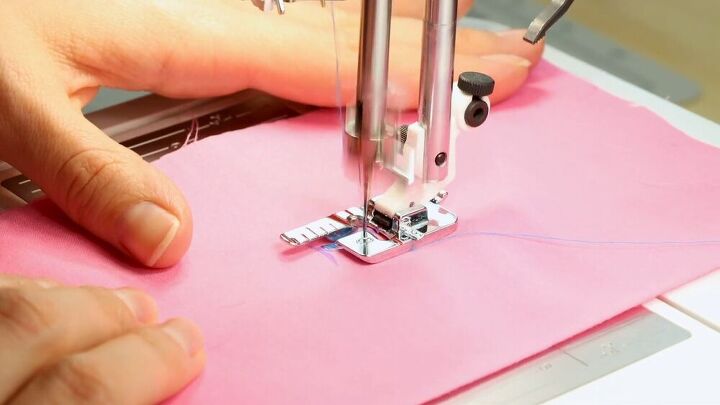
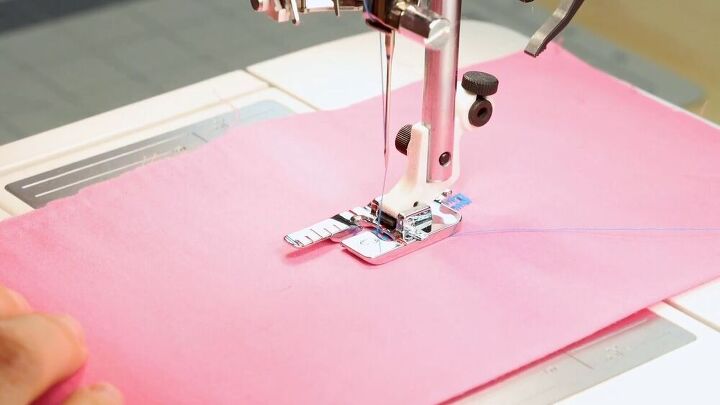
Sew the buttonhole
Now that the buttonhole is marked, head on over to the sewing machine to sew the buttonhole. To do this manually on your sewing machine, you will need to attach a buttonhole foot.

Once the buttonhole foot is in place, go ahead and sew. Start by placing the needle at the bottom end of your marking. For this, I personally like to use my hand wheel and to make sure my needle is right at the starting point.
When you sew a buttonhole, it’s going to stitch backwards. When you get to the other mark of the buttonhole, you will need to hit the return arrow; bringing the stitch back around the other way.
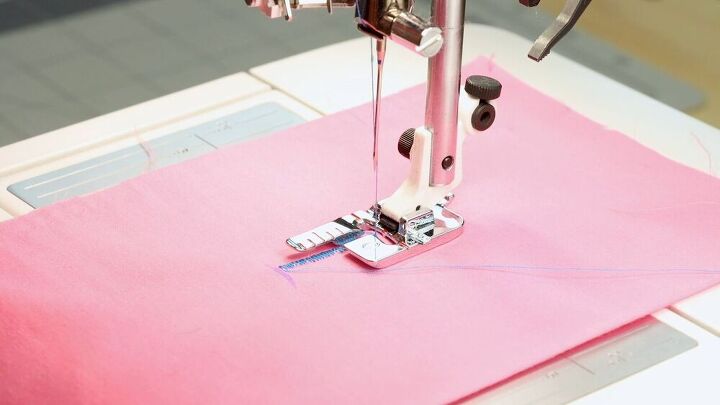
It’s going to do a zigzag stitch and it will do one all the way back until you hit the return arrow. Once the return arrow setting is on, it’s going to stitch the bar tab and then come forward.
Once it’s stitched all the way down, stop and hit the reverse arrow one more time so that it prompts the sewing machine to complete the bar tab. That’s it! Hit the cut button and pull it out!
Wasn’t that easy? This is what we call a 4-step buttonhole!
Open up the buttonhole
Last but not least, what’s a buttonhole without an actual hole? I like to use my blad because it’s really easy to cut down.
Simply stretch and pull the fabric and cut through the hole.
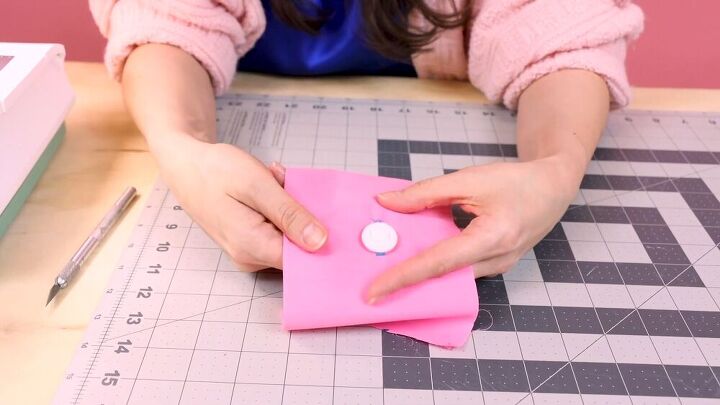
Let’s test out our buttonhole! See how the button fits right through and sits snug? That’s what we want! It was super easy and simple. Now, when your pattern or sewing project calls for a buttonhole, you can rest assured that you will ace this!
The author may collect a small share of sales from the links on this page.


Comments
Join the conversation