No-Sew T-Shirt to Gathered Peplum Tank Top Upcycle

I don’t know about you, but I love a good no-sew tutorial. However, I often find that no-sew patterns tend to be a little flimsy, especially if they use fabric glue. But I came across this tutorial from Blueprint DIY, and it looked fantastic. It is both no-sew and no-glue, and I decided to give it a try. The results were pretty impressive, so I’d like to share the process with you.
Tools and materials:
- Large t-shirt
- Scissors
- Measuring tape
- Safety pin
- Fabric chalk or pen
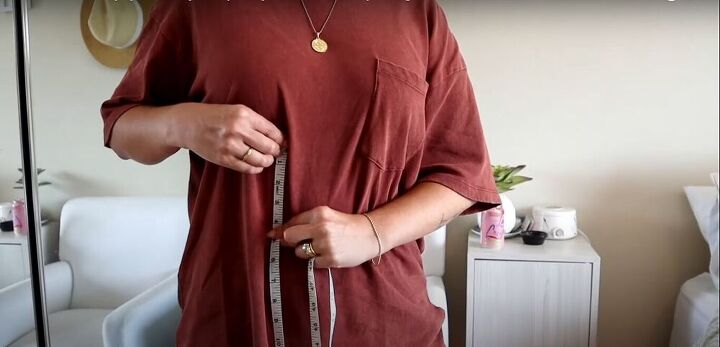
Take measurements
I started by taking three measurements. First, from right below my bust, to where I wanted the bottom hem of the shirt to fall. For me, this measurement was four inches.
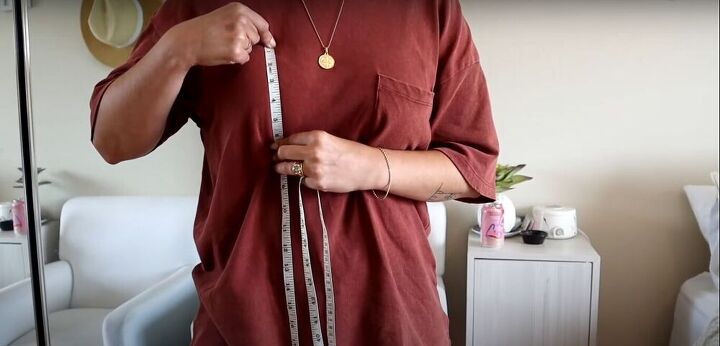
Next, I measured from right above my bust to right below it, which measured six inches for me.
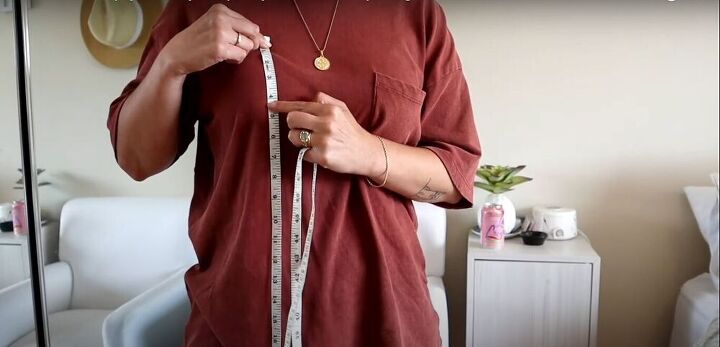
And the last measurement I took was from the same point above my bust until the point I wanted the ruffles of the shirt to fall. This measurement was also four inches for me.
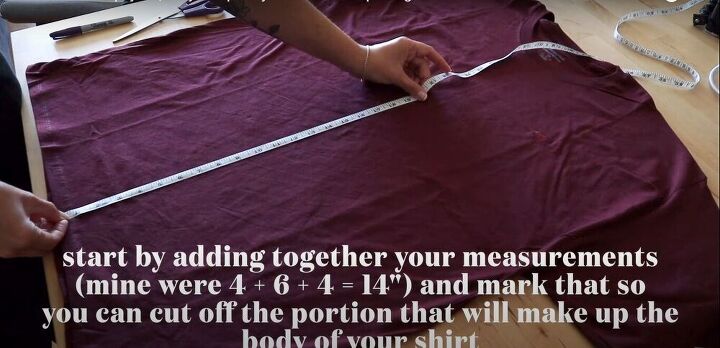
Measure how much fabric you’ll need for the body of the shirt
I added all my measurements together, which came out to 14 inches altogether. I measured 14 inches from the bottom hem of the t-shirt, and marked it with a fabric pen.
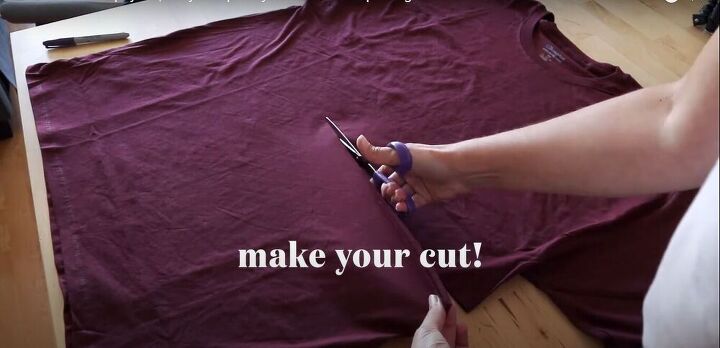
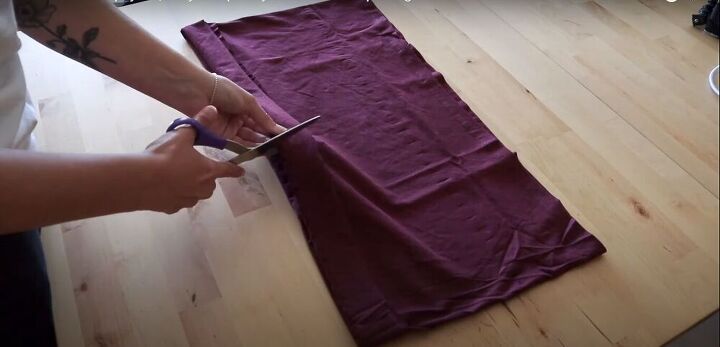
Cut the fabric
I cut across the middle of the t-shirt at the 14-inch mark.
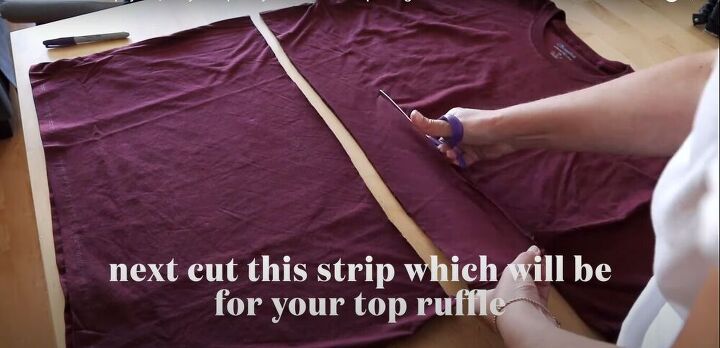
Cut a strip of fabric for the ruffle
I cut another four-inch strip of fabric for the ruffle.

Measure and mark
Using the measurements I took earlier, I made small, evenly-spaced marks in a line across the shirt four inches above the hem, and then another line of small marks six inches above that.
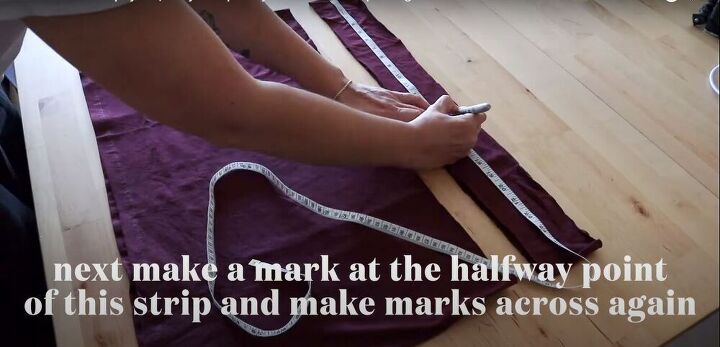
Mark the ruffle
On the strip of fabric that will become the ruffle, I marked the halfway point, and also made the same series of small, evenly-spaced marks across the strip.
Fold up the hem of the shirt
Next, I folded the hem of the shirt up at the four-inch mark.
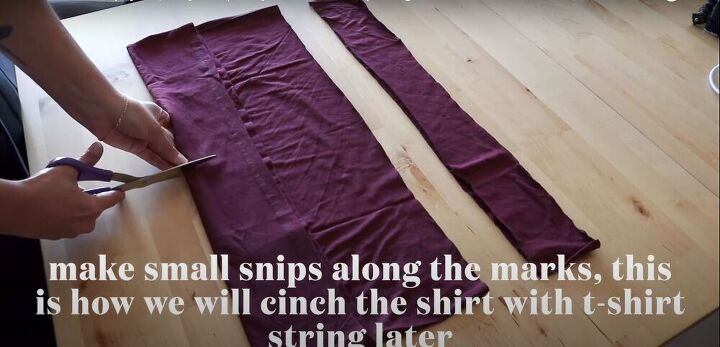
Snip along the length of the shirt
With scissors, I cut very small slits across the whole shirt where I had previously made marks.
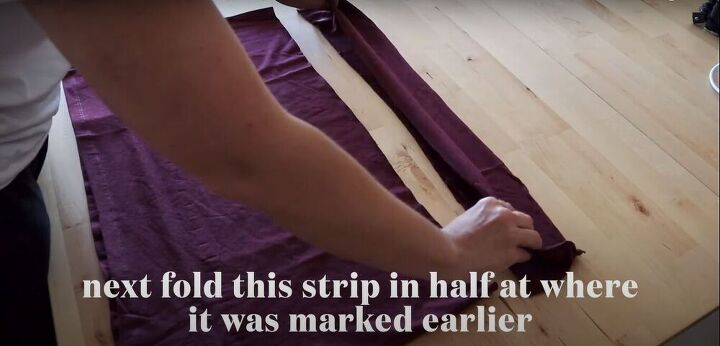
Add the strip for the ruffle to the shirt
I folded the strip of fabric I would be using for the ruffle in half lengthwise all the way around.
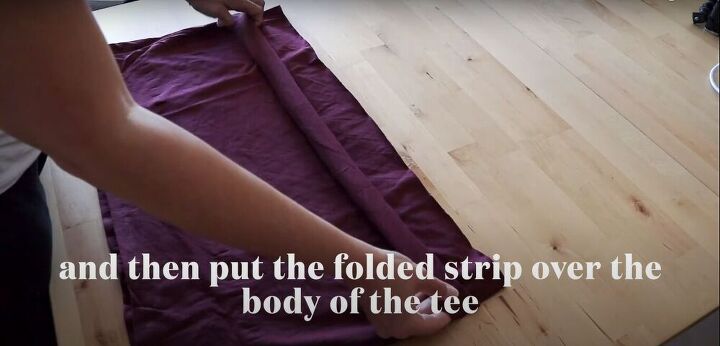
Then I put the folded strip around the body of the shirt, with the fold landing two inches below the top edge of the shirt.
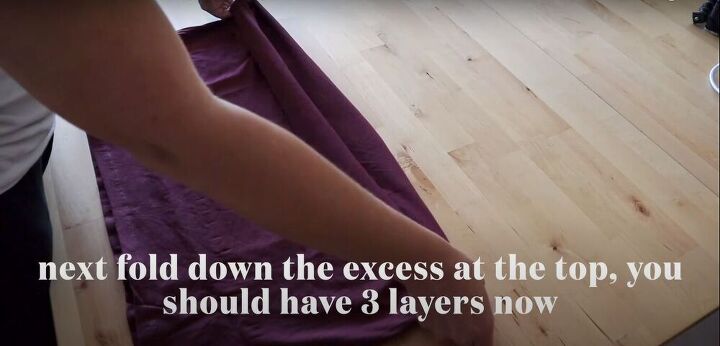
Step: Fold the top of the shirt over the strip
I folded over the fabric above the strip so it was covering the strip, and I now had three layers of fabric.
Cut small slits along the top of the shirt
Once again, I cut very small, evenly-spaced slits along the fold which included both the shirt and the strip of fabric that would become the ruffle. Make sure you get through all the layers of fabric when you’re doing this. Once I finished cutting along one side, I turned the shirt over and repeated the process of making small slits on the other side, as well.
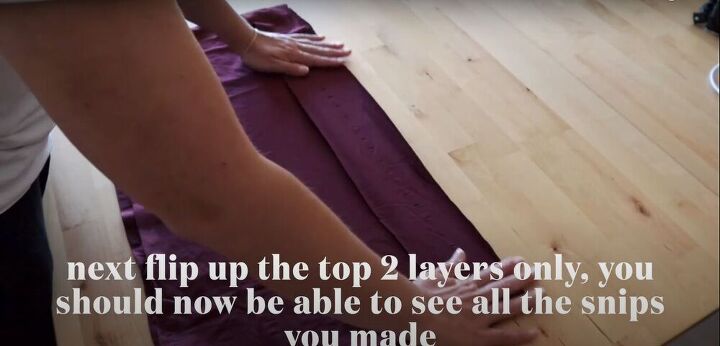
Unfold the top layer
Once all the slits were made, I unfolded the strip of fabric and the shirt so all the snips I had made were visible.
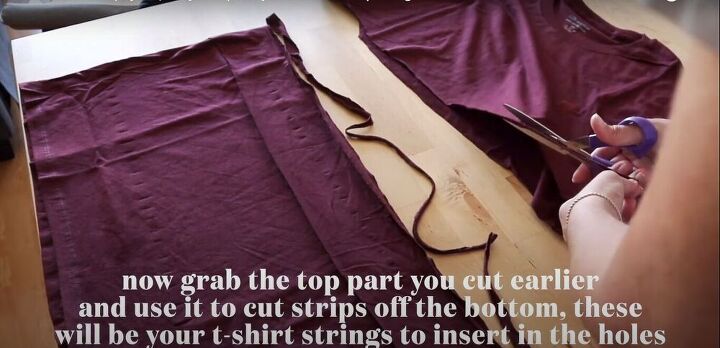
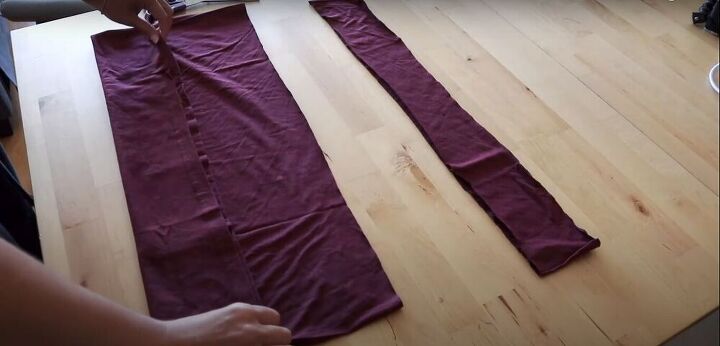
Cut thin strips from the t-shirt
From what was left of the t-shirt, I cut four thin strips of fabric.
Two of these strips were for weaving into the snips I had cut, and two were for the straps of the tank top.
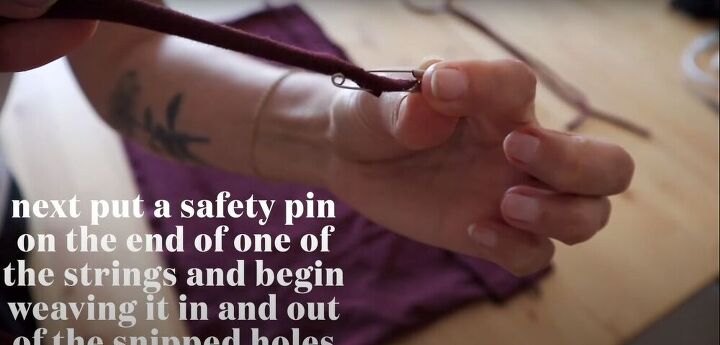
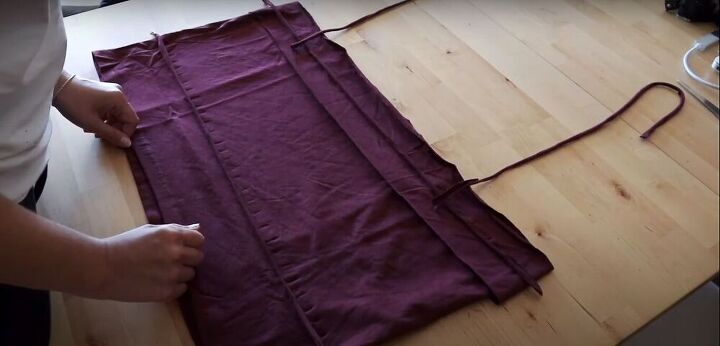
Step: Weave the strings through the snipped holes
I attached a safety pin to the end of one of the strings, and began to weave it in and out of the holes in the body of the shirt.
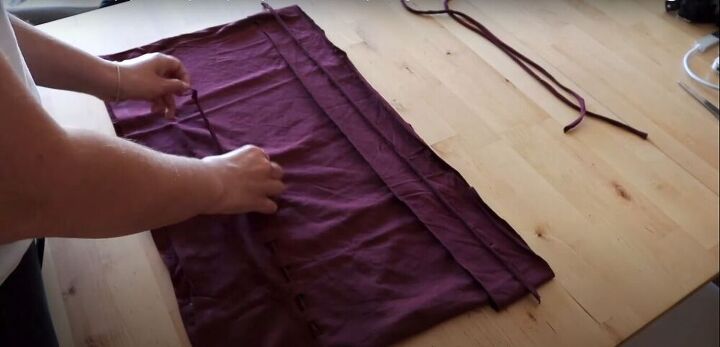
Once I had weaved a string through both the top and the bottom lines of holes in the front of the shirt, I very carefully flipped the shirt over and continued weaving the strings through the holes in the back of the shirt. I had to be very careful not to pull too hard, so I wouldn’t pull the string out of any of the holes I had already weaved it through. You can also pin the end of the string you’re weaving with to the shirt, to keep it from accidentally getting pulled out.
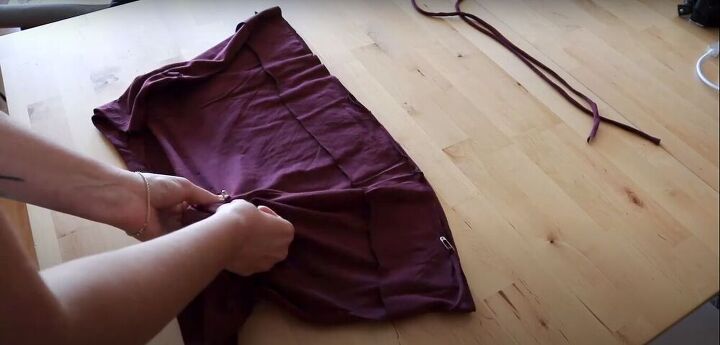
Attach the straps
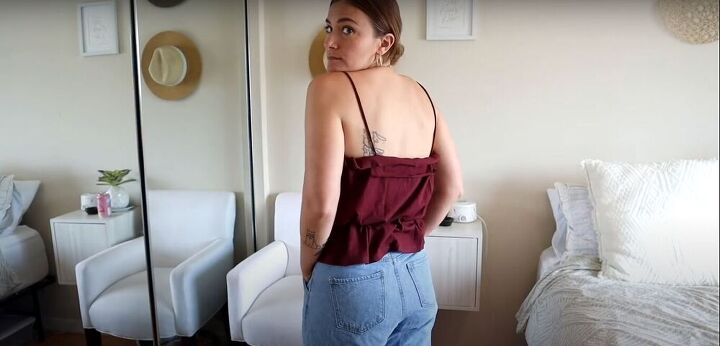
I attached the strings for the straps by tying them onto one of the strings that I had weaved through the top of the shirt.
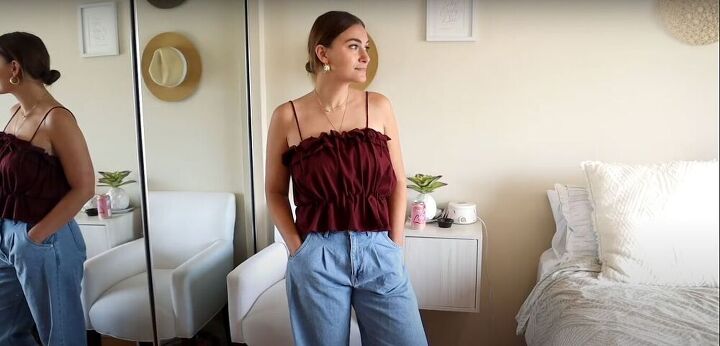
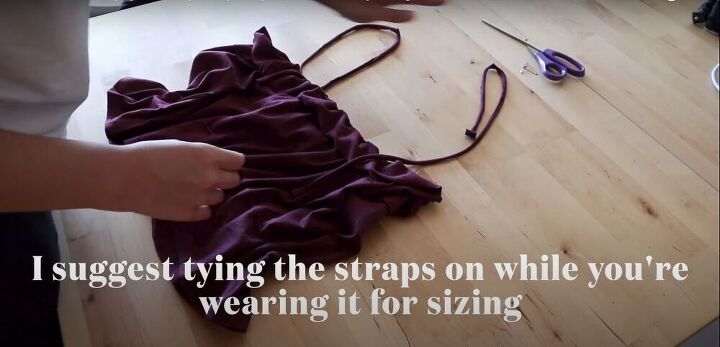
I think this shirt came out pretty cute. I do think I made a few mistakes, though. I think I made the bust area a bit too big, and I also should have cut the slits smaller. I also recommend tying all the strings only once the shirt is on your body in order to get the right fit.
What a great upcycle! Thank you, Blueprint DIY, for this idea. If you try this upcycle, I’d love to see how it turns out!
The author may collect a small share of sales from the links on this page.


Comments
Join the conversation
I really like it. Plus I agree that most of the no sew projects are ... Well, mainly glue and tie big bulges and look terrible. I think this top is cute, very accessible and you cannot tell it's made from a t-shirt lol. Great idea 💡☺️😉
I Love It!!! U look so cute in it!!!!!! Thanks!!!!👍️♥️🤩