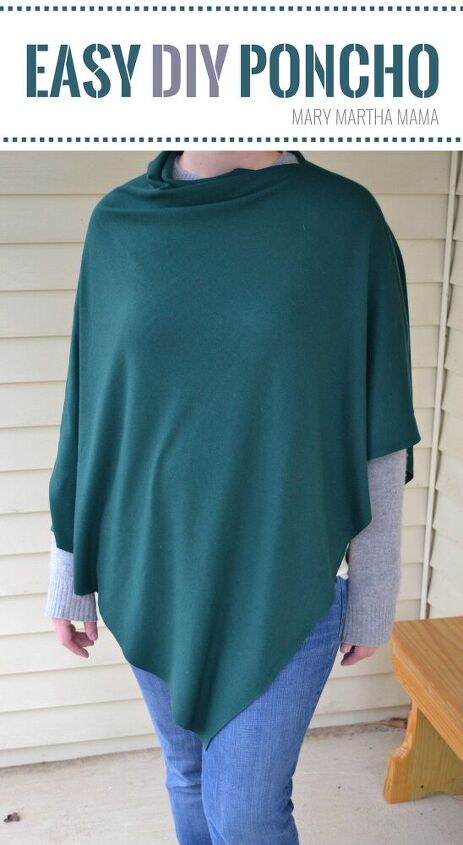
Easy DIY Poncho You Can Sew in Minutes
My husband and I generally like most of the same things and dislike most of the same things (like fanny packs). There is one fashion trend that divides us: the poncho. I like them, my husband not so much. If you’re on Team Poncho like me then you are going to want to try this easy DIY poncho.
For the Easy DIY Poncho you will need:
- 1 piece of knit fabric that’s 30 X 60 inches
- ballpoint needle (you need this to sew with knits)
You don’t have to use a knit fabric to make a poncho but I chose to use a knit so that I would not have to finish all the edges. If you prefer you can use a woven fabric but you will have to do additional work to finish the edges so that the fabric will not fray.
Here’s what you need to do:
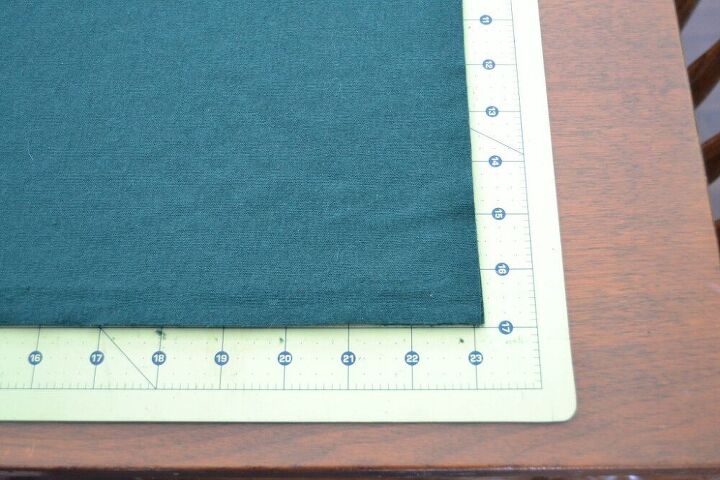
Step 1: Wash, dry, and iron your fabric. Square off the edges and cut the fabric to 30 X 60 inches. I find this easiest to do using my rotary cutter, self healing mat, and quilt ruler. If you don’t have those tools then you can do this by making marks on your fabric using a yardstick and then cutting with scissors.
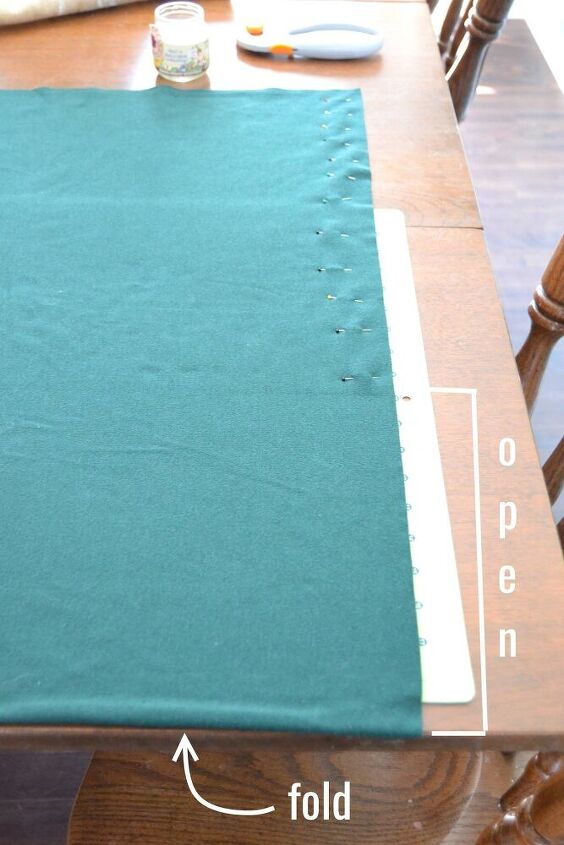
Step 2: Fold the fabric so that you have a 30 X 30 inch square.
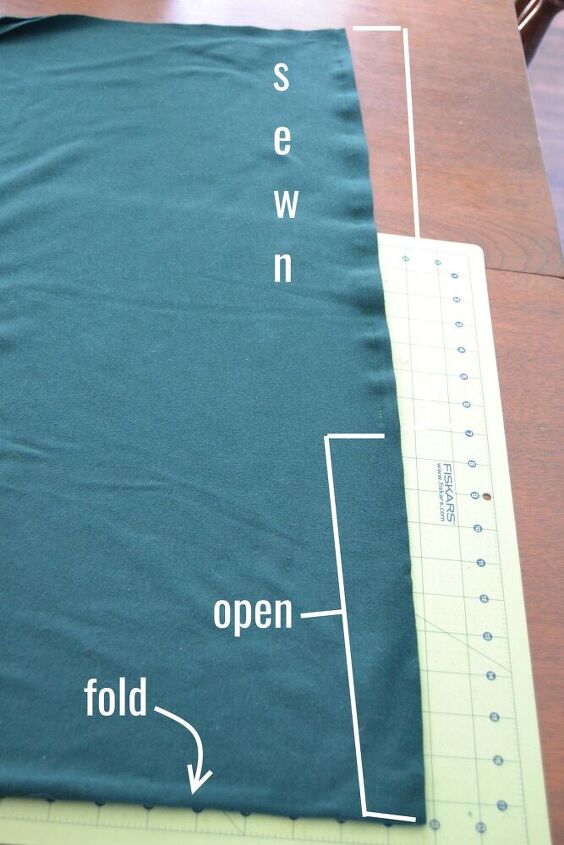
Step 3: Pin and sew along one of the edges that run perpendicular to the fold. Stop sewing about 10 inches from the fold. Back stitch at both the beginning and end of the line of stitching so that it will not unravel.
Step 4: Turn the poncho right side out so that the stitching is on the inside. Stick your head through the opening between the fold and the stitching. And you’re done!

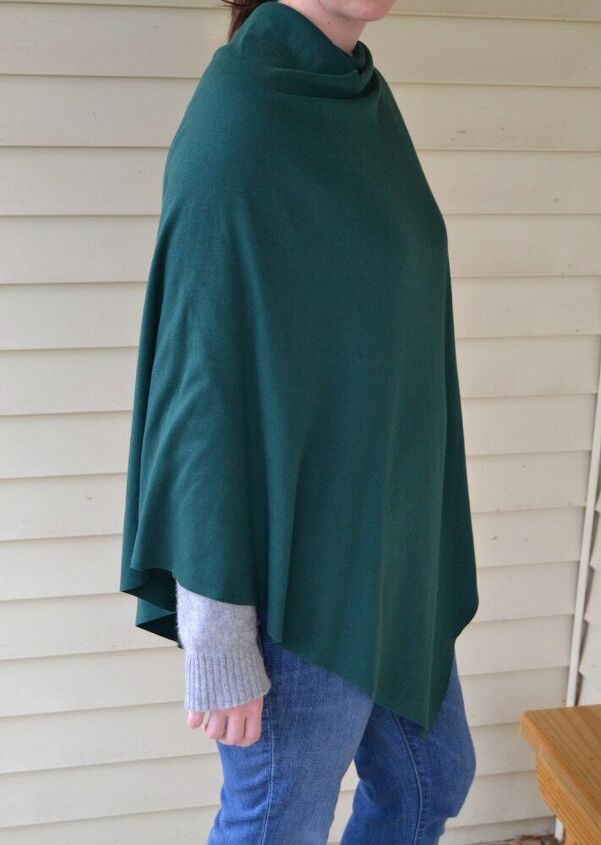
I like the knit fabric because that it’s a light layer I can throw on in the Spring but if you want you could make this out of a heavier fabric like wool.
Prep Time
10 minutes
Active Time
15 minutes
Total Time
25 minutes
Materials
- 1 piece of knit fabric that’s 30 X 60 inches
- coordinating thread
Tools
- sewing machine
- ballpoint needle (you need this to sew with knits)
Instructions
- Wash, dry, and iron your fabric. Square off the edges and cut the fabric to 30 X 60 inches. I find this easiest to do using my rotary cutter, self healing mat, and quilt ruler. If you don’t have those tools then you can do this by making marks on your fabric using a yardstick and then cutting with scissors.
- Fold the fabric so that you have a 30 X 30 inch square.
- Pin and sew along one of the edges that run perpendicular to the fold. Stop sewing about 10 inches from the fold. Back stitch at both the beginning and end of the line of stitching so that it will not unravel.
- Turn the poncho right side out so that the stitching is on the inside. Stick your head through the opening between the fold and the stitching. And you’re done!
Notes
You don’t have to use a knit fabric to make a poncho but I chose to use a knit so that I would not have to finish all the edges. If you prefer you can use a woven fabric but you will have to do additional work to finish the edges so that the fabric will not fray.
So… are you on team poncho with me? Or are you on the other side with my husband? Be honest! I know they’re not for everyone. Let me know your poncho thoughts in the comments 🙂
Want more sewing tutorials? Check out my sewing page full of free sewing tutorials.
The author may collect a small share of sales from the links on this page.


Comments
Join the conversation
Sorry, but I don’t understand why the fabric needs to be cut to 30x60, to then be cut into 30x 30. Thx
I really like the idea of a little something to tame a spring breeze.
I thought about trying to start with a 30 x 34 in. square and cutting slits 4 in. long and 1 in. apart on the extra long side. Then they could be tied together to finish the shoulder seam and to add a touch of interest to the poncho. Leave the untied tabs loose around the neck to flow and hang for more appeal.