How to Make a No-Sew Criss Cross Strap Top

This project is super simple, and you won’t have to sew a stitch. To make this top, I used Lycra fabric because it is self-finished, which means it will not fray, so the edges do not need to be hemmed or serged. Let’s get started on making this cute DIY criss cross top.
Tools and materials:
- Lycra fabric
- Measuring tape
- Fabric pen
- Scissors
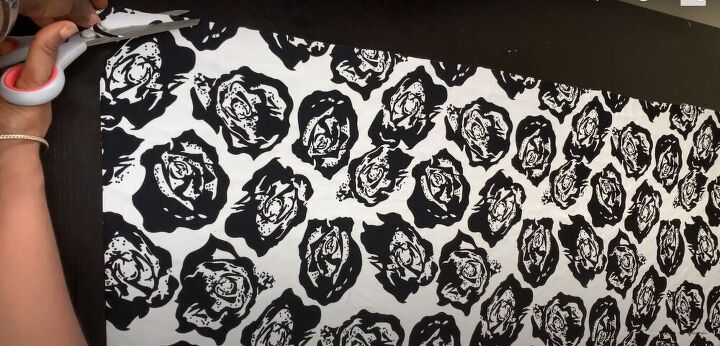
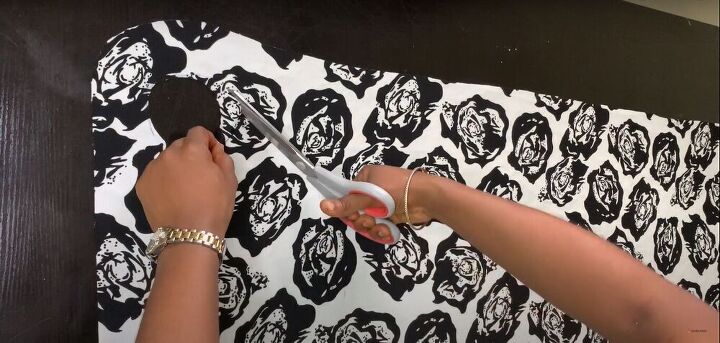
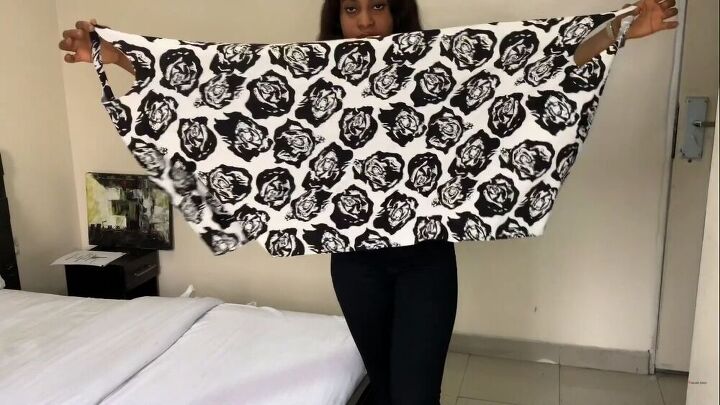
Cut a curve on the corner
I decided I wanted the edges around the armholes to be curved instead of straight, so I simply cut a curved edge around one corner of the fabric.
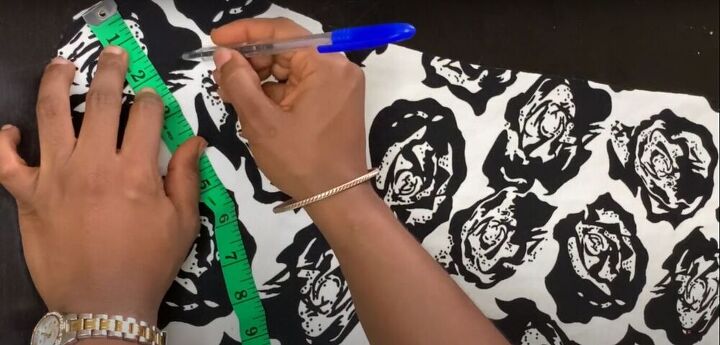
Measure and mark the armhole
I marked a curved line by measuring two inches from the curved edge in a few different places along the curve and connecting those marks. Then, using those marks as a guide, I continued the curve until I had marked a complete circle.
Cut a hole in the circle
I made a small snip in the center of the circle.
Cut out the circle
Using the hole I had just snipped in the center of the circle as my starting point, I continued cutting and removing the fabric from inside the marked circle.
Widen the circle
Once the circle was cut out, I realized I wanted my armholes to be bigger, so I widened my circle until it was the size I wanted.
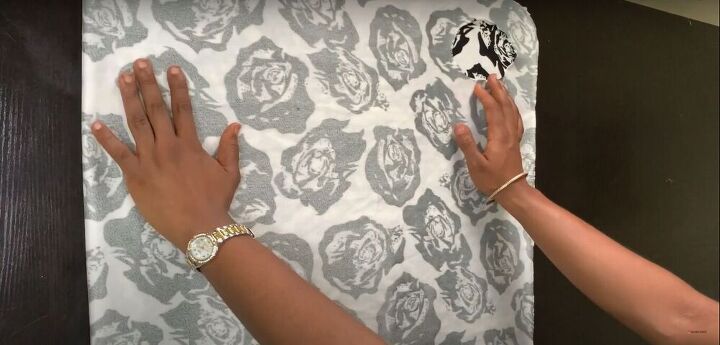
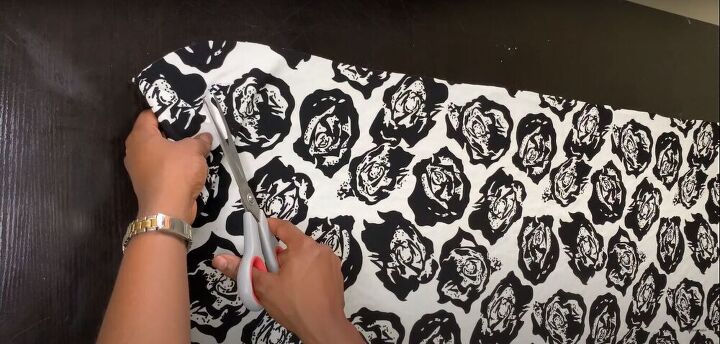
Fold the fabric
Next, I folded the fabric so the right sides were facing each other.
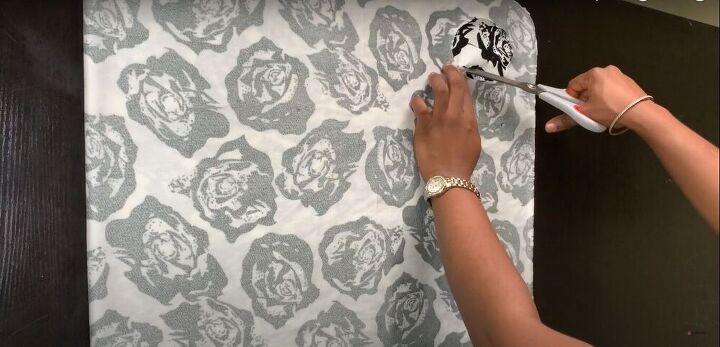
Cut another armhole
I cut a second armhole using the first armhole as my guide for where to cut, so both circles would be even with each other.
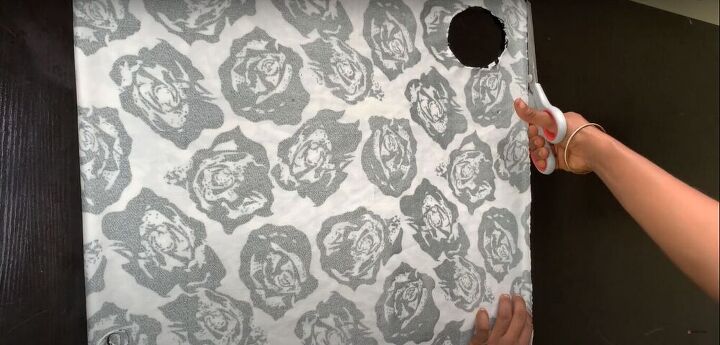
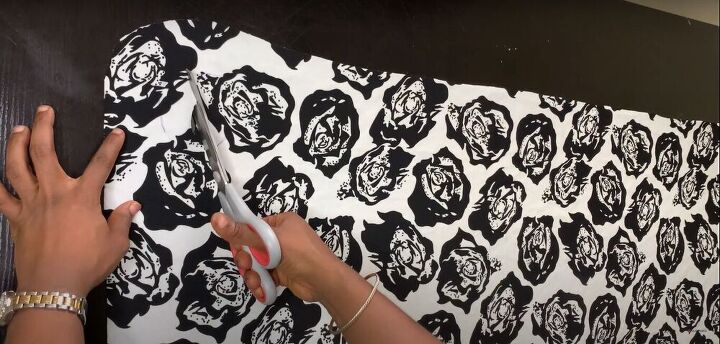
Even out the edges
Once the armholes were cut, I decided that I prefer the edges to be straight rather than curved, so I just cut around the edges a bit until they were straight.
Now I had a long piece of fabric with holes in both top corners.
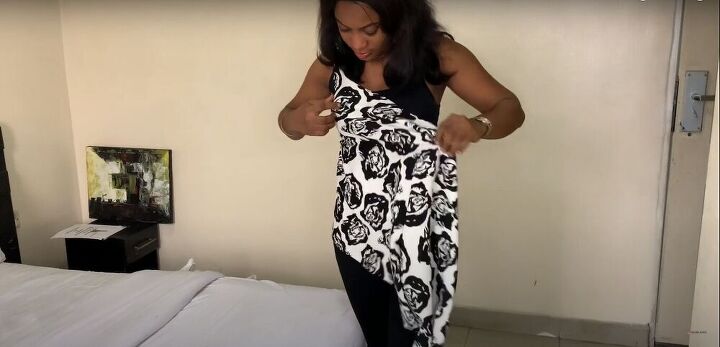
Put the top on
To wear the top, I simply held the fabric with the wrong side facing me and inserted my arm into one of the armholes.
Then I wrapped the rest of the fabric around my back and pulled it towards the front of my body.
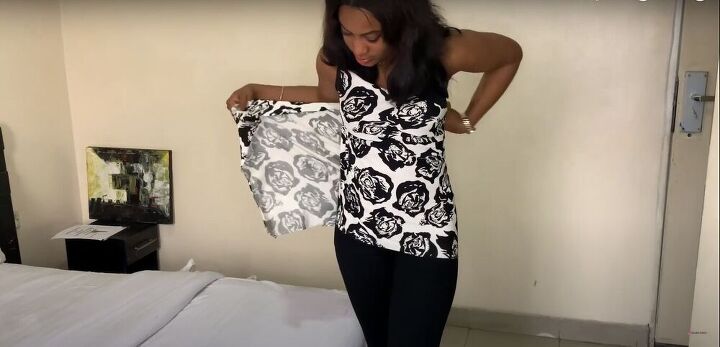
Finally, I crossed the fabric over the front of my body and inserted my second arm into the second armhole.

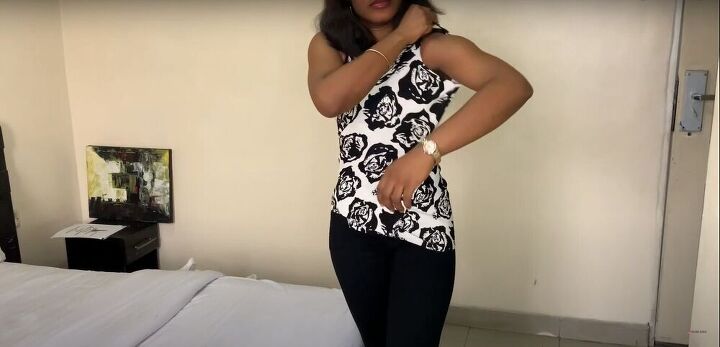
I adjusted the fabric so everything laid nicely and smoothly, and my criss cross top was complete!
You can also make this top with a longer or wider piece of fabric, so it is more flowy and free. But I like how this one turned out small and snug. I think it fits me really well. What kind of criss cross top do you prefer--small and snug or flowy and free? Let me know!
The author may collect a small share of sales from the links on this page.


Comments
Join the conversation
Very nice and simple! After inserting arm into second armhole, how do you keep the back from flipping open?
You are very welcome!!!