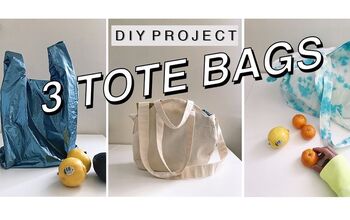
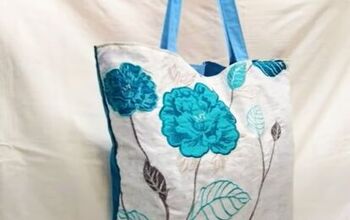
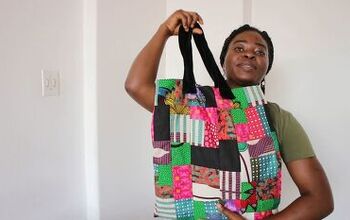
Adorable DIY Tote Bag Tutorial

I love this project because it’s fairly simple, but the result is impressive. These tote bags are great for shopping bags, for taking to the beach, or just for everyday use. They also make wonderful gifts for friends. So let’s get started.
Tools and materials:
- Fabric for outer layer
- Fabric for lining
- Matching thread
- Scissors
- Pins
- Safety pin
- Measuring tape
- Sewing machine
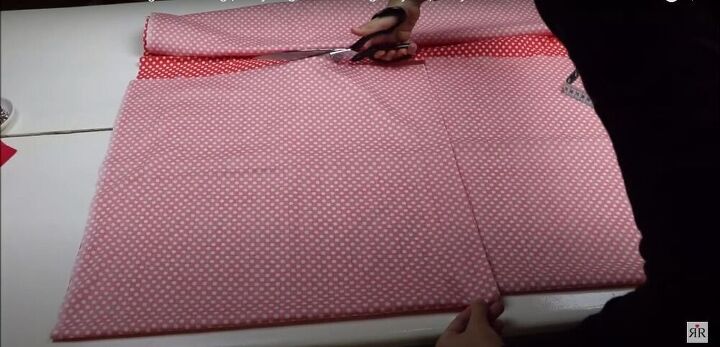
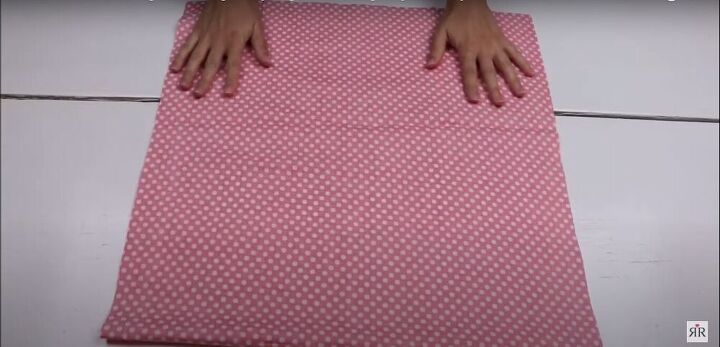
Fold and cut the outer fabric
I folded the fabric for the outer layer of the bag in half and cut a 19 inch by 19 inch square through both layers of fabric.
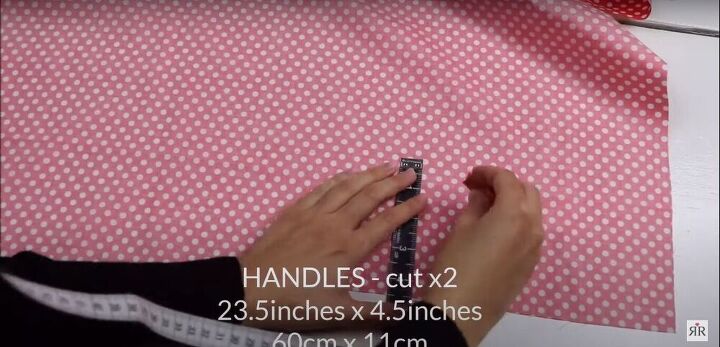
Cut the handles
Next, I cut two 23.5 inch by 4.5 inch rectangles for the handles.
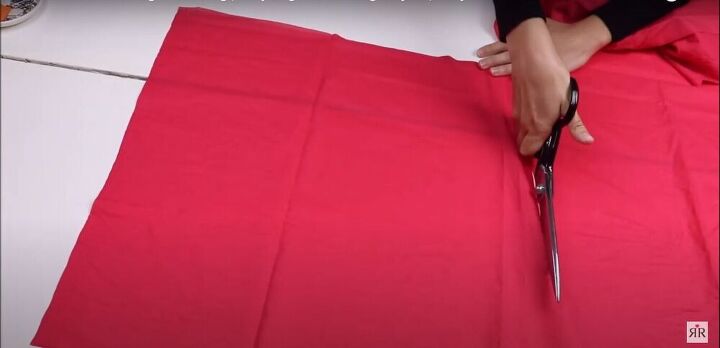
Cut the fabric for the lining
For the lining fabric, I cut two 19.5 inch by 19 inch pieces. The extra half-inch is for seam allowance.
Now I had all the pieces I needed to begin construction: One long rectangle of outer fabric, two square pieces of lining fabric, and two strips for the handles.
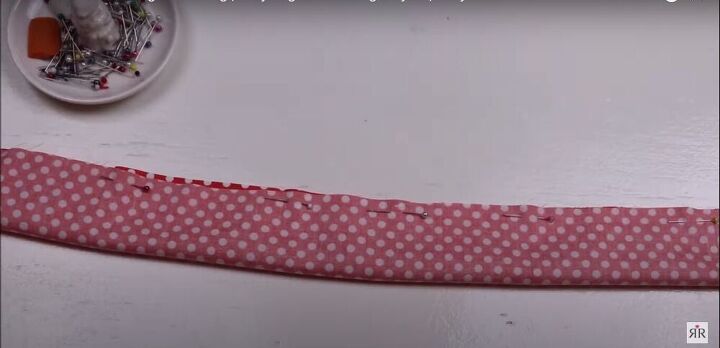
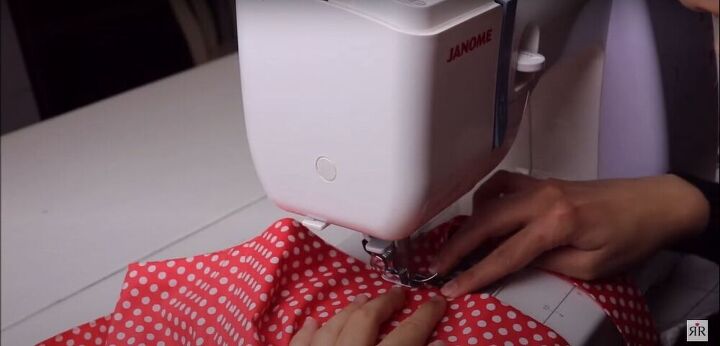
Fold, pin, and sew the handles
To begin construction, I folded the fabric for the handles in half lengthwise, right sides facing each other, and pinned along the long edge. Then I sewed a seam on the long edge, leaving the short edges open, to create a tube.
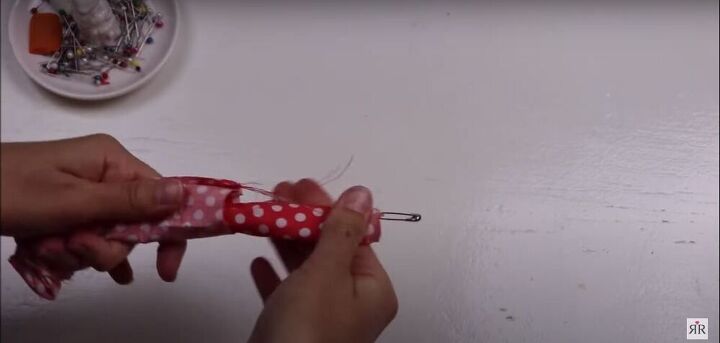
Turn the handles right side out
To turn the handle right side out, I attached a safety pin to one end of the handle, and inserted it into the tube. Then I worked the pin through the tube, bunching the fabric over it and pulling it down until the pin came through the other side. Then I pulled the rest of the fabric down until the right side of the fabric was on the outside, and the seam was hidden inside.
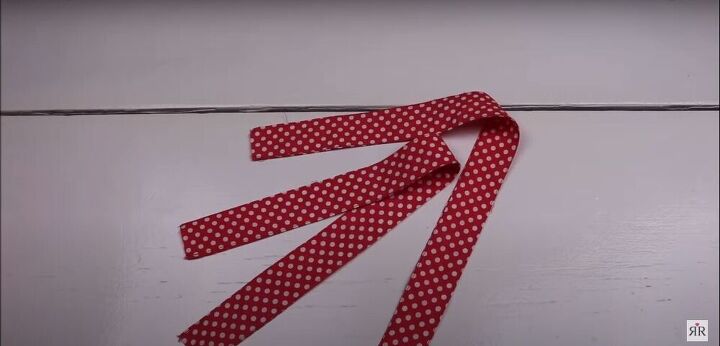
Iron and stitch the handles
I ironed the handles flat and top-stiched down each long edge so everything would lay nicely.
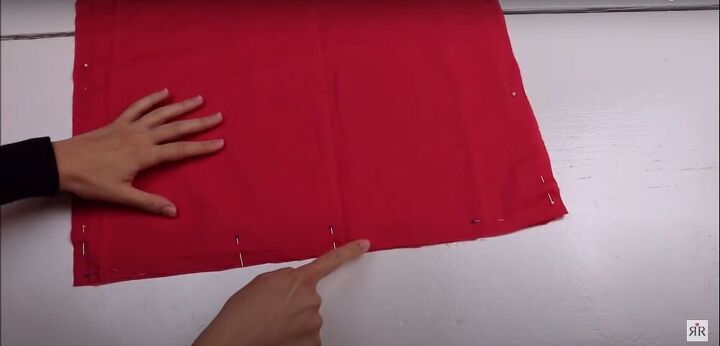
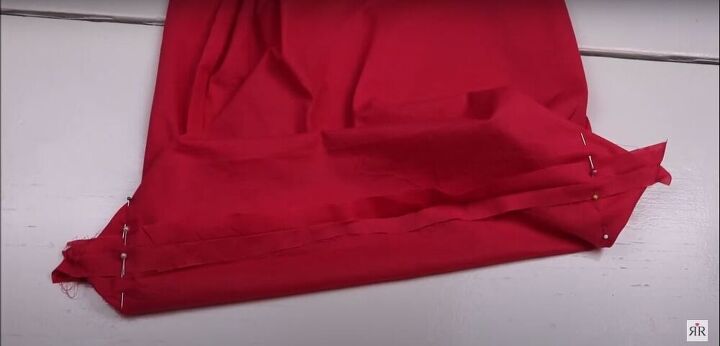
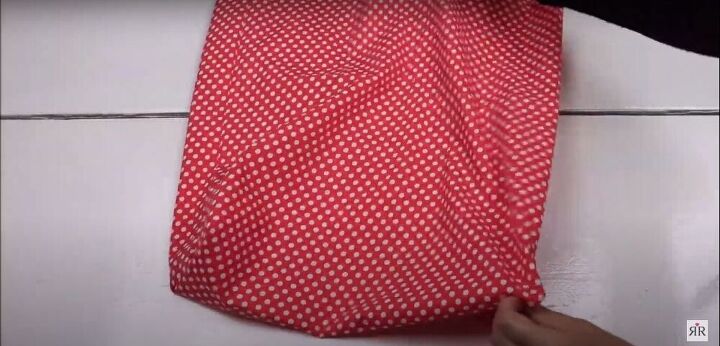
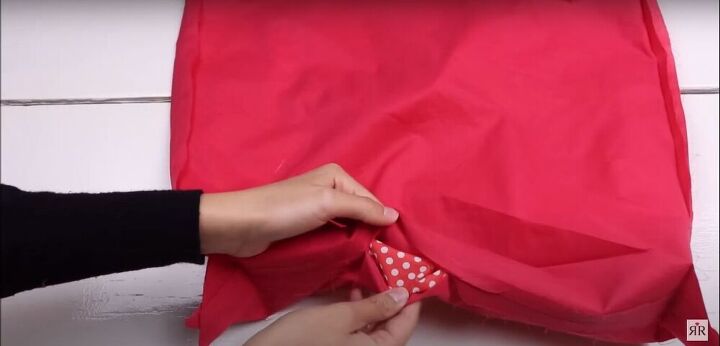
Fold, pin, and sew the outer fabric
Next, I folded the fabric for the outer part of the bag, pinned down the side seams, and sewed them closed.
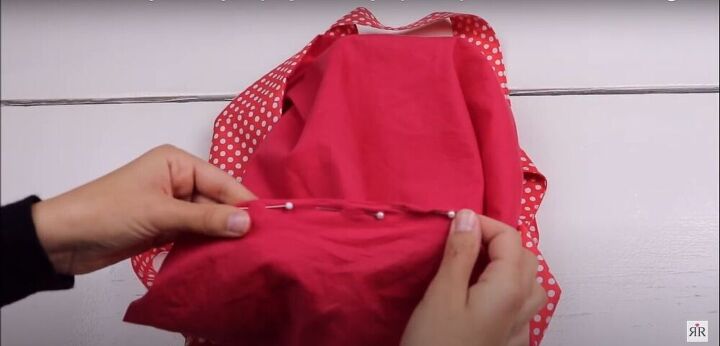
Pin and sew the lining
I laid the two pieces for the lining on top of each other, right sides facing, and pinned along the side edges and bottom edge. I left a two-inch gap unpinned along the bottom edge that will be used later to turn the bag right side out.
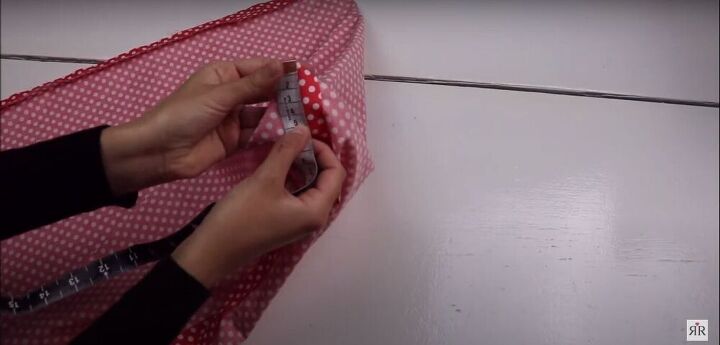
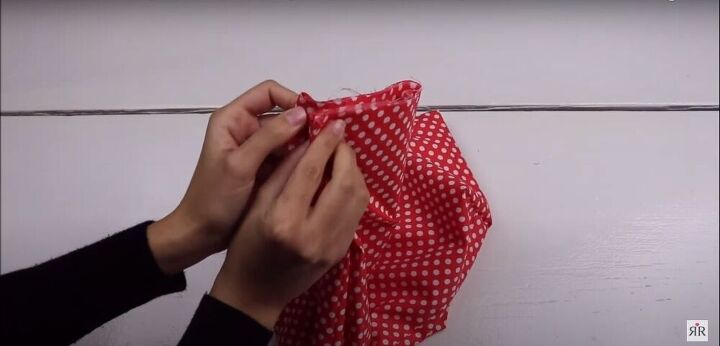
Measure and mark
From the bottom corner of the outer layer, I measured 5 centimeters (2 inches) along the side seam and marked it with a pin.
These seams will help create some depth and shape to the bottom of the bag.
I measured and marked the fabric for the lining in the same way.
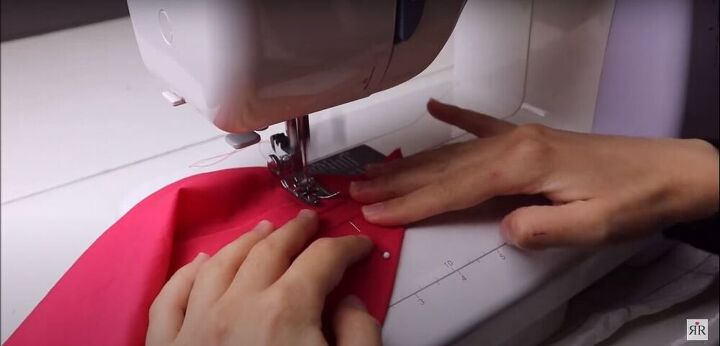
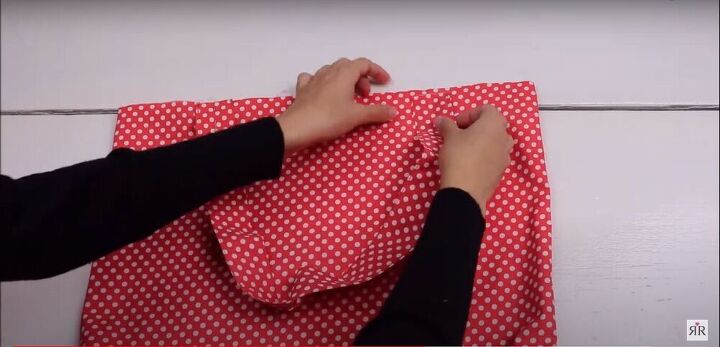
Sew it down
Then I sewed a seam along the pinned lines on both the outer fabric and the lining.
Turn the outer layer right side out
Once the corner seams were sewn, I turned my outer layer right side out.
Fold and mark the top edge of the bag
To determine where to place the handles, I folded the top edge of the bag in half twice and marked the center and quarter points with pins.
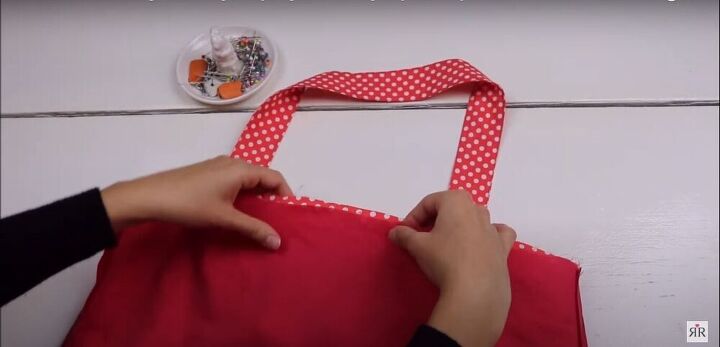
Pin and sew the handles in place
I pinned the handles in place by aligning the center of the handles’ raw edges with the marks I had made along the top edge of the bag. Before sewing, I made sure the handles are not twisted, and the handles on either side of the bag were aligned with each other.

Pull the lining over the outer fabric
With the lining still inside out and the outer layer right side out, I placed the outer layer inside the lining, using the side seams as a guide to ensure everything was straight and aligned properly.
Pin and sew along the top edge
I pinned the top edges of the lining and the outer layer together, making sure the handles were underneath the lining, and lying somewhat flat. Then I sewed a seam along the top edge.
Turn the bag right side out
Once the outer layer and the lining were sewn together, I used the gap I had left in the bottom edge of the lining to pull the outer fabric through and turn the bag right side out.
Top-stitch along the top edge
To ensure everything would lay flat, I top-stitched all the way around the opening of the bag.
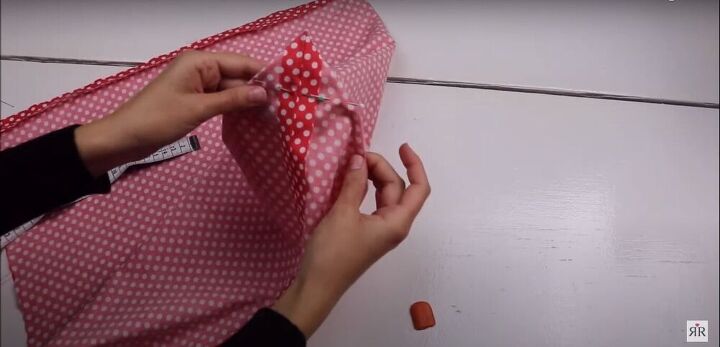
Close up the gap
For the final step, I folded the raw edges of the gap in the lining inward and stitched it closed, keeping my stitches as close to the edge as possible.
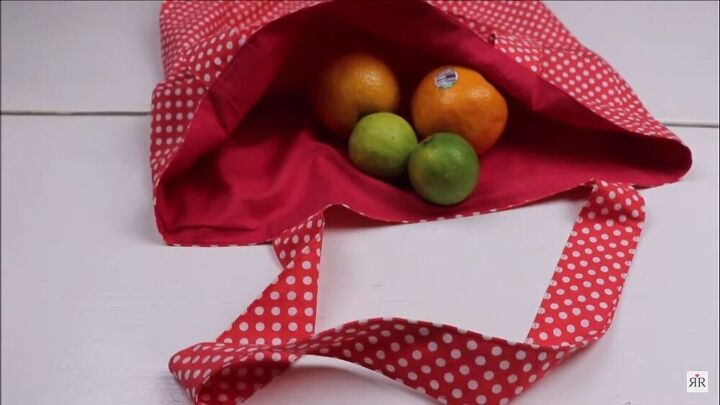
And now you have an adorable, multi-purpose tote bag made with love and your own two hands. Let me know if you enjoyed this tutorial.
The author may collect a small share of sales from the links on this page.


Comments
Join the conversation
So cute!