Make Your Own Sea Inspired Bucket Bag

Need a handy bag to store your stuff? Why not opt for a cute bucket bag? It's easy to make, and it has a different, unique shape to the normal conventional bags that we are all used to. In this bucket bag tutorial, I will show you how easy and quick it is to make one for yourself. Also, you can let your creative juices flow with this one; as you get a chance to paint and design your bucket bag the way you like. I took my inspiration from the sea's calmness and the lovely combination of colors and shapes of the seashells for my DIY bucket bag. I can't wait to show you how it looks in the end. Let's get started!
Tools and materials:
- 0.5 yd fabric of choice
- 0.5 yd lining
- Rope tassels
- Color matching rope
- Thread
- Pins
- Scissors
- Needles
- Fabric paint
- Beads and crystal stones
- Rhinestone glue
- Sewing machine
Cut your material
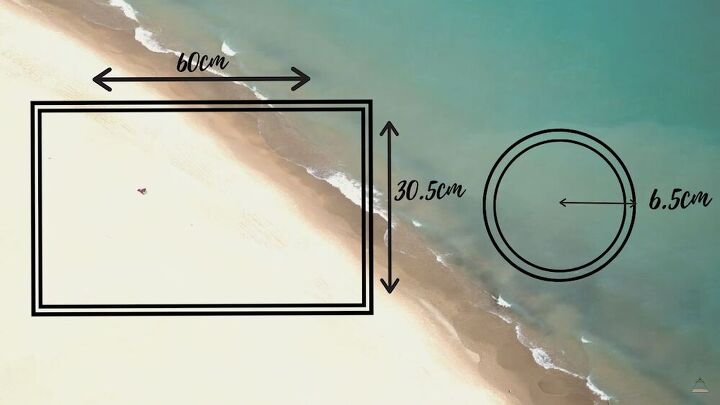
The pattern is pretty simple, and you can get the rectangular and circular measurements in the picture. Transfer these measurements to a piece of paper and then lay your pattern on your fabric.
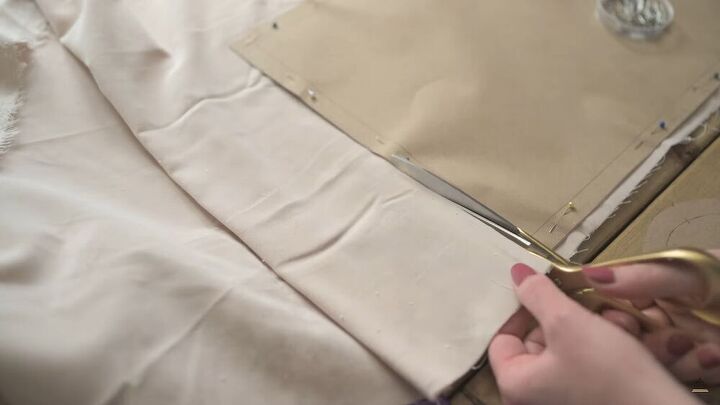
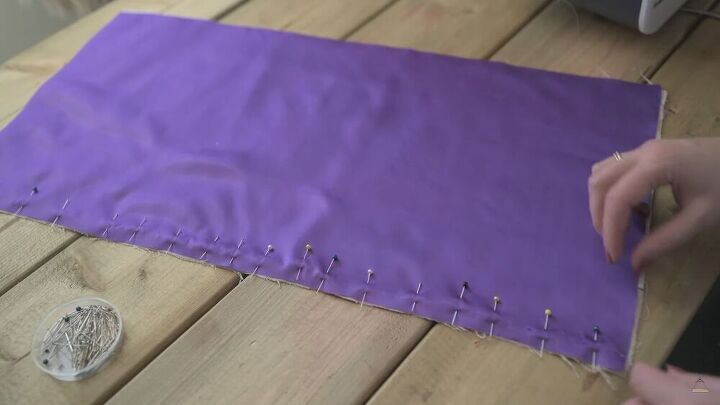
Pin the pattern on your fabric and lining and cut it out.
For the notches, I have marked where these should be placed, as shown. When you are done cutting out your fabric, make the corresponding notches, too.
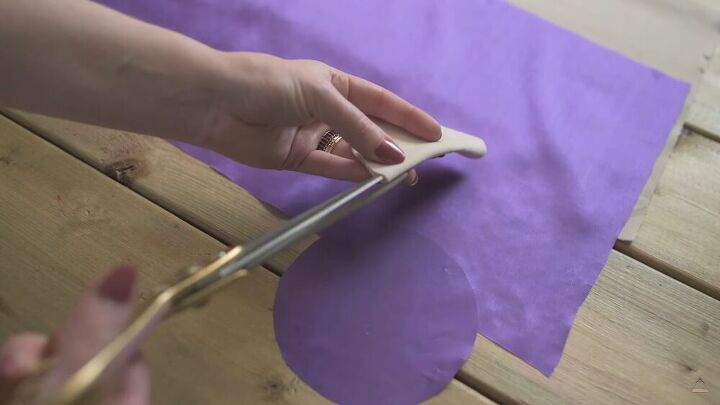
Next, using your circle pattern, cut two circles out of each fabric.
Mark the center points of the circle with a notch on either side.
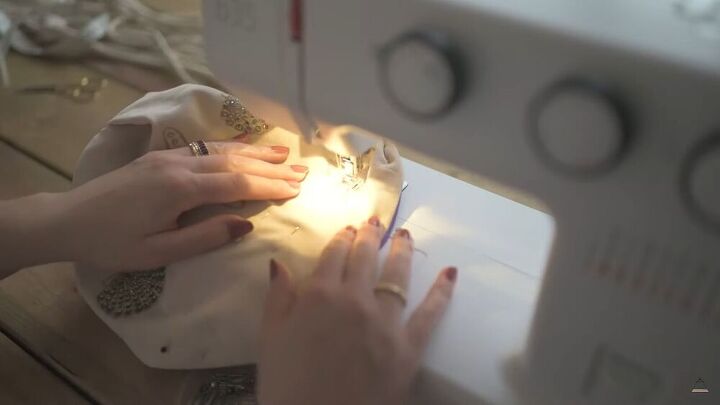
Start sewing
Go ahead and assemble your bucket bag by sewing everything in place. Start off with the top line. Pin the lining to the fabric along the seams and sew.
TIP-
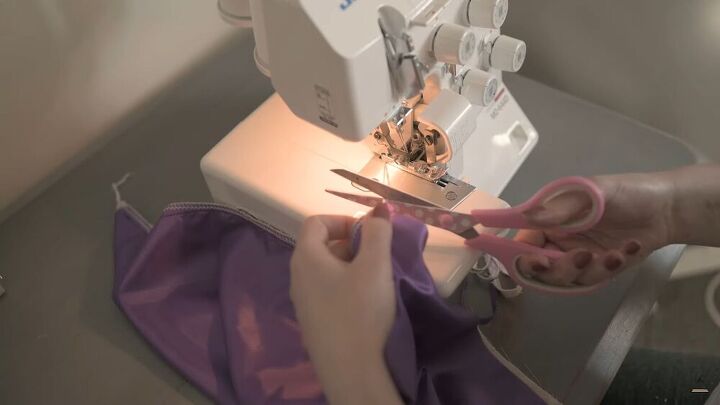
I used an overlocker for the edges; this is totally optional. It won't be visible, either.
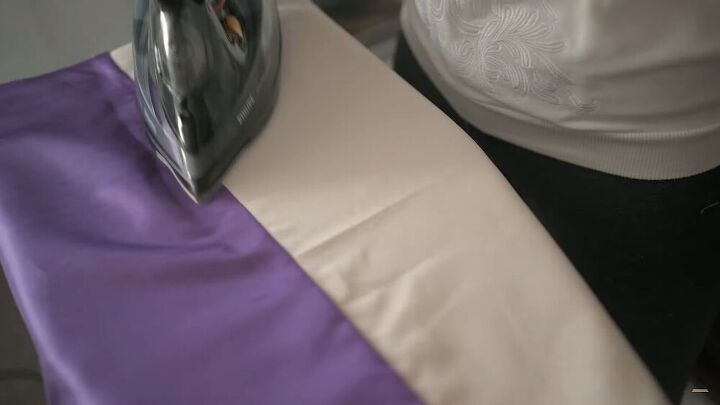
Once the top line is sewn, press the seams.
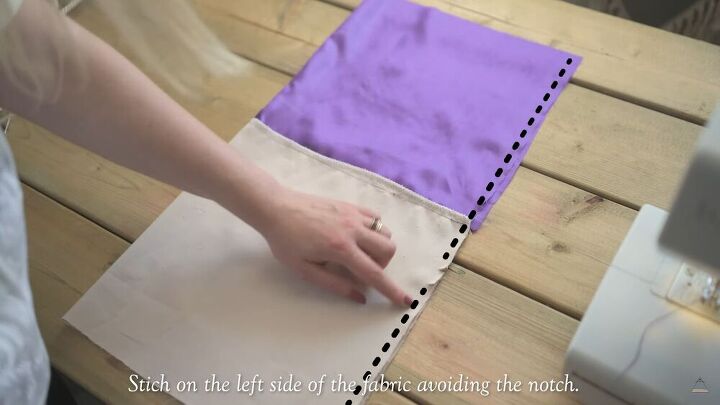
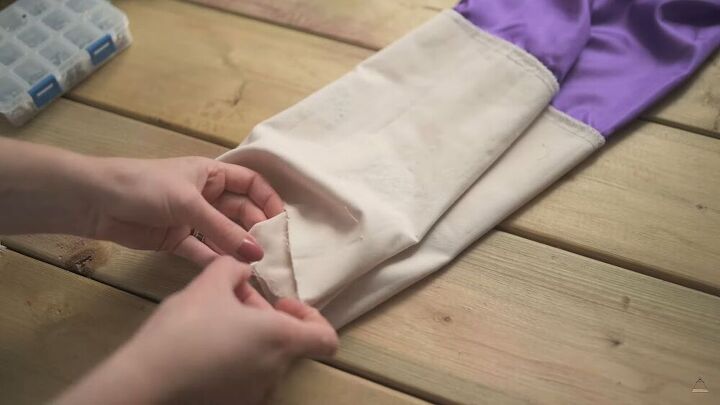
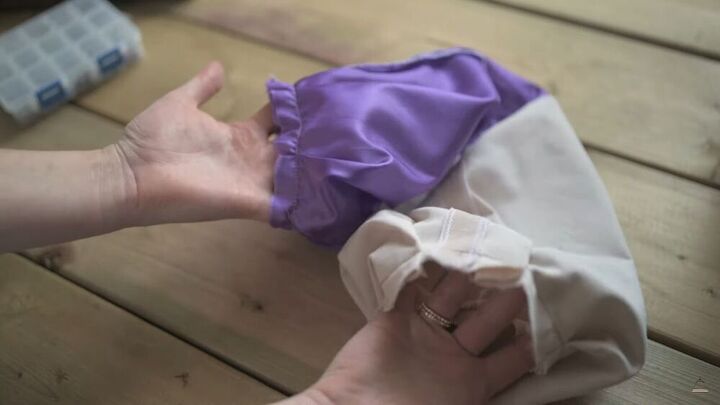
Fold your fabric in half, lengthways and right sides facing. Sew along the left side of the fabric, making sure to avoid the notch. Pin the left side in place to ensure a straight line while stitching.
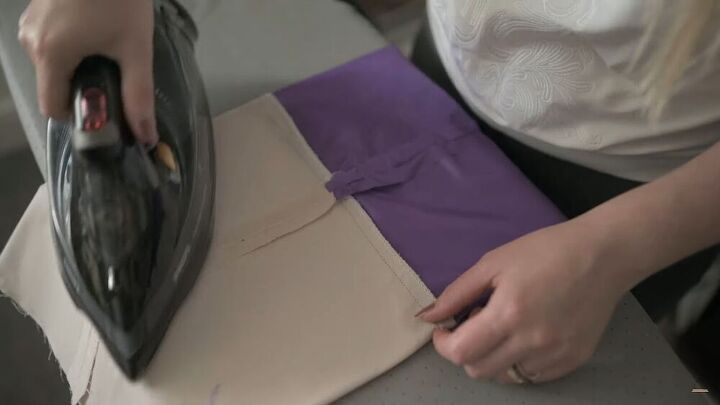
Turn your fabric inside out and press the seam.
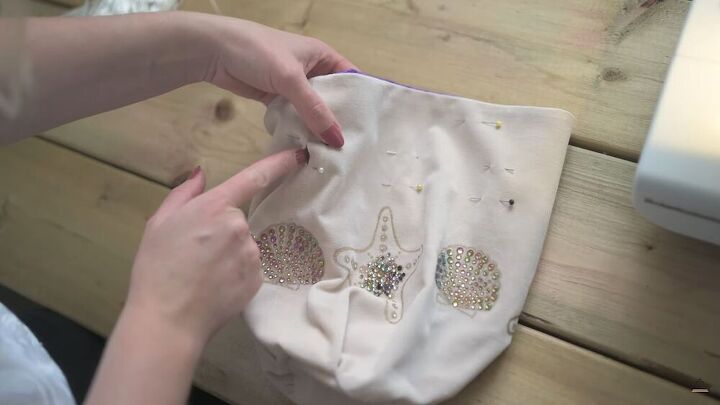
Add your decorations
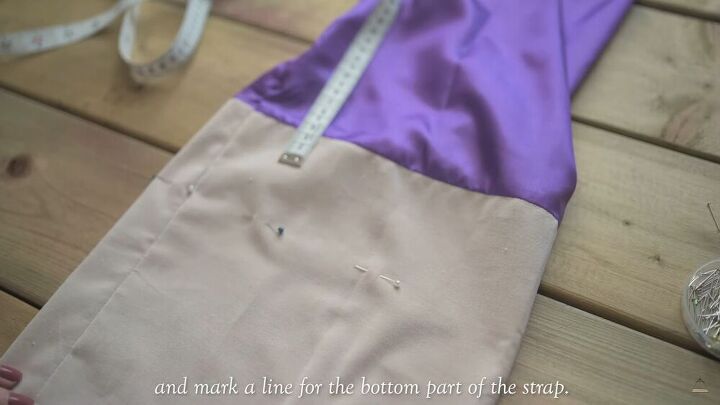
This, for me, is the fun part! Decorating! Before I drew my seashells, I pinned a line for the bottom part of my strap. This ensures that I don’t paint above this line.
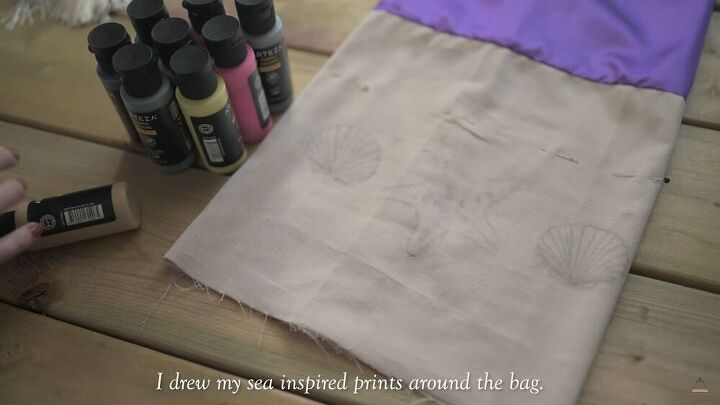
As I mentioned, I got my inspiration from the sea. So I traced the shape of three different sized seashells on the material part of my bag.
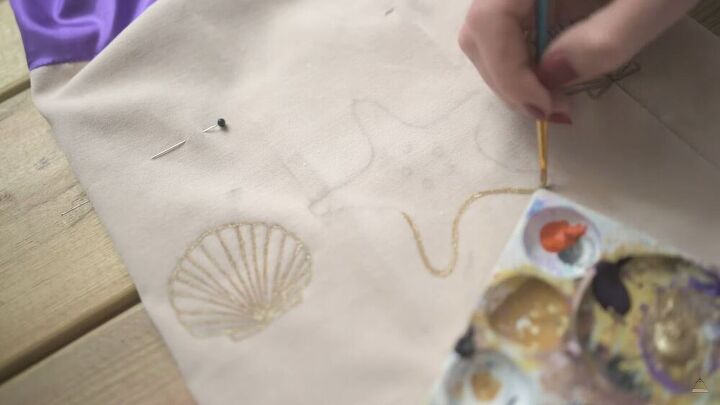
Next, I got out all my stunning fabric colors and rhinestones and let myself go! Painting and decorating is so therapeutic, and while this step can take time, it's super fun and relaxing. I outlined the shape of each shell with a dusty gold color. I repeated the same pattern on the other side of the bucket bag.
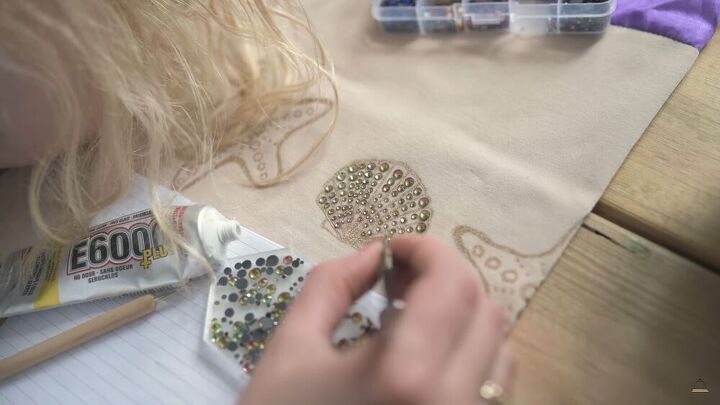
Next, to give my seashells a touch of sparkle and dimension, I embellished rhinestones all across the lines, as shown.
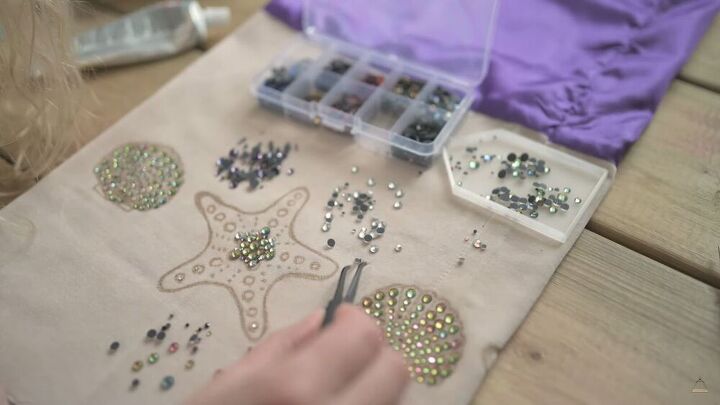
With the star-shaped seashell, I made a cute pattern from the center and extended the rhinestones out in a gradient fashion.
Make pleats
Now, make pleats at the bottom of the bag. Mark them with pins all around the bag's diameter, so you have a guide.
Stitch the pleats together and repeat this whole step on the lining.
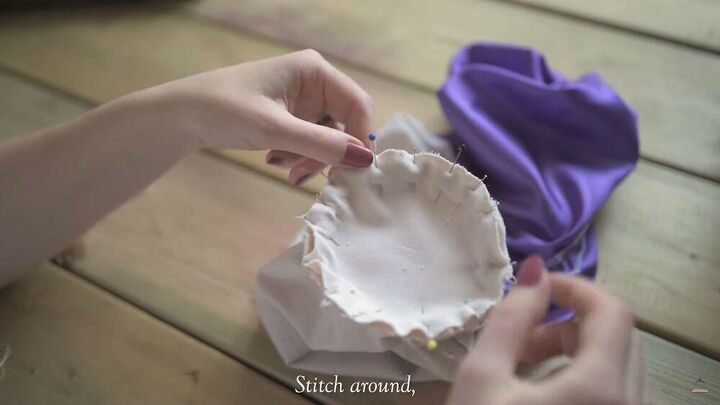
Stitch the bottom circle to the bag
Once the pleats are secured in place, stitch the circle piece at the bottom where the pleats are. Pin the fabric all around, and stitch.
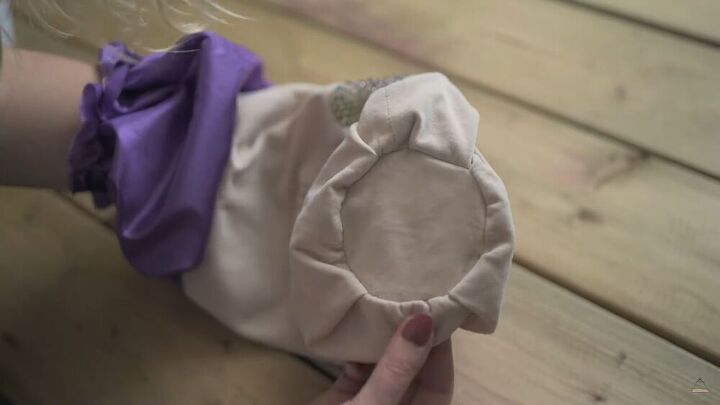
When you fold your bag right sides out, this is what it should look like.
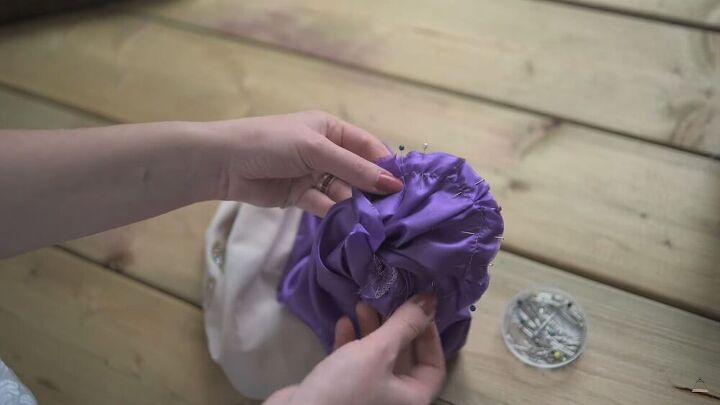
Sew the circle to the lining
Now it's time to finish off the lining part by stitching the circle lining onto the bag's lining. So, turn the bag inside out and pin it around. Start off by finding the center of the circle and matching it to the lining's side seams.
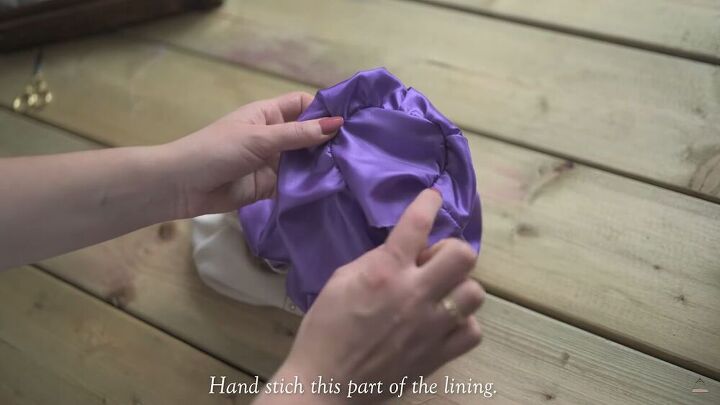
Stitch the pinned part but leave a tiny gap so that you can turn the lining inside out. Once the circle portion of the lining is turned inside out, manually stitch the gap closed.
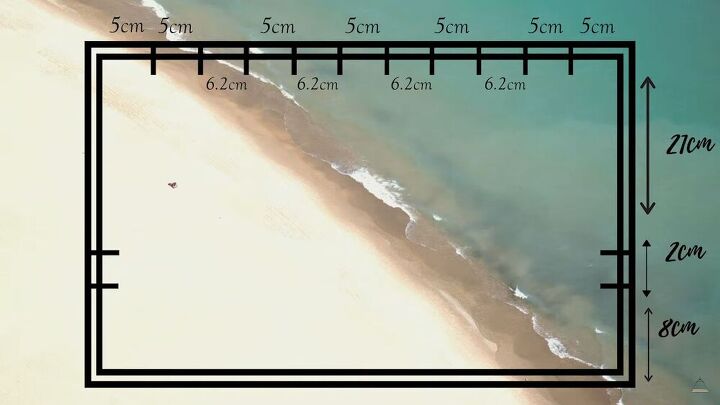
Make the strap's casing
Using your pins, make two parallel lines around the bag; you can see how I've placed the pins on the image.
Stitch both the lines around the bag, on the line where the pins are placed.
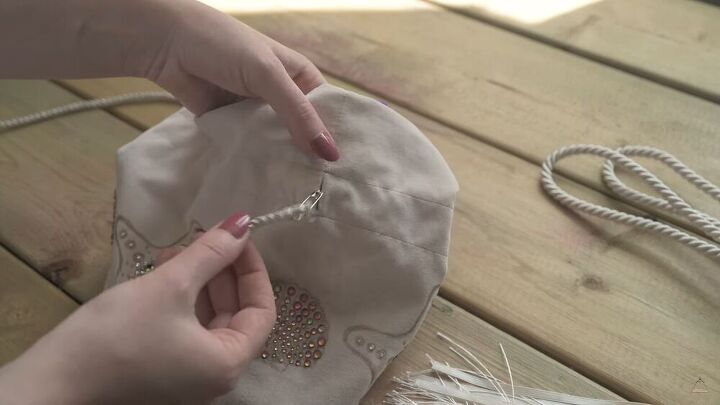
Using a safety pin, attach it to one end of your cord and carefully feed it through the holes in between the casing.
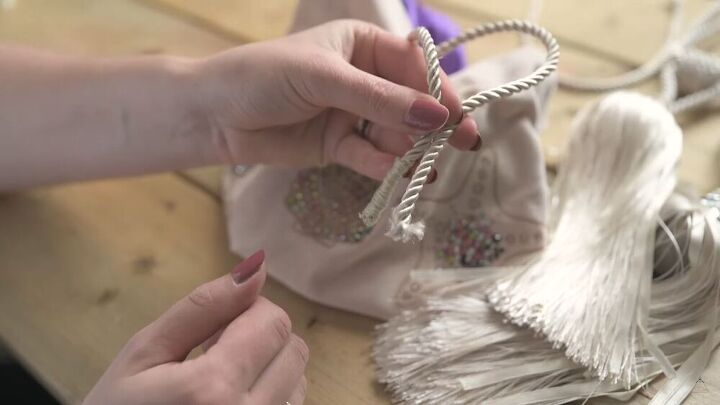
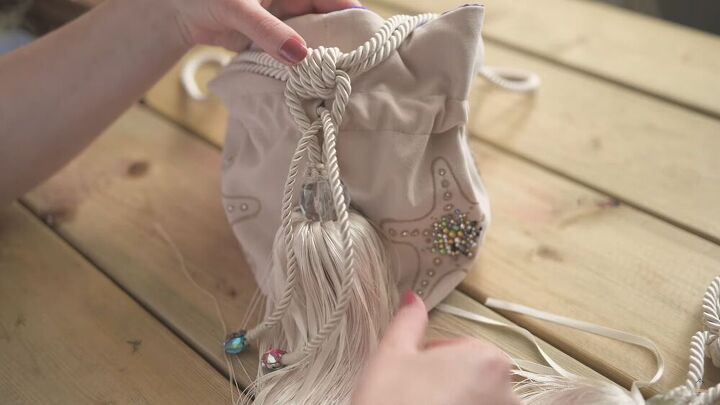
Next, measure the length of the bag handle and cut accordingly. Then, finish off the ends with embroidery thread, carefully twisting it around the ends and sewing it in place. Be sure to repeat the process on both straps.
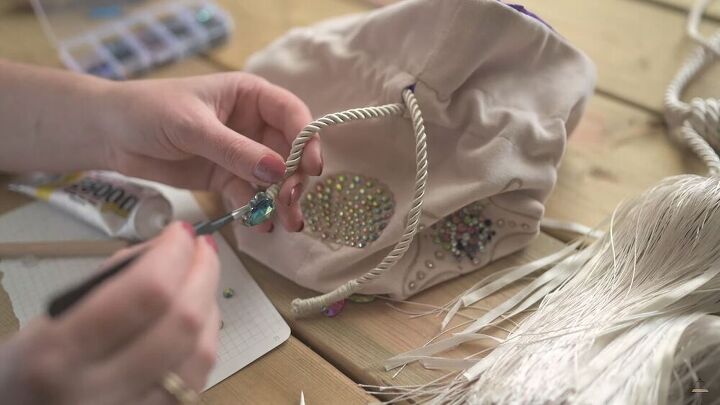
I was feeling super creative, and I added some embellishments to the ends. I think it looks so pretty and makes the bag that much more unique. I added one big embellishment on both sides of the straps, and I glued another three little stones to the sides.
Attach the bag handles
This is the last step before your beautiful bucket bag is complete. Now it's time to attach the bag handles to the sides. I take one handle and intertwine it between the sewn-on strap. Then I sew on the straps to the bag, thus ensuring it stays in place. Repeat this on both sides
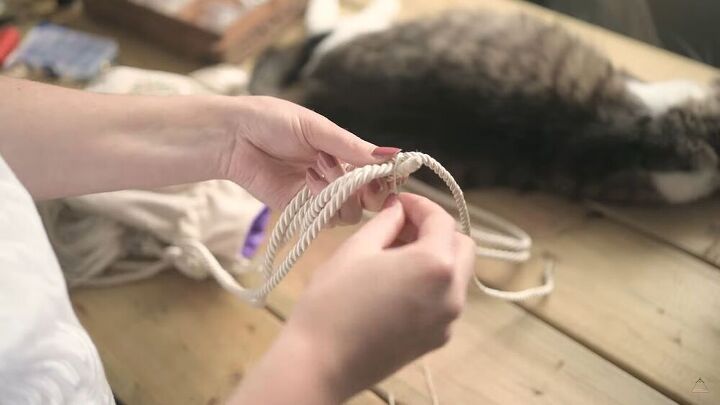
Next, take a piece of rope and attach it to both handles. Wrap around each knot with an embroidery thread and stitch as through the rope as you go along, making sure it is secure and won't fray.
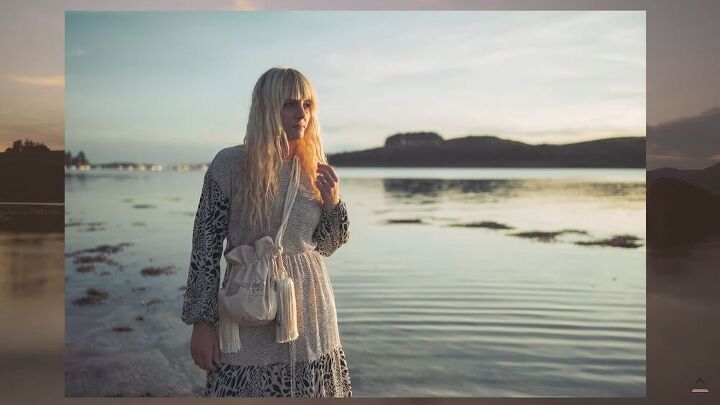
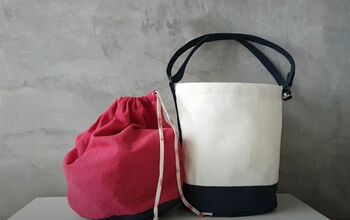
We're done! Aren't you excited to wear this out and flaunt your work of art? I love the whole look, and I love that I got to add in my little touch of creativity to the bag's decorative aspect. I hope you enjoyed this tutorial and that you now have the inspiration ( and the motivation) to try this easy bucket bag for yourself.
The author may collect a small share of sales from the links on this page.


Comments
Join the conversation
So special! Looks like a gr8 gift to bring home treasures from the beach! Thank you for sharing and inspiring!