DIY Cross-Back Reversible Apron Pattern-Linen and Cotton

In this post, I share how you can not only make your own cross-back reversible linen and cotton apron but also how to make your own pattern. This post contains affiliate links.
These aprons are so handy! You can slip it over your head before you cook or as you head out to the garden or to do chores. No need to tie, slip it on! I think these aprons are timeless and beautiful. Stay with me, even if you don’t sew, I did a round-up of some of the most beautiful and affordable linen cross-back aprons that I could find.
This is going to look like a lot of steps, but trust me, this isn’t as difficult as it looks.
Why Should you Wear an Apron?
I wear aprons sometimes, I really want to wear them more. Women from the past were so wise to wear them! I recently made a garden apron and am looking forward to using it. Keeping your tools and seeds at hand just seems logical.
I am not a neat or tidy cook. I have many grease-stained t-shirts to prove it, so I am purposing to wear aprons more. Plus, I just feel ultra-productive when I am wearing one! I love having a place to wipe my hands quickly.
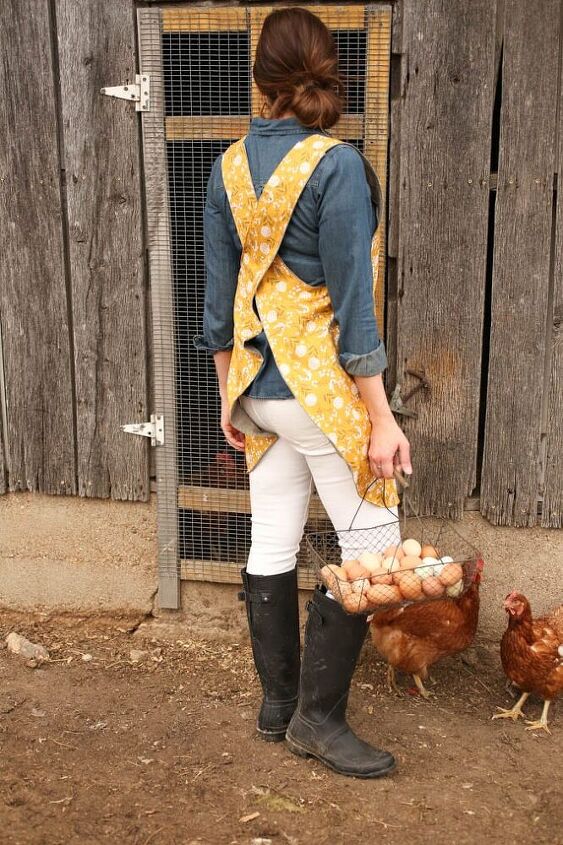
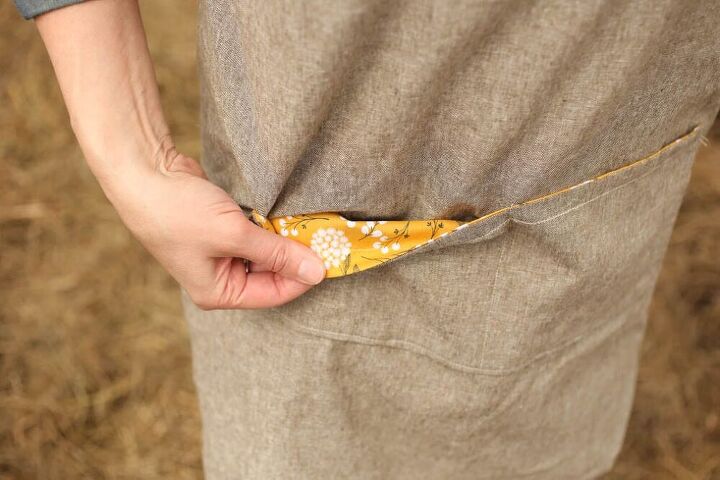
I really like this style because it is so easy to slip on, no need to tie it. Plus..pockets, I mean how handy are those? I think this style is also called a pinafore style. Let’s make and wear a reversible cross-back apron!
A Reversible Cross Back Apron
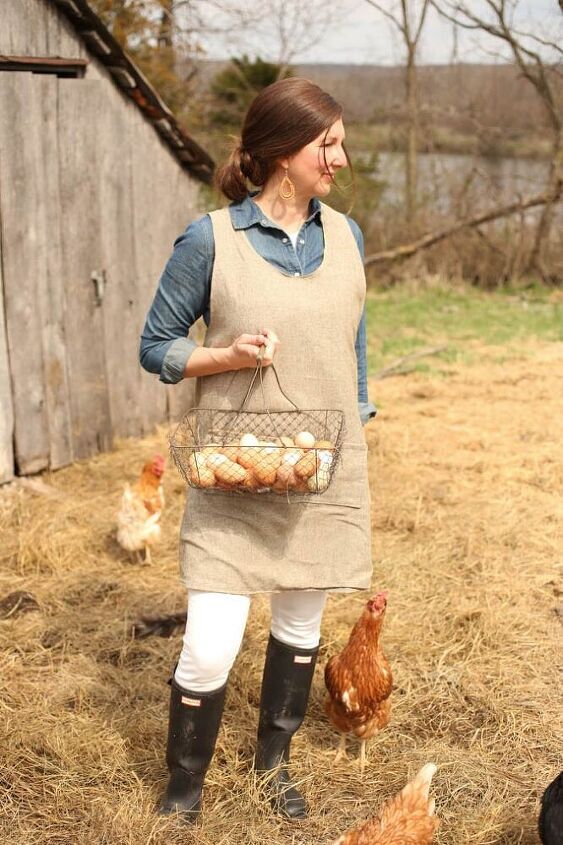
I have seen lots of tutorials on how to make various styles of linen cross back or japanese style cross back aprons. However, I didn’t see any that I loved for reversible ones! I am terrible at following patterns anyway, so I decided to make up my own.
This apron uses about a yard and a half of a solid cotton-linen blend and a patterned cotton fabric. I bought this linen-blend here, the color is olive, there is also indigo and red to choose from. The dandelion print came from Hobby Lobby and I absolutely love it!
You will need an old sheet of tablecloth for making the pattern. Then you will need a yard and a half of fabric for the front, and a yard an a half for the back. This fabric should be at least 42″ wide.
How to Make Your Own Cross-Back Apron Pattern
I will give you the measurements that I used, and you can go off of that, I am about 5’9″ and a size 6. I would say this would fit the average sized person. However, if you are much larger or much smaller, then you may want to adjust your measurements accordingly.
This is my rough pattern sketch, all measurements are approximate.
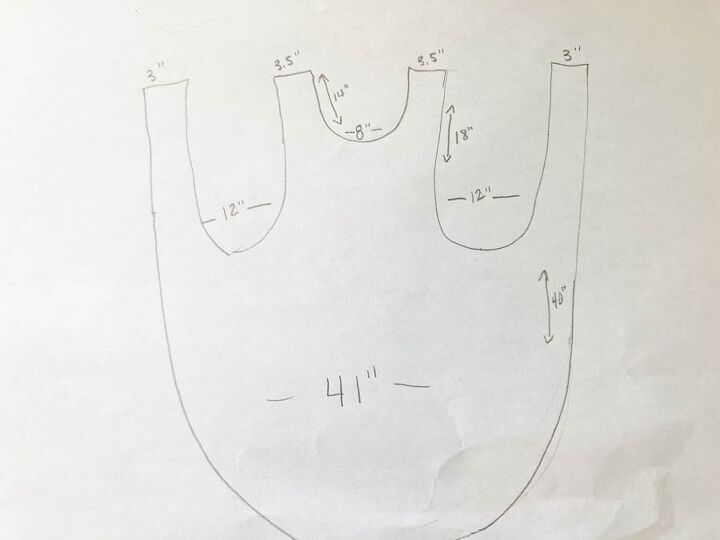
Choose fabric that is at least 42″ wide. The finished apron is approximately 41″.
From shoulder to front scoop is approximately 14″ this is the neckline
From shoulder to underarm is approximately 18″
Strap width is 3.5″ in on the front and 3″ on the back, so that you can tuck one inside the other to make it reversible.
The pocket is 15″x16″
This Video will Help You Make a Pattern
This video isn’t terribly long, around 5 minutes, but it will help you to see how I made the pattern.
Step 1: Choose an Old Sheet or Tablecloth for you Pattern.
I made two patterns just to practice. One out of an old sheet and one from a tablecloth. This looks like a lot of steps, but it is really simple and you are just making your own pattern for the apron.
Step 2: Fold the Fabric and Iron a Seam down the Center
Lay the fabric out and fold it lengthwise. Give it a quick press so that it is nice and smooth and easy to work with.
Step 3: Begin to trace the neckline
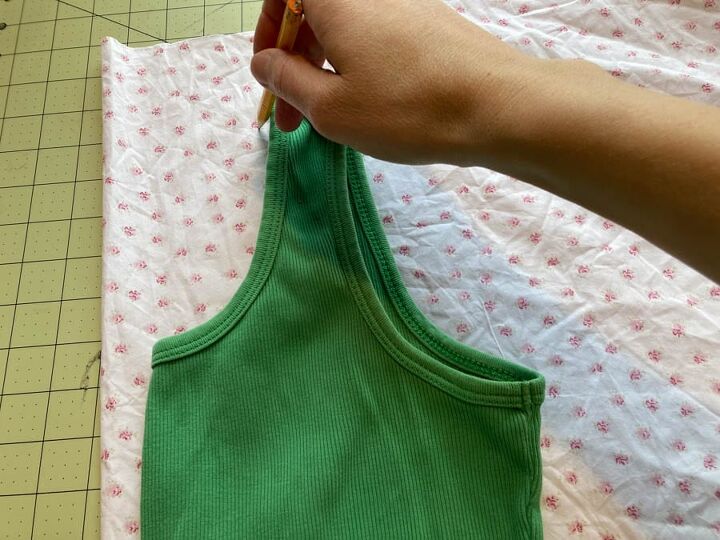
Using a tank top that fits you, begin to trace along the straps and neckline, go at least 1/2 inch larger than you want it to be, this allows for the seam. The width of the straps is 3.5″ and 3 “. Slide the shirt down as you go allowing approximately 18″ for the armholes. You can make the armholes as large as you like. The approximate width of the armholes is 10″. If you want it to be less fitted, go large like 25″ inches. Mine is fairly fitted and the armholes are approximately 18”. From the top of the strap to the neckline is approximately 14″, again if you want a bigger scoop, go for it.
Step 4: Draw the Straps
Following from the bottom of the arm hole, angle a line up to the top of the fabric. Measure over to match the width of the front strap minus approximately 1/2 inch. This will allow you to join the strap to the front and make it reversible.
Step 5: Draw the Body
After you have measured over the width of the strap begin drawing a line straight down along the edge of the fabric. Stop and then measure down the front of the seam for how long you want the apron to be. Now, going from the fold using a slightly rounded line draw a line from the front fold to the line for the strap until the two lines meet. My apron length is approximately 40″.

Step 5: Cut out the pattern
Cut the pattern out, and then pin it at the top and try it on to see if it suits you.
How to Make Your Own Cross-Back Reversible Apron
Now that you have made your own pattern, it is very simple to actually make the apron.
Prewash Your Fabric
First, I don’t like this step, it makes me feel irritable! However, if you are concerned with it shrinking after washing, you should probably be a good seamstress and wash and dry the fabric first. Please don’t ask me if I did or not!
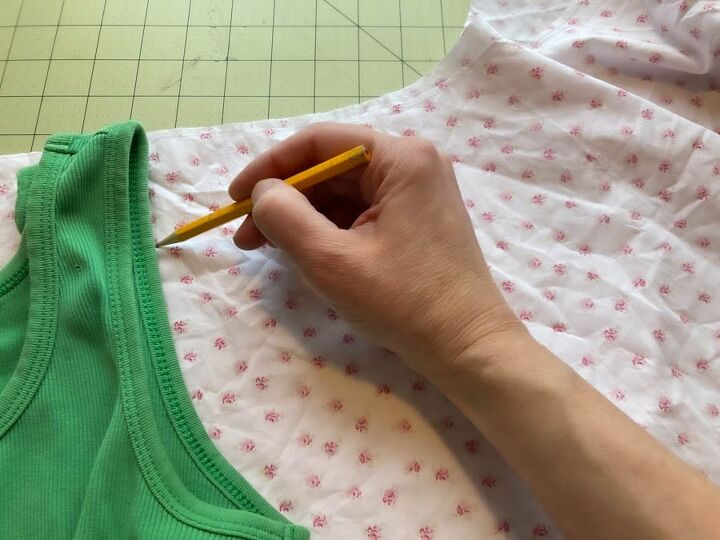
Trace the Pattern
Using a washable marker or a disappearing sewing pen, or just a pencil like me, trace your pattern onto the linen fabric and also on the cotton.
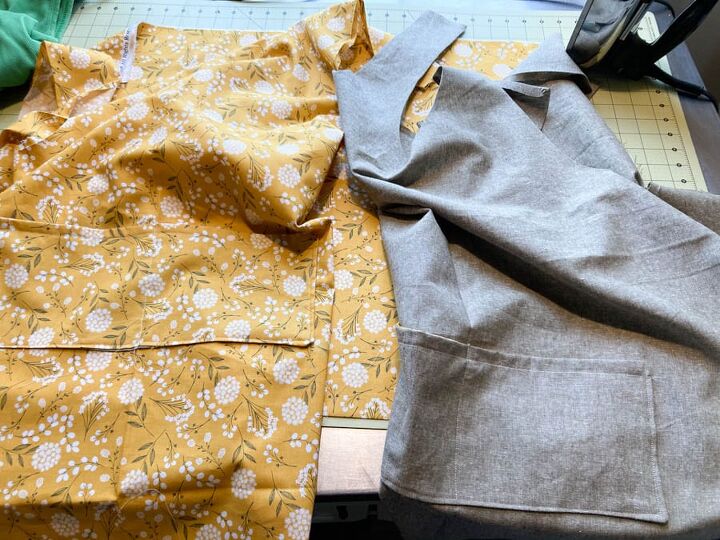
Cut Out the Apron
Cut out both of the aprons.
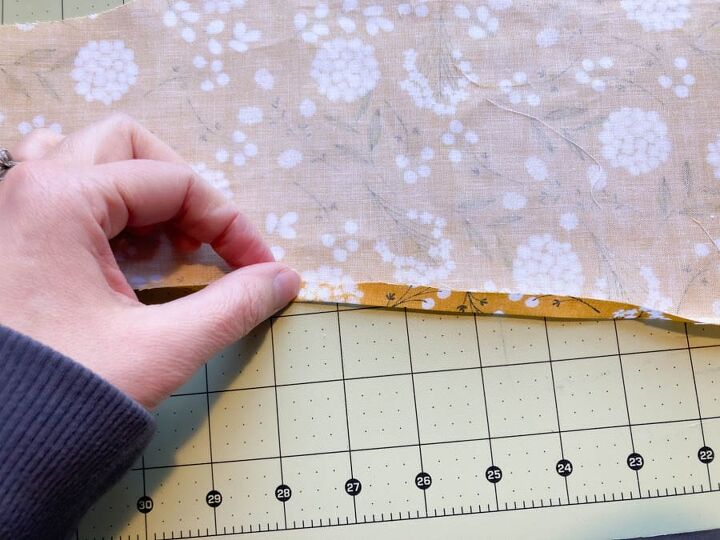
Press a 1/2″ hem
Press a hem all around both aprons. 1/2″ works well. Press a hem on the tops of the straps as well.
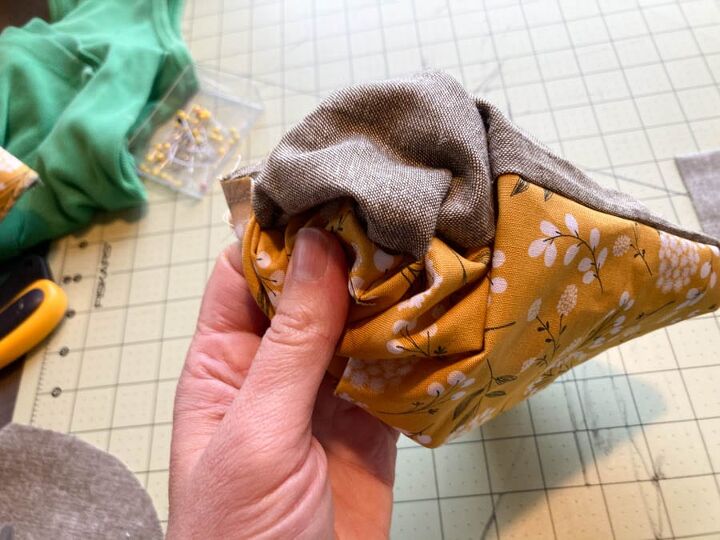
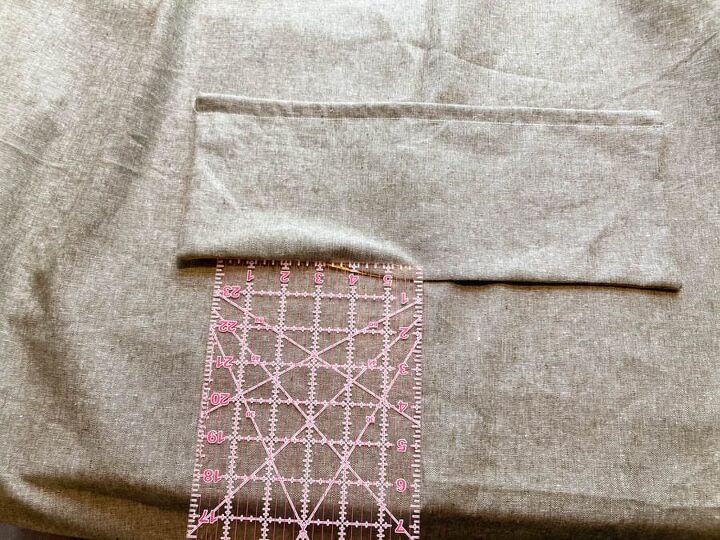
Make the Pockets for the cross-back reversible apron
For the pockets, I cut two pieces of fabric, 15″ x 6″ from the linen and two from the yellow pattern. I sewed these together right sides facing and then left about a 3″ hole to turn it right-side-out. I wanted the inside of the pocket to be the opposite pattern of the outside. Give the pocket a press with the iron.
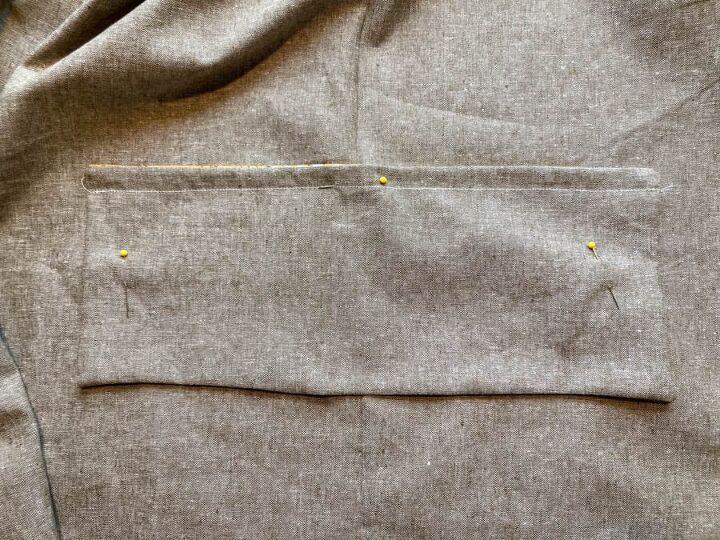
Pin the pocket in place, Mine is 9″ up from the bottom and centered on the apron. Stitch around the outside edges making sure the place where you left it open is on the bottom so that it gets stitched closed.
Next, stitch a line straight down the center so that you have two pocket openings if you want.
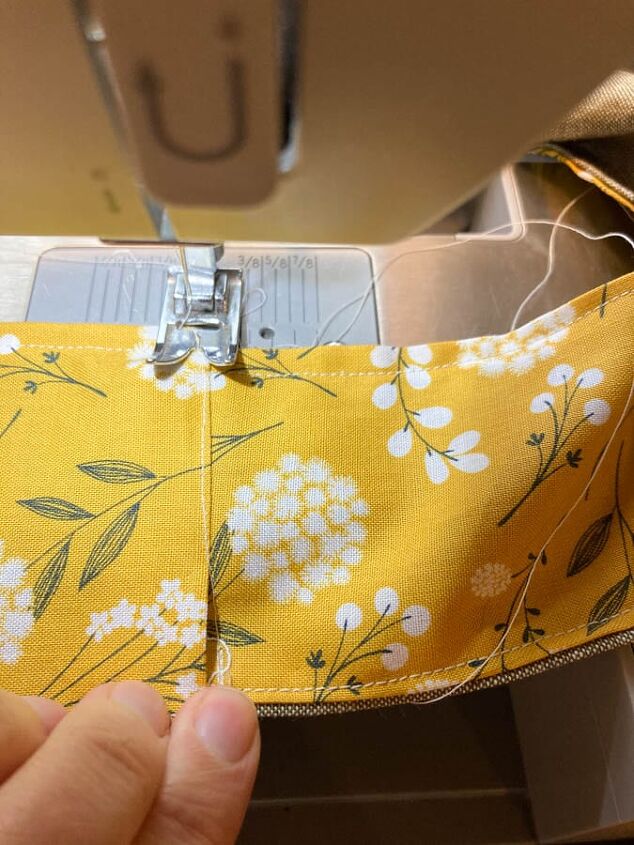
Stitch the Two Aprons Together
Now that the pockets are on the aprons, and the hems are pressed. You simple place both aprons together right sides facing out . Stitch all along the outside hem. Leave the tops of the straps open.
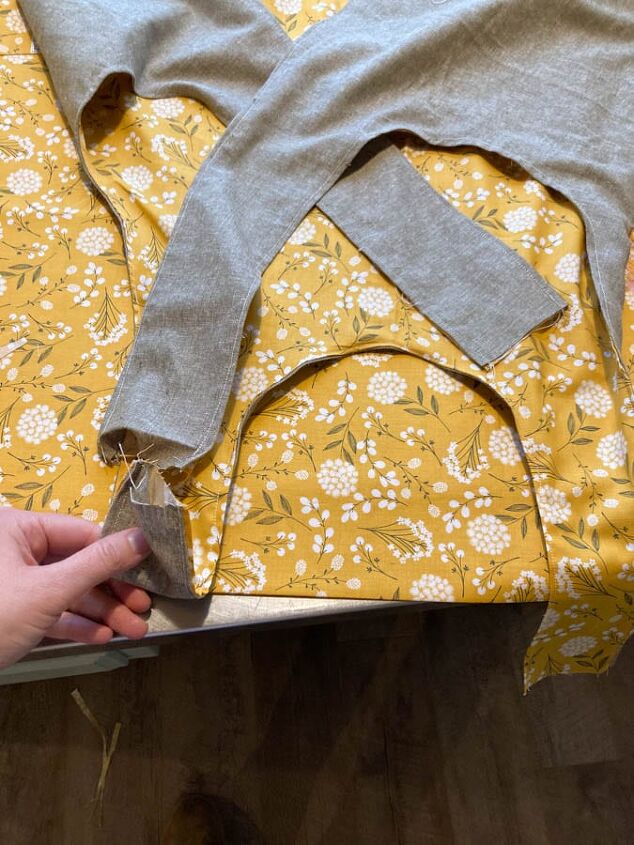
Cross the Straps
Take the straps and cross over so that the bottom left strap reaches up to meet the top right strap and vice versa on the other side.
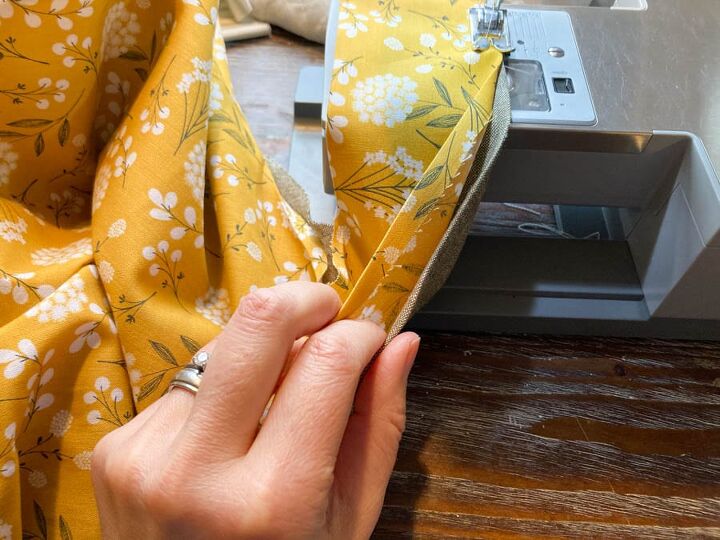
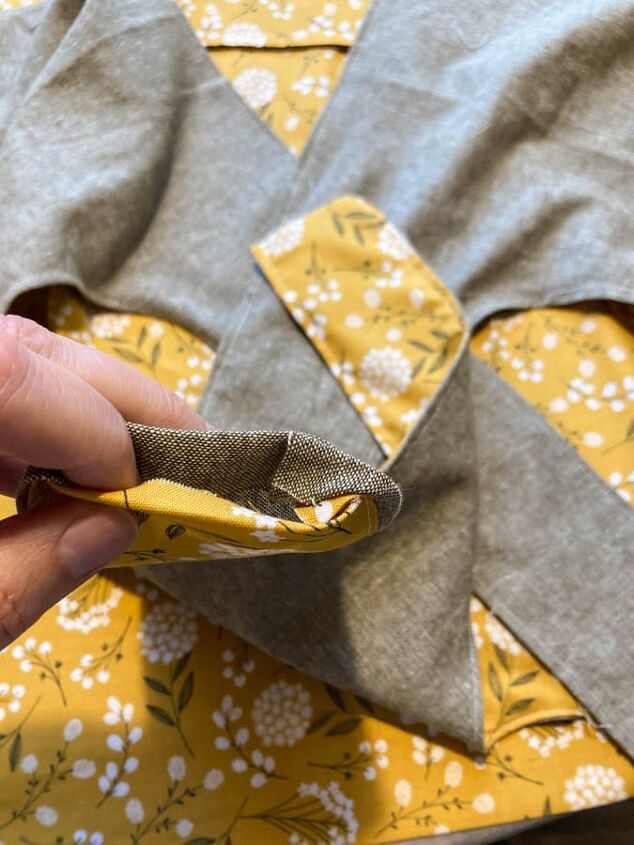
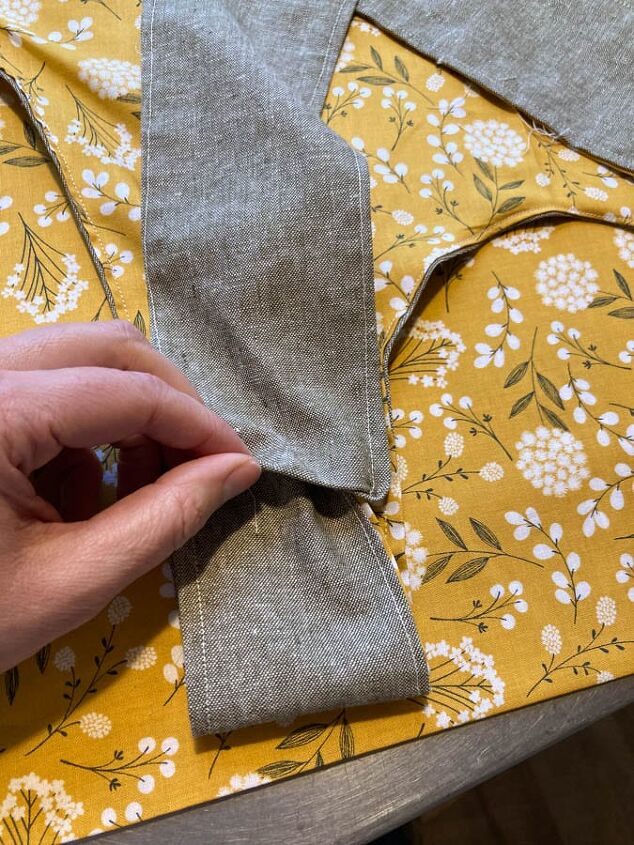
Nest the Straps
Slide the slightly smaller strap inside the larger one. The edges should be pressed and neat. Now, just stitch along the seam to join the two straps together.
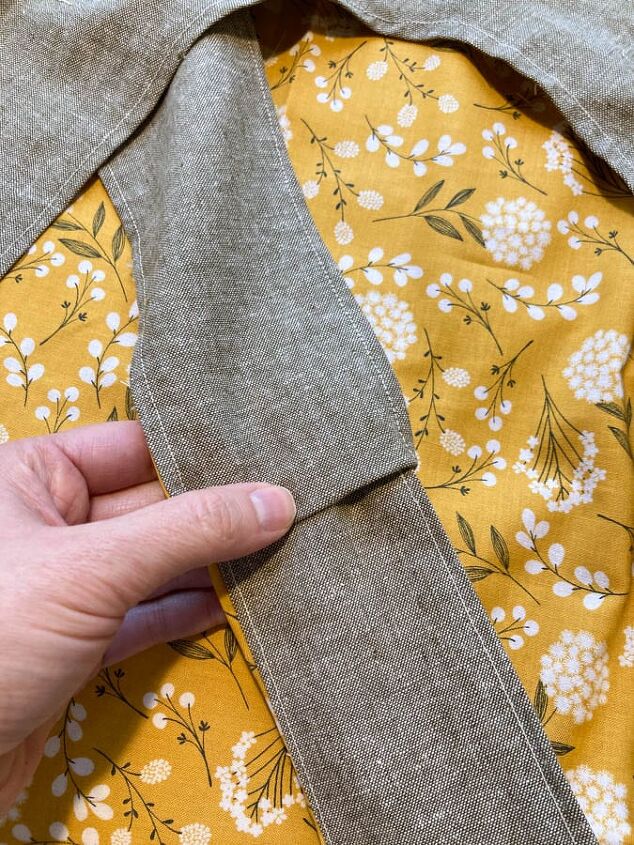
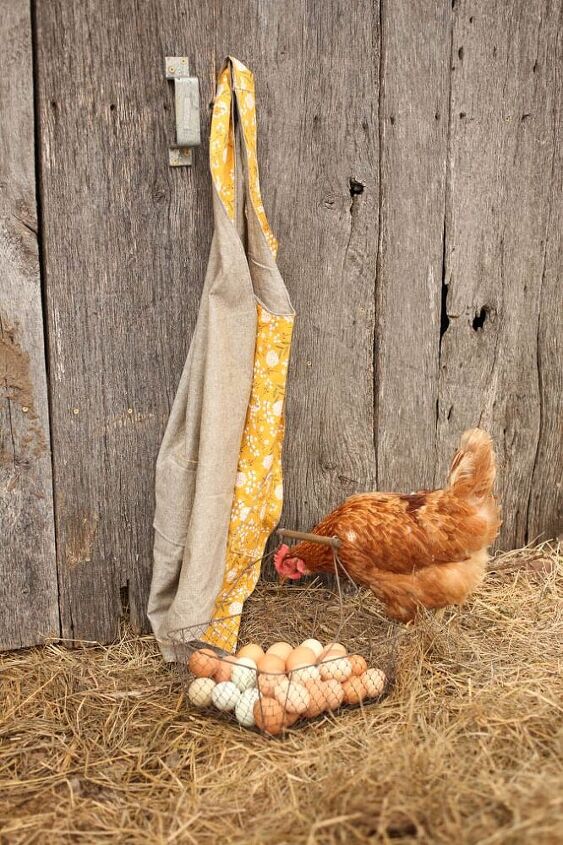
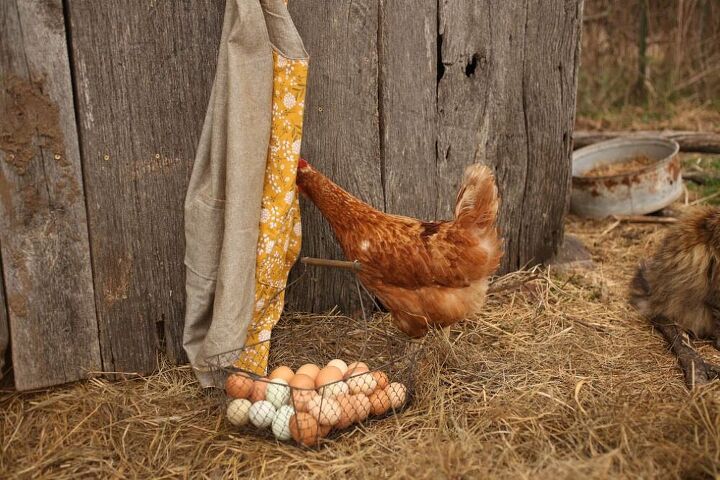
That’s It! Now You Have a Handmade Cross Back Apron!
This cross-back reversible apron is chicken approved! Yes, I always hang my aprons outside on the barn…
At the bottom of the post on my blog, I have collected loads of crossback pinafore aprons that you can buy!
A Collection of Cross-Back Pinafore Style Aprons You Can Buy!
The author may collect a small share of sales from the links on this page.


Comments
Join the conversation
Sounds like you enjoy life! Thank you! I just added a simple cross-back linen apron tutorial to my blog, a different style than this one. I haven't added it here yet but will. You can see it here.
Like you also wear aprons when I cook in order to avoid those grease spattered tops. I always have one hanging from the pantry door handle. There is a really sweet post I have seen on FB about why Grandma always wore and apron.... to bring eggs and veggies in from the garden and to wipe tears away from from children but I always use a basket in the garden myself. I have no chickens but I see you do!