Men’s Jeans to Denim Jumpsuit Thrift Flip Transformation

In this tutorial, I’m going to be creating a denim patchwork jumpsuit. I will show you the denim I used but feel free to play around with different colored denim pieces, depending on what you have to work with. This is a great piece that can be with a layer over it, or even all on its own.
Tools and materials:
- 2 pairs of men’s jeans
- Seam ripper
- Elastic band
- Ruler
- Measuring tape
- Fabric chalk
- Scissors
- Pins
- Safety pin
- Sewing machine

Ensure the waist of the jeans is wide enough
For this project, you need two pairs of jeans with waistlines bigger than your bust measurement.

Unstitch the legs of the jeans
With a seam ripper, unstitch the seams between the legs of the jeans, remove the zipper, and remove the waistband from both pairs of jeans.
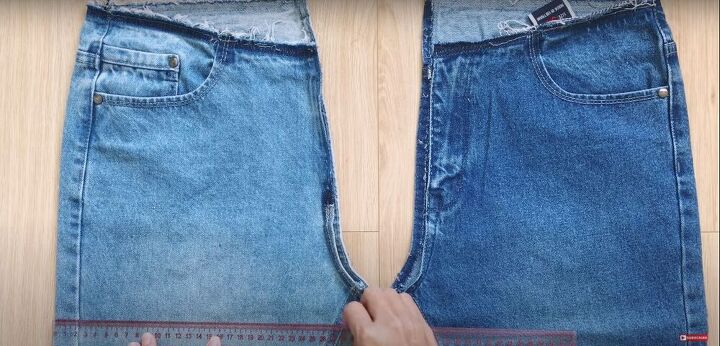
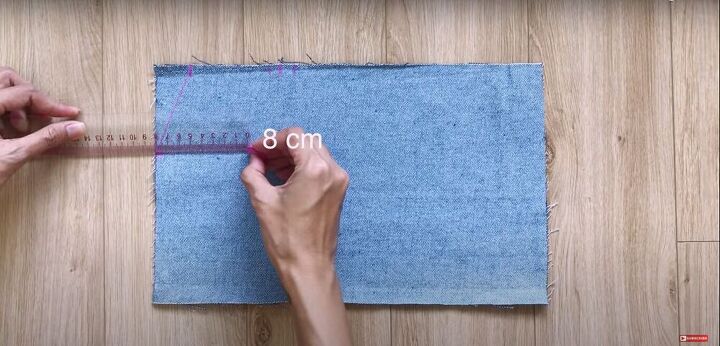
Mark a new crotch seam
If you’re using high-waisted jeans, you can skip this step. Mark a new crotch seam along the inner seam of the jeans. Make sure the width of the leg from the side fold to your new mark is bigger than ¼ of your hip measurement.
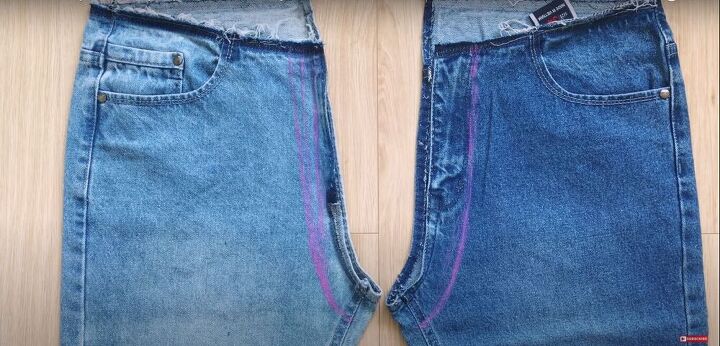
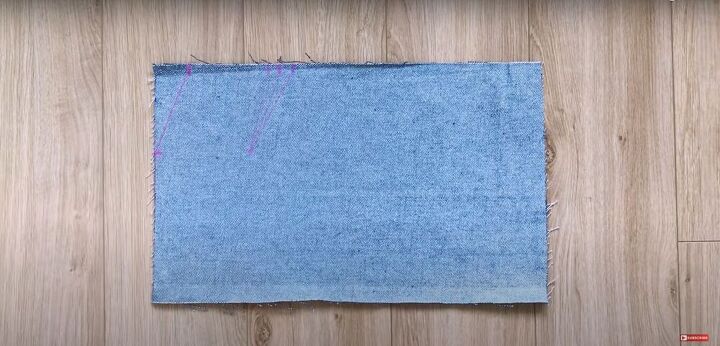
Use the curve of the jeans as a guide to trace a new line. Do this for both legs, and on the front and back of each one.
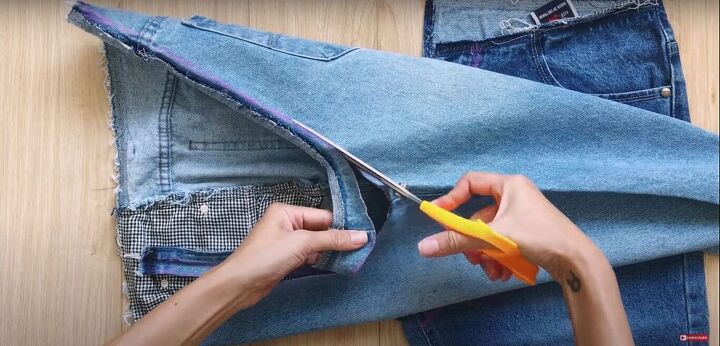
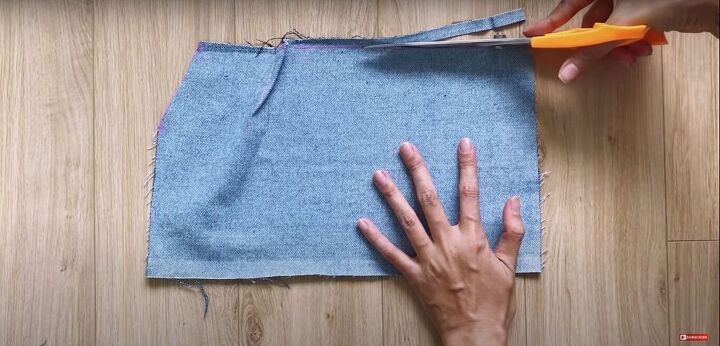
Cut
Cut along the marked lines.

Overlock the raw edges
Zigzag stitch along the raw edges to prevent fraying.

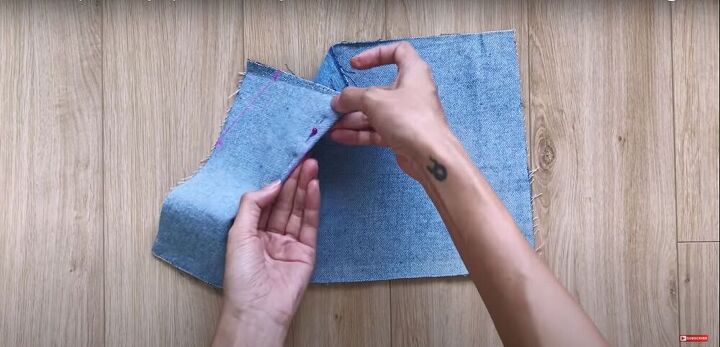
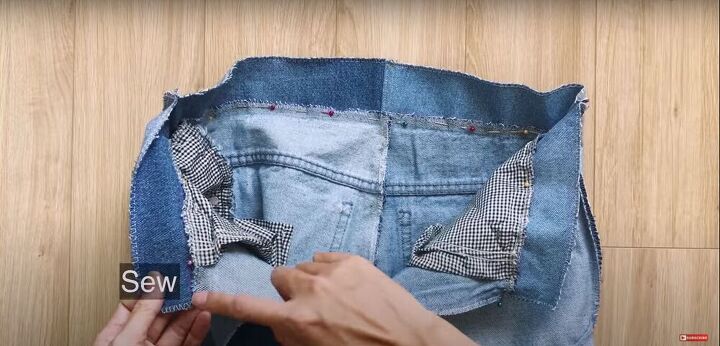
Pin and sew the legs together
Pin the inner seams of the jeans’ legs together.
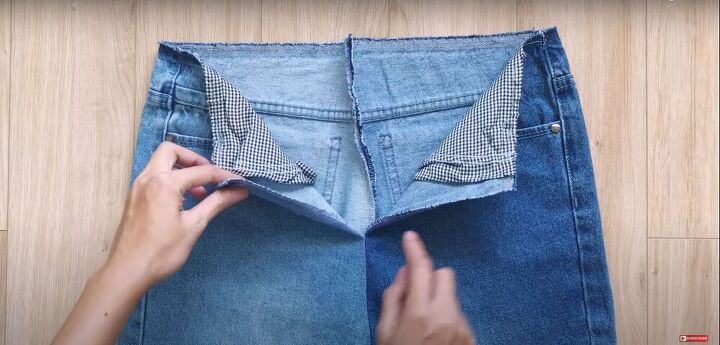
Leave about 20 centimeters (8 inches) open in the front to place the zipper later.
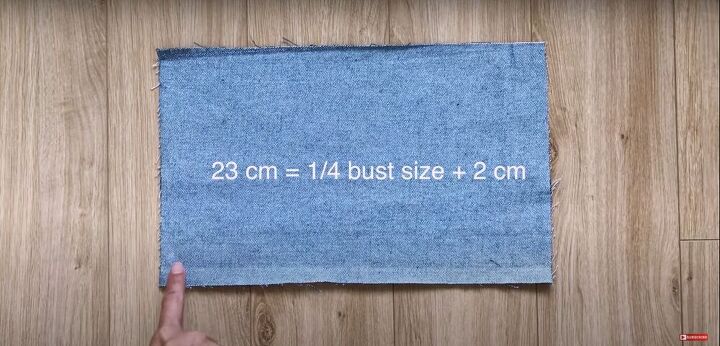
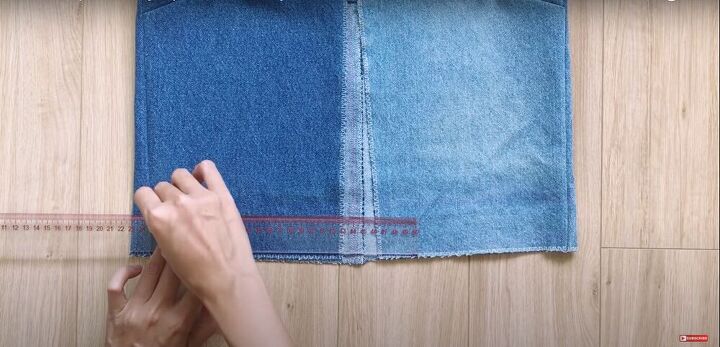
Cut pieces for the front bodice
To make the front bodice, cut two rectangles. The width of the rectangles should be ¼ of your bust size plus 2 centimeters (¾ of an inch). The length should be the length from your chest to your belly button plus 5 centimeters (2 inches).
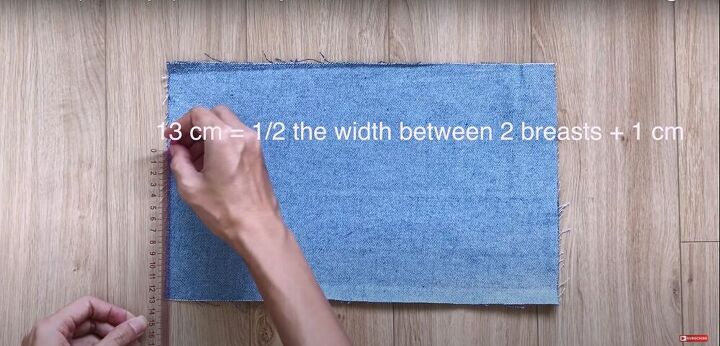
Mark lines for trimming and darts
Measure the space between your breasts, divide that number in half and add 1 centimeter (0.4 inches). Measure that same amount on the short side of your triangle, and mark that point.
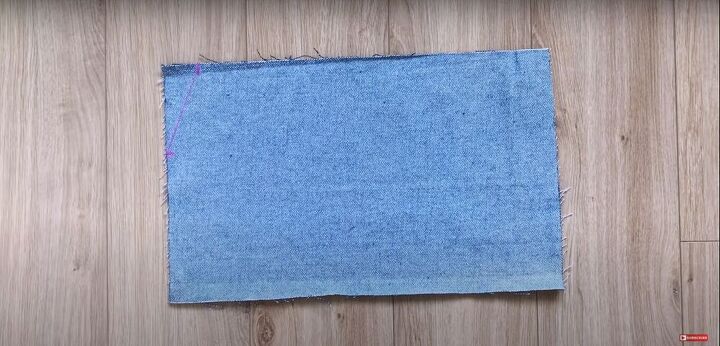
Next, measure 3 centimeters (1 inch) from the corner on the long side of the rectangle and mark it. Then connect the two marks with a straight line.
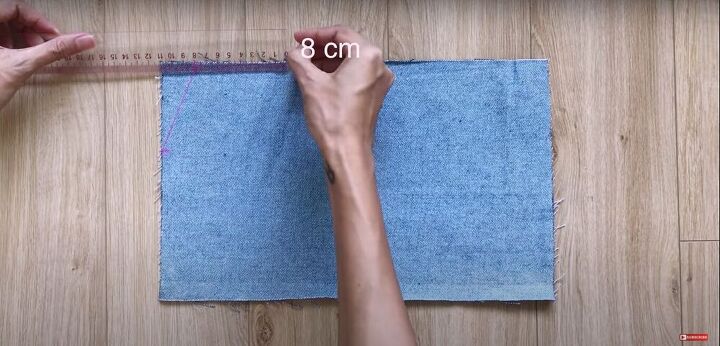
From the 3 centimeter (1 inch) mark, measure another 8 centimeters (3 inches) on the long edge of the rectangle, and mark it.
Measure 8 centimeters (3 inches) inward from the mark on the short edge of the rectangle, and mark that point.
Measure 1 centimeter (½ an inch) on either side of the mark you made farther along the long edge, and mark both those points. Connect each of those three marks with a straight line to the mark made inside the rectangle.
Fold and pin
Fold the fabric along the middle line of the three lines you just marked, and pin the fabric in place. Sew it down along one of the outer lines.
Trim the fabric
Cut off the triangle you marked in the corner, and trim the top of the rectangle so the edge with the dart is straight.
Repeat these steps for the second side of the front bodice, as well.
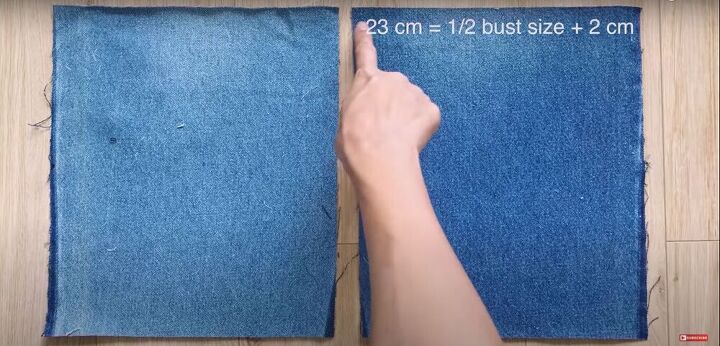
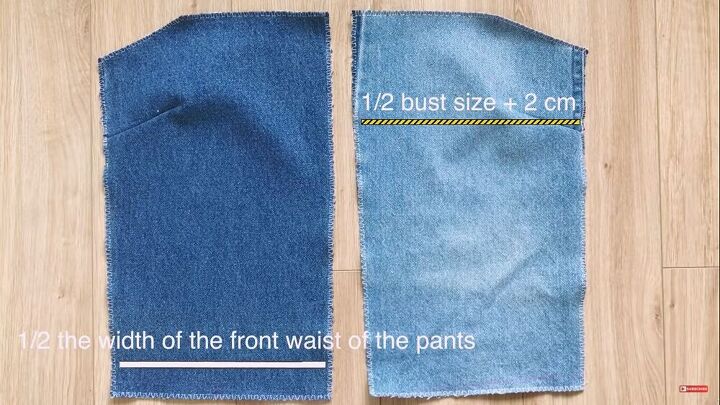
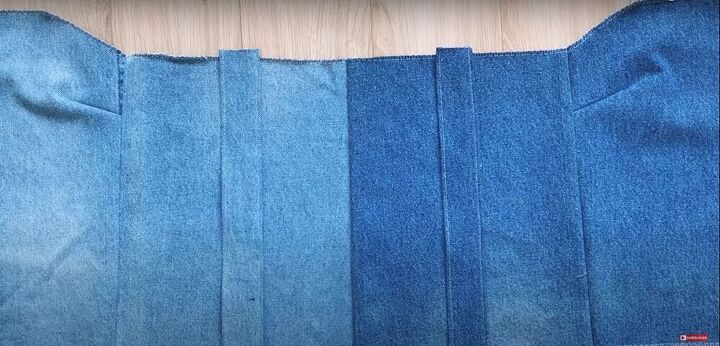
Cut fabric for the back bodice, pin, and sew
Cut two rectangles. The width should be ½ your bust measurement plus 2 centimeters (¾ of an inch), and the length should be 3 centimeters (1 inch) shorter than the front bodice pieces. Pin and sew the two pieces together on the long edge.
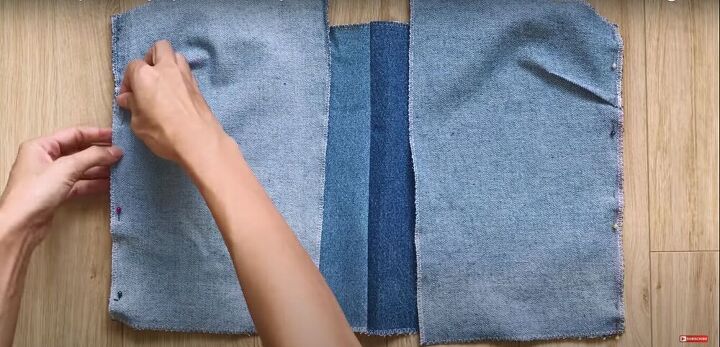
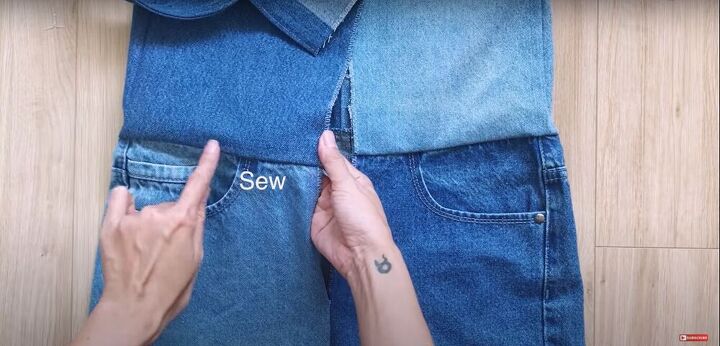
Attach the front and back bodice pieces
Next, pin the front and back bodice pieces together along the long edges and sew them in place.
Cut two strips of fabric for the shoulder straps
Cut two strips of fabric that are 8 centimeters (3 inches) in width and 24 centimeters (10 inches) in length. These will be your shoulder straps.
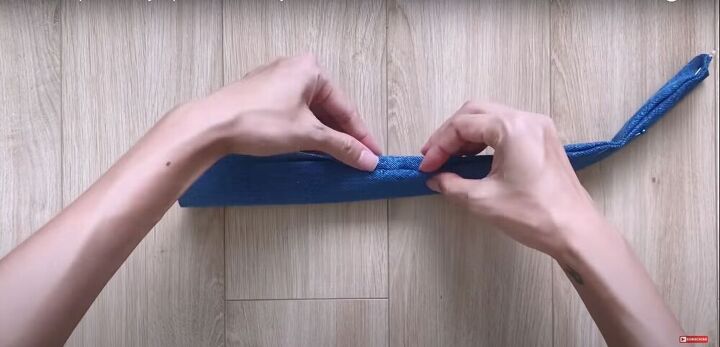
Fold and pin the straps
Fold the strips in half lengthwise, and then fold about 1 centimeter (½ an inch) of the raw edges inward before pinning them in place.
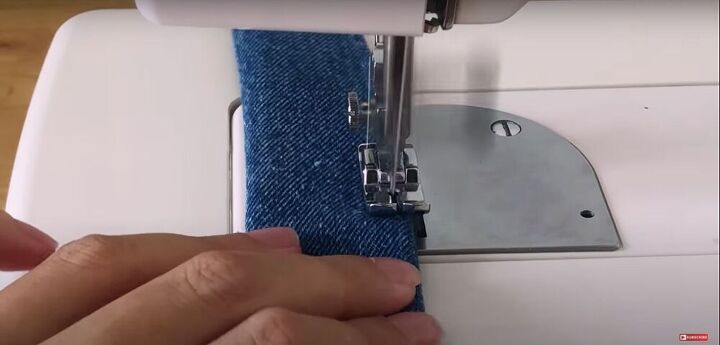
Sew the edges of the straps
Then sew down the edges of the straps with a straight stitch as close as possible to the edge.
Measure and mark
From the top middle seam on the back bodice, measure 12 centimeters (4 ¾ inches) on either side of the seam, and mark that point on the top edge.
Place the shoulder straps
Use the marks to place the shoulder straps. The top of the long edges of the straps should be aligned with the mark. On the left, the top-left edge should be on the mark. On the right, the top-right edge should be on the mark.
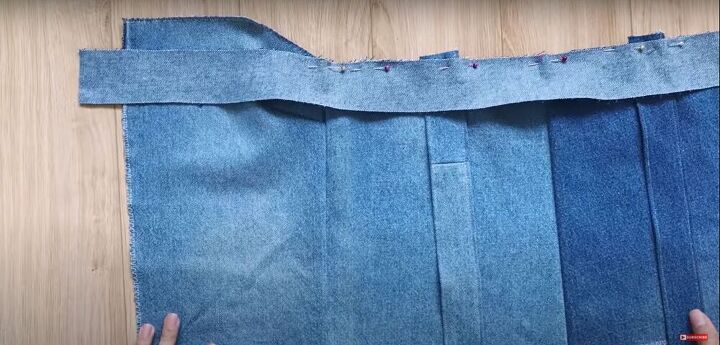
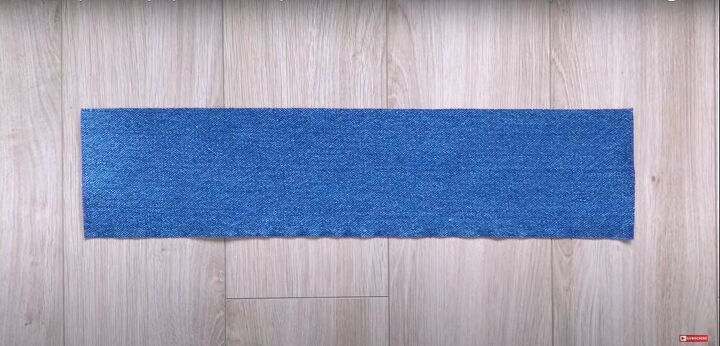
Cut a strip of fabric for facing
Cut a strip of fabric 5 centimeters (2 inches) in width, with a length equal to the length of the top edge of the front and back bodice together. Pin this strip of fabric over the shoulder straps, along the top edge of the back bodice.
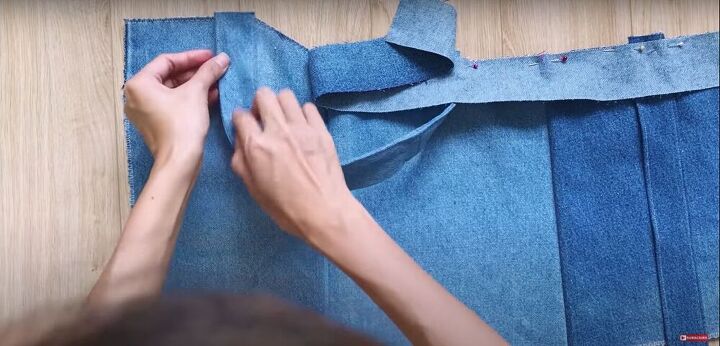
Place the second side of the shoulder straps
Place the second short edge of each shoulder strap on the flat edge of the front bodice pieces, so the corner of the strap aligns with the corner of the bodice where the flat edge meets the diagonal edge.
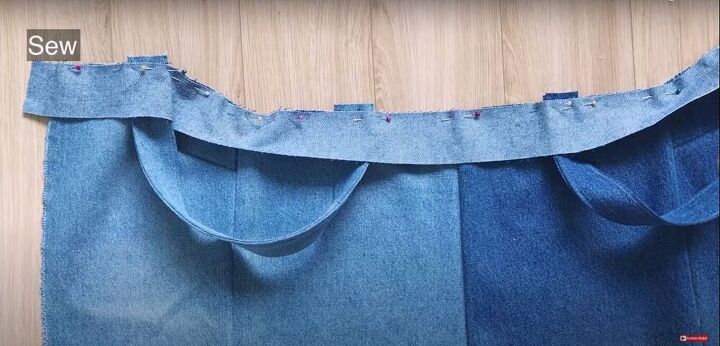
Pin and sew the facing
Pin the rest of the facing over the straps and along the rest of the top edge of the bodice, and sew the facing down along the entire top edge of the bodice.
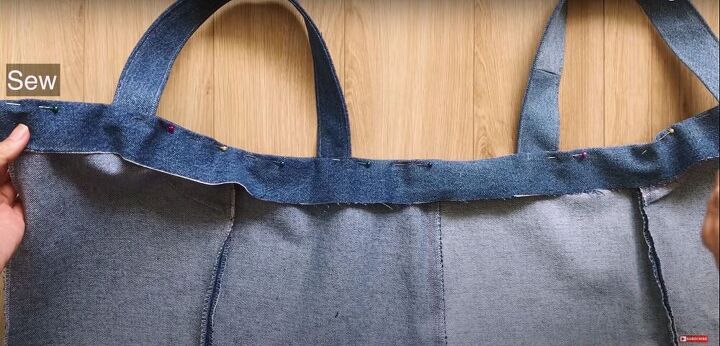
Fold, pin, and sew
Fold the facing inwards, and pin it along the top edge, then sew it down.
Pin and sew the bottom edge of the facing
Fold a centimeter of the bottom edge of the facing inwards and pin it down along the inside of the bodice, then sew it down.
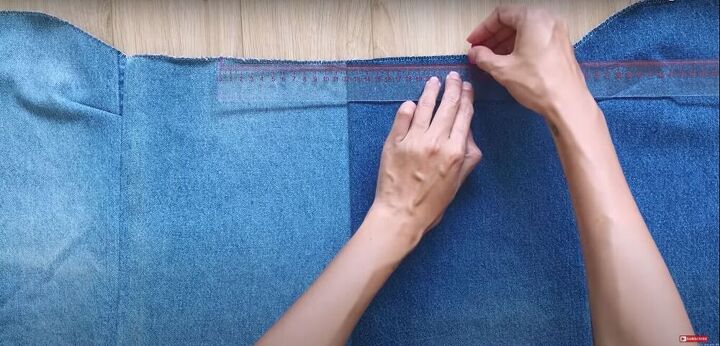
Measure and mark the bottom edge of the bodice
Draw a line all the way around the bodice 4 centimeters (1½ inches) from the bottom edge of the bodice.
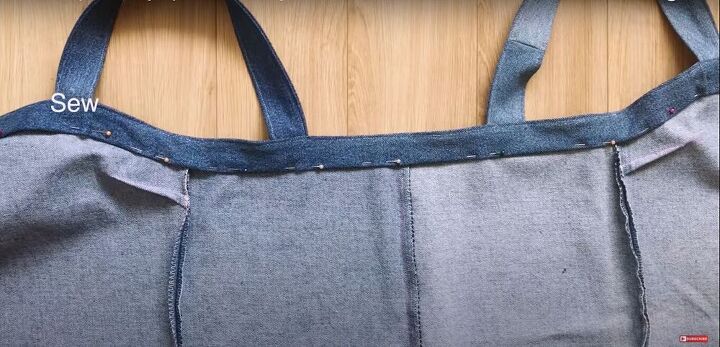
Pin and sew the top and bottom pieces together
Pin the legs of the jumpsuit along the line you just marked on the bodice, and sew them together.
Sew a second seam
Sew a second seam around the bottom edge of the bodice directly above the seam you just sewed.

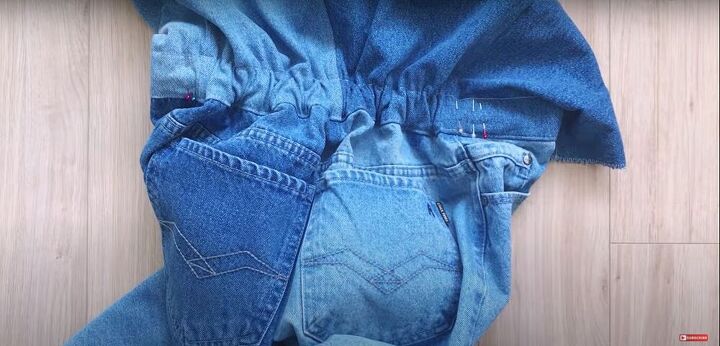
Sew a third seam
Sew a third seam along the top edge of seam allowance between the bottom and top pieces of the jumpsuit. This will create a tunnel for an elastic.
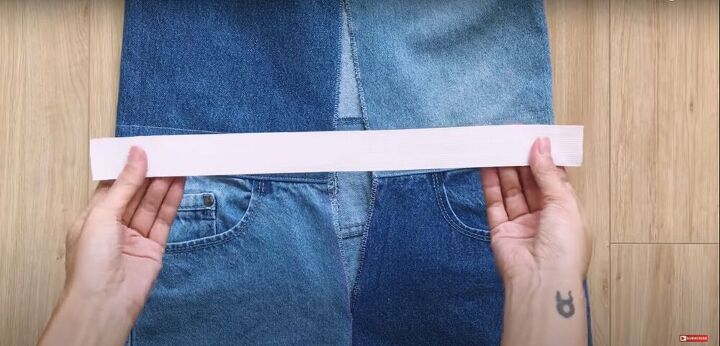
Cut a piece of elastic
Cut a piece of elastic band half the length of your waist measurement plus 2 centimeters (¾ of an inch).
Pull the elastic through the waistband
Attach a safety pin to one end of the elastic band, and insert it into the tunnel you created on the waistband of the jumpsuit. Pull the elastic through until it reaches the back of the jumpsuit. Make sure it’s as centered as possible, and then pin the ends in place. Sew down the edges.
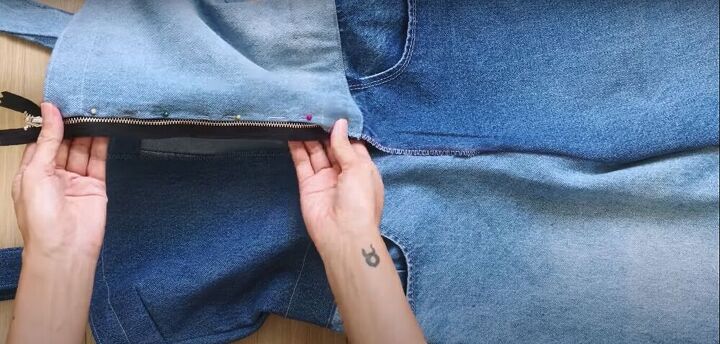
Sew in the zipper
Pin the zipper in place along the opening in the front of the jumpsuit, and sew it down.

You’re done!


What do you think of this transformation? I hope you enjoyed the tutorial, and you try it for yourself.
The author may collect a small share of sales from the links on this page.


Comments
Join the conversation
Adorable! How many jeans did you need after all? Where did you get the fabric for the bodice? Maybe I miss something. Thanks!
Super adorable and stylish! I'm so impressed you did this without a pattern.