How to Make & Sew a Babydoll Dress Pattern, Step by Step

Looking for a fun sewing project with a beautiful result? Check out this DIY babydoll dress pattern to create a beautiful, flowy, feminine dress that you will enjoy constructing, and enjoy wearing even more.
Tools and materials:
- Cotton fabric
- Tank top (to trace for the pattern)
- Elastic
- Safety pin
- Pins
- Scissors
- Measuring tape
- Fabric chalk
- Long stick
- Sewing machine
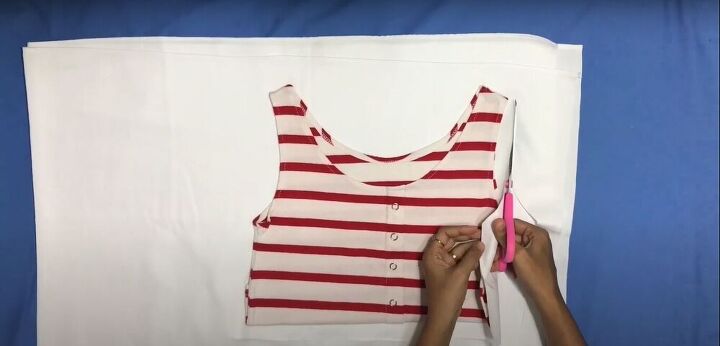
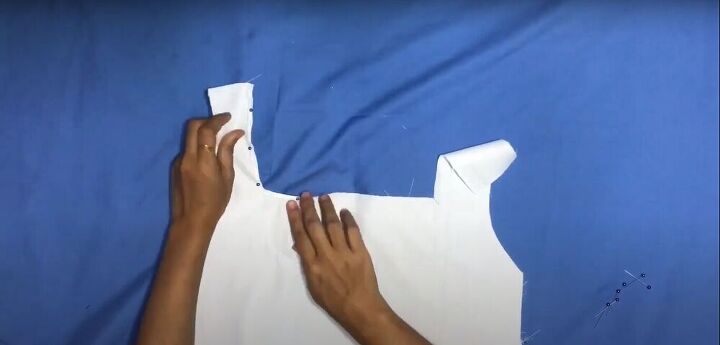
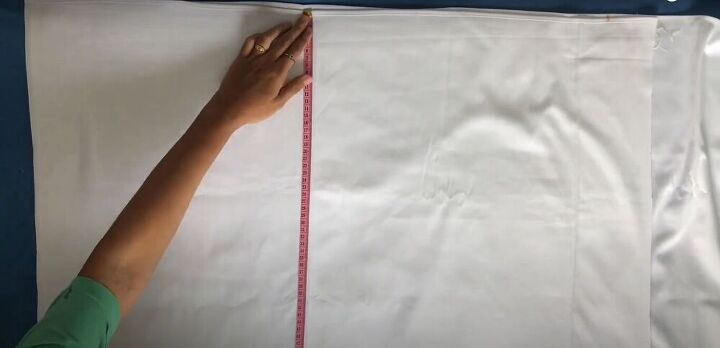
1. Use a tank top as the pattern for the top of the dress
Fold a tank top at the point it reaches the narrowest part of your torso. Lay the folded tank top on your fabric, and cut around half of it, leaving a half-inch for seam allowance.
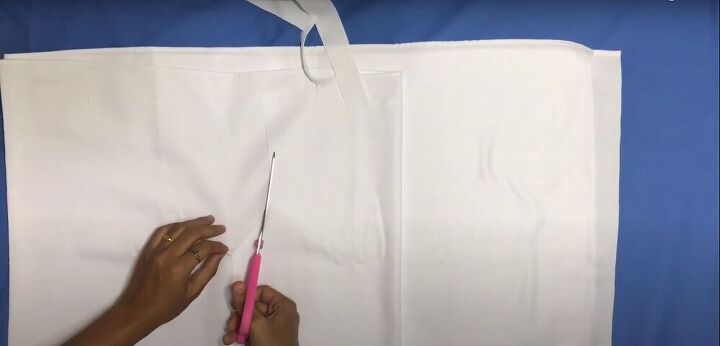
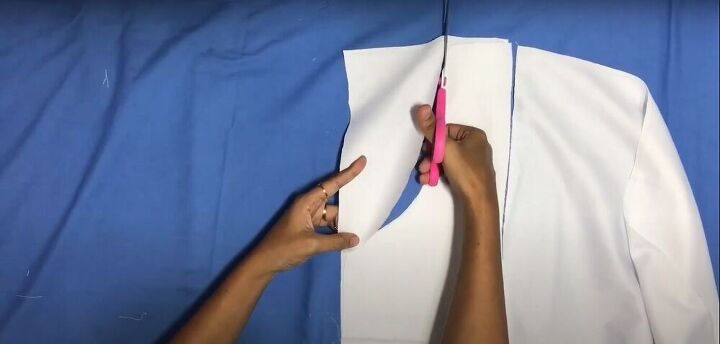
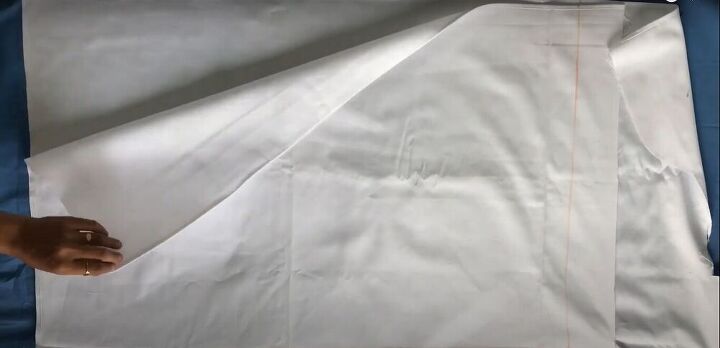
2. Fold the fabric and cut the rest of the pattern piece
Fold the cut half of the fabric over and use the edges as a guide to cut the second half of the pattern piece for the top of the dress. This will ensure the symmetry of the piece.
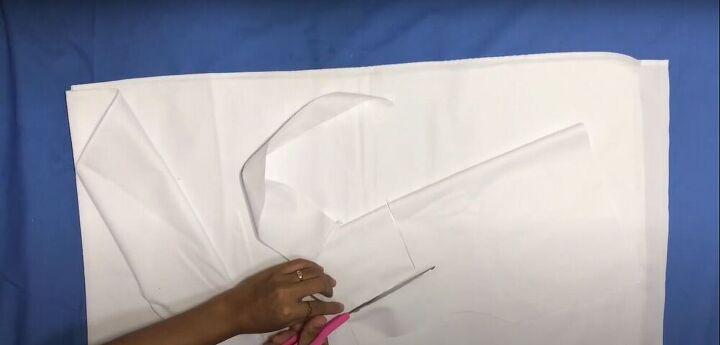
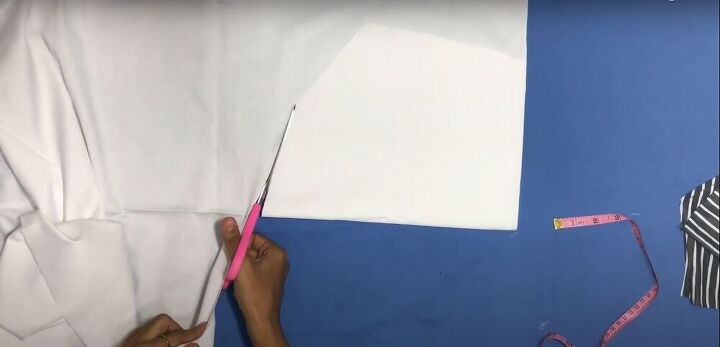
3. Cut a square neckline
With the fabric still folded in half, trim the neckline to create a squared shape.
4. Snip the corners
Unfold the fabric, and make a small snip in each corner of the neckline. This will allow you to fold the neckline down to hem it neatly.
5. Pin and sew the hem of the neckline
Fold the hem of the neckline, pin it, and sew it down.
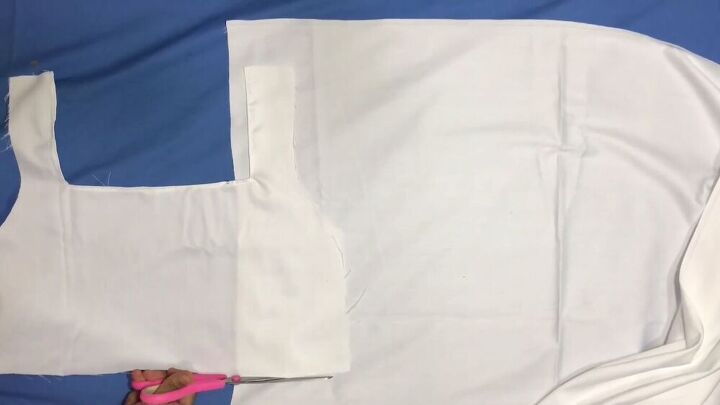
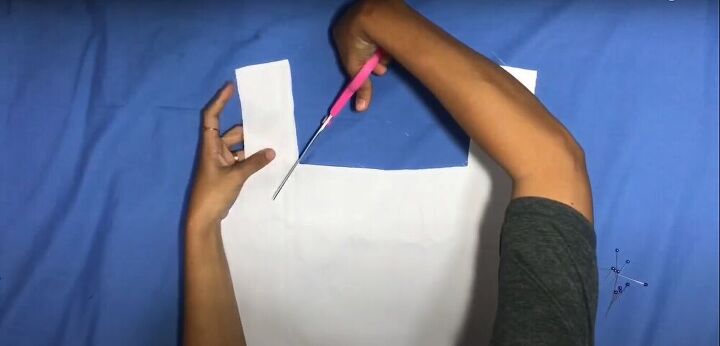
6. Cut out the pieces for the back of the dress
Use the front piece of the dress as a guide to cut the two back pieces for the top of the dress. Lay one side of the front piece on the fabric so the shoulder strap is about an inch and a half away from the edge of the fabric, and cut around it exactly.
Use the first back piece you cut as a guide to cut a mirror image for the second back piece.

7. Hem the long edges of the back pieces
Pin and sew the hems on the long edges of the back pieces.
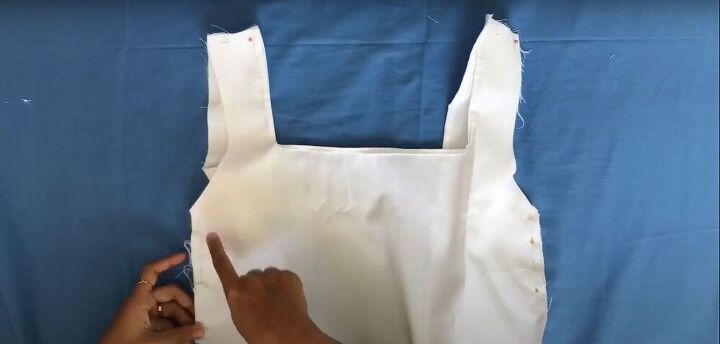
8. Attach the front and back pieces
Pin the front and back pieces together along the shoulder seams and side seams, and sew them together.
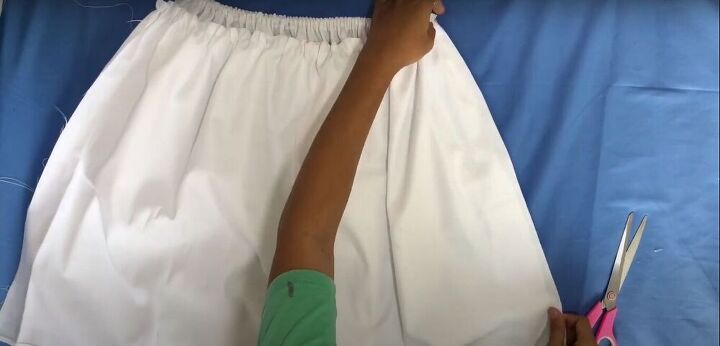
9. Measure and cut the skirt pieces
Decide how long you want your dress, and measure out a rectangle of fabric of the desired length, and about twice as wide as the bottom edge of your front top dress piece.
Cut two pieces of this side--one for the front of the skirt and one for the back.

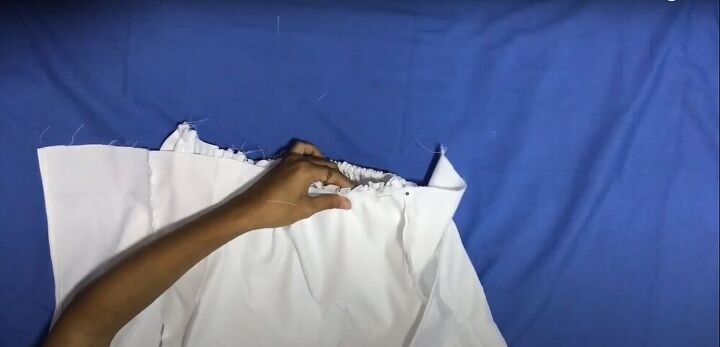
10. Make a tunnel for the elastic
On the back panel of the skirt, fold over the top edge leaving enough room to run elastic through the space between the fold and the stitching.
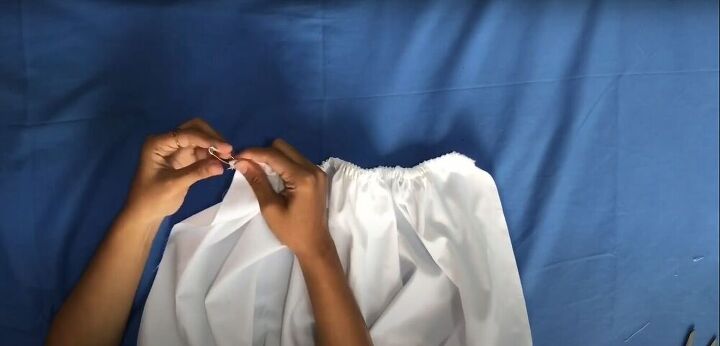
11. Pull the elastic through the tunnel
Once the top edge is sewn down, attach a safety pin to the elastic, and insert it into the opening on one side of the tunnel you’ve created at the top edge of the skirt. Work the safety pin through the tunnel until it emerges from the second opening. Sew the ends of the elastic in place at the edges of the fabric.
12. Create ruffles at the top of the skirt
On the front panel of the skirt, run the top edge of the fabric through the sewing machine using a wide straight stitch. Do not backstitch at the beginning or end of the line of stitches.
Then, pull the thread so the fabric bunches up along the edge. You can also create this effect with a needle and thread, weaving in and out of the top edge of the fabric with wide stitches.
13. Connect the front and back panels of the skirt
Align the front and back panels of the skirt, and pin and sew them together along the side seams.
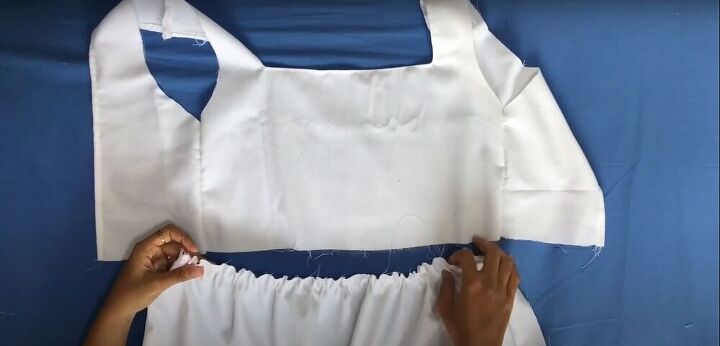
14. Connect the top pieces to the skirt
Pin the bottom edges of both the front and back top pieces to the top edge of the skirt. There will be a wide gap in the back. Sew everything down.
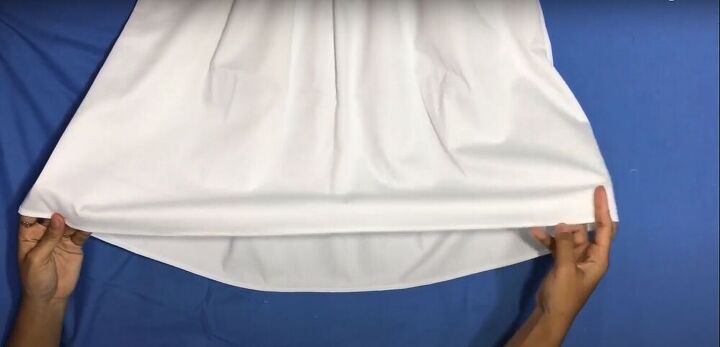
15. Hem the skirt
Pin and sew the hem of the skirt.
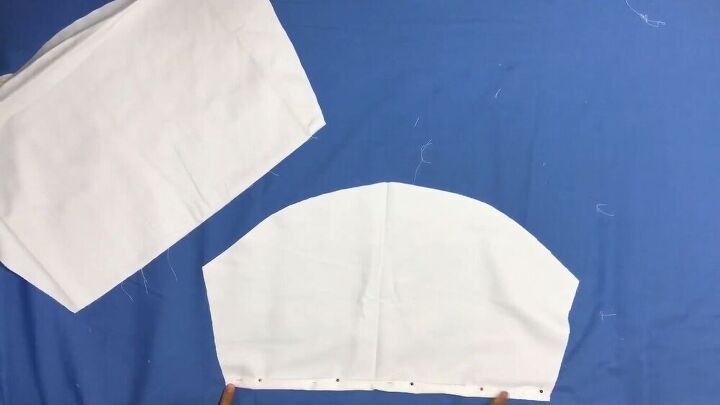
16. Cut the pieces of the sleeves
Use a sleeve pattern to cut the curve of the sleeves. Fold the pattern in half, and cut around it, leaving a half-inch seam allowance. Don’t cut around the folded edge. If you want your sleeves to be longer, make sure you leave the desired amount of fabric along the straight edge of the pattern.
17. Fold the fabric over and cut the rest of the sleeve
Fold over the part of the fabric you already cut and use it as a guide to cut out the rest of the sleeve, to ensure symmetry.
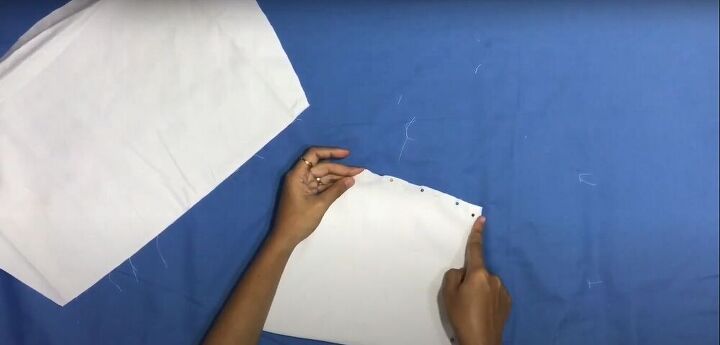
18. Create a tunnel
Fold and pin the bottom edge of the sleeve, leaving enough room to run elastic through the space between the fold and the stitching.
19. Pin the side seams together
Fold the sleeve in half and pin the short straight edges together. Sew everything down, leaving a small gap in the corner to insert the elastic.
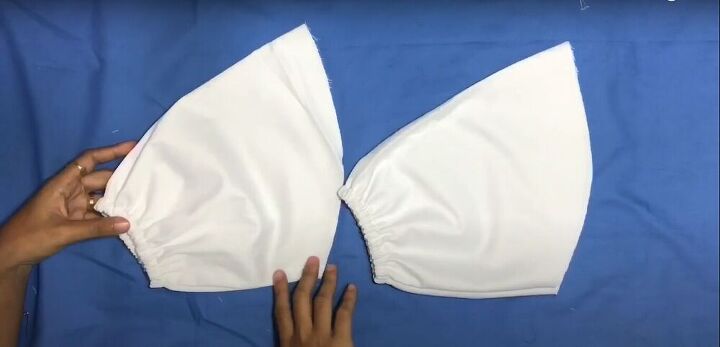
20. Insert the elastic into the sleeves
Run elastic through the tunnels you created at the ends of the sleeves using a safety pin. Sew the ends of the elastic together, and sew the gap in the stitching closed.
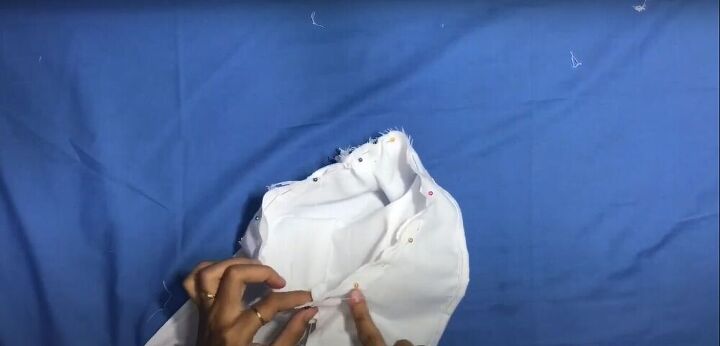
21. Pin the sleeves in place
Pin the raw edges of the sleeves into place along the armholes in the top of the dress.
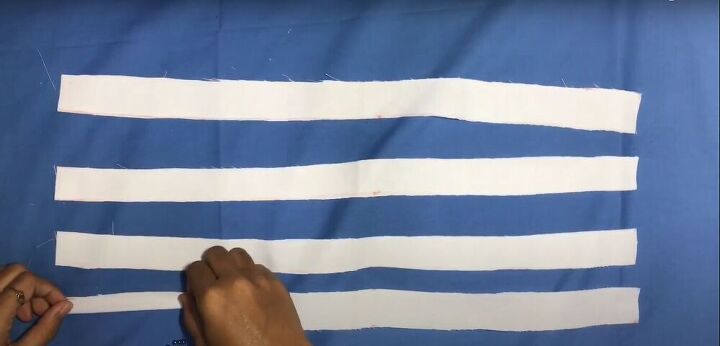
22. Cut strips for the laces in the back
Cut four strips of fabric, each 20 inches long and 1 inch wide.
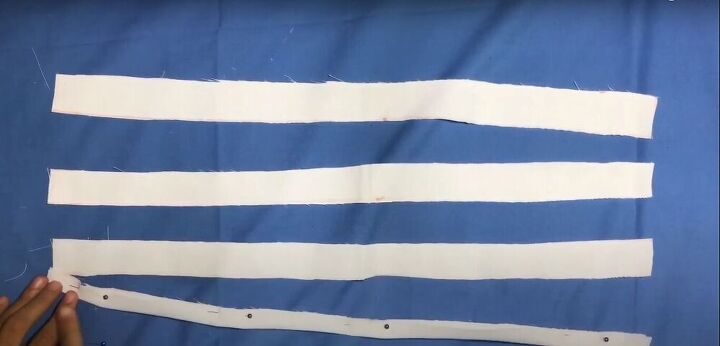
23. Pin and sew the strips
Fold each fabric strip in half lengthwise, pin it, and sew along the long edge, leaving the short edges open.
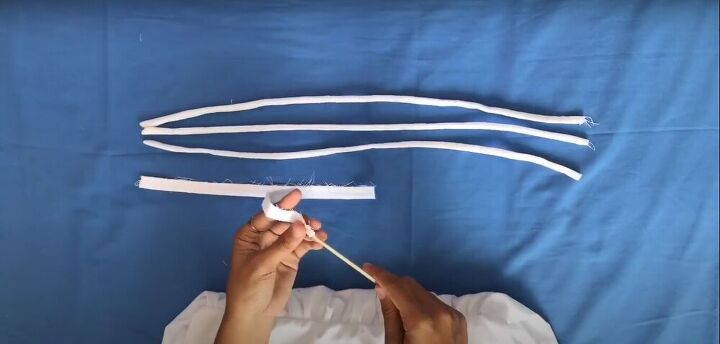
24. Turn the strips right side out
Using a long stick, push the fabric from one open end of the strip to the other, and then pull the fabric out the other end, turning the strip right side out.
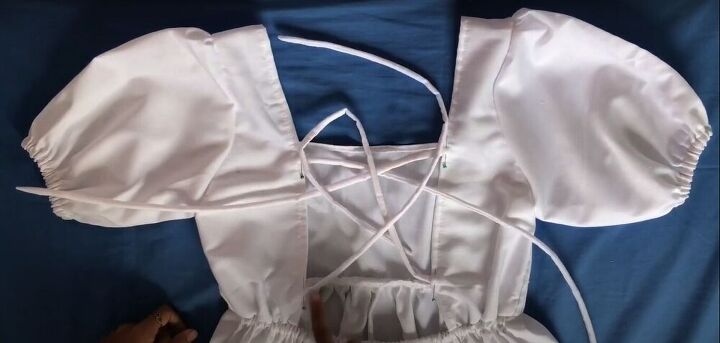
25. Pin and sew the laces to the back of the dress
Pin and sew the laces in place in the back of the dress. Ensure the laces on either side of the opening in the back are even with each other before sewing them down.

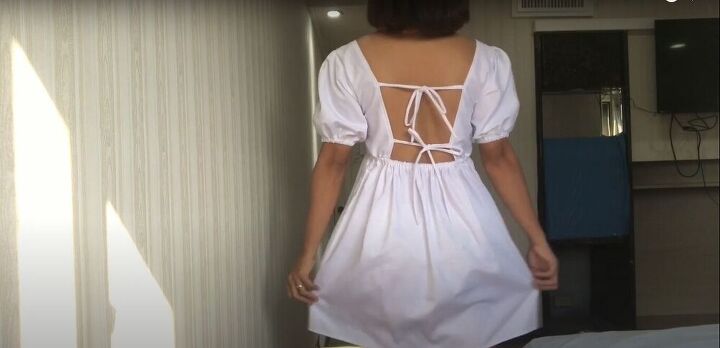
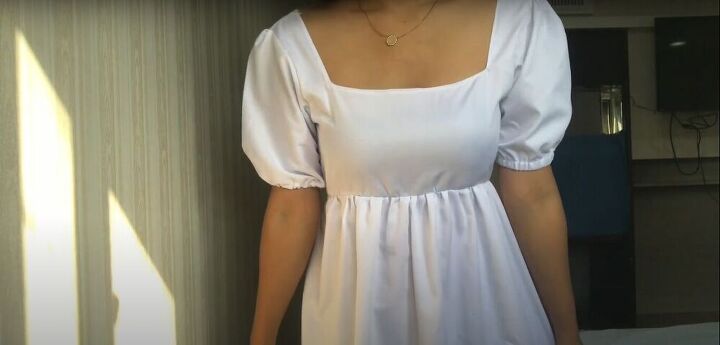

How to make & sew a babydoll dress pattern
Your beautiful babydoll dress is complete. Let me know what you think of this project in the comments below. Thanks for joining!
The author may collect a small share of sales from the links on this page.


Comments
Join the conversation
Very cute. Shorts instead of skirt would be cute as well I think. Thanks for sharing.
Excellent job!!! It looks beautiful!!!