Easy Batwing Blouse DIY Sewing Project

Today, I will be making a beautiful, flowy batwing-style top with a necktie. Follow my instructions to create your own DIY batwing blouse. This is a great project for beginners because the construction is very simple, but the final results look very professional.
Tools and materials:
- 2 yards of fabric
- Measuring tape
- Scissors
- Pins
- Elastic band
- Safety pin
- Sewing machine
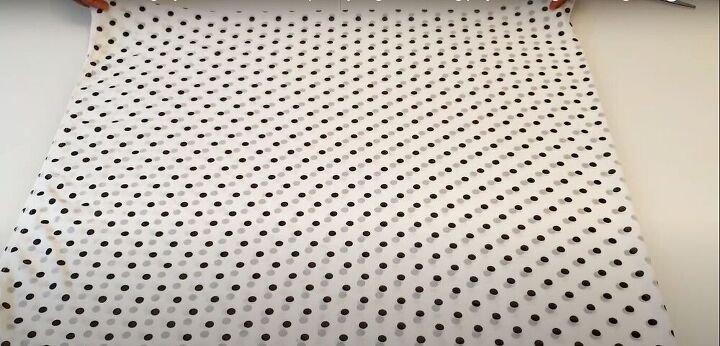
Fold
The measurements of the fabric you will need are 60 inches by 27 inches. To begin, I folded my fabric in half twice--once lengthwise and once widthwise.
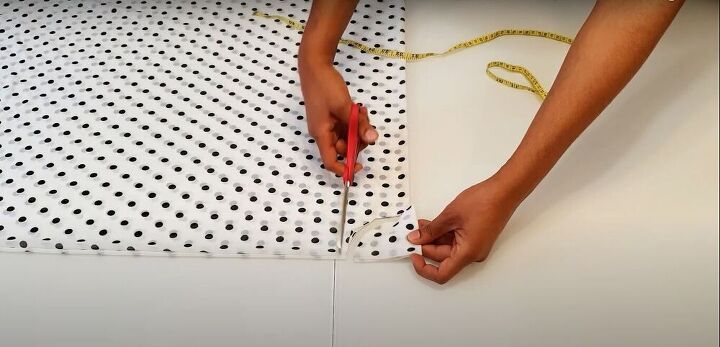
Measure and cut
I measured 3½ inches in an arc from the corner of the folded fabric, and then cut it out to create a neck opening.
In the corner diagonally opposite the neckline, I measured 5 inches along one edge, and 7 inches along the perpendicular edge, and then cut an arc between those two points.
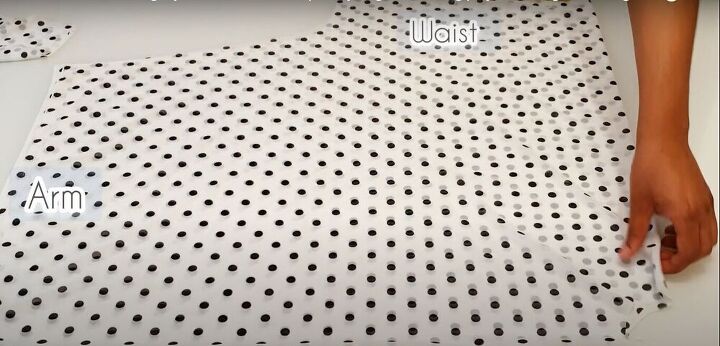
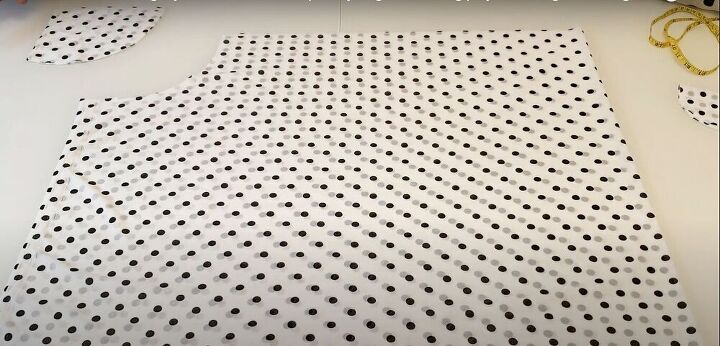
Cut to size
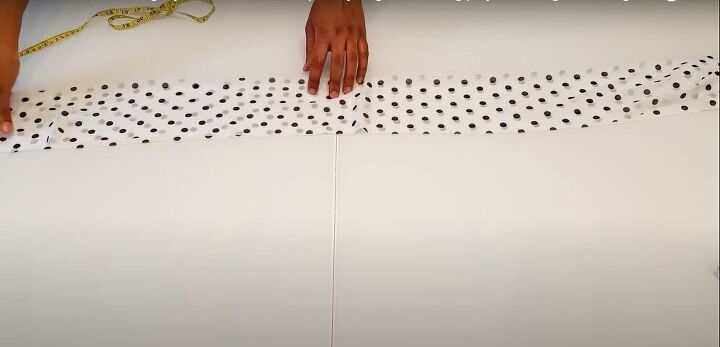
When I unfolded the fabric, I realized the waistline was too wide. So I measured my waist to figure out how wide I wanted the waistline to be. Then I refolded the fabric and cut a new arch between the arm and the waist with the new measurement.

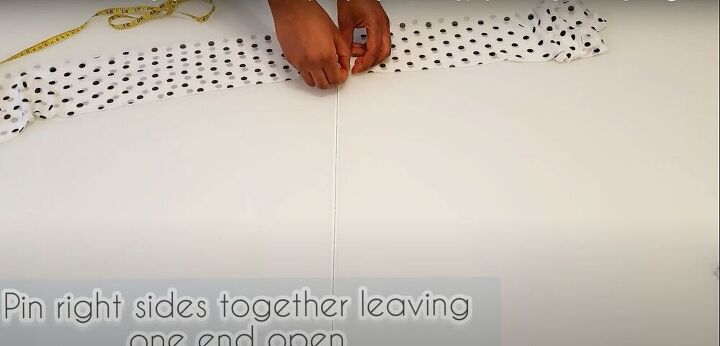
Pin
I unfolded the fabric once, and pinned the curved edges together, right sides facing.
Cut
Cut a strip of fabric measuring 60 by 9 inches for the necktie.
Fold and pin
I folded the fabric in half, right sides facing, and pinned down the open edges, leaving one short side open.
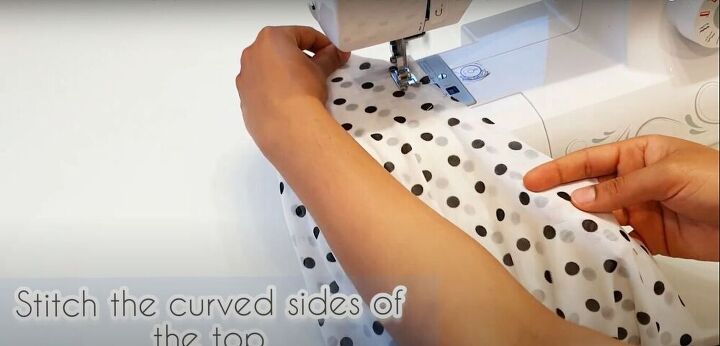
Sew
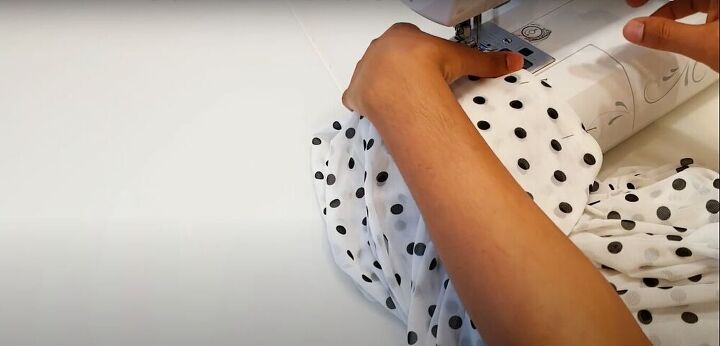
Next, I sewed down the curved edges of the top.
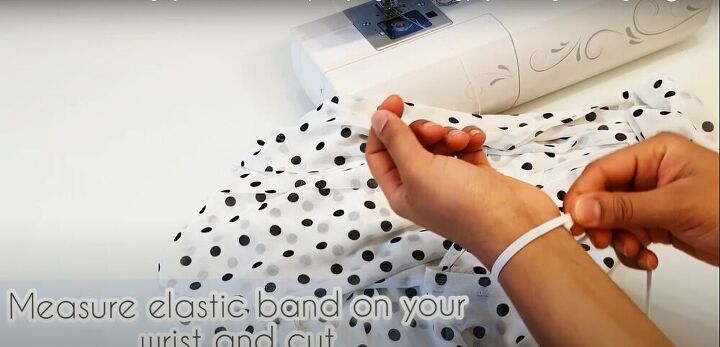
Measure and cut
I wrapped an elastic band around my wrist to measure how much elastic I will need for the ends of the sleeves, and cut two pieces.
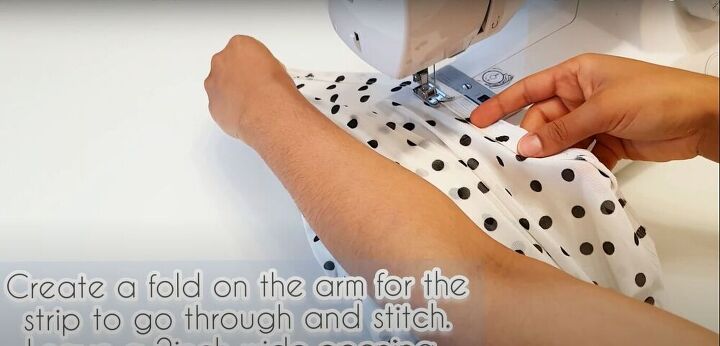
Fold and sew
I created a fold around the armhole wide enough to pull the elastic through. I sewed it down, leaving a 2-inch wide gap in the stitching.
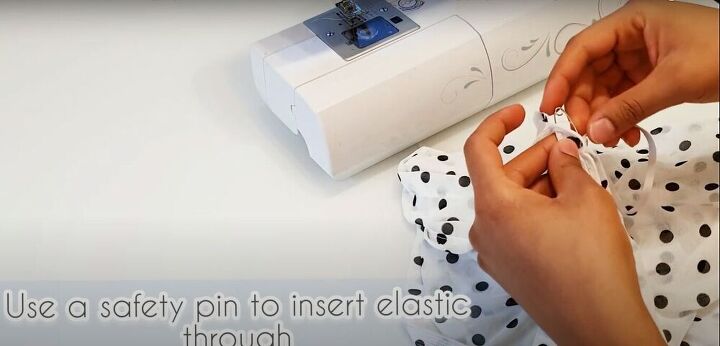
Insert the elastic
I attached a safety pin to one end of the elastic band and inserted it into the gap I left in the stitching around the sleeve. I guided the pin through the tunnel of fabric, pulling the elastic with it until it came back through the opening. Then I stitched the ends of the elastic band together and closed up the gap.
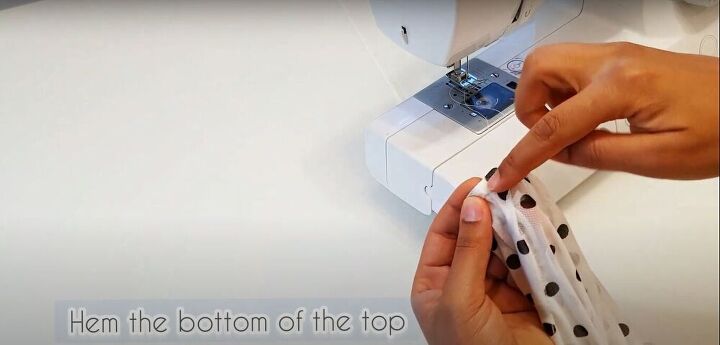
Hem the bottom
To hem the bottom of the shirt, I folded the bottom edge of the shirt twice inwards and sewed it down.

Sew the necktie
Next, I sewed down the pinned edges of the necktie, making sure to leave an opening on one end of the strip. Then I turned the fabric right side out and sewed the open end closed.
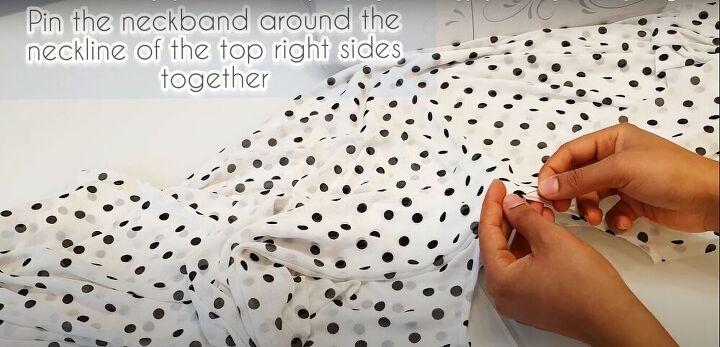
Pin
I pinned the necktie around the neckline of the shirt, right sides facing, leaving approximately 4 inches of exposed neckline in the front of the shirt.
Sew
Then I sewed the necktie in place.
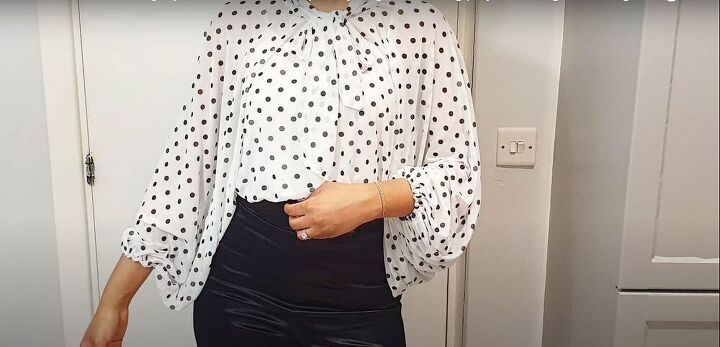
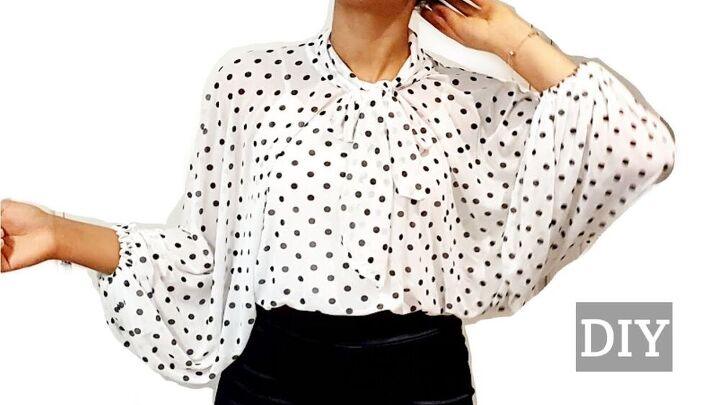
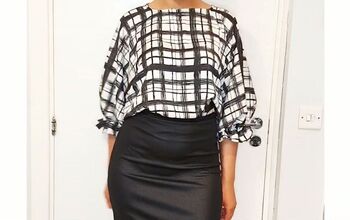
And this is the final result! It’s chic, it’s feminine, and I absolutely adore it.
I hope you enjoyed creating this blouse. Let me know what you think of this DIY.
The author may collect a small share of sales from the links on this page.


Comments
Join the conversation
Will hide the saggy arms and very stylish!
Stunning 💗🥰💗 ❗❗