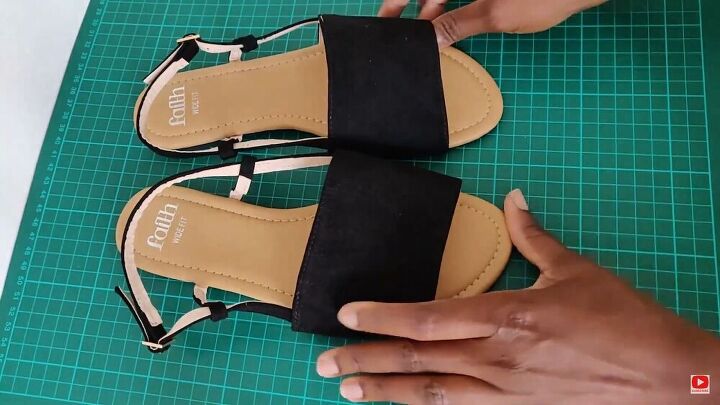
Prep for Warmer Weather With This Cute Sandal DIY

Have an old pair of sandals lying around? Great! Because in this tutorial, you will learn how to make cute summer sandals in no time! These sandals have not been worn in a long time, so I figured, with a little transformation, I'll be more inclined to wear them. This stunning transformation is a great upcycle, turning old sandals into cute summer sandals with lovely intricate details. You'll also learn a few knotting tricks as I'll be using knotted cords to give these sandals a revamp! By the end of this tutorial, your boring old sandals will look new and stylish. Let's get started!
Tools and materials:
- Cords
- Pair of old sandals
- Wooden spoon
- Hot glue gun
- Comb
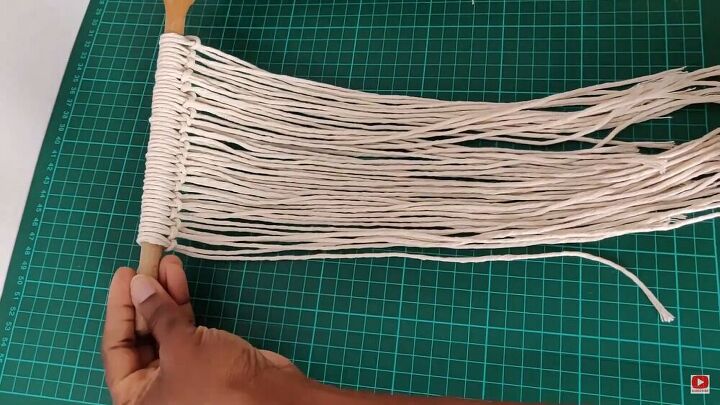
String the cords
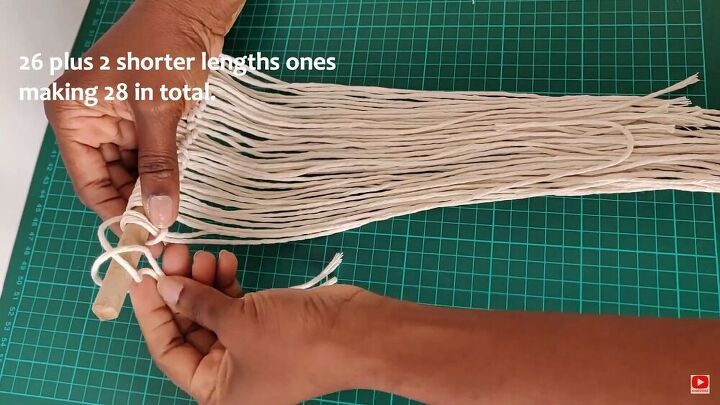
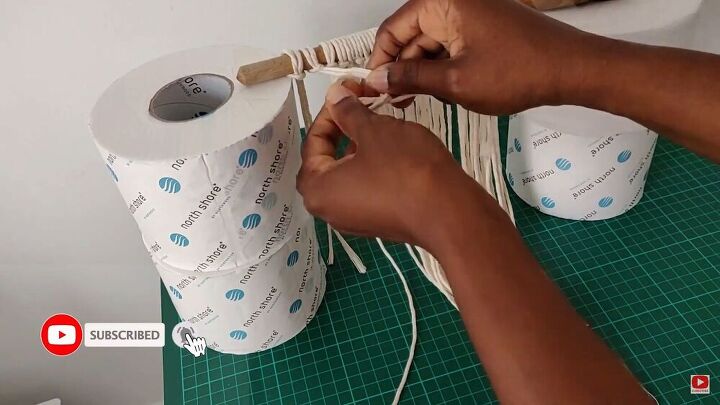
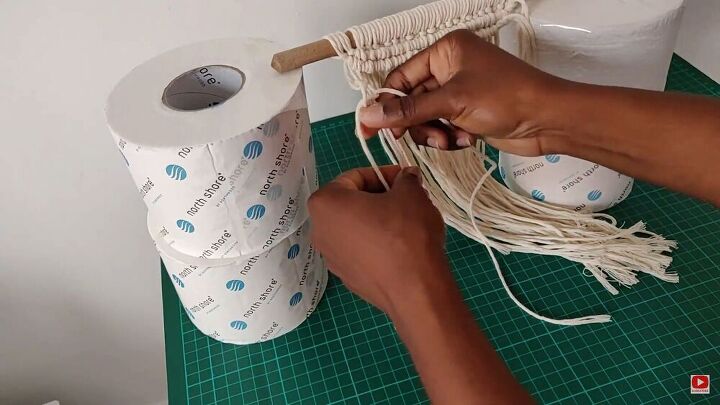
Using a wooden spoon, string the cords, as shown. Yes, a wooden spoon works well. I didn't have anything else, so I improvised and used the spoon. You will need 26 cords plus two shorter ones. So, make sure you have 28 in total. I also measured the exact length so that the cords will cover the entire length of the front part of the sandal. The longer cords will have a 26x17 inch length, and the two shorter cords should be around 2x15 inches.
To string and knot the cords, use a lark's head knot method; fold the cord into 2, loop it through the back, using the wooden spoon's piece as the center. Then, pull the cord through the loop at the back. Watch my video from 1:06 minutes to see exactly how I did this. Put the two shorter cords together on one end.
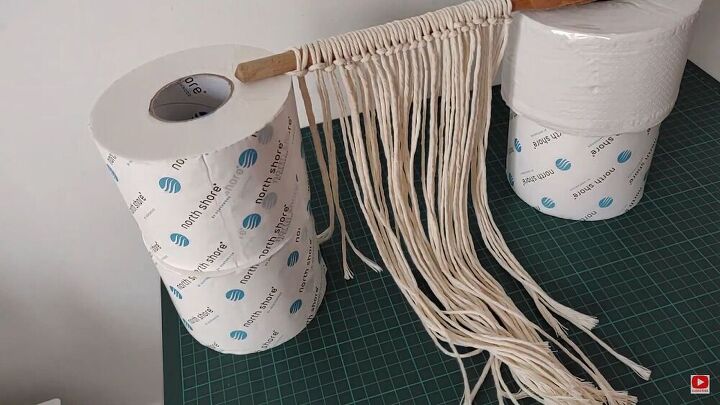
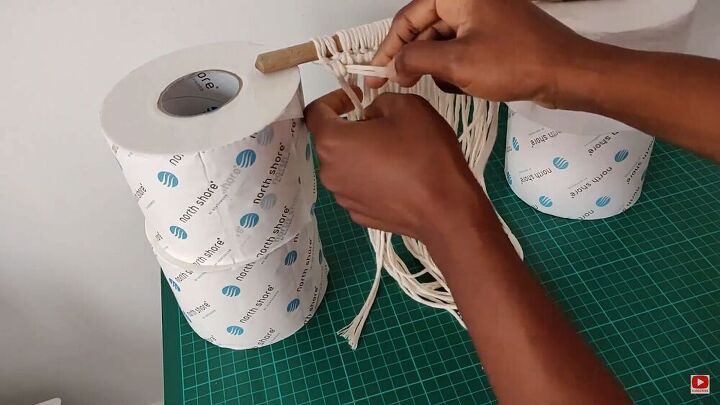
To make things easier, it’s better to knot the first portion when the cords hang down. As you can see, everything is a makeshift masterpiece in this tutorial, but hey, it works! So go ahead and get creative- find something that will elevate your cords. I used a bunch of sanitary rolls.
Now, make a half hitch knot all the way across the cords.
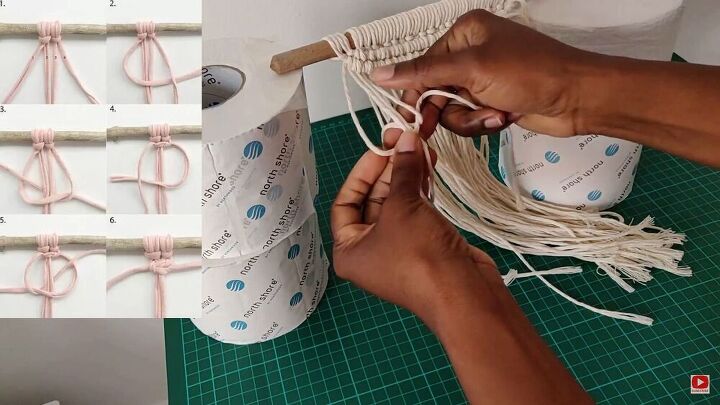
Take the second short cord, pull it over to the side and make a knot by feeding through the second cord on the right through the loop. Once you make a knot, drop the first cord down and move over to the next knot in line, this time using the second cord as a guide. You can see exactly how I achieved this by watching my video from 2:30 minutes.
When you are done with the first row, go ahead and repeat the process for the second row. This time, starting with the first knot that is shorter in length.
Now that both rows are knotted, it's time to do a berry knot. Start with a square knot, starting from the left to the right. Take the first 4 strings, and then center the middle two while knotting the other two with a loop. With your hands, loop it through the back and push the knot higher as you go along. Skip to 3:42 minutes to see how it's done.
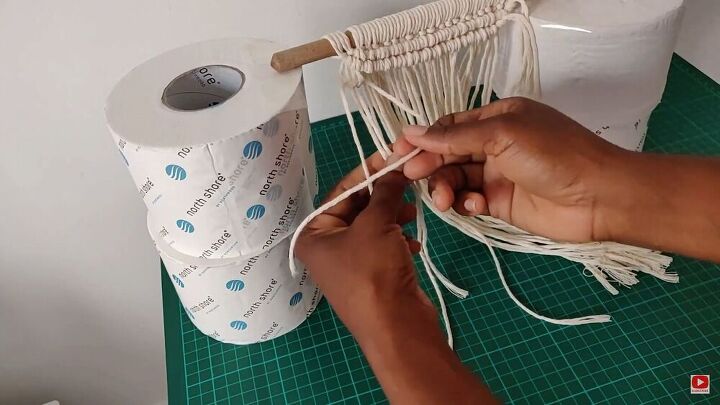
Work your way down by switching sides every time; starting the loop from the right.
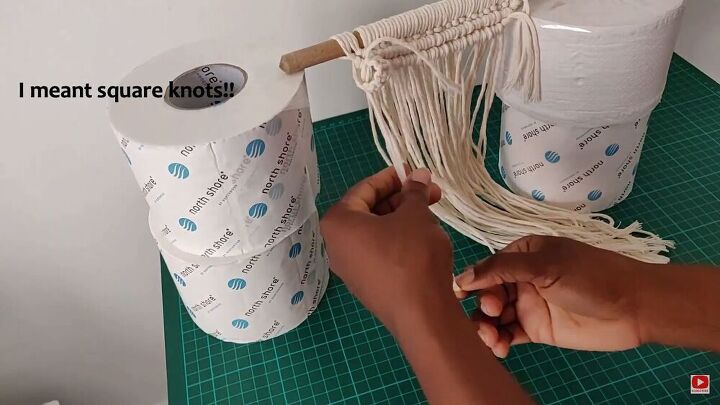
Once you've knotted 5 berry knots, take the whole attachment and pass it through the middle. Finally, make one last square knot to tie it in place.
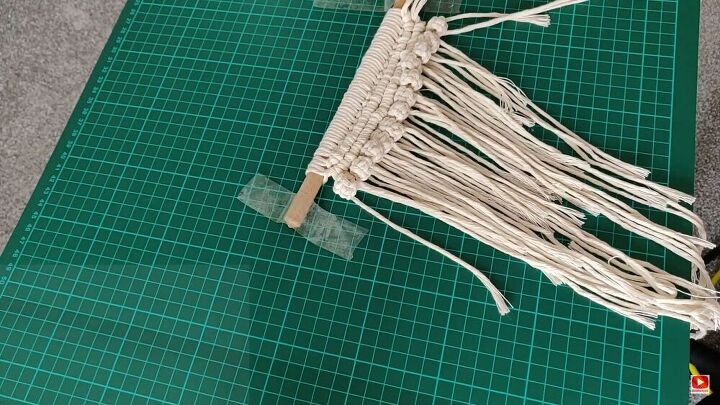
Go ahead and repeat the process on the other cords. As you can see, I decided to switch back to a flat surface. You can do whatever is more comfortable for you.
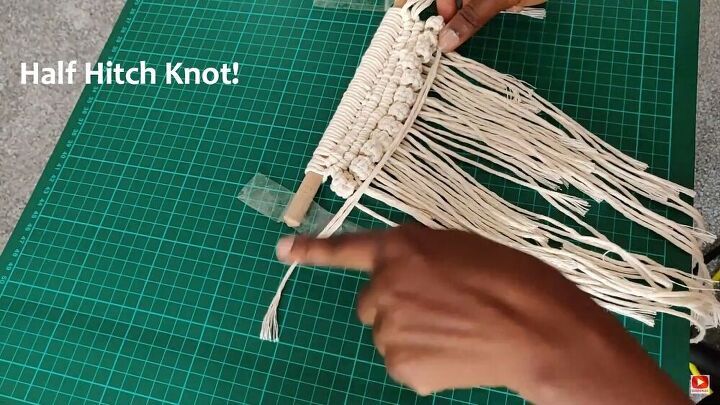
Now, working from right to left, make another two rows of half stitch knots.
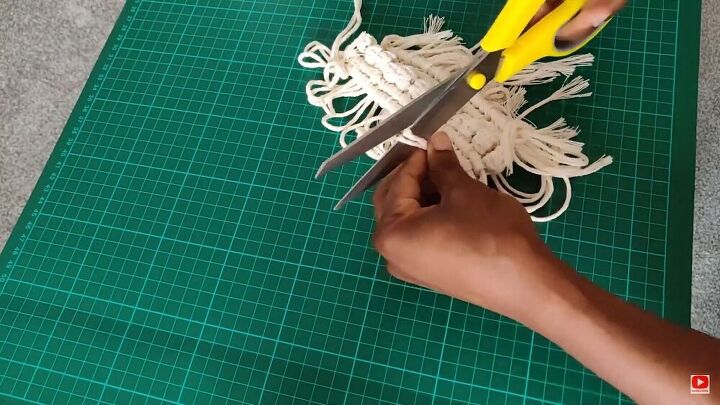
Now cut the excess cords, remove your knotted piece from the spoon, and untie the top loops. Then, cut through the loop's center, as shown. Also, tie any bits on either end.
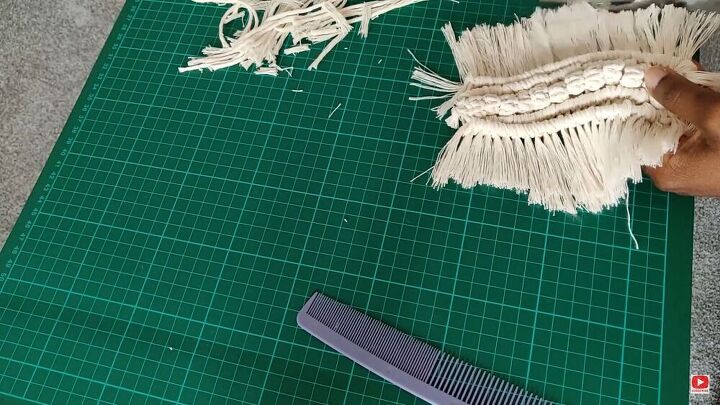
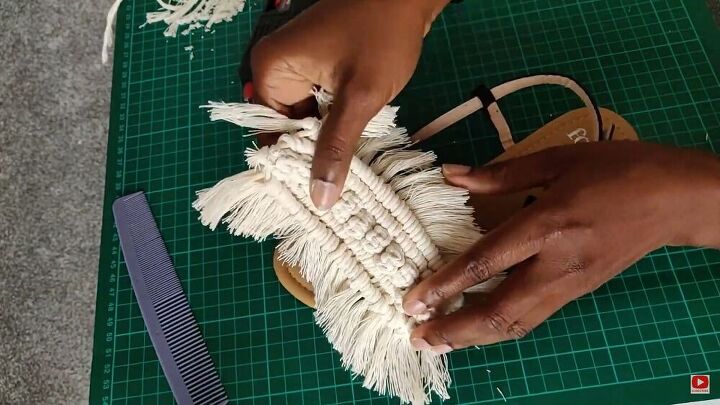
Give the pieces on either a good trim to your desired length and frill the ends.
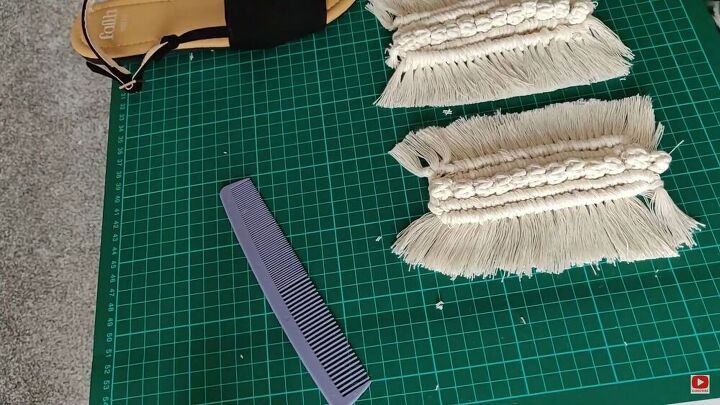
Also, comb out the fringes. Repeat this entire process so that you have a corded piece for your second shoe.
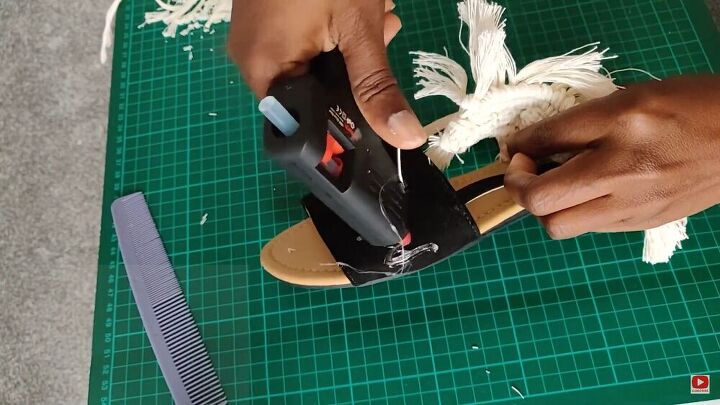
Glue the on cords
Using a glue gun, generously add glue to the whole surface area of your sandal.
Next, glue on your full cord piece and let it dry also trim the edges if necessary
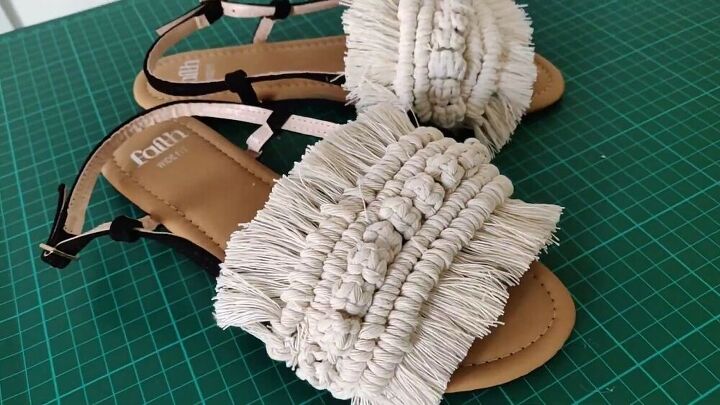
We are pretty much done! Not only have you learnt how to transform old sandals into something new, but also you now know a few knot tricks. I love How this cord piece really enhances the sandal and gives it a fresher vibe. I hope you had fun! Happy cording.
The author may collect a small share of sales from the links on this page.


Comments
Join the conversation
Can’t wait to try it. Thanks for the tutorial. You make things seems easy
Please clarify how to glue the woven section to the sole of the sandal. I'm going to try this with decorative trim from a fabric store