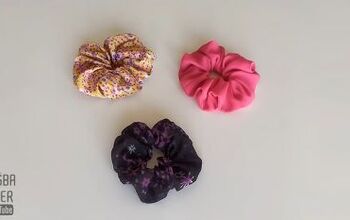
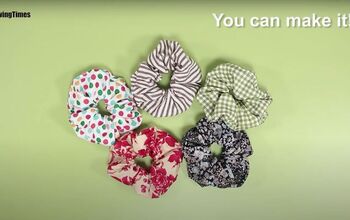
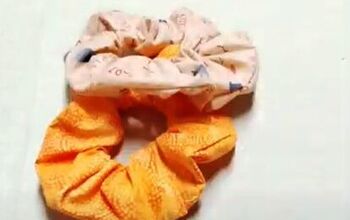
Quick and Easy: DIY Satin Hair Scrunchies

Scrunchies are so each to make that there is really no reason to shell out extra money on fancy ones. I love making satin scrunchies that are easy on my hair and I can decorate however I want. I'll show you just how easy it is and a simple way to embellish them and add a little bling!
Tools and materials:
- Satin
- Tailor’s chalk
- Scissors
- Pins
- Sewing machine
- Loop turner
- Elastic (8 inches)
- Beads - optional
Prepare your fabric
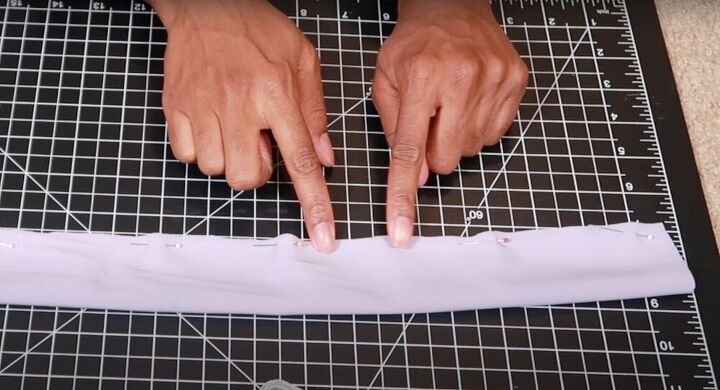
Measure out 18 inches in length and four inches in height. Mark it with some tailor’s chalk and use scissors to cut out your fabric. Next, with the right side of the fabric facing up, fold the fabric in half (right sides together), pin, and sew along the bottom. Leave a one-inch gap about three-quarters of the way through (as pictured above).

Form the scrunchie
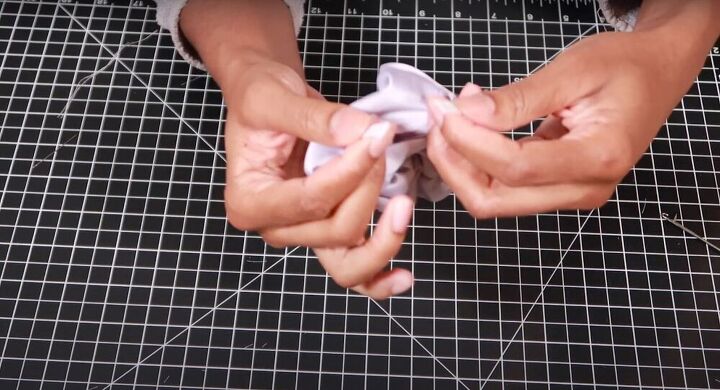
Using a loop turner, push one end of the fabric through the other so that all the raw edges are on the same side. (This should leave you with a nine-inch piece instead of 18). Once that’s done, sew around the perimeter of the opening to secure the raggedy ends. Next, go back to the one-inch opening from earlier and pull the fabric through to turn the scrunchie right side out. This will give you a secure loop (pictured above).
Insert the elastic
Secure a safety pin onto one end of the elastic and feed it through the opening of the tube. Once the elastic comes out the other end, secure the two edges with a zigzag stitch and close the opening in the scrunchie with an invisible stitch.
Add some bling
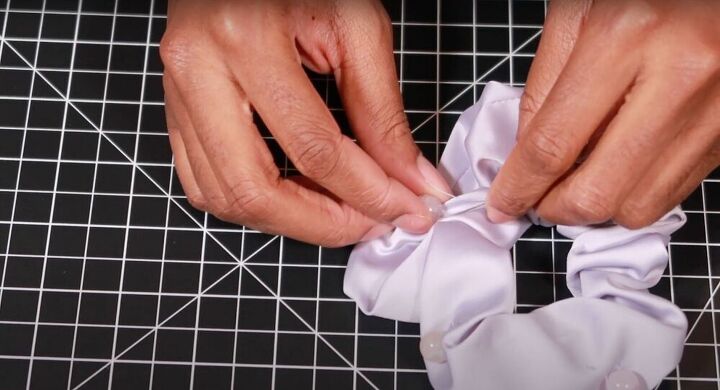
To add a little razzle-dazzle to my scrunchie, I decided to sew some beads onto it. I did this by feeding the thread through one end of the scrunchie, then inside the hole of the bead, and back into the scrunchie. Repeat this and continue looping the string around the scrunchie until it’s as tight as you want it. Once it’s secure, tie a knot to secure the thread from unraveling.
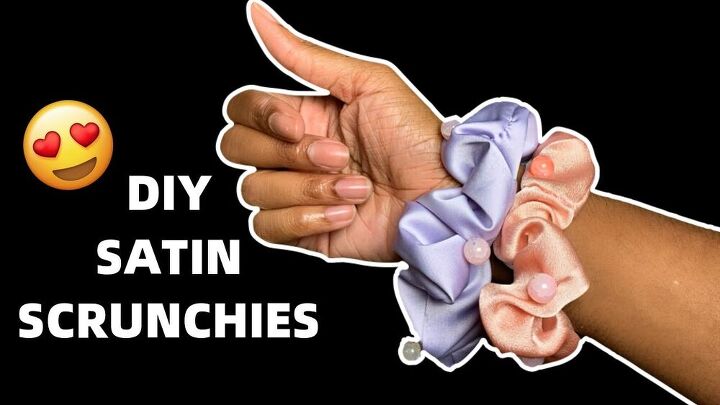
This DIY satin scrunchie is a great way to make use of leftover fabric and also make something you’ll use and love. You can really make it your own by experimenting with different colors, beadings, and patterns.
The author may collect a small share of sales from the links on this page.


Comments
Join the conversation