Make a Leather Bracelet From Scratch - 5 Tutorials in 1

I think a leather bracelet is an awesome fashion accessory! It’s classic, timeless, and gives off that trendy vibe to any outfit, really. There are so many ways to make a simple leather bracelet. You’d be surprised how easy it is! In today’s tutorial, I’m going to show you and walk you through how to make a leather bracelet from scratch. Also, a leather bracelet would make for a unique, inexpensive gift for your friend or loved one. Ready? Here are five stunning ways to make a DIY leather bracelet.
Tools and materials:
- Leather
- Suede cord
- String
- Pliers
- Jump rings
- Hooks
- Jewelry clasp
- Beads
- Metal ring
- Tape
Style 1- Tricolor braid
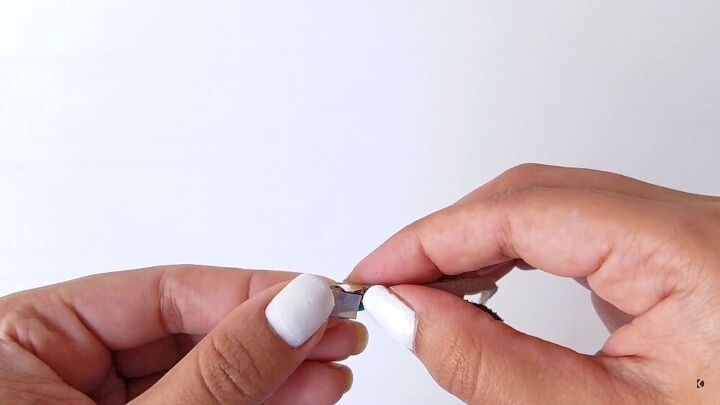
This is simple yet fun! All you need for this design are three different colored pieces of suede cord. With a set of pliers, attach it to your jewelry tab, so they sit in place.
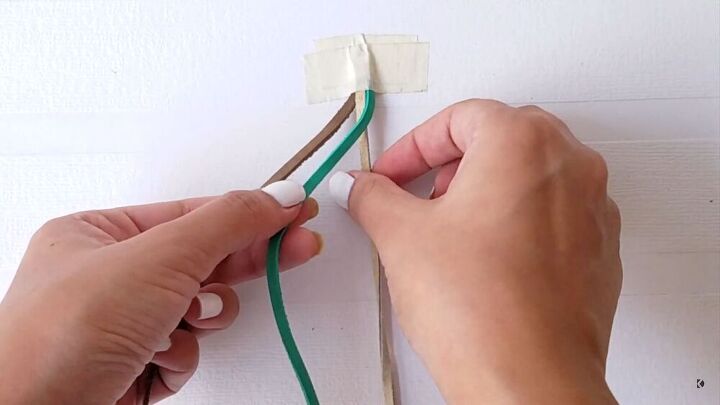
Tape the tag to a flat surface, so it doesn’t move. Now, simply braid the cords as you would braid hair. It’s the same concept! Take the cord on the right and overlap it so that it’s placed in the middle. Repeat with the left piece and interchange the pieces as you go along. You can see exactly how I do it from 0:53 seconds in my video tutorial.
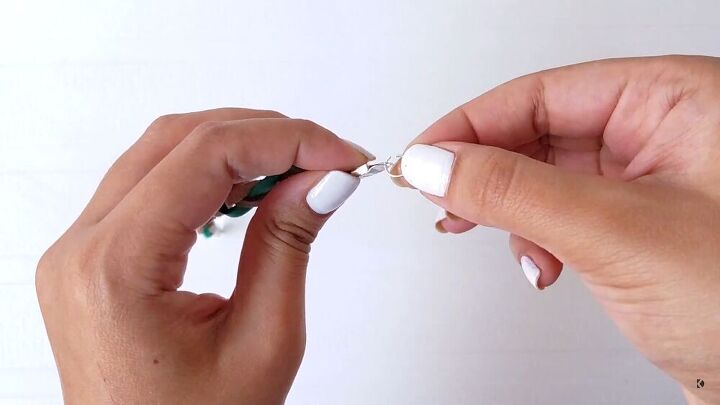
When you get to the end, simply cut the cords and clamp the other end of the bracelet. Then attach two jump rings on that end and a hook on the other.
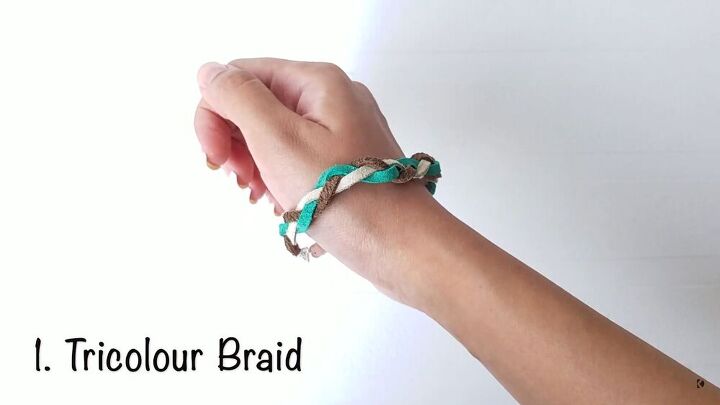
There you have it. You’re all set to rock this tricolor braided bracelet.
Style 2- One band braid
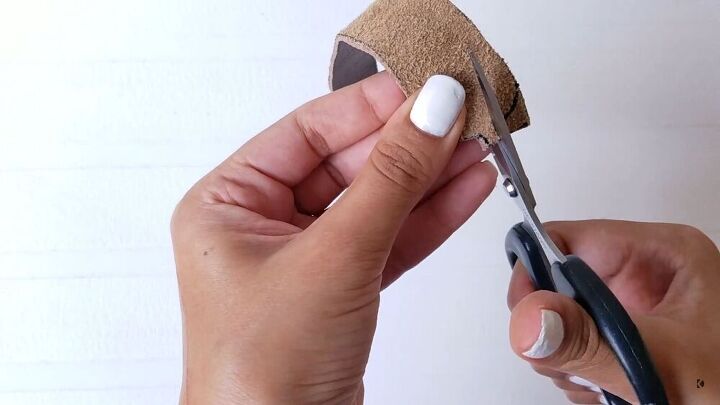
Take a piece of leather and cut it in 1.5 x 7 inches. Next, cut the ends of the band as shown here. Fold the strap in half and trace the first end to the second, and cut accordingly.

Next, divide the band into three equal parts and cut along the lines. Make sure not to cut it all the way across.
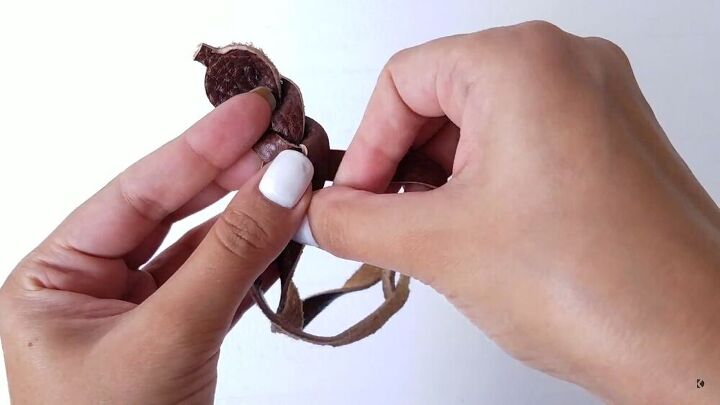
In order to braid it, overlap the side pieces three times and insert them through the right side of the slit. After another set of three, insert it through the left side of the slit. Watch my video at 2:13 minutes to see exactly how I do this.
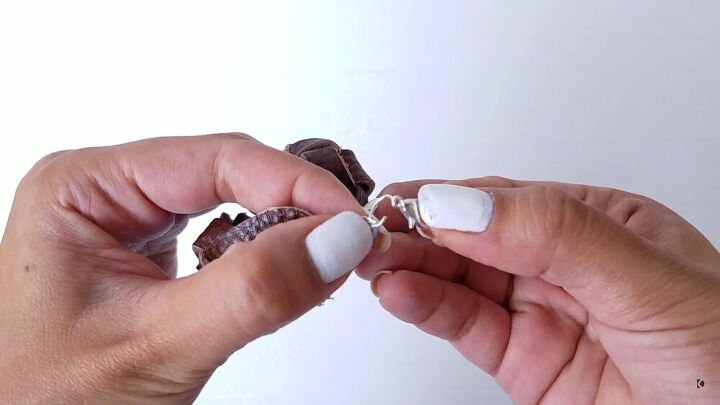
Next, attach a clamp on both sides, along with a jump ring and hook.
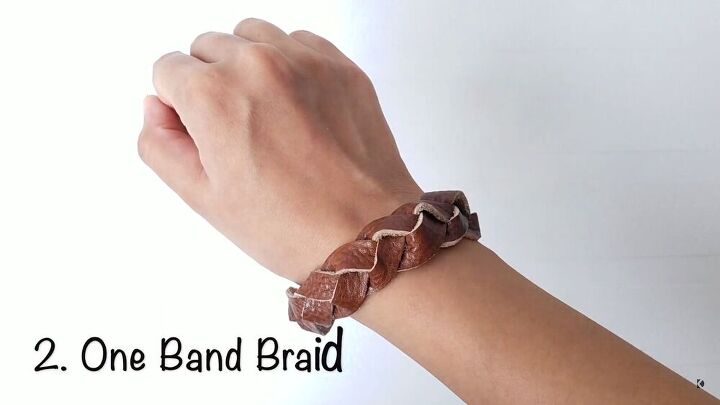
Isn’t this DIY leather bracelet so classic? I love how it turned out!
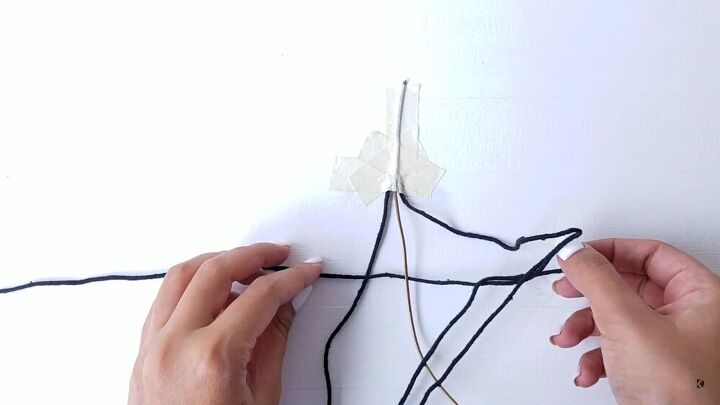
Style 3 - Beaded macrame
Tape three pieces of string on a flat surface. Take the right string and feed it under the center string, and the left one over the center string, through the loop, and pull the ends to create a loop. For the next knot, alternate the sequence. Watch the full breakdown from 3:10 minutes on my simple leather bracelet tutorial video.
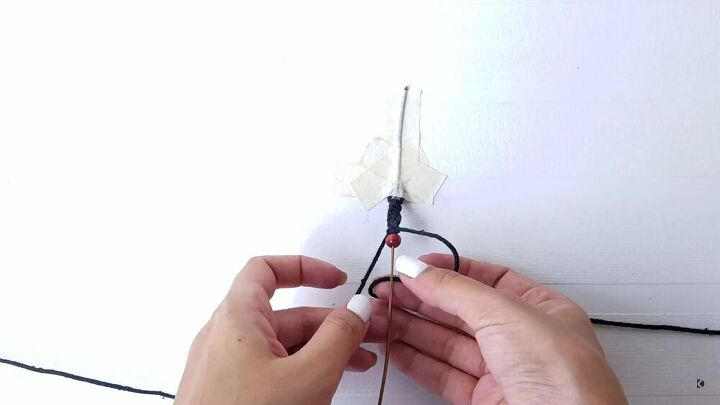
Once you’ve made 10 knots, feed a bead through the center string. Then, carry on all the way down until you’ve reached your desired length.
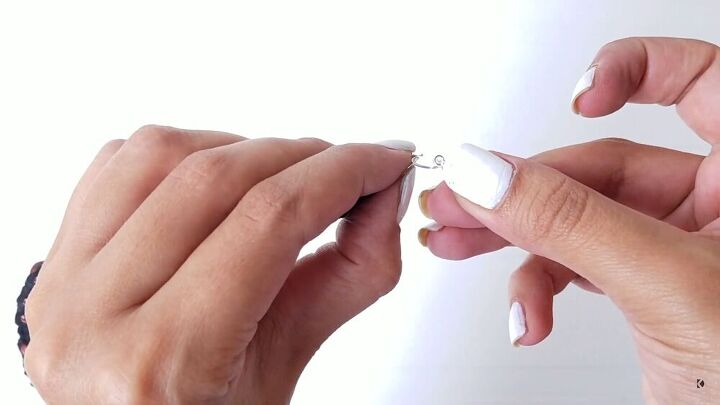
Cut all the strings and add a jewelry clamp to the end, a jump ring, and a hook to secure it in place.
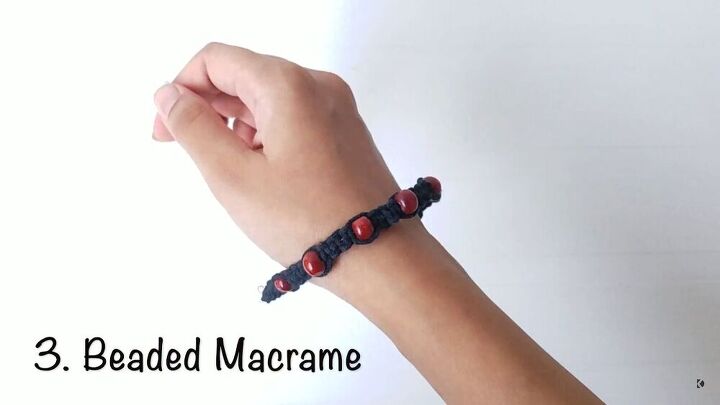
You’re all set to wear and strut this beautiful bracelet. How do you like this particular design?
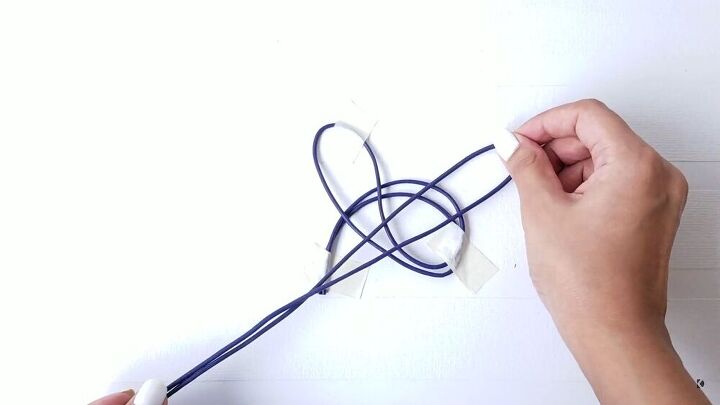
Style 4 - Celtic knot
Ok, so it looks complicated, but it’s the easiest leather bracelet of the lot.
Take two pieces of string, fold them in half, and tape them to a flat surface as shown.
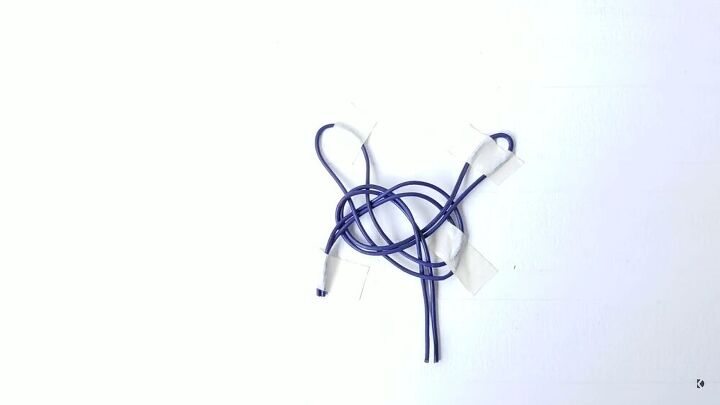
Next, take another piece of string and string it through the corners of each loop. Watch how I do this from 4:14 minutes.
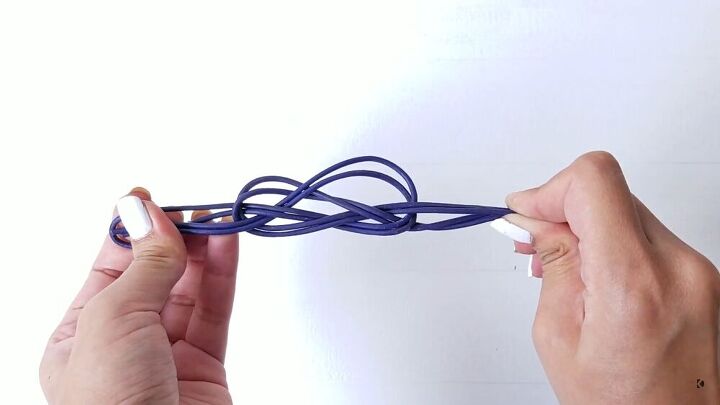
Remove the tape, and pull all four strands away from each other to secure the knot.
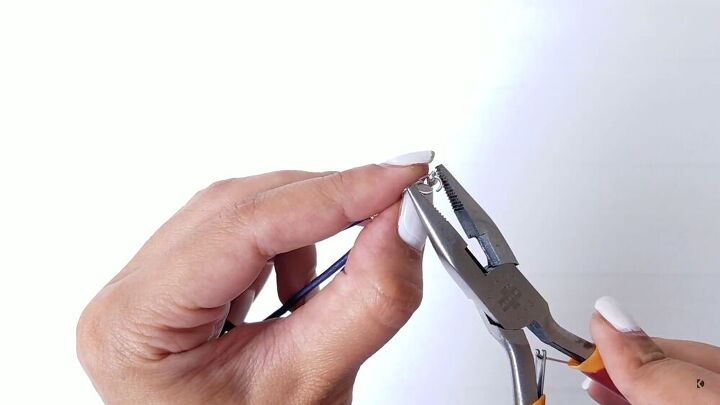
Then, measure the size of your wrist and cut the strings on either end. Fasten a jewelry clamp on all four strings and attach a jump ring and hook.
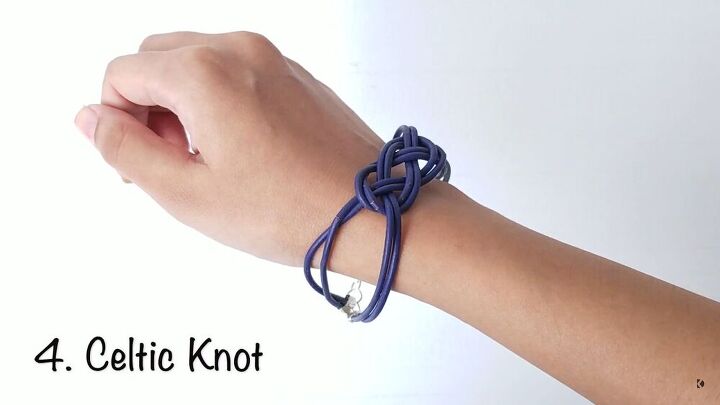
I absolutely love this bracelet, and it has a unique look and interesting knot.
Style 5- Pendant macrame
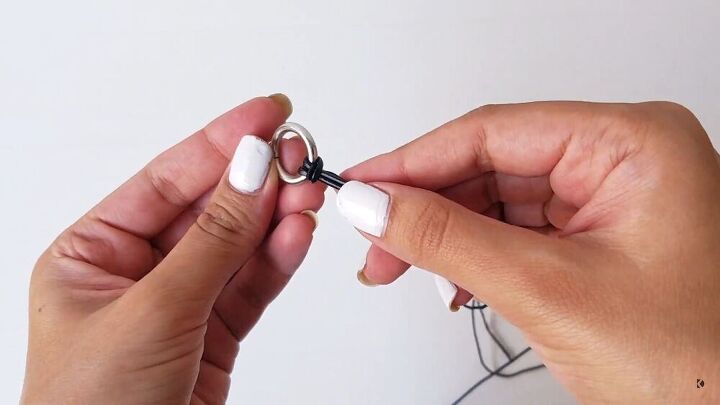
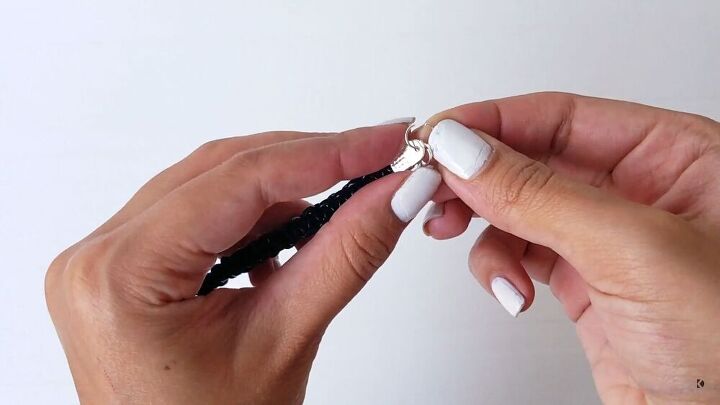
Take a ring and insert two strands of wire to create a knot around it.
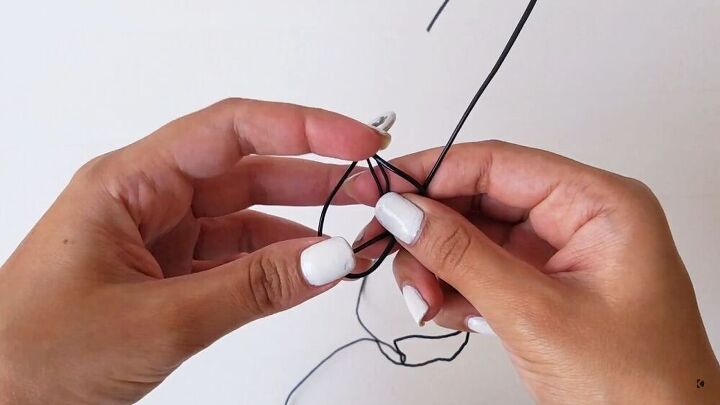
Now, take the left strand and pull it over the center strands. Next, take the right strand and pull it through the loop from the bottom. Repeat the same on the right side, too. Watch my video from 5:18 to see the exact process.
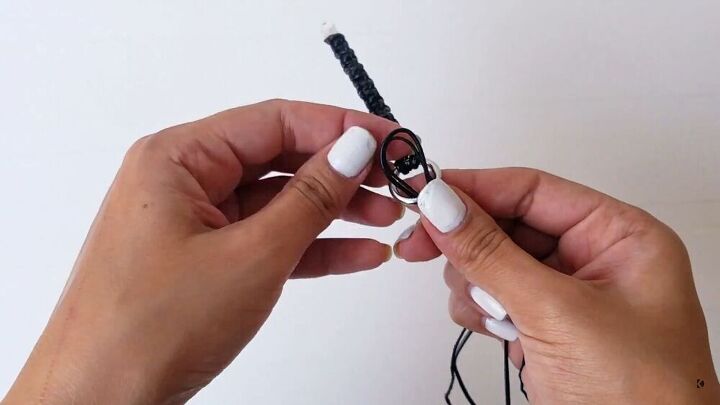
Follow the same sequence on the other side of the ring.
Cut the string when you’ve reached your desired length. Then, attach the clamps, a ring, and jump ring, and a hook.
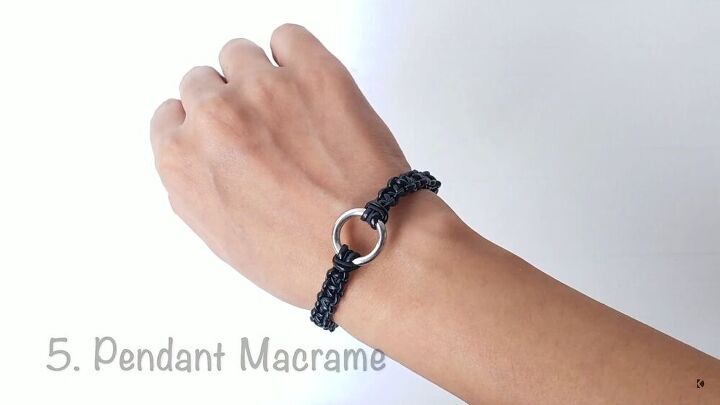
You’re done!
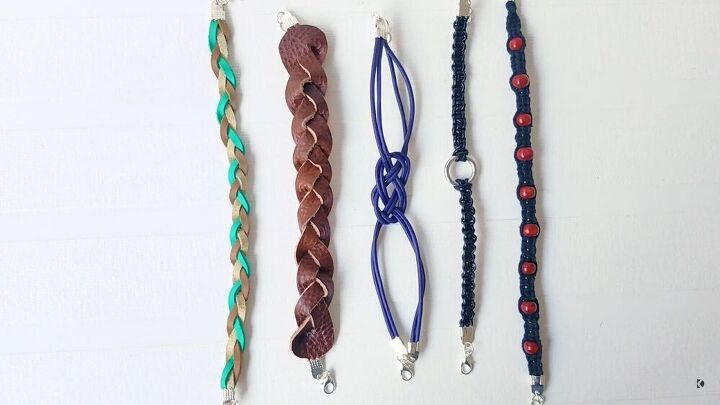
That’s it. You have five beautiful, intricate, and detailed bracelets. I love how the simple leather bracelet turned out, and I also love the beaded one. There are so many designs and styles to go for, not to mention the plethora of colors you can choose, giving you the freedom to express yourself and create a masterpiece of a bracelet! I hope you enjoyed this leather bracelet tutorial!
The author may collect a small share of sales from the links on this page.


Comments
Join the conversation
It’s nice to see old ideas made new again. This took me back to the 1970’s during the hippie years!
I have access to POUNDS of scrap leather and I am glad to see another idea to use it!!