How to Sew Women's Sweatshirt WILD CAT - Version No.3

When I started preparing the pattern for the girls' sweatshirt the WILD CAT, it became clear to me that I should also design a women's version of this sweatshirt with an original back piece. So today I want to present you the pattern for the women's sweatshirt WILD CAT and related sewing instructions.
The pattern
You can find the women's and girl’s versions of the pattern - and pattern set with both versions - in my online store:
- The pattern for women’s sweatshirt WILD CAT
- The pattern for girls’ sweatshirt WILD CAT
- Pattern set - Women's and girls' sweatshirt WILD CAT
Women’s sweatshirt WILD CAT is semi-fitted, with a classic round neckline and long sleeves. This sweatshirt pattern is designed in a professional program for clothing pattern development and it is available in sizes 32–46. The pattern is available in PDF A4 and PDF A0 format. You can have the large-format version printed in a copy center.
Recommended material
I recommend using knits (stretchy materials) of medium thickness. You can use French Terry knits, combed/uncombed laid-in knits with elastane/lycra, and so on.
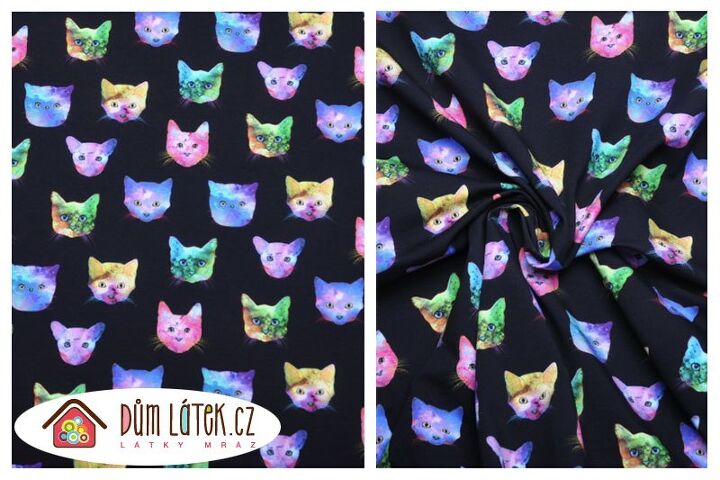
You can take a look at beautiful French Terry knit with colorful cats (which I used) here: French Terry - Cats
Sewing instructions
This is my third article with sewing instructions for this sweatshirt, you can take a look at the previous two articles here:
- How to sew girls' sweatshirt WILD CAT - Version No.1
- How to sew girls' sweatshirt WILD CAT - Version No.2
(Note: Today's instructions are based on the second article.)
Suggestion
You can sew this sweatshirt on an overlocker or a regular sewing machine. If you plan to use a regular sewing machine, I recommend reading this article first:
Pattern layout
Prepare:
- 1x front piece (cut on the fold)
- 2x back piece
- 2x sleeve piece
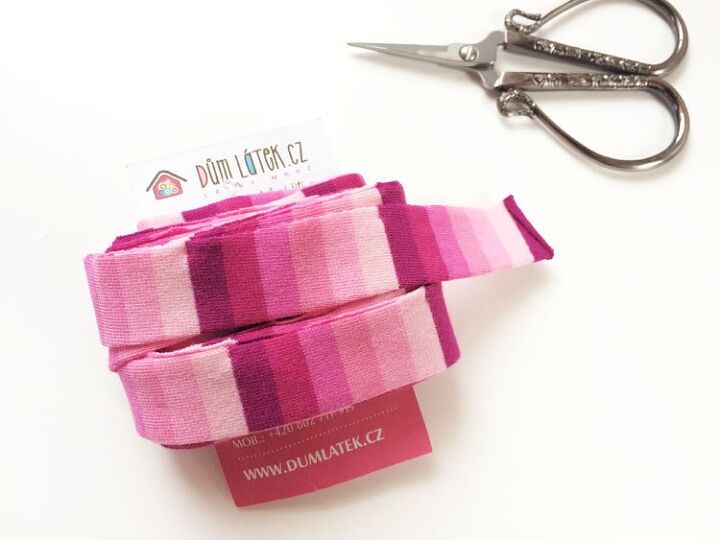
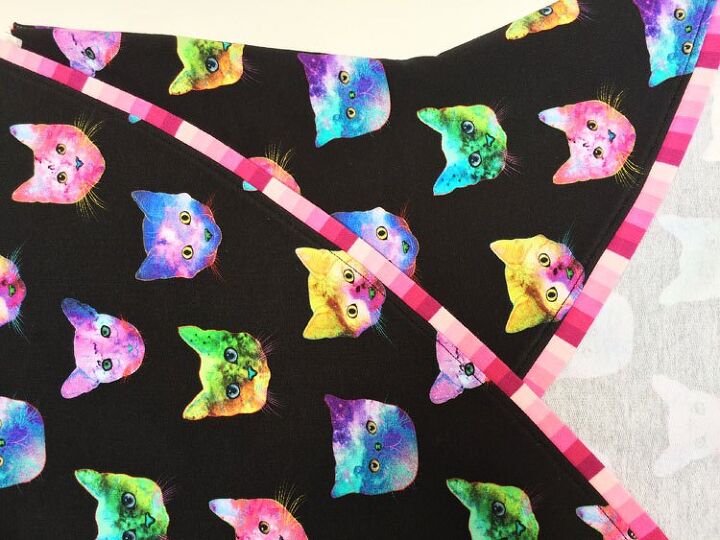
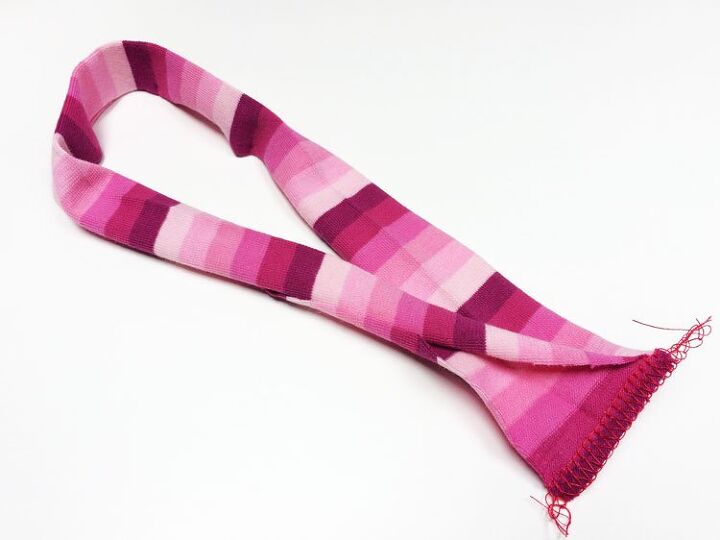
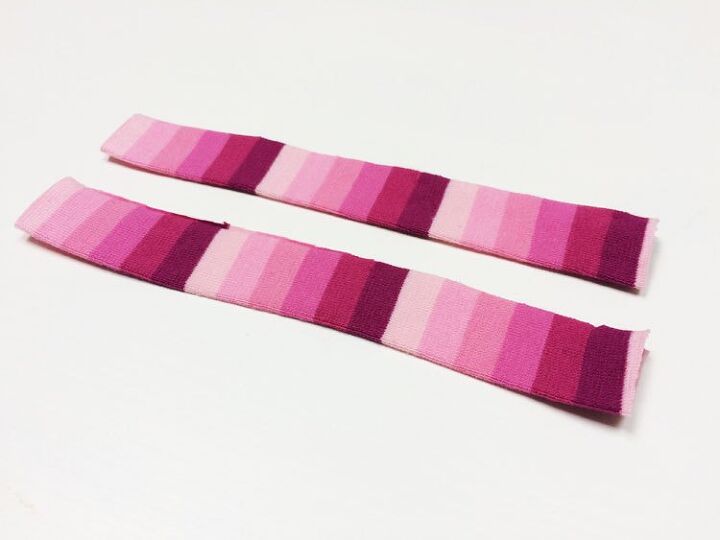
- 4 cm wide knit strip (ideally with elastane)
- 2.5 m (100") long for sizes 32–40
- 3 m (120") long for sizes 42–46
The strip should be stretchy along its length. Fold your knit strip in half (lengthwise) and iron it.
If the edges of your strip start to twist, read this article, where I describe how to deal with it:
When you have the strip ready, wind it on a spool (or piece of cardboard). Don’t wind the strip too tightly.
Let's prepare back pieces of the sweatshirt. Put them on top of each other (both face side up). Baste (temporarily stitch) both shoulder seams and neckline.
You can learn how to do this in this article:
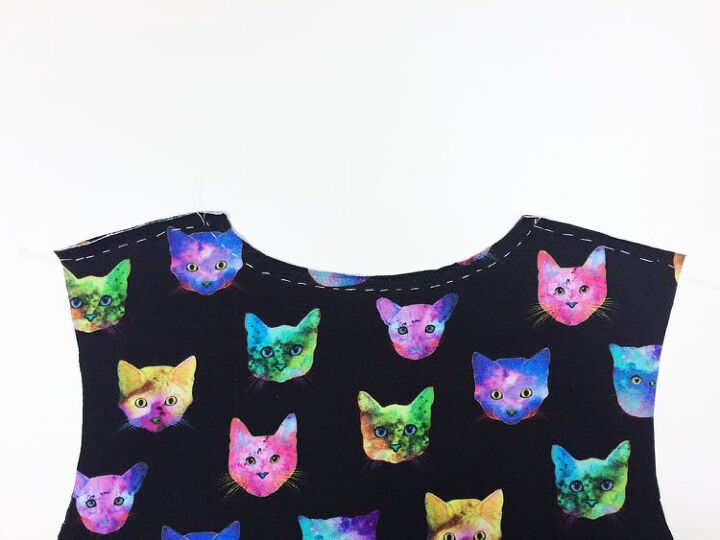
Place the front piece on top of the two back pieces (face side down). Sew both shoulder seams. Remove the basting thread from the areas around the shoulder seams.
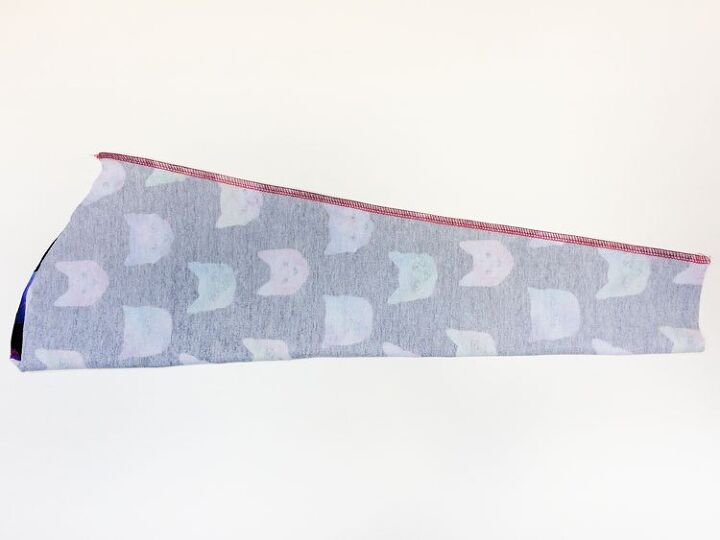
Sew both side seams.
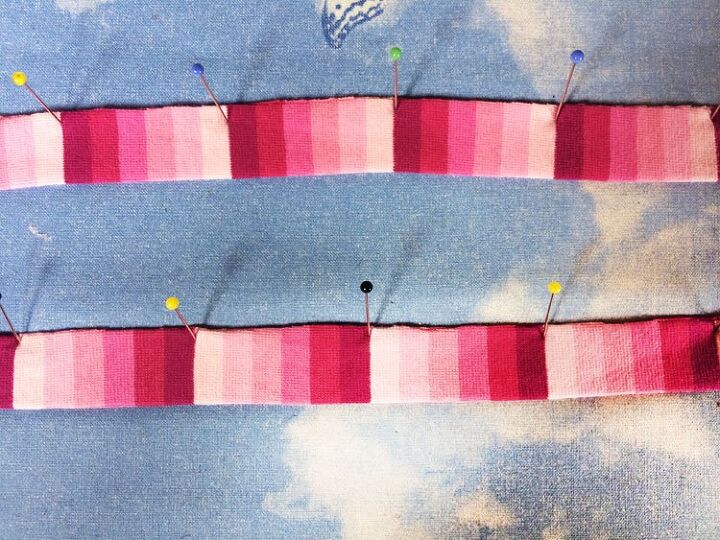
This is the right time for the first fitting test. Put on the sweatshirt and check how it fits you. If everything seems to be in order, turn the sweatshirt face side out and pin your knit strip to the entire bottom edge. Do not stretch the strip at all, otherwise, the edges will start to twist and crease.

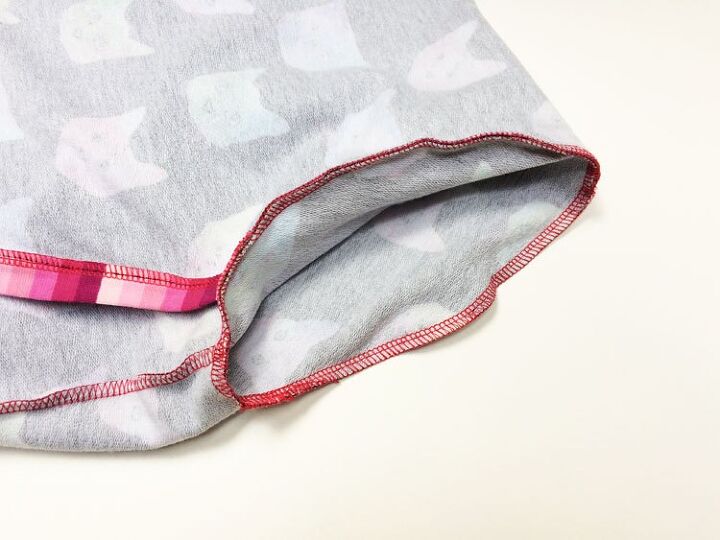
Sew the strip to the sweatshirt and iron it. Press the seam allowances away from the hem.
If you want, you can perform another fitting test to check that the new hem did not tighten or deform the sweatshirt. Topstitch the hem - sew about 3 mm (1/8") from the original seam.
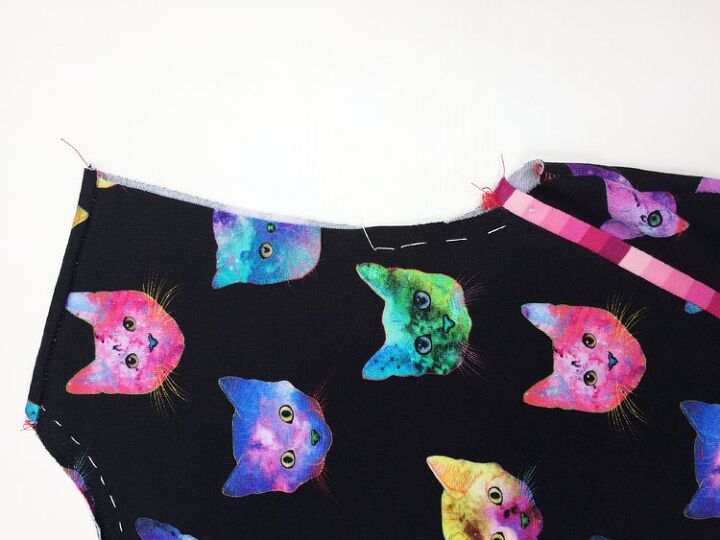
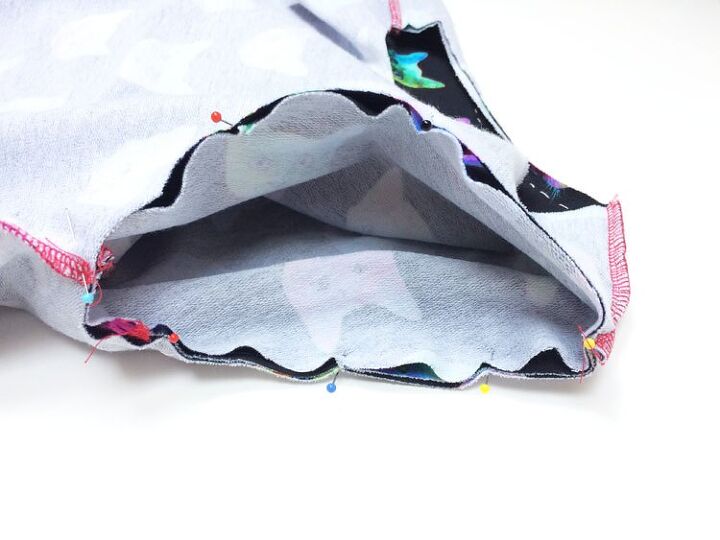
Align and baste the back parts of both armscyes - this will make it easier for you to sew the sleeves later.
Let’s prepare the sleeves. Fold them face side in and sew the sleeve seams. There are two marks on the sleeve caps, the first indicates the top of the sleeve cap and the second tells you which part of the sleeve belongs to the front of the sweatshirt. (I assume you have transferred all the important marks from the paper pieces...)
Turn the sleeve face side out and insert it into the sweatshirt (which is inside out). To be on the safe side, double-check that you have inserted the sleeve into the correct armscye (the mark on the side of the sleeve belongs to the front of the sweatshirt).
Pin & sew the sleeve to the torso. Pull free ends of the thread chain under the loops if you use your overlock machine. Sew the other sleeve in the same way.
Pin & sew the sleeve to the torso. Pull free ends of the thread chain under the loops if you use your overlock machine. Sew the other sleeve in the same way.
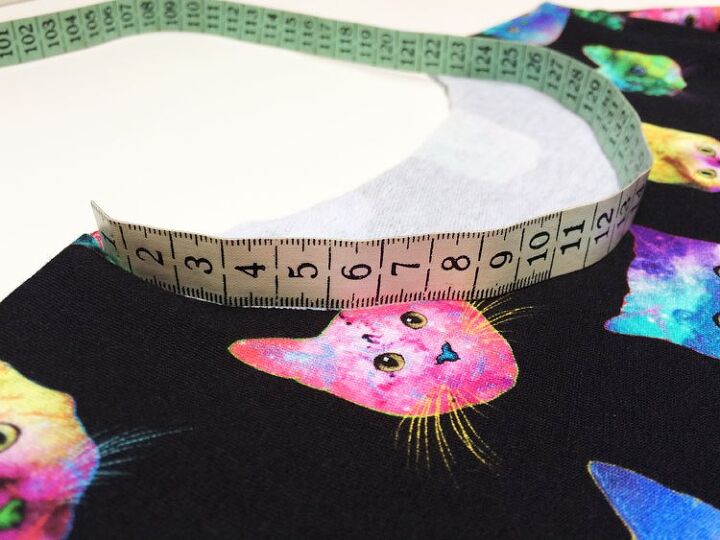
Multiply the measured value by 0.85 - the result is the required length of knit strip that will form the hem.
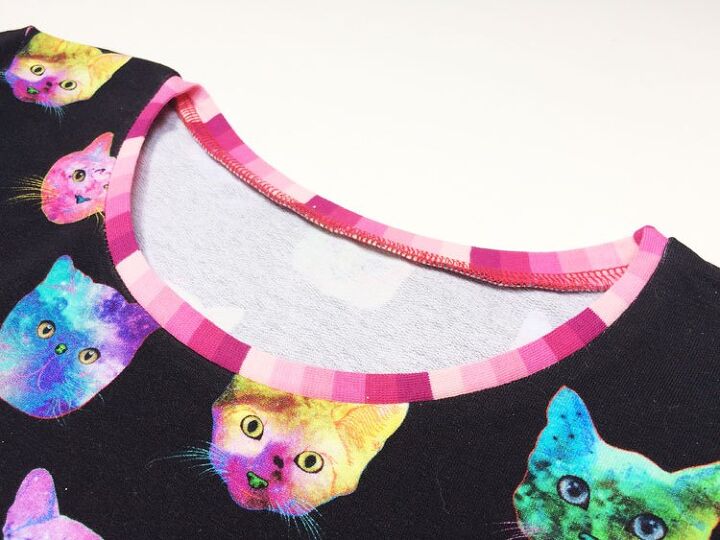
You can find detailed instructions for sewing neckline hems in this article, for example:
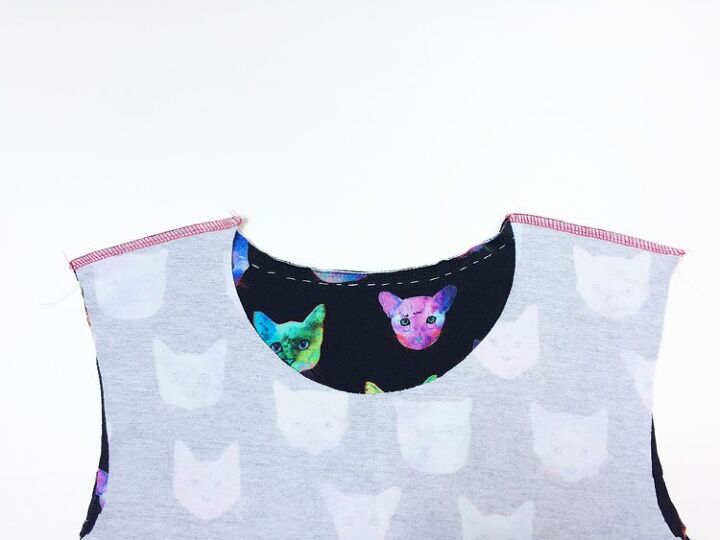
Sew the hem and iron the neckline thoroughly.
Repeat the procedure for both sleeves. Measure the circumference of the bottom edge of the sleeve and multiply this value by 0.85. Then prepare two suitable knit strips and sew them to the sleeves.

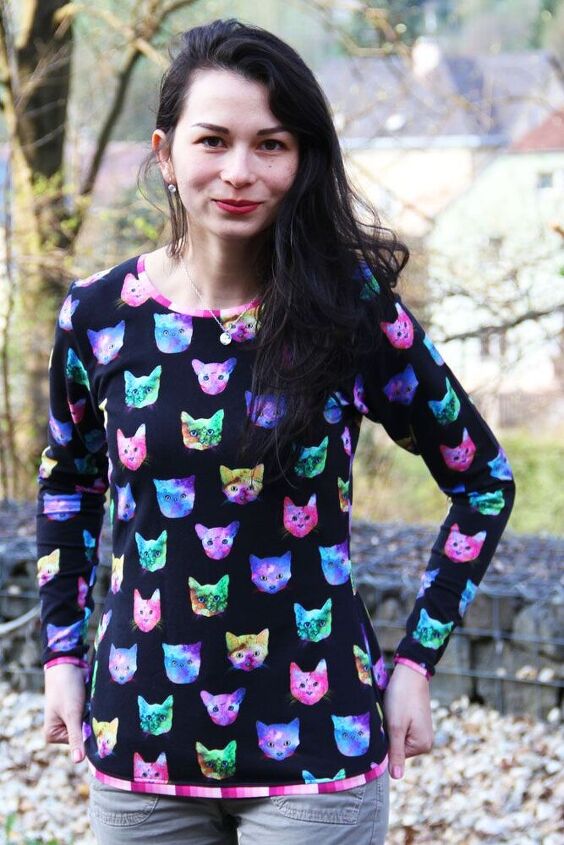
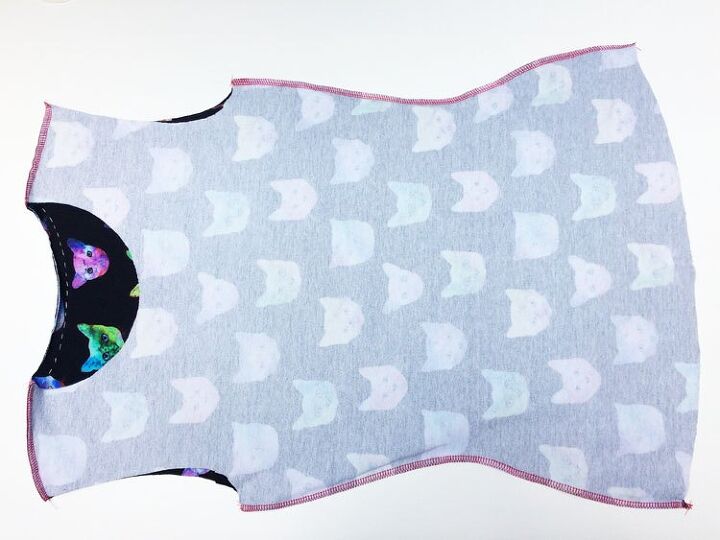
Your new sweatshirt is finished! That was quick, wasn't it? :)
All variants of the WILD CAT pattern can be found here:
- The pattern for women’s sweatshirt WILD CAT
- The pattern for girls’ sweatshirt WILD CAT
- Pattern set - Women's and girls' sweatshirt WILD CAT
Don't forget to share your joy with others!
Do you like this article? If so, share it with your friends and tell me about it in the comments section below. I will be glad for any feedback! ♥
PS: Did you know that there are FREE PATTERNS available on my blog?
The author may collect a small share of sales from the links on this page.


Comments
Join the conversation