Puff Sleeve Dress Sewing Tutorial: Bedsheet Upcycle

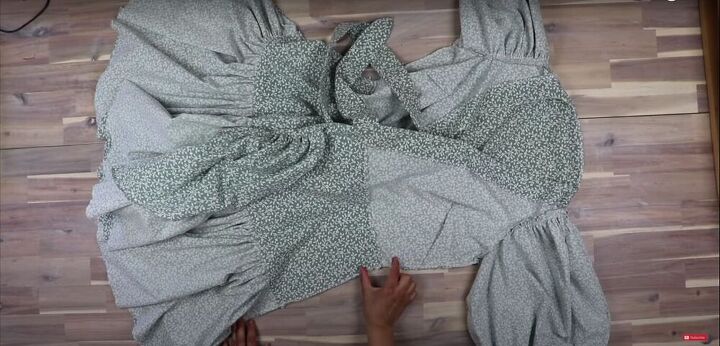
Thrifted bedsheets are perfect for upcycling into new clothes, because there’s just so much fabric to work with. I found a gorgeous floral bedsheet--the perfect summery fabric for a DIY puff sleeve dress. Follow along with this tutorial, and I’ll show you how to make a puff sleeve dress with wrap ties and a ruffled skirt.
Tools and materials:
- Pattern
- Queen-size bedsheet
- Elastic bands
- Scissors
- Pins
- Sewing machine
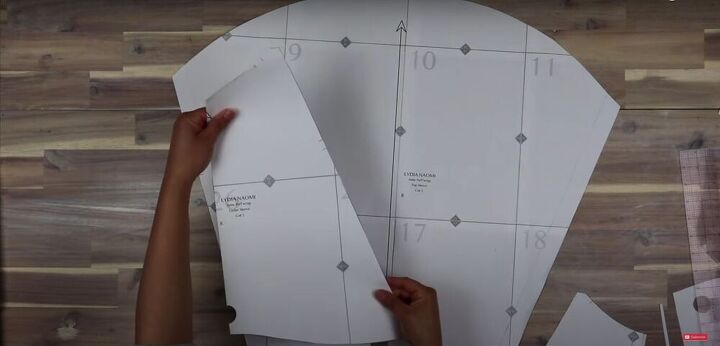
Create the pattern and cut
See 1:37-6:00 in the video for pattern instructions.
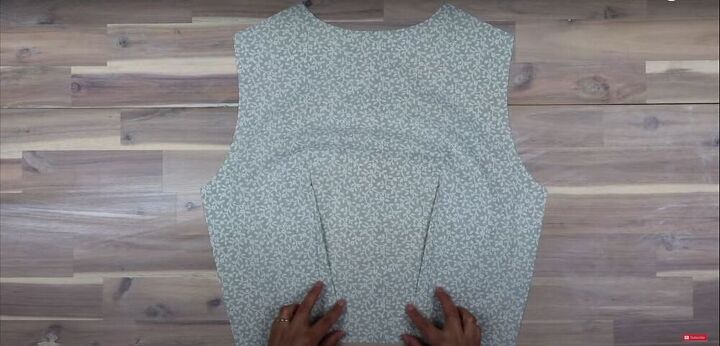
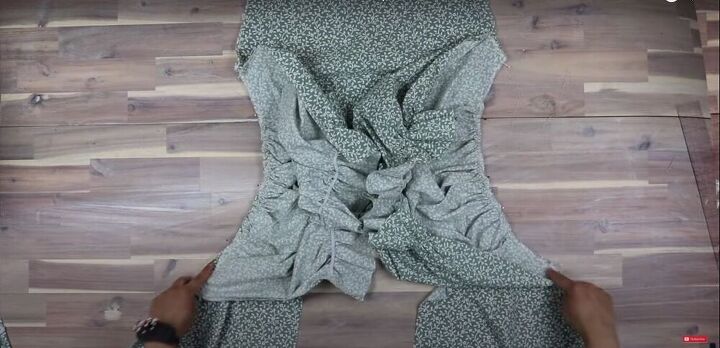
Make darts
To begin construction on my puff sleeve mini dress, I created darts on the front and back bodice pieces. I ironed down the front bodice darts towards the hem and the back bodice darts towards the center.
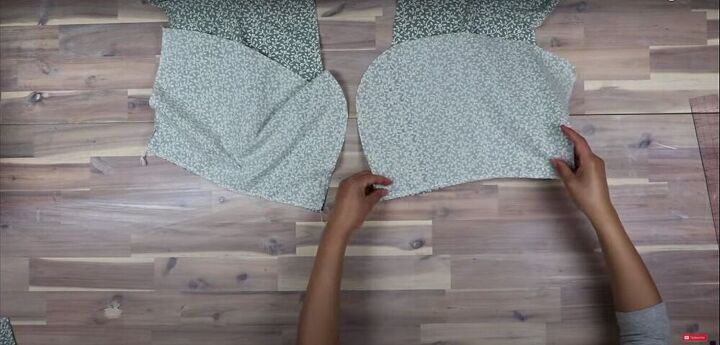
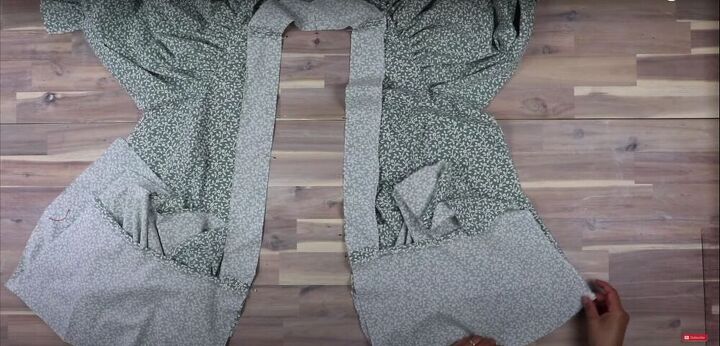
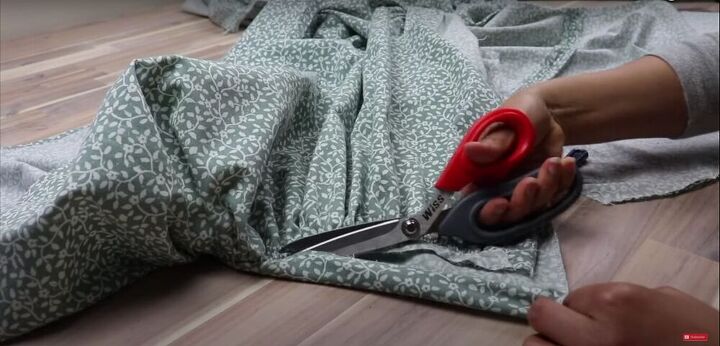
Overlock
I overlocked the edges as shown in this image.
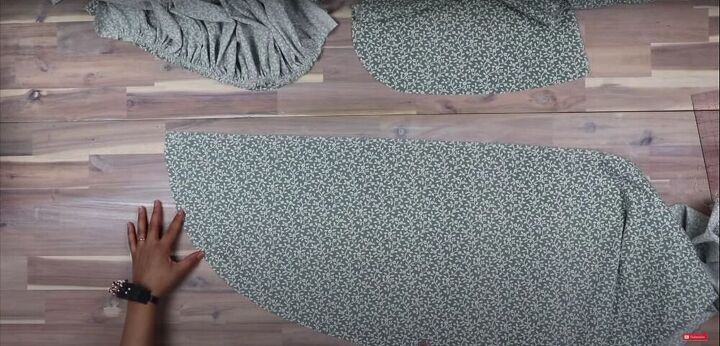
Sew
With right sides together, I sewed the shoulder seams of the front and back bodice pieces, as well as the shoulder seams of the front and back facings.
Gather
I measured 3 inches up from the bottom of my sleeve and sewed a row of large stitches. I lightly gathered the fabric, until it was equal in length to the elastic band when extended.
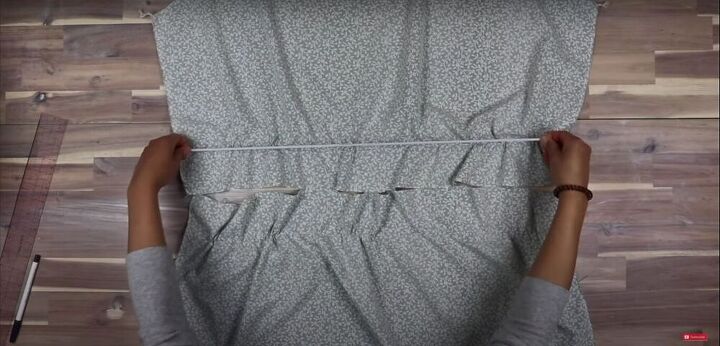
Attach the elastic
I attached the elastic to the wrong side of each sleeve hem.
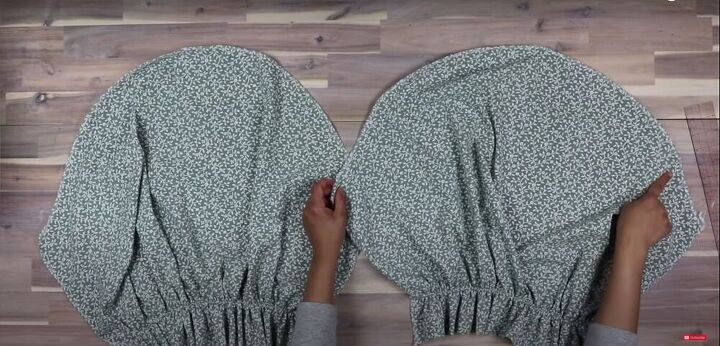
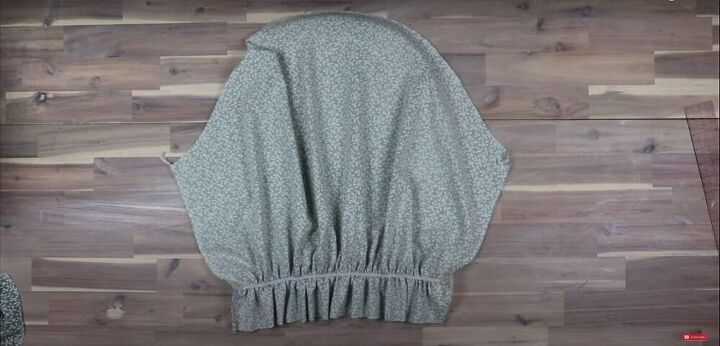
Gather
I sewed two rows of the largest stitch in the seam allowance of the sleeve cap, between the front and back notches. I marked my shoulder notch with a pin so it doesn’t get lost in the gathers and then gathered the sleeve cap.
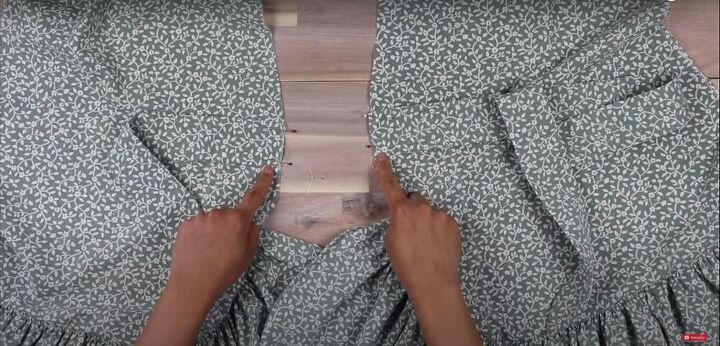
Sew
I opened up the bodice so the right sides were facing up, and pinned the sleeves in place, matching the front, back, and shoulder notches, and sewed.
With right sides together, I sewed the front skirt yokes to the front bodice.
Hem
On the front portion of the front ruffle piece, I turned the hem up twice ¼ inch and sewed it down.

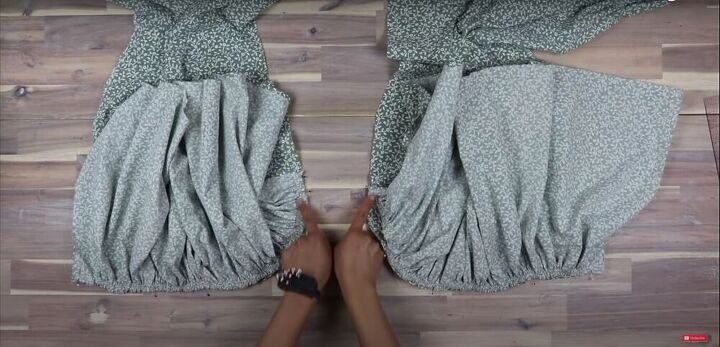
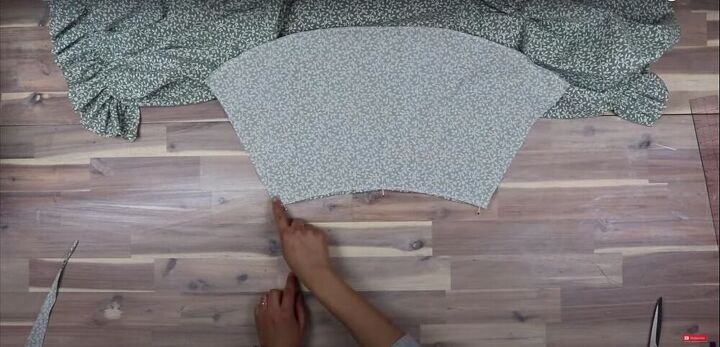
Gather
I sewed two rows of the largest stitch along the top edge of the skirt ruffle and gathered the fabric until it was equal in length to the skirt yoke, from the front notch to the side seam.
Pin and sew
Then I pinned the ruffles and the skirt yokes together and sewed.
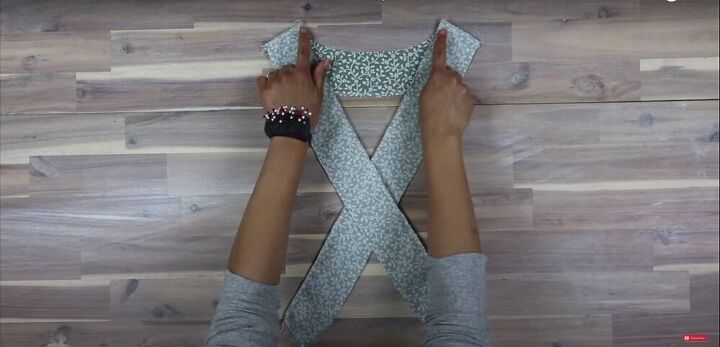
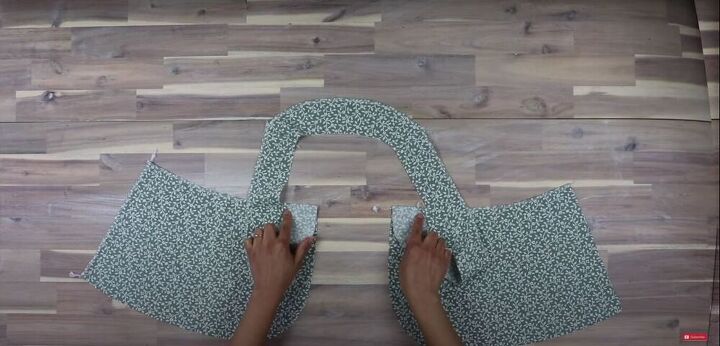
Attach the wrap tie
I pinned the wrap ties to the edge of the bodice and skirt. Note that the side with the shorter tie will be the top layer of the dress when wrapped.
Pin and sew
Next, I pinned the back skirt yoke to the back bodice and sewed.
Gather and sew
I sewed two rows of the largest stitch along the top edge of the back ruffle piece and gathered it until it was the same length as the bottom of the skirt yoke. Then I sewed the ruffled edge to the hem of the back skirt yoke, right sides facing.
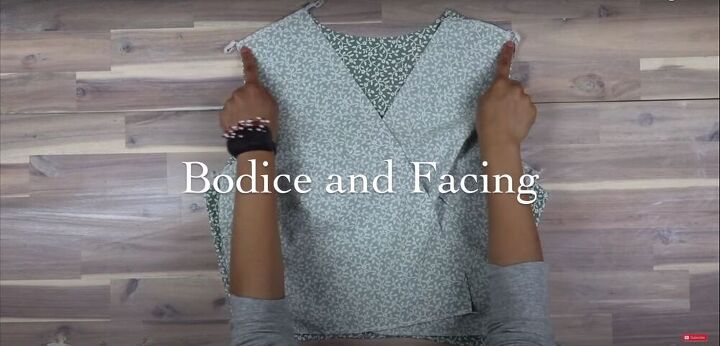
Sew facings
If you choose not to add a skirt yoke facing, the instructions are the same, but you can disregard any instructions involving the skirt yoke facing. I attached the base of my front facing to the top innermost edge of the skirt yoke facing.
With right sides together, I sewed this entire piece to the neckline and around the skirt yoke, with the ruffle folded up inside of it.
Trim and clip
I trimmed a ¼ inch off the facing seam allowance around the neckline, excluding the skirt yoke.
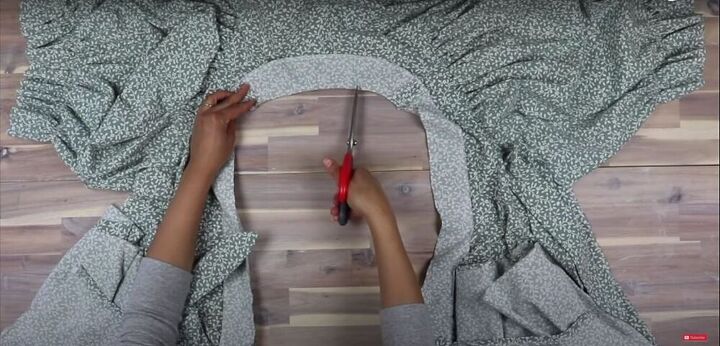
I also made a few clips along the curve of the back neckline.

Then, I turned the fabric out, and understitched the facing starting right above the skirt ruffle, and going all the way around. Once that was done, I secured the facing at the shoulders.
Skirt yoke facing instructions
If you chose to add a skirt yoke, follow the instructions from 9:55-10:15.
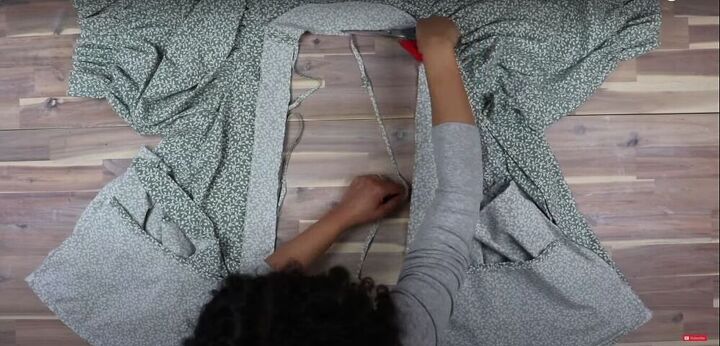
Sew
Finally, I matched up all the side seams, from the ruffles to the sleeves, and sewed them down, leaving an opening on the side seam opposite the longer wrap tie, so the belt can go through and wrap around the dress.
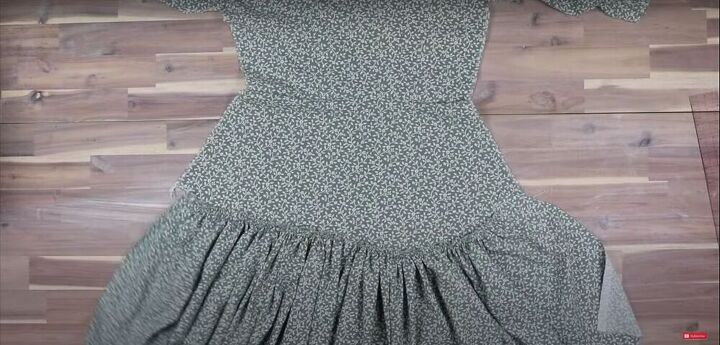
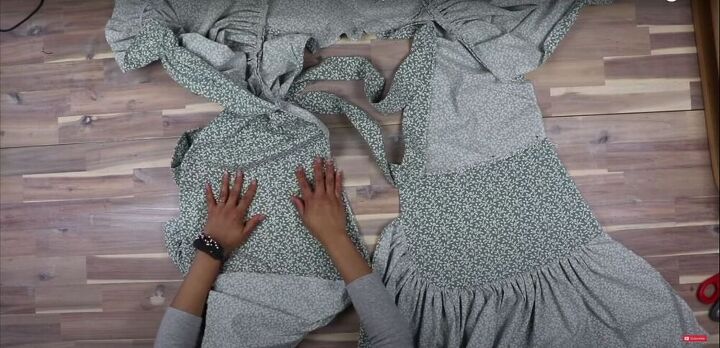
Make adjustments
I tried on the dress and made any adjustments necessary to make the dress fit me perfectly.
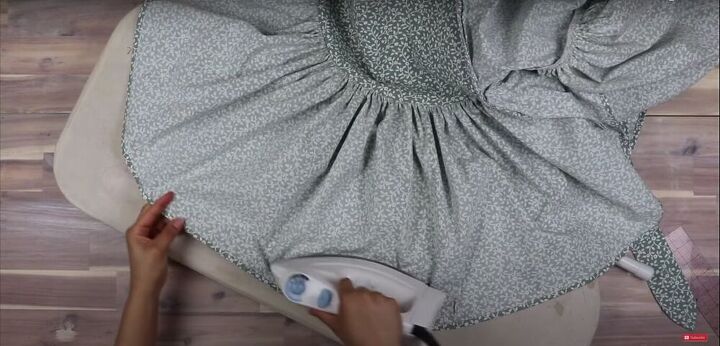
Hem
Finally, I hemmed the bottom by rolling it up twice ¼ inch, and hemmed the sleeves ⅛ inch twice, using a hem roller.
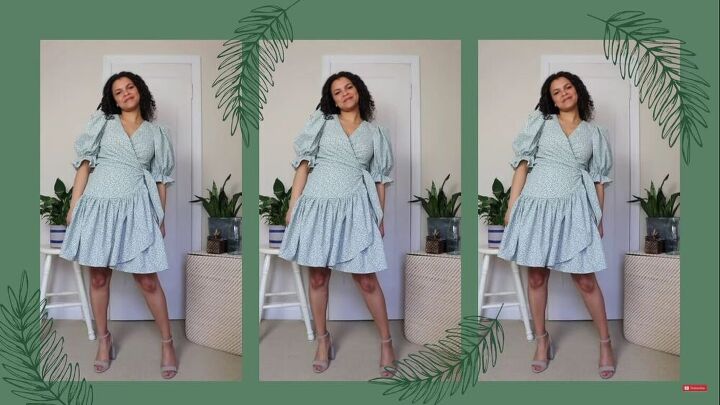
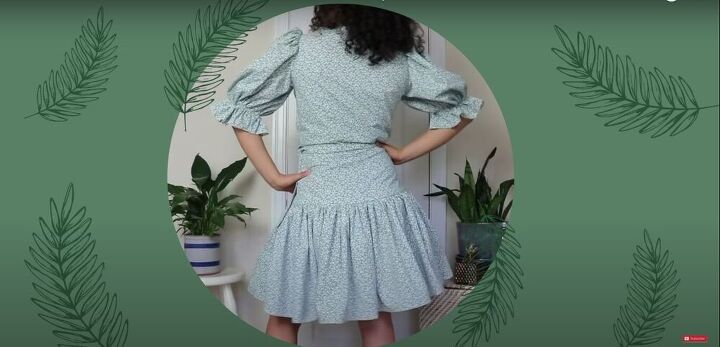
I hope you found this puff sleeve dress tutorial helpful. You can use this same pattern to make a puff sleeve maxi dress by simply extending the length of the skirt yolk. Let me know what you think of my thrifted bedsheet upcycle!
The author may collect a small share of sales from the links on this page.


Comments
Join the conversation
Can this be made longer?
You are so talented! Just beautiful!