Tie Dye Sweatsuit Tutorial Using the Scrunch Technique
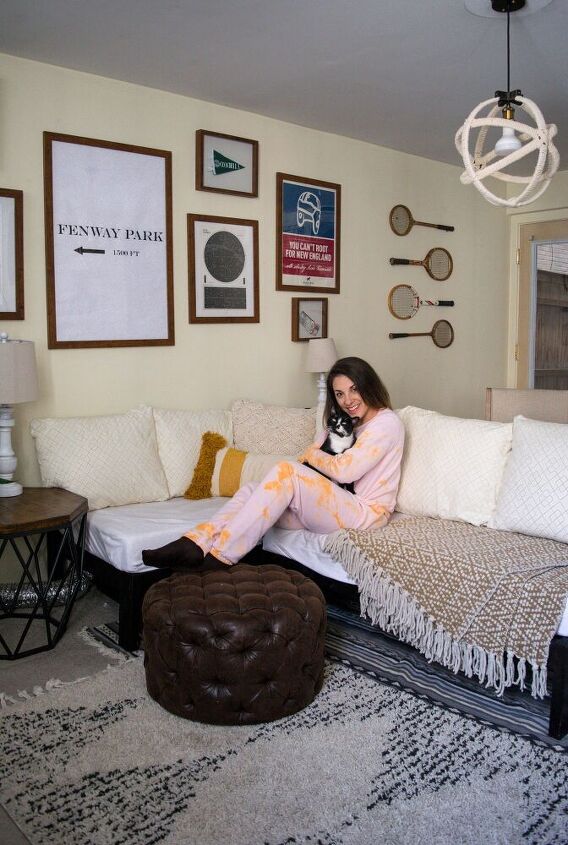
So you’re working from home and haven’t changed your outfit in three days? Me too. It’s not only because I’m lazy, it’s also because I found out how to tie dye my sweatsuit. Let me tell you. -cozy has never been so chic. This tutorial will show you how to DIY your own tie dye sweatsuit, updating your lounge look with supplies you can order right to your door.
I found the inspiration for this tie dye tutorial while shopping online. I am, as always, shocked to see what companies want people to pay for their clothing. Many of the amazing tie dye sweatsuit s I’d see online looked amazing, but cost upwards of one hundred dollars for the set. While I think anyone could justify this cost from the sheer amount of wear you’ll get out it in the next few weeks, I’m telling you that you can save your monies. I bought this whole outfit for $17. The cost of supplies was $8 (and I had some left over for future projects). So, for two hours and $26 you are going to look swag as EVER.
There are many tie dye techniques , which is why a brief search for “how to tie dye” might be a little overwhelming. I am going to use the scrunch technique. This leaves irregular, random, crisp, colorful splotches on the fabric you are dying. It creates that chic without trying look that the companies seem to be charging extra to create.
So what do you need for this tutorial? I linked everything you’ll need here.
Materials for Tie Dye Sweatsuit
- Sweat shirt top (crewneck)
- sweat pants ( Joggers) / ( regular pant)
- Rit Dye
- Rit Color Fixative
- Soda Ash
- Tie Dye bottle
- Rubber Bands
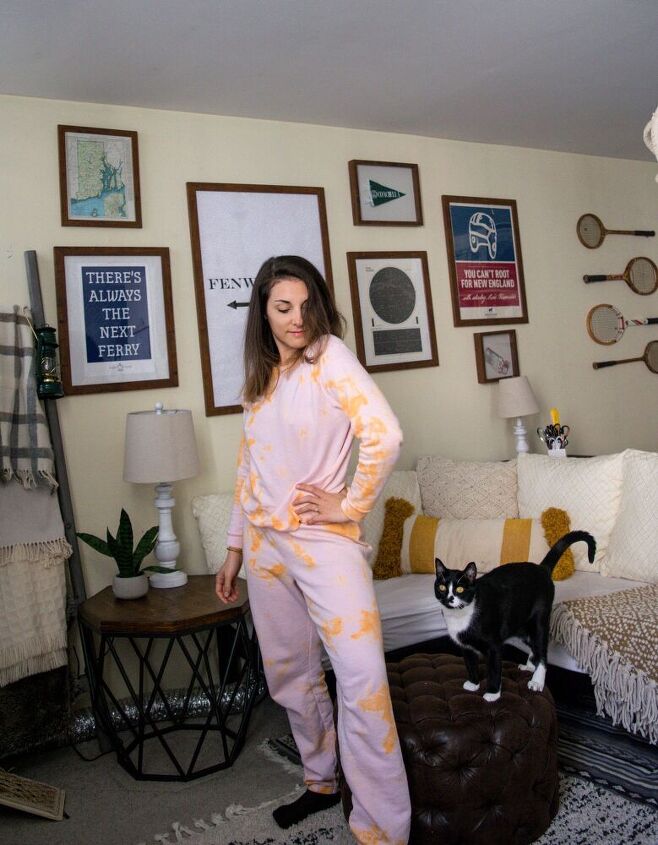
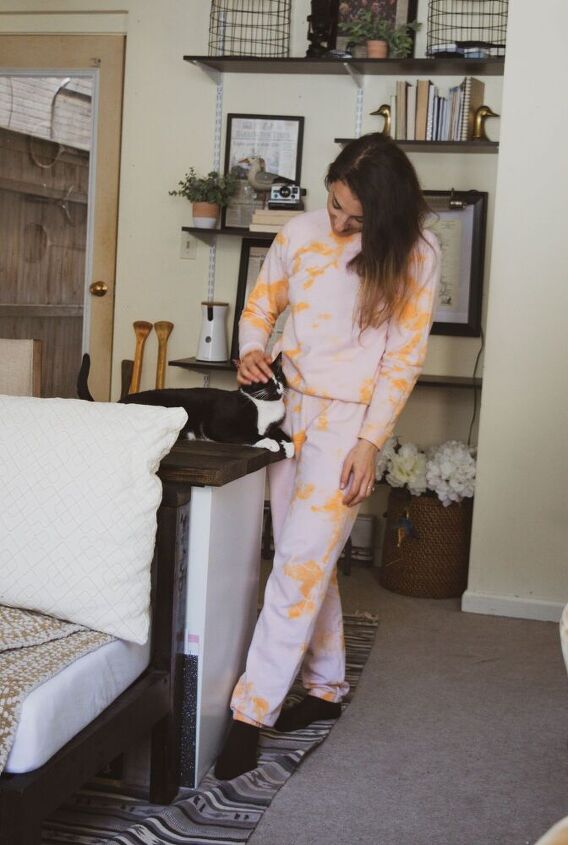
*For my color selections, I used the pale pink for the sweatsuit and tangerine as the Rit Dye color. Weirdly, white sweatsuits are pretty hard to find! However, as long as your dye is darker than the fabric you choose it should turn out just fine.
Instructions
Step one: You gathered all the materials and removed all the tags from your clothing. Next step is to dissolve the soda ash in some hot water on the stove. I mixed about half a package (about 1 cup per pound of fabric) with water on the stove top. Once well mixed, I completely submerged my top and bottom into the solution and let sit 20 minutes.
Step two: Wring out each piece of fabric until damp. You should really squeeze the water out as much as you can! Set aside.
Step three: Making the dye! There are multiple ways to make your dye. Rit has a whole process on their webstie. However, I found that the least messy way to do this was by mixing inside the tie dye bottle. Put 2 tbsp of Rit Dye into the bottle, add hot water so the mixture ends 3/4 of the way to the the top. They recommend the water to be around 140 degrees. However, hot tap OR heating it in a tea kettle until lightly bubbling works fine. Depending on the fabric of your garment, Rit recommends adding salt or vinegar to the bath. This helps your fabric hold the color – because science! These sweats are 60% cotton, 40% polyester. So, I added some salt to the dye bath in the bottle. Shake until dissolved. Water should be hot enough to dissolve it.
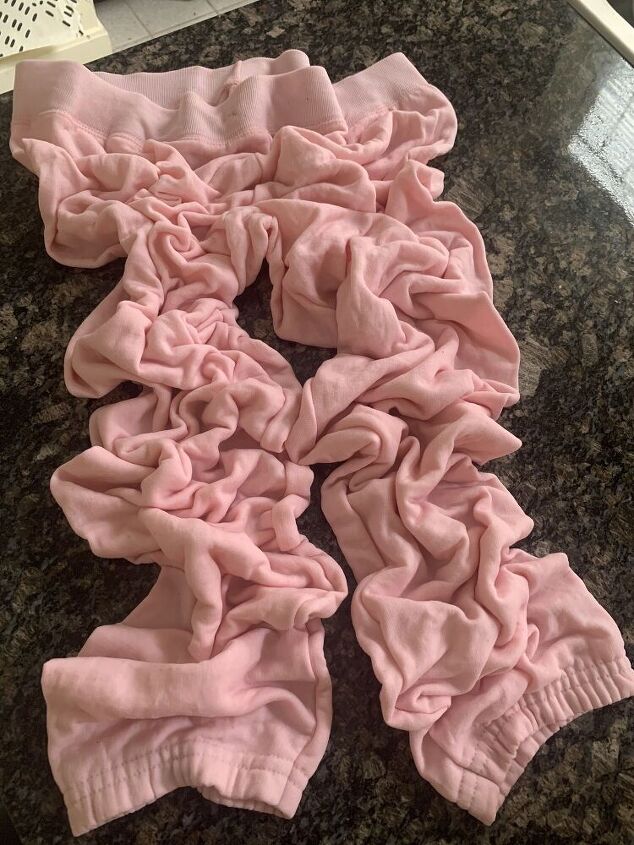
Step four: Place your garment so it lays all the way out on a flat surface. This is where we will do the scrunch technique. Place your hand with your fingers stretched all the way out on the fabric, grab to pull in. Do this until all the fabric is scrunched. Gently rubber band the edges together, attempting to keep the design as parallel to the flat surface with each tighten. As you add more bands, this will become easier. I made my design very tight and added about 20 rubber bands around the outside.
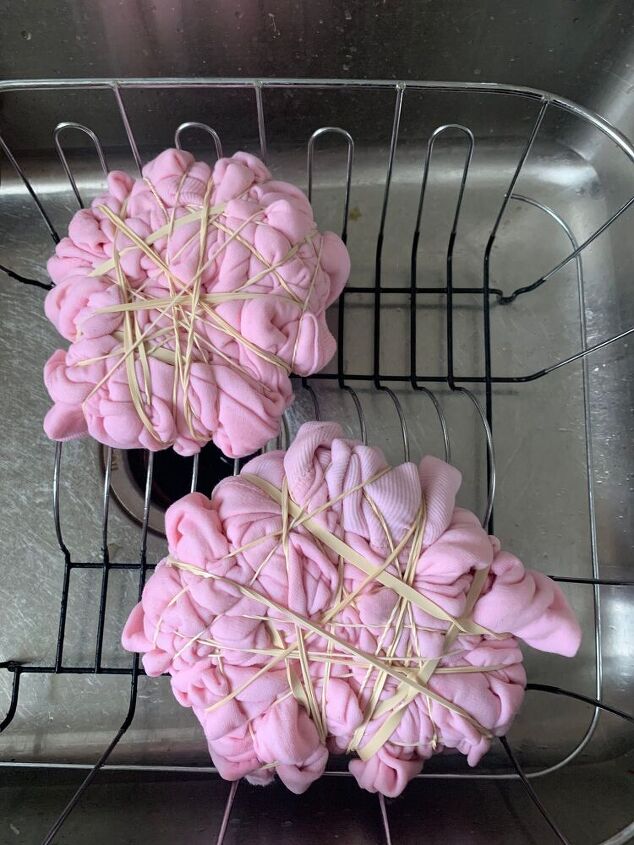
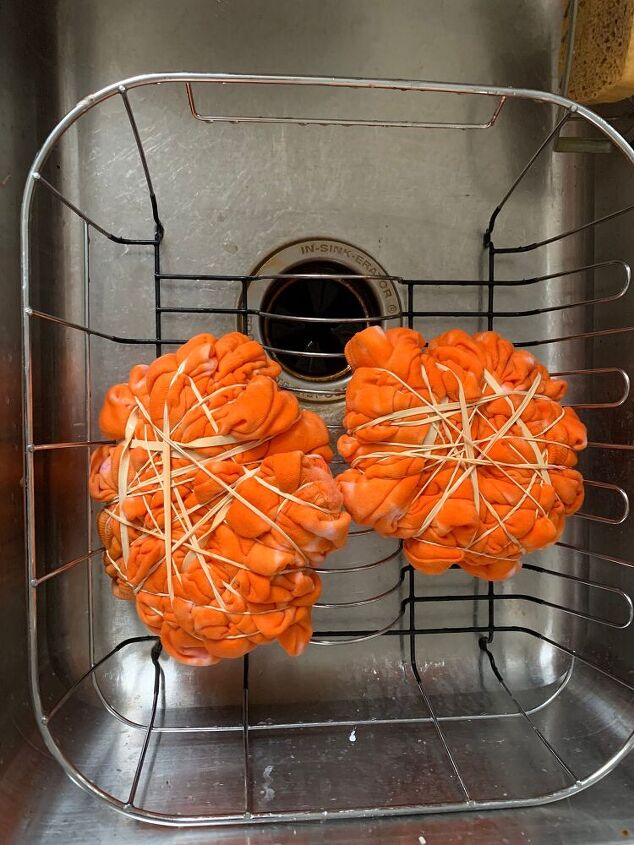
Step five: Once the pants and the top are banded and secure, place them in a drying rack in the sink. This ensures that the garment does not touch the bottom of the sink where the dye can pool and ruin your design. Using your bottle, squirt dye to color the entire outside of your garment. Make sure no white spots (or colors of original fabric) are showing.
Step six: Allow the dye to set 20-30 minutes. Rit suggests wrapping each garment in plastic wrap and microwaving from 1-2 minutes. This sets the dye even more.
Step seven: Once you’ve dyed your garment, now its time to fix that color! Using the color fixative (per package instructions), submerge your garment once again. Stir consistently for ~20 minutes over the stove on low, low heat. The water will become VERY colorful as the extra dye dissolves, so fear not.
Step eight: Remove the rubber bands and rinse until water runs clear.
Step nine: Wash with mild detergent without other clothing.
If you still aren’t convinced : I love this sweatshirt from Danzy. They seem to make amazing products and you can scoop one up for yourself here (no aflink just love!)
The author may collect a small share of sales from the links on this page.


Comments
Join the conversation
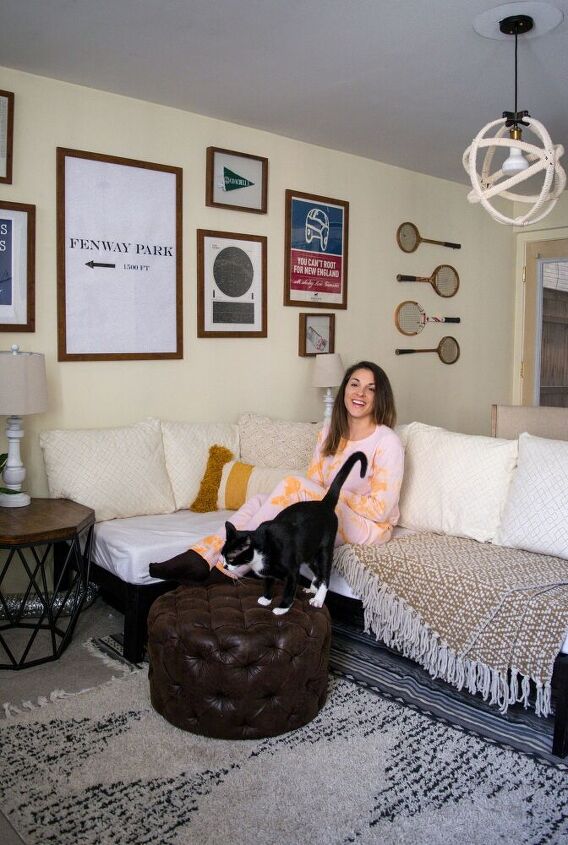
Sorry, your beautiful cat overshadowed your tutorial lol. I LOVE Tuxedos, they reflect their human companions personalities and are smart. I wanted to reach through my computer screen and steal him from you lol.
Our last rescue is a female baby tuxedo. A man found her in his engine compartment. We named her after his wife! LOL