3 Quick & Easy DIY T-shirt Hacks That Will Transform Your Old Tees

Bored of your plain t-shirts? In this tutorial, I'll show you three different t-shirt hacks that will turn your old t-shirts into something new and trendy. These DIY t-shirt ideas are so simple and interesting! Ready to liven up your wardrobe? Let’s start!
Tools and materials:
- T-shirts
- Scissors
- Elastic
- Sewing machine
- Pins
- Chalk
- Fabric glue
- Ruler
- Thread
1. DIY off-the-shoulder t-shirt

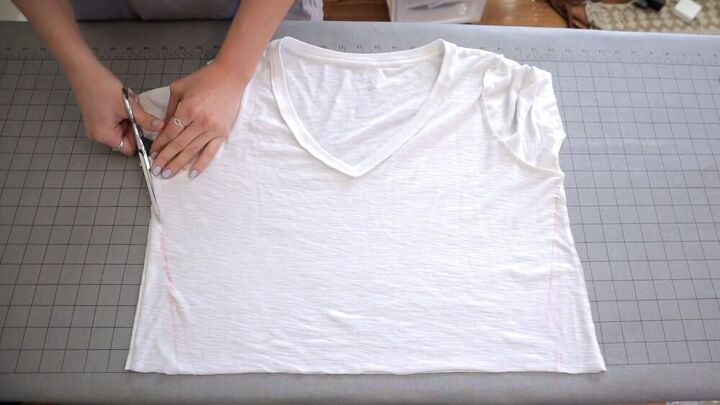
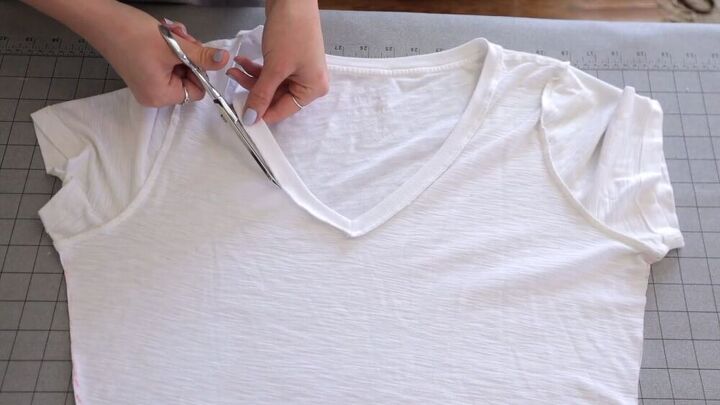
1. Cut the t-shirt
This DIY t-shirt hack is an amazing transformation. Start by cutting off a strip from the bottom. Use a ruler to get the line as straight as possible.
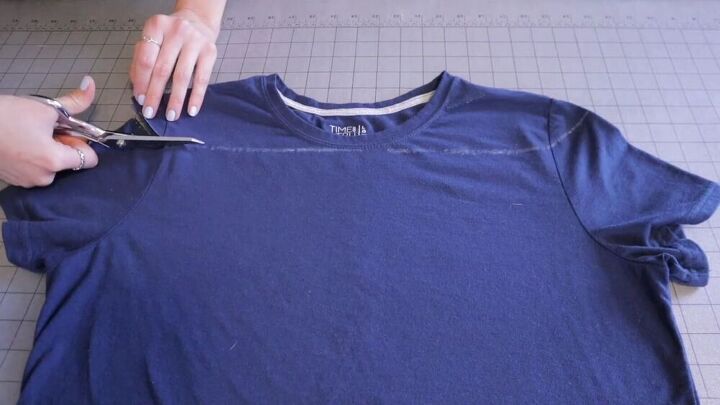
Next, draw a line on the top part, as shown. You will be cutting out the edge of the top sleeves, as well as the collar section.
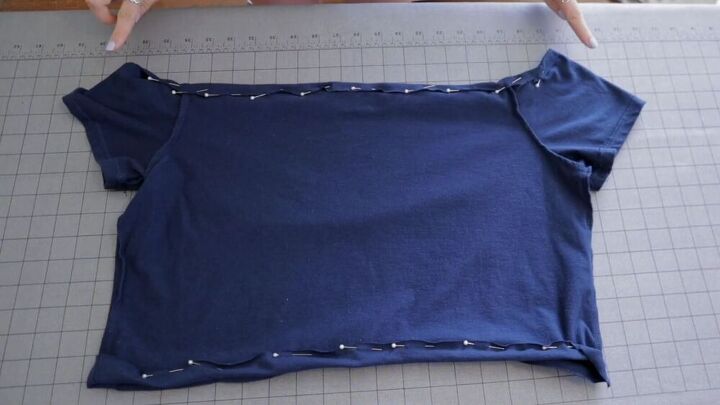
2. Create a casing
Both the raw edges will have elastic. To encase the elastic, fold the raw edges over to create a casing. Pin all around, so the fabric stays in place.
Next, stitch the fold to secure but make sure to leave a gap both on the top and bottom casing for the elastic to be fed through.
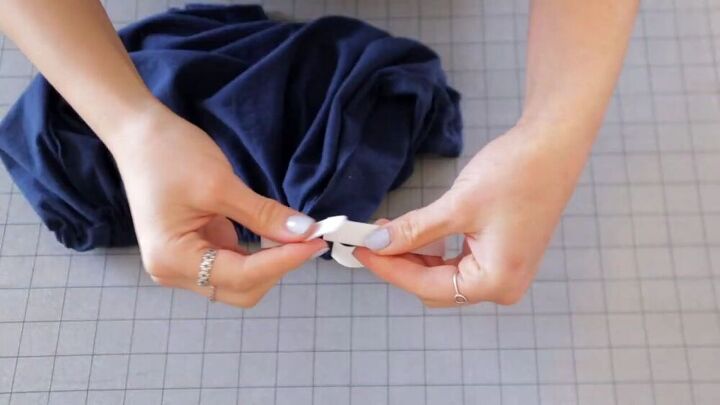
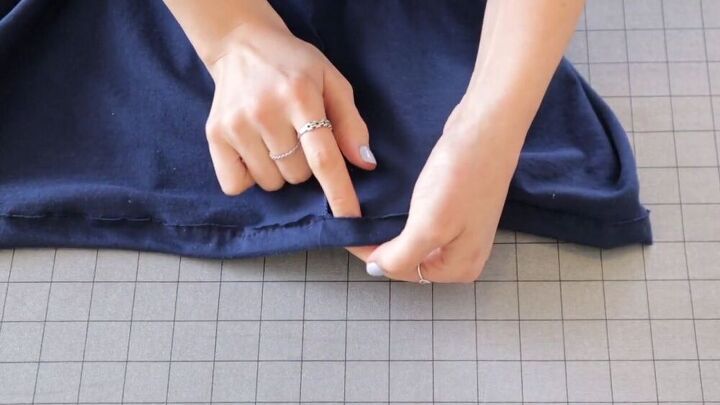
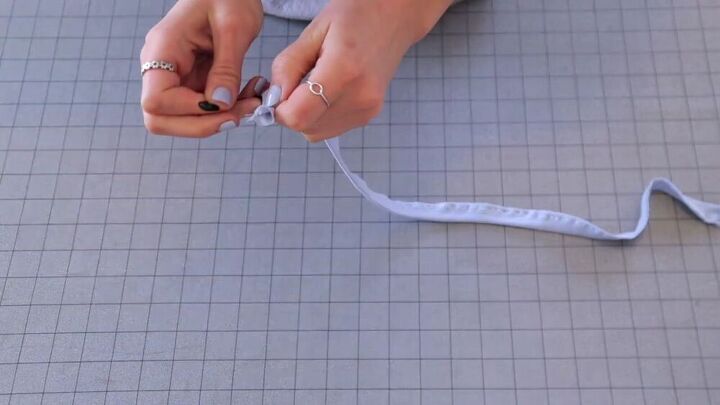
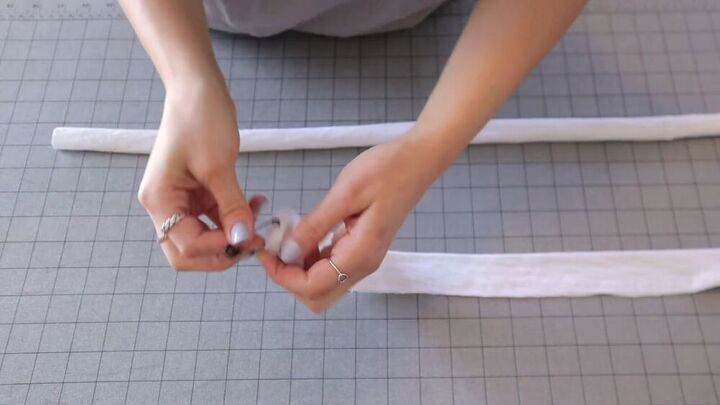
3. Feed through the elastic
Attach a safety pin to the end of your elastic and use it to feed through the elastic in the casing itself. The safety pin will help maneuver the elastic with ease.
When done, stitch the elastic ends and close the gap.

And you’re done! You have a DIY cut shirt that’s transformed into an off-the-shoulder crop top! No one would have ever guessed this was a t-shirt.
2. DIY drawstring t-shirt
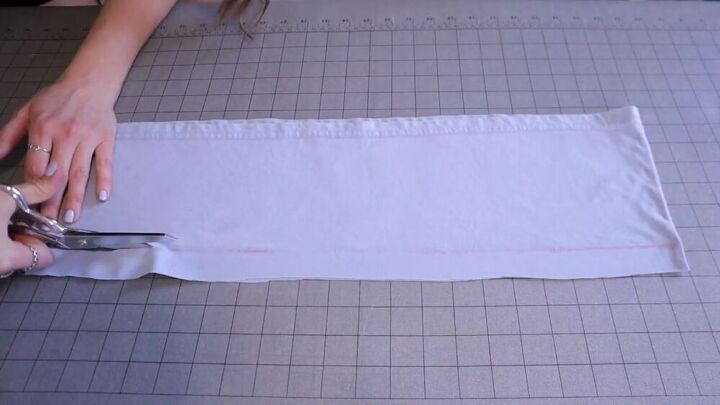
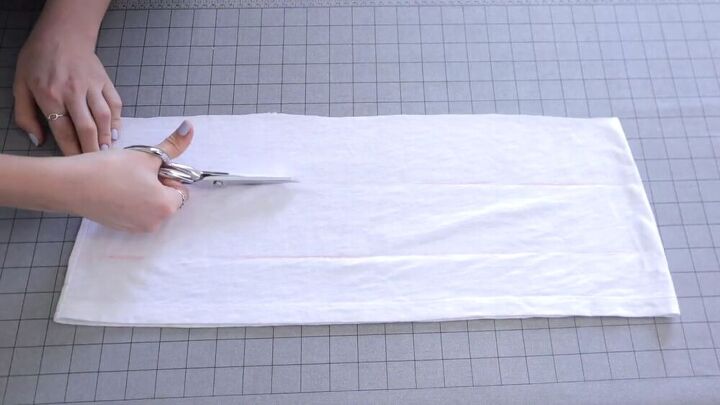
1. Cut the shirt
This is an amazing style and easy to follow! First, cut off a section from the bottom. From that section, cut out a strip as shown. Make sure to use a ruler for this one as you need it to be as straight as possible.
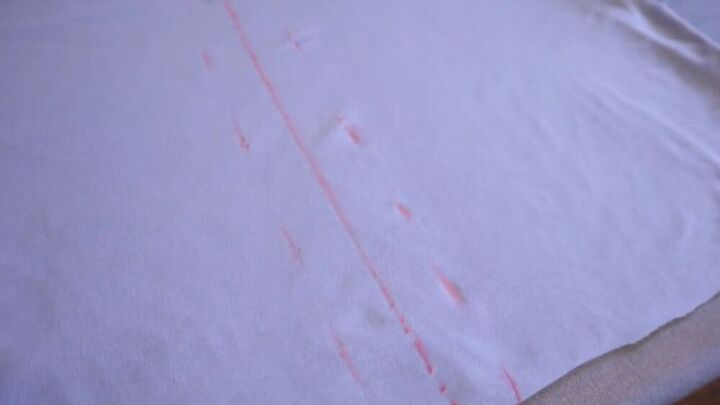
2. Measure the center
Now, measure the center of your t-shirt and draw a line straight down. Then draw two lines on each side of the centerline. The lines will be your guide for the next step.
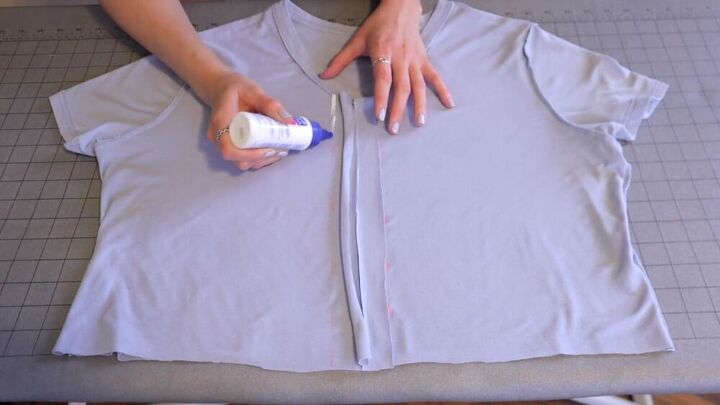
3. Glue the fabric strip
With the help of your trusted fabric glue, stick down the fabric strip along the lines. Start from the bottom and work your way around so that there are two strips.
Don’t glue it down completely; you need to create a tunnel so that you can feed through another strip of fabric.
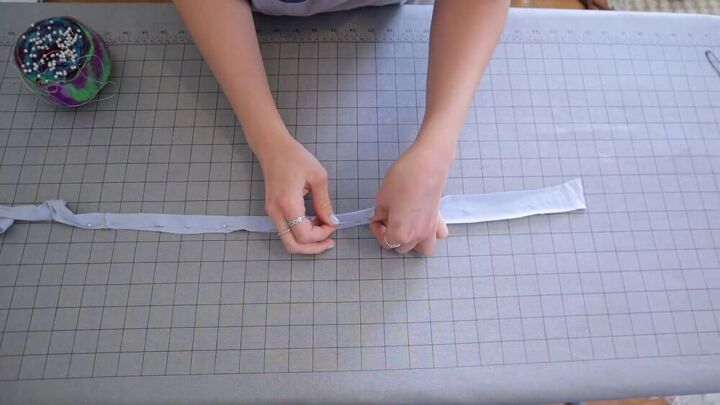
4. Sew a drawstring
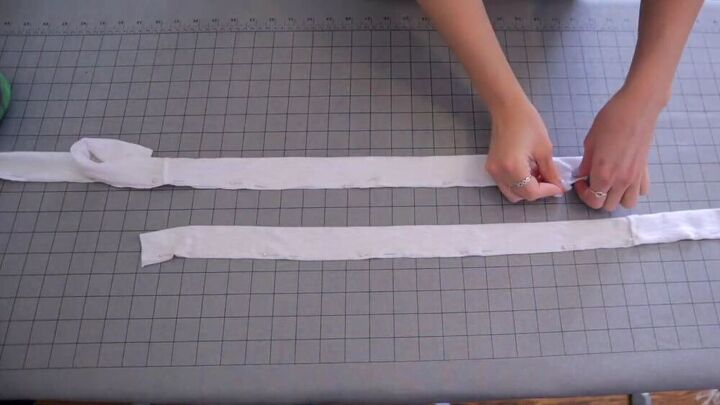
From the panel of fabric, you cut out, measure another strip, and cut accordingly. Fold the fabric in half and sew the raw edges together.
With the help of a safety pin, turn the strip inside out. You now have a draw string for your DIY t-shirt design!
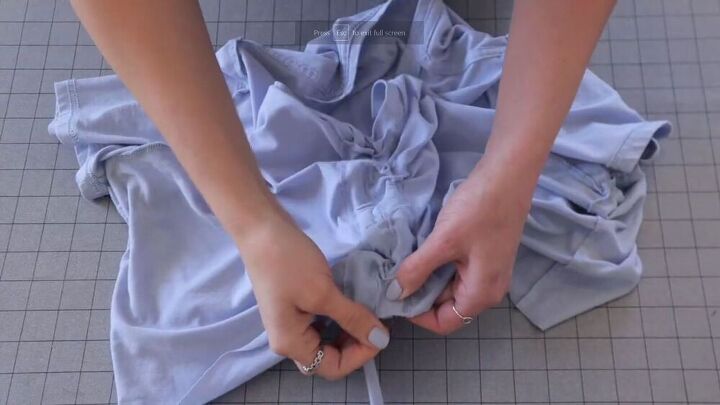
5. Insert the drawstring
Now, feed the pull string through the casing of the strips you glued on.

Pull the string to have a funky, ruffled design. Tie a bow at both ends to finish off the look! How awesome is this style?
3. DIY wraparound top
1. Make the straps
This style is going to blow your mind! Start by cutting the bottom panel. The actual top should be short, but the length is up to you.
From the panel you just cut off, measure two thick strips, and cut out accordingly. These will be the straps that you’ll wrap around your waist.
Fold the strips in half and stitch the raw edges together.
With the help of a safety pin, turn the straps inside out and press so they are nice and straight.
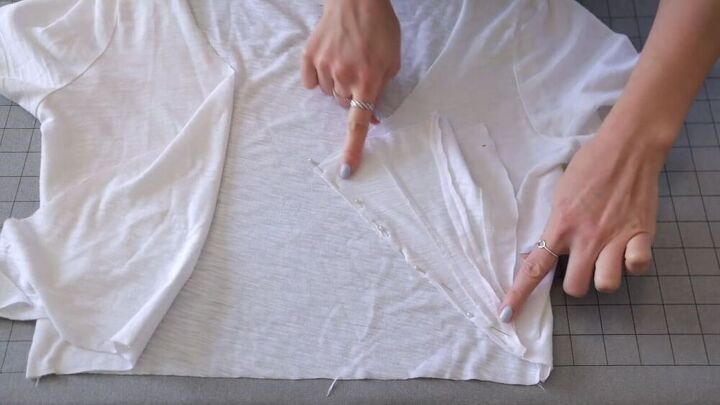
2. Take in the sides
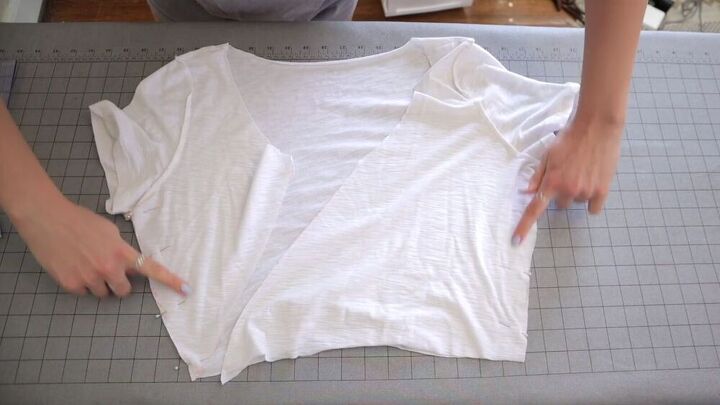
To make the shirt more fitting, take in the sides as shown. Draw a diagonal line on each side seam and cut.
Also, cut out the collared area as shown.
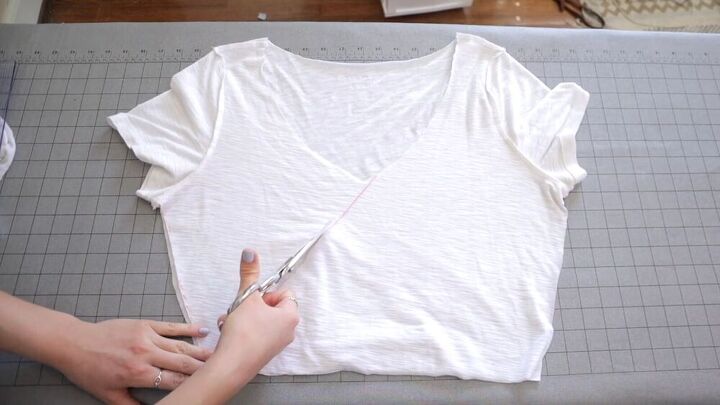
With your ruler, measure a diagonal line across the shirt, starting from the bottom corner until the center of the v-neck. Cut along the line when done.
3. Stitch and assemble
Stitch the side seams.
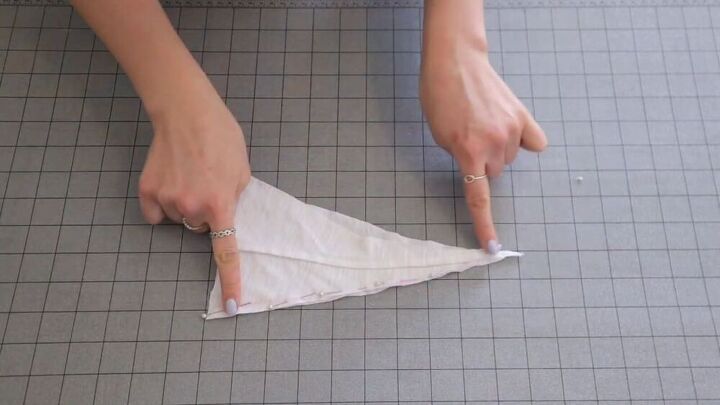
Then, take the scraps that you cut from the side seams ( there should be two triangles) and stitch them together on the longer side.
Pin this to the side edge of the t-shirt as shown. The extra fabric will allow for a total wrap-around effect. Hem all the raw edges for a finished look.
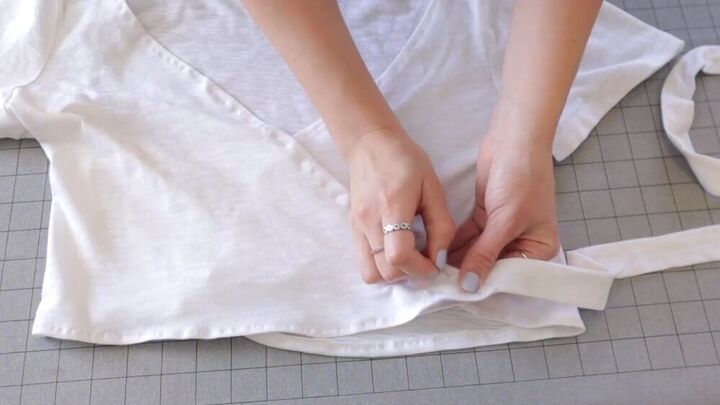
Stitch the edges of the straps to both bottom corners of the shirt.

How stunning is this DIY t-shirt? It’s super simple and trendy!
DIY t-shirt hacks
There you have it, three DIY t-shirt hacks that you can’t go wrong with! So, the next time you have a t-shirt that you’d like to spruce up, make sure to use one of the styles above for the perfect transformation.
Let me know in the comments which of these three hacks is your favorite.
The author may collect a small share of sales from the links on this page.


Comments
Join the conversation
I wish I knew how to sew!
Thank you for replying :)