This Men's Shirt Upcycle Will Blow You Away

This is the ultimate men's shirt upcycle! Why? Because I am about to transform this boring old shirt into something spectacular- A cottagecore top. I love this thrift flip idea; it really looks great! In this tutorial, I will show you how to upcycle a men's shirt, and I'll walk you through each step so that you can get it right the first time around. Scroll down to see this awesome men's shirt thrift flip in action.
Tools and materials:
- Large, baggy men’s shirt
- Scissors
- Ruler
- Chalk
- Sewing machine
- Pins

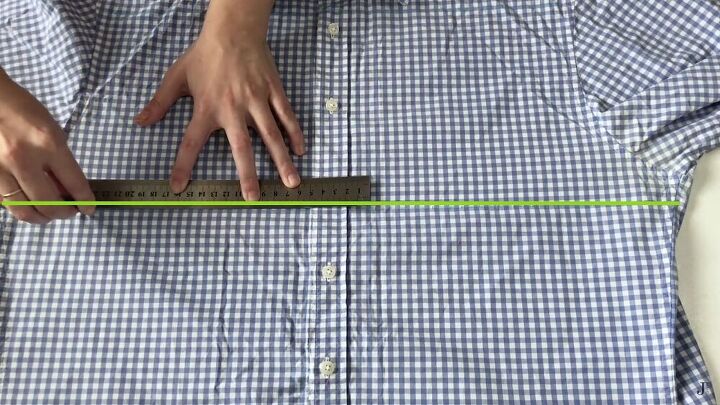
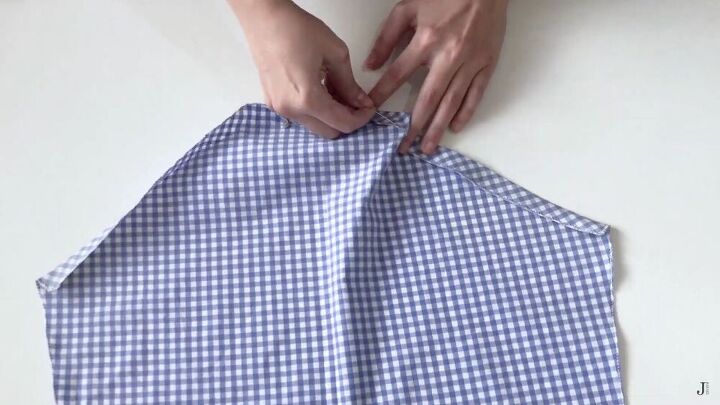
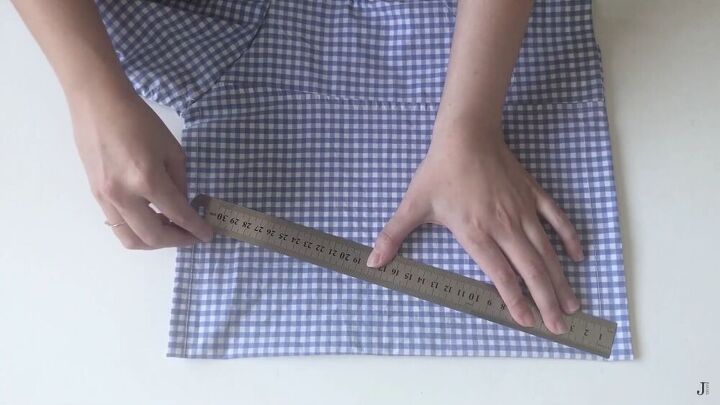
Make the measurements
Draw a horizontal line right under the armpit seam.
Next, measure 6 cm (2.4 inches) from each side of the horizontal line and draw a vertical line up from that point.
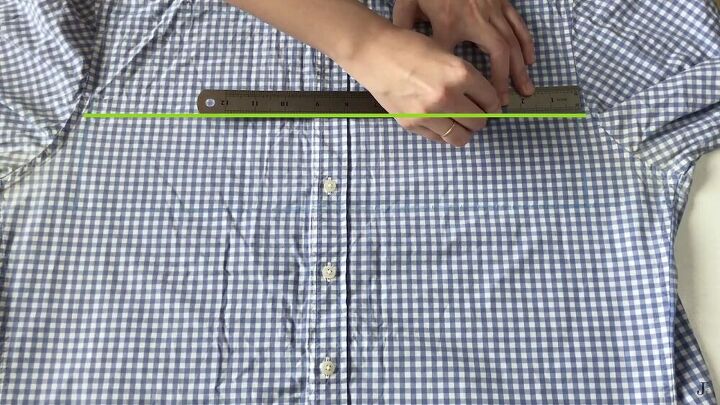
Draw another 6 cm (2.4 inches) line from the vertical line and connect those marks on top by drawing another horizontal line.
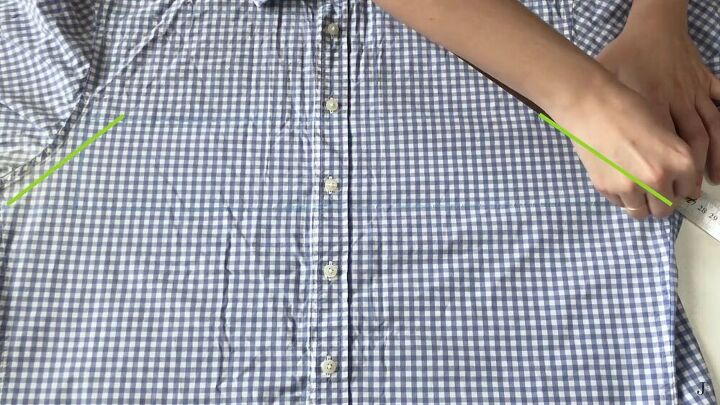
Then, going from the sides inward, mark 3 cm (1.2 inches) and connect the points, as shown.
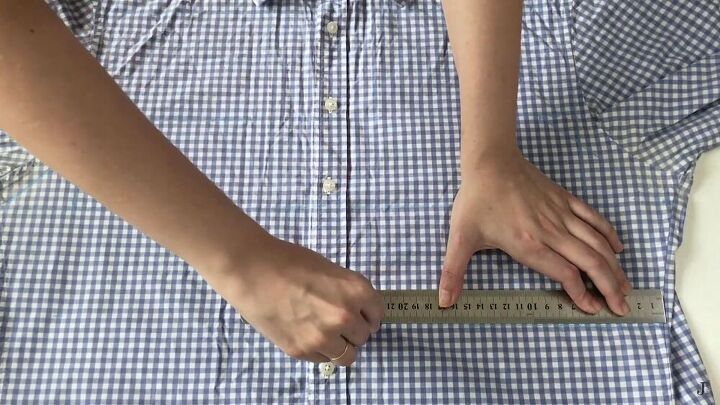
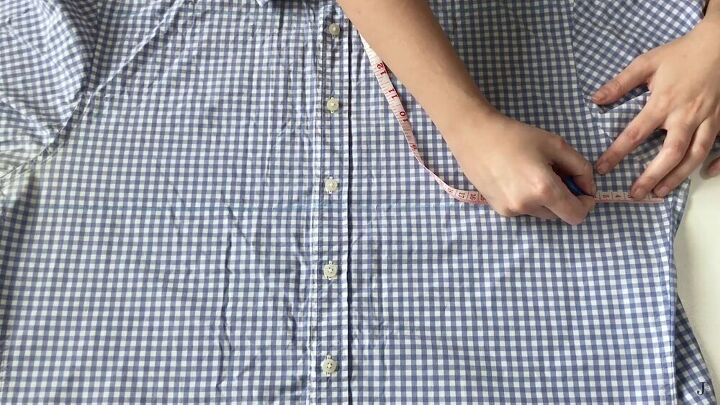
Going down from the top horizontal line, mark 18 cm (7 inches) and draw another horizontal line. This is your underbust line.
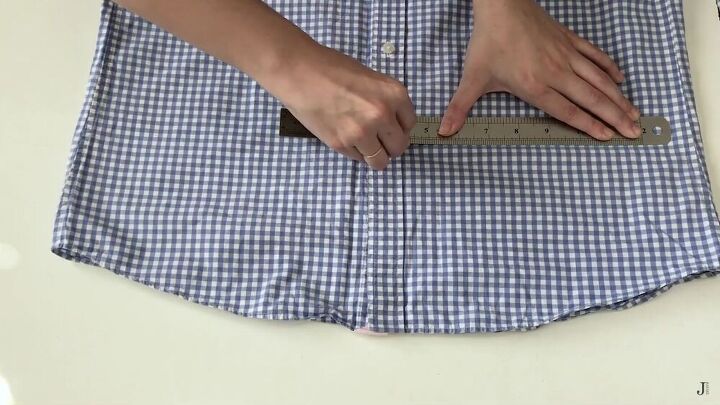
From the underbust line, measure another 20 cm (7.9 inches) down and draw another horizontal line there.
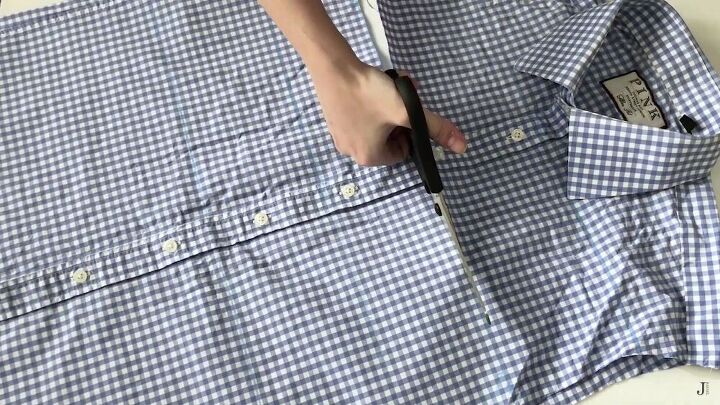
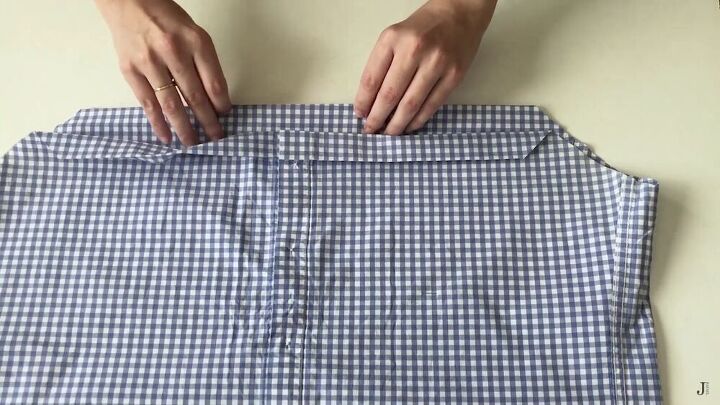
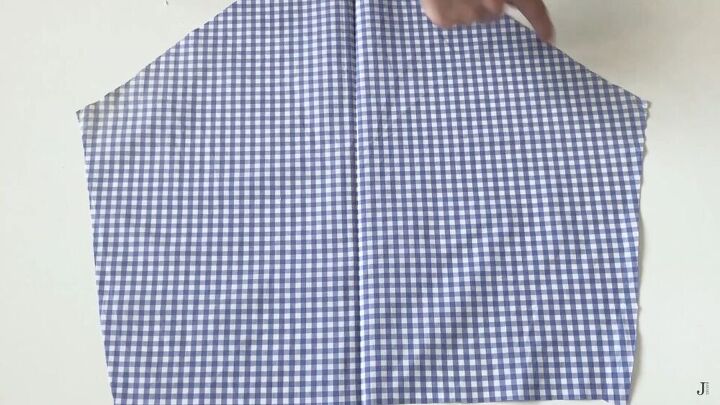
Cut the excess fabric and sleeves, and finally, cut out the whole shape.
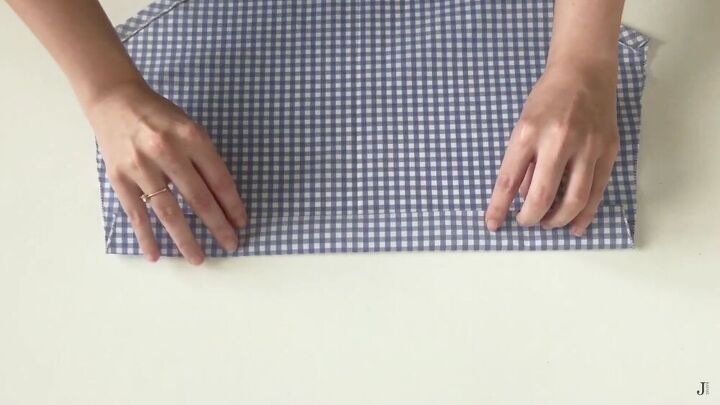
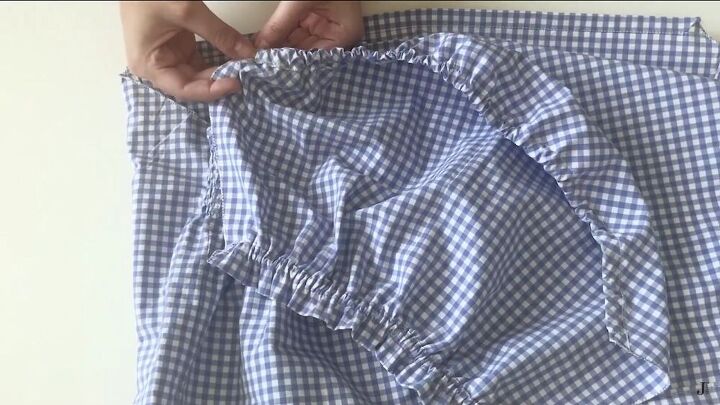
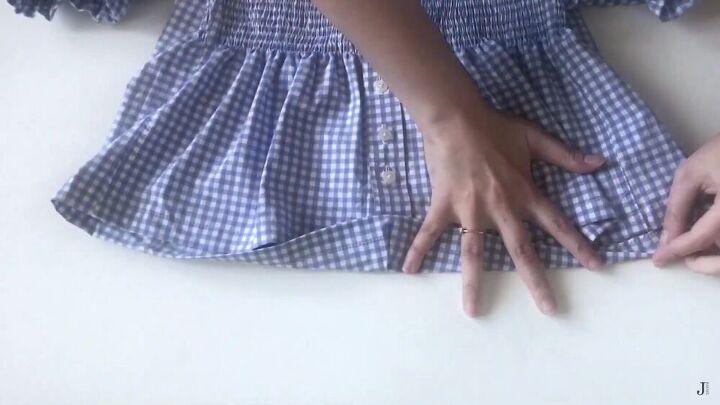
Create a tunnel
For the top and bottom hemlines, make a neat ½ a centimeter (0.2 inches) fold and then fold again by 2 cm (0.8 inches). This will create a tunnel for the elastic. Stitch to secure.
NOTE-
I wasn't sure if I wanted to add elastic or not, but go ahead and do this part in case you change your mind.
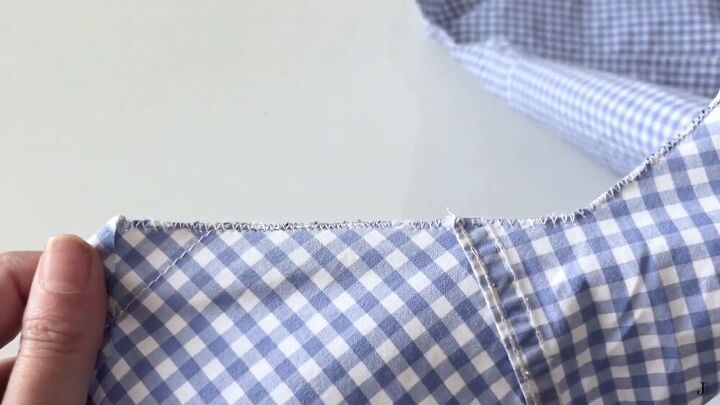
Zigzag the raw edges
Zigzag stitch around the raw edges of the armhole.
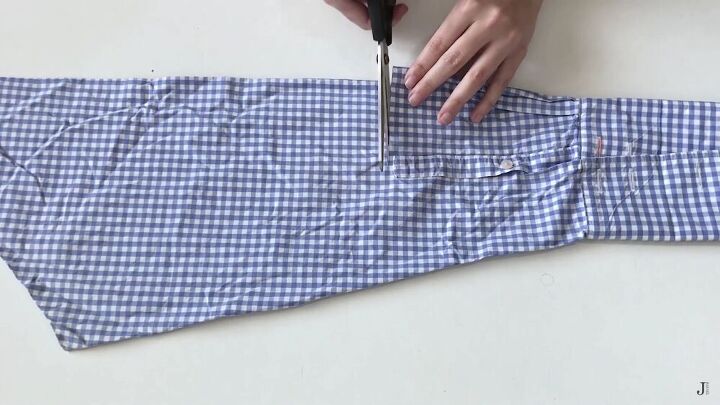
Make the sleeves
For the sleeves, cut off the cuff part.
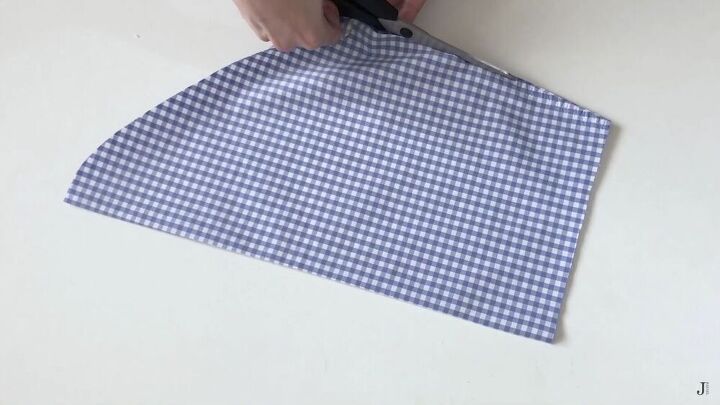
Then, cut the sleeve open by cutting along the original side seam.
Do a zigzag stitch around all the edges of the open sleeve piece.
Fold the curved edge in; just enough to fit the elastic. Sew the tunnel accordingly.
For the bottom edge, fold it by ½ a centimeter (0.2 inches) and then again by 2 cm (0.8 inches) and sew to secure, right at the edge.
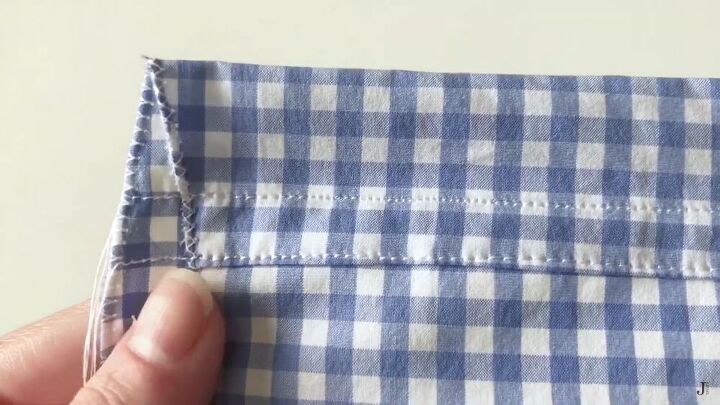
For the bottom fold, topstitch another line across the fold, as shown.
Now, cut 2 elastics per sleeve and feed both through their corresponding tunnels. Sew the edges down to secure in place.
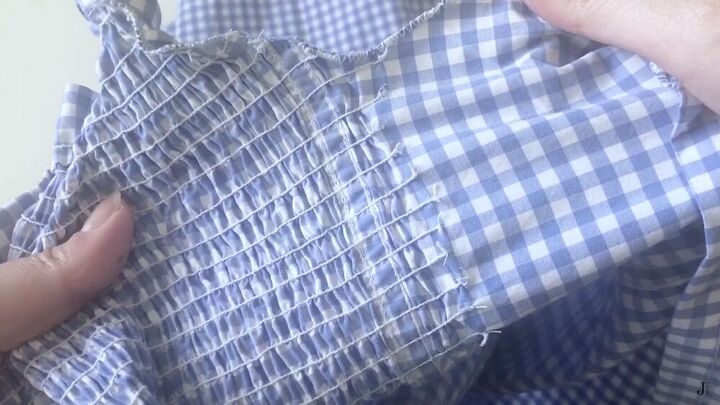
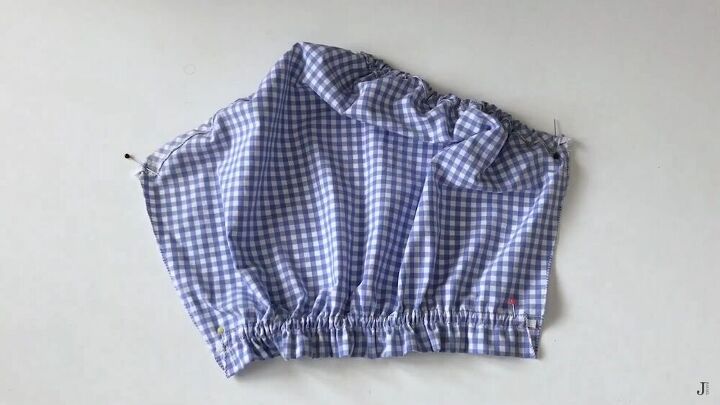
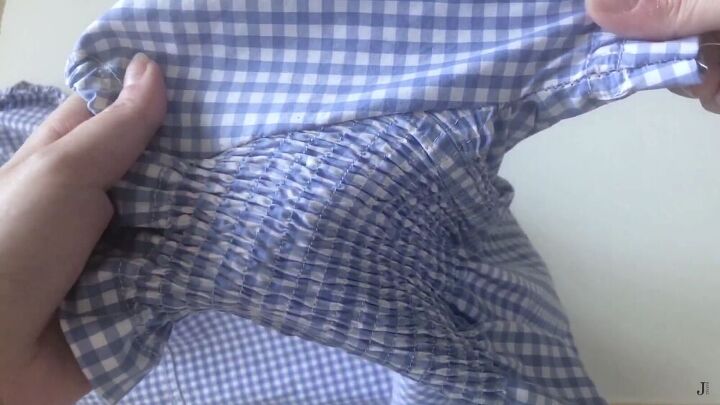
Create a shirring effect
Shir the bust area, as shown. If you don't know how to do this part, you can search Youtube for a shirring training video. It's really not complicated but rather time-consuming.
Attach the sleeves
With the right sides facing, attach the curved part of the sleeve by first pinning it in place, starting from the underarm edges.
Then sew the sleeve to the cottagecore top, as shown. Don't forget to sew the side seam of the sleeve, as shown.
Optional- Create a dart
When I tried on my DIY men's shirt upcycle, I notice the back was too big. So to resize it, I created a big dart at the back. You can see how I do this from 6:03 minutes.
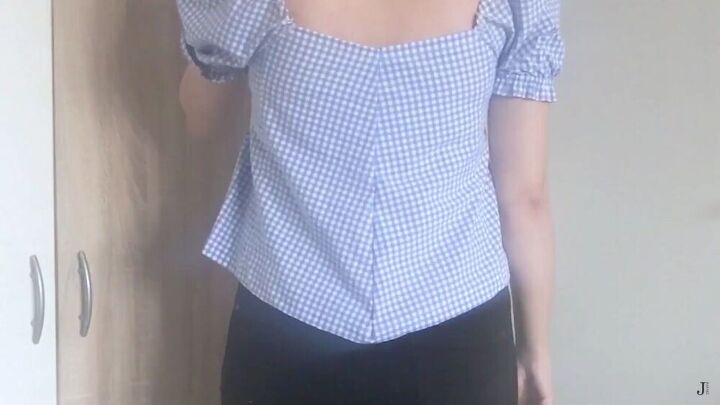
Because of the dart, the bottom part of my top was longer. So I made it the same length as the front. This again is optional, and you can modify the top the way you want.
Also, I didn't end up inserting elastic to the top and bottom hems, but it's always good to plan ahead!

We are done! How amazing is this men's shirt refashion tutorial? It looks completely different from what it was. I really enjoyed doing this thrift flip, and I hope it gives you inspiration for your next DIY project. Thanks for tuning in.
The author may collect a small share of sales from the links on this page.


Comments
Join the conversation
Cute!!!
Very cute!! If only I could sew! Lol
Thanks for sharing!
Virginia