5 Easy Tips For Altering Your Clothes
The secret to looking and feeling your best is wearing clothes that fit. No matter what your body shape is, if your clothes fit you well, you’ll feel amazing and look incredible.
Some of you suggested on our Instagram account to help you with some tips on how to alter your clothes to fit better, and here we are…
Since I’m a Petite woman, most of the time I need to alter my clothes to make them shorter, I’ve had lots of practice with these situations. You’ll always find myself shortening my tops, my pants, my skirts, everything.
I also tend to make the waist of my pants smaller. Since my hips are wider than average women in my size, I end up buying pants that fit me on the hips but not on the waist. This has happened to me since I was a kid and my school uniforms were always huge on me.
Now get your tools ready and let’s start altering your clothes…
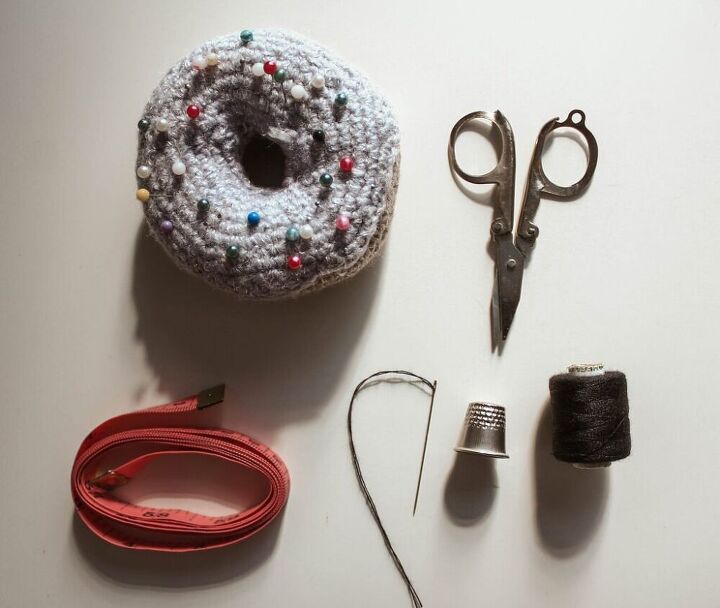
You’ll need:
- Tape measure
- Pencil/chalk/washable marker
- Scissors
- Sewing machine or Needles
- Thread
- Pins
*You can do any of these alterations by hand or with a sewing machine. I used the last one because it’s faster.
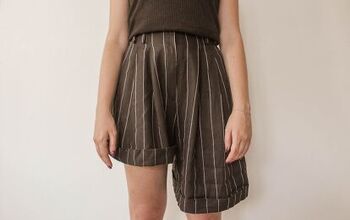
In this case, I used a black second-hand short that I wanted to be shorter so that it will look better on me. You can use this tip for skirts, dresses, shorts, pants, anything you need to make shorter.
Take a look at the before…
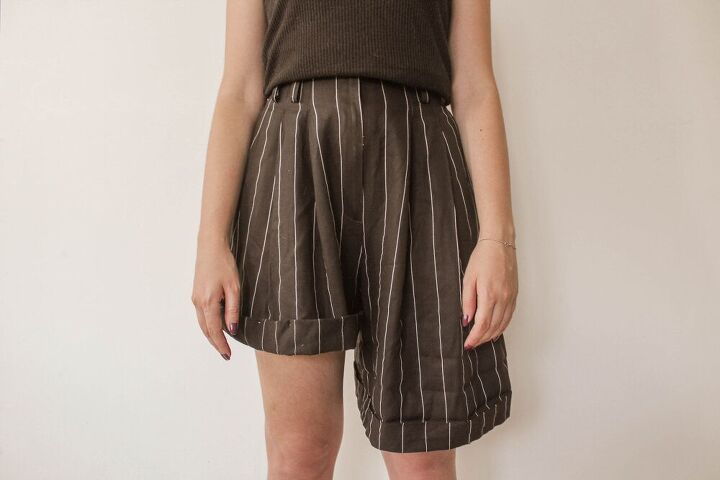
To start you’re going to need to try it on.
Now start adjusting the length to see where would you like it to end. Mark the length with a pin or with chalk.
As you can see in the photo above, the right leg is the original and the left leg is the one with the length I want.
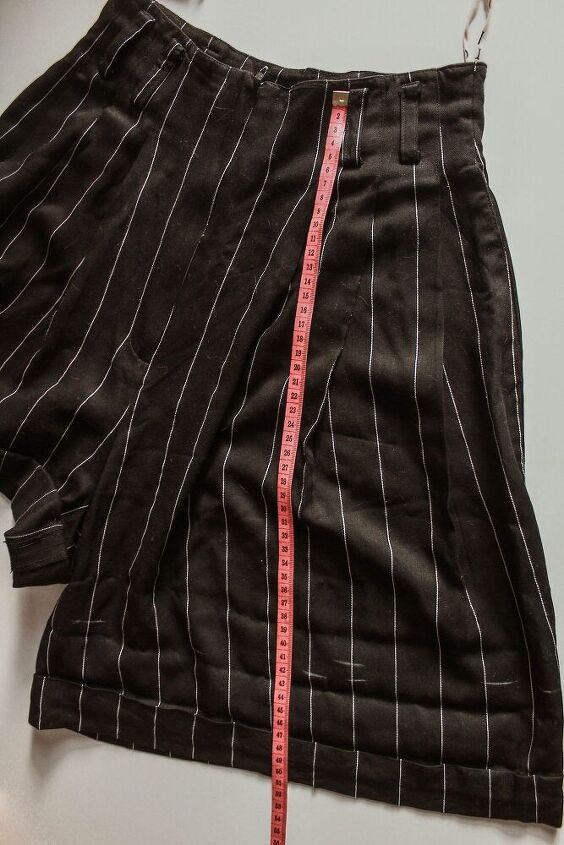
I marked it with pins but you can take your tape measure, measure the length (from the waist or where your short starts down to the length where you want it to end). And write it down.
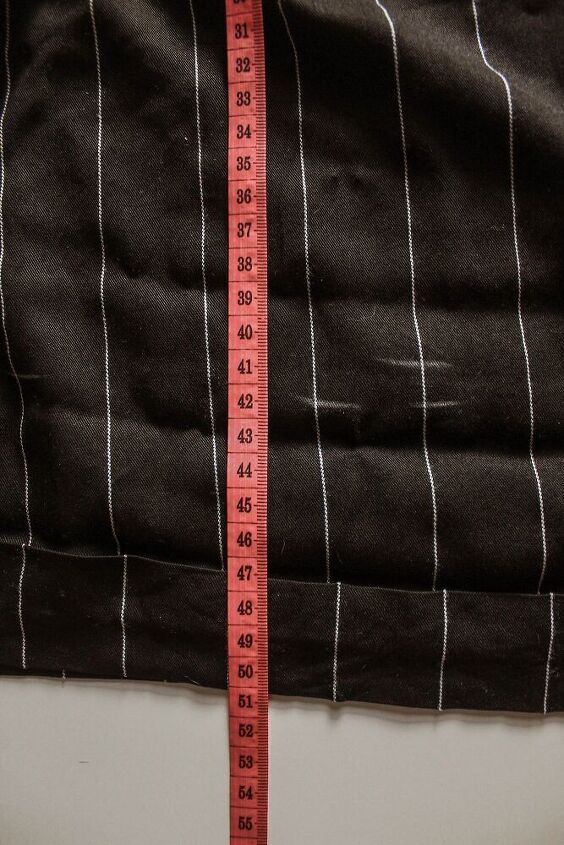
Now take off your garment and place it on a surface. Measure how long will it be to that mark you did with the pin/chalk. Like the picture.
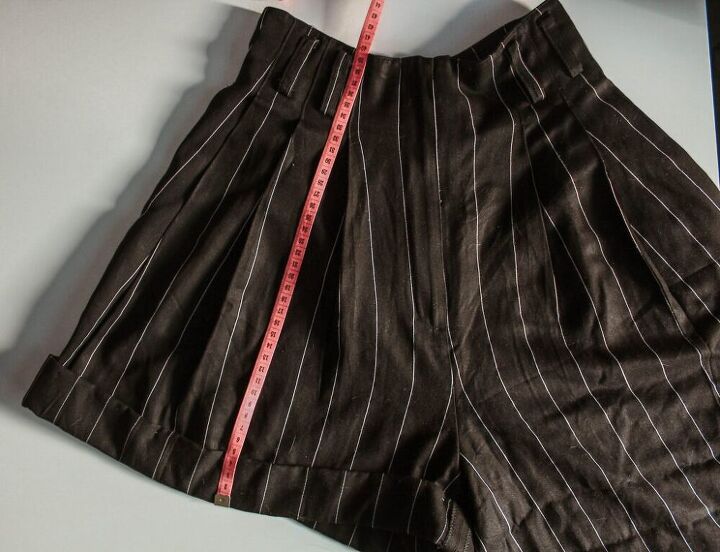
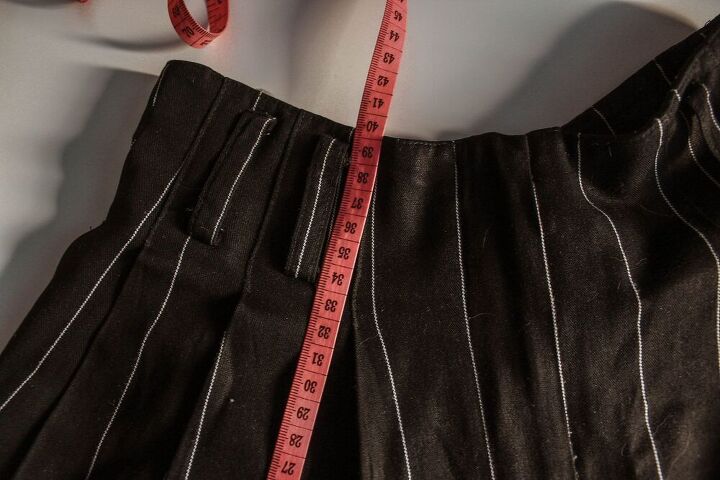
For me, the measurement was 39 cm but I added 3 cm of seam allowance to make the hem. If you would like a bigger hem you can add more to the seam allowance.
That new measurement (42 cm) you will mark with a pencil all through the leg. You can make it in a straight line or following the slight curve it has on the waistband. If you want that curve just make sure to measure 42 cm at the center, then 42 cm at the sides and you’ll get a similar curve. Like I did it.
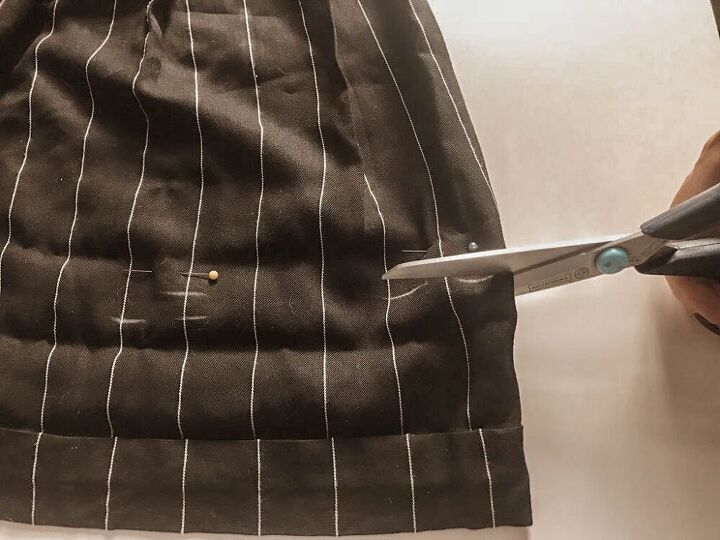
Now that you have it marked you can cut it following that line or marks.
Repeat the same process on the other leg.
*If it’s a skirt you just have to do this once, on the full width of the skirt.
Don’t throw away your excess fabric you can use it for other projects. We have a blog full of ideas on What To Do With Fabric Scraps And Old Clothes
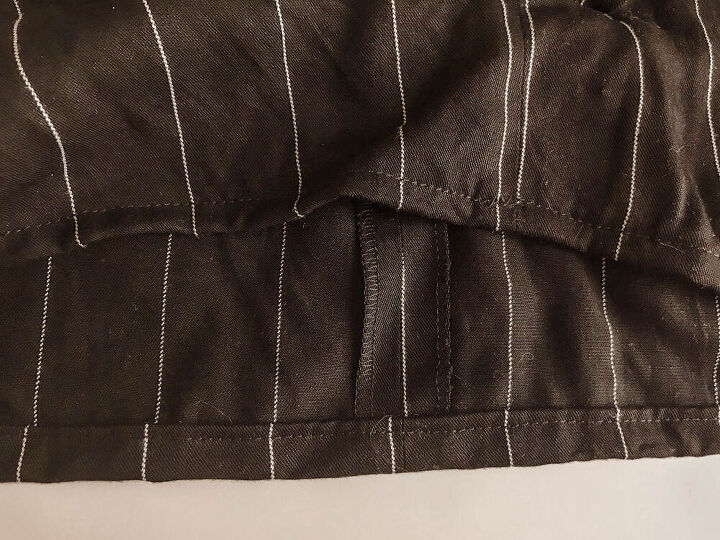
Finally, just make the hem. Mine was 3 cm, so I’ll fold 1 cm in and then another 1 cm.

This is how it turned out!
I love it, so much better. It makes my legs look longer and it looks so much more modern.
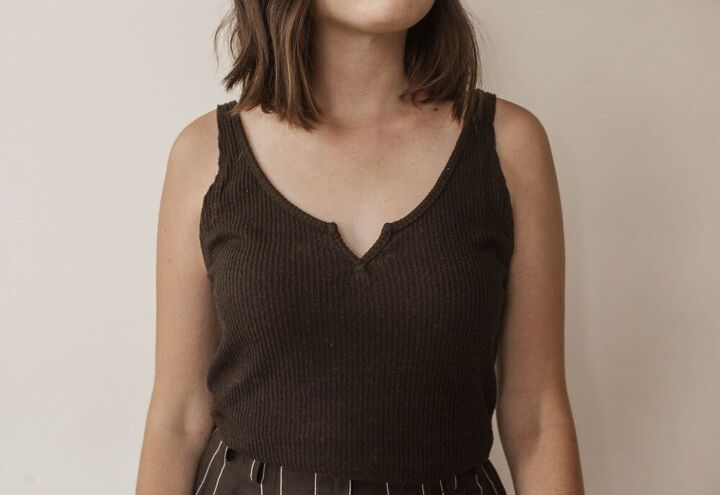
This one is to help you if you have a top that is too long for you, or if you just don’t want the cleavage to be deep, or simply for those clothes with straps that tend to get loose and big. I personally use this one with my tops or my dresses, I don’t like to show much. If I’m wearing a dress that has a deep cleavage I don’t feel comfortable.
As an example, I’ll be using this tank top I bought a few years ago and that the straps have overstretched, I want to make them shorter to keep wearing it. Maybe it isn’t that noticeable in the pictures but it was too loose.
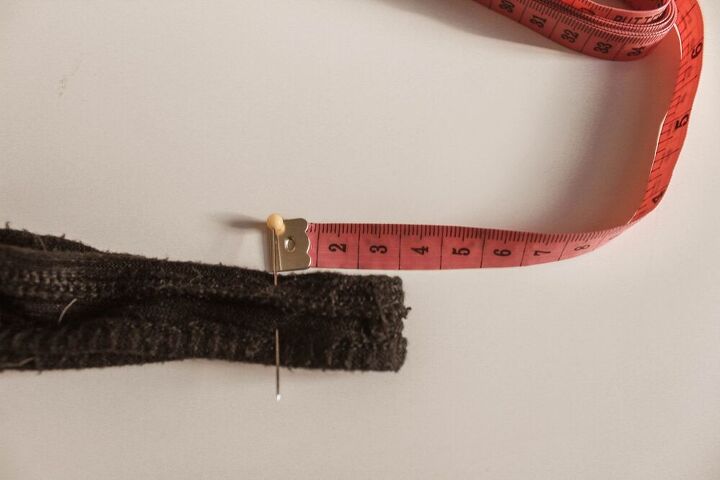
The first thing you’re going to do is try it on as well. Then mark with a pin how much you want to cut from the shoulder.
In my case, it was 3 cm.
Now, place your top on a flat surface and make a mark where the pin is, that’s where you will sew.
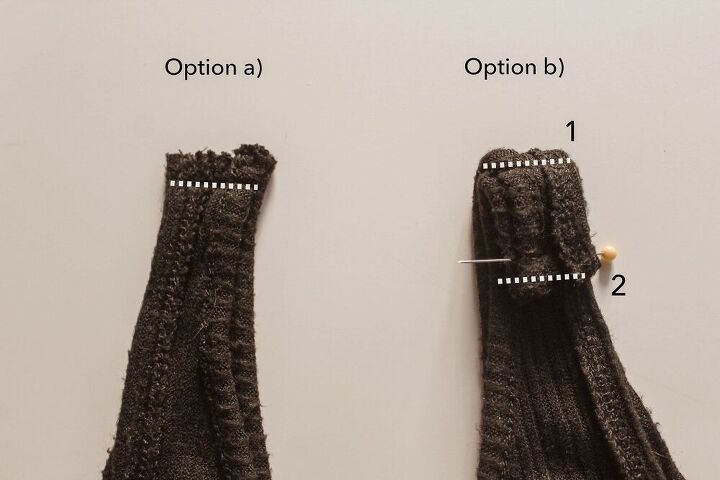
Do the same thing to the other strap or shoulder and sew that.
Now cut that excess fabric.
*There is another option, you could leave that excess there in case you think you might need to readjust it later. Just sew it to the back so that it doesn’t bother you. Like this…
If you decided to cut it, you can make a zig-zag stitch to the edges so that it doesn’t fray.
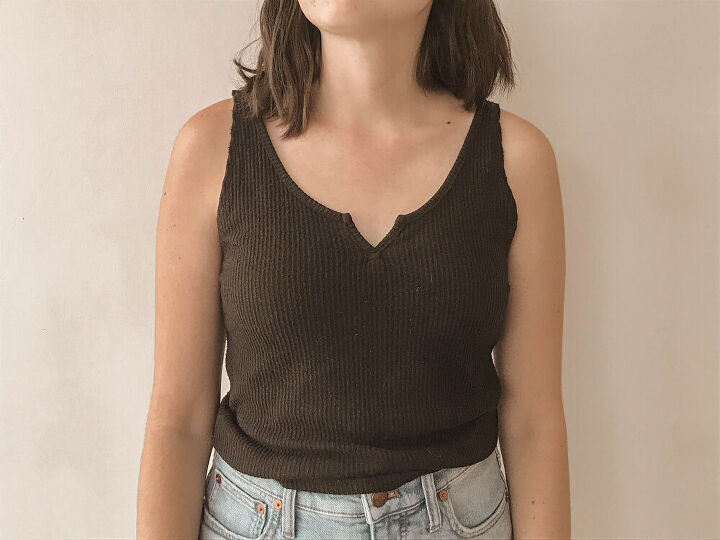
And that’s it. Try it on one more time, if you need to make it shorter you can.
Here’s how mine looks… It doesn’t look very different on the photos but I definitely feel it more comfortable.
This one is to make your clothes fit you correctly. I know, oversized is on-trend right now, but if you’re a petite woman like me you know that look isn’t flattering. Or if you don’t like to follow trends you might find this helpful.
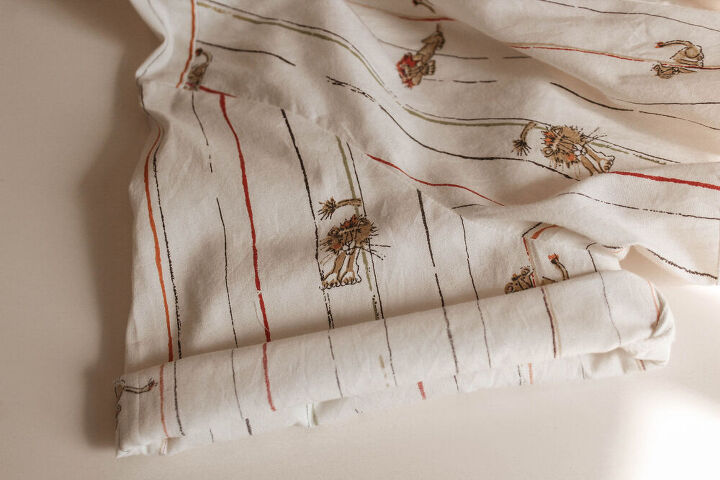
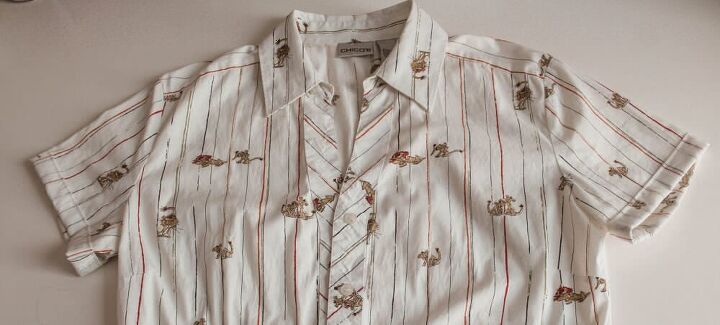
For this one, I’ll use a shirt I got second-hand as well. It’s big on me in all aspects so it will help me demonstrate a few different tips. Starting with the width of it.
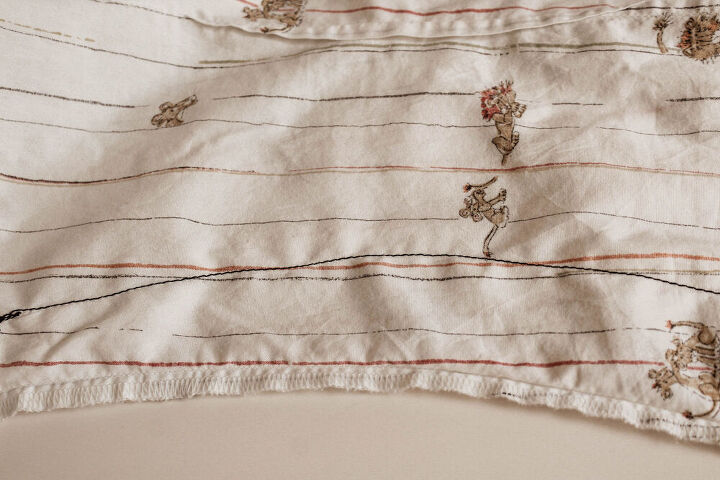
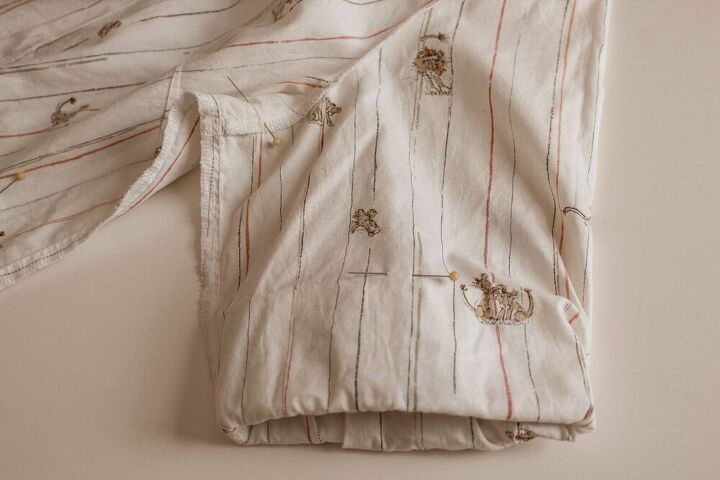
Take a look at how it was before the alterations.

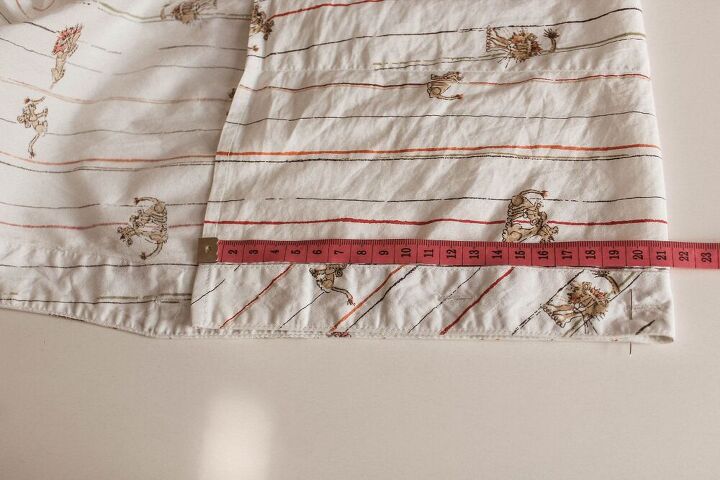
As always, try your shirt on and see how much you want to take in. Mark it with a pin.
For me, it was 5 cm taking into consideration 1 cm of the seam allowance.
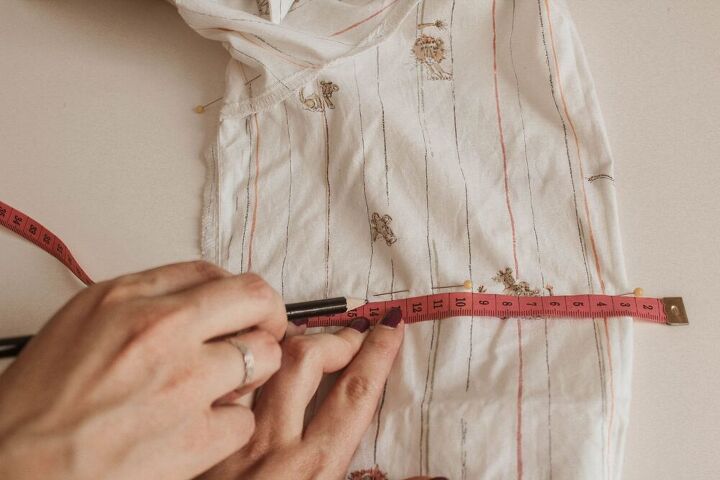
Turn your shirt inside out.
Then make several marks along the side of your garment all with the same measurement. When you get to the part where the sleeve connects with the body you might want to reduce that measurement, I reduced 2 cm.
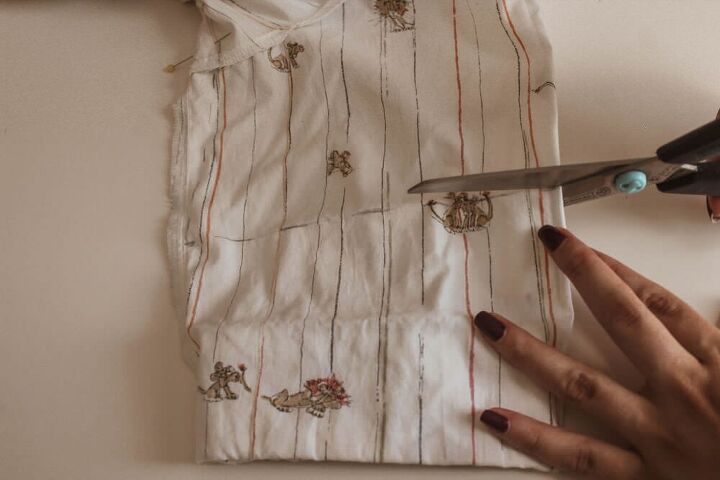
When you have all your marks, connect them. Since my shirt had some curve on the side I followed it.
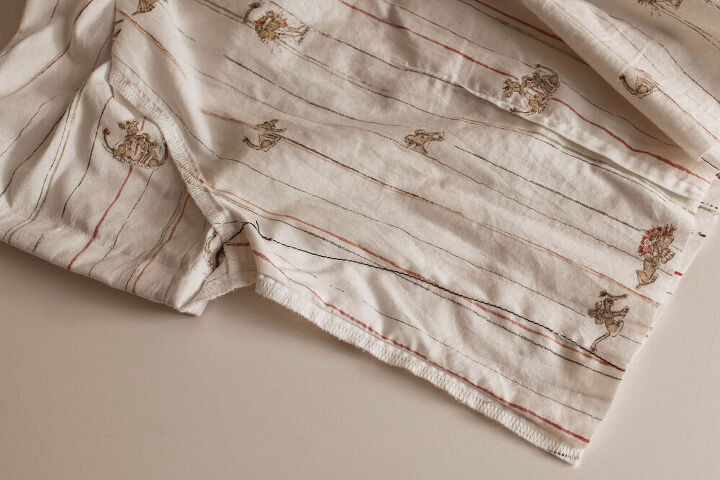
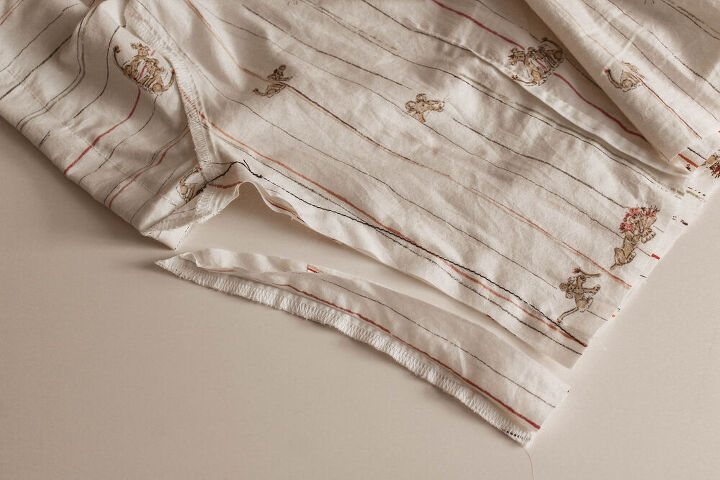
I also altered the sleeve since it was big on me. If you want you can make the sleeve thinner too.
To do it you will draw a straight line from the mark you did for the side, (mine was 4 cm) to the end of your sleeve. Like this…
Sew it all the way from the side to the sleeve in one continuous stitch, following your line.
Repeat the same steps for the other side.
After you’ve sewed everything, you can go and cut the extra fabric so that it doesn’t bother you. You can leave it like that if you like.
*If you’re altering other parts of your garment, I recommend to do this step at last.
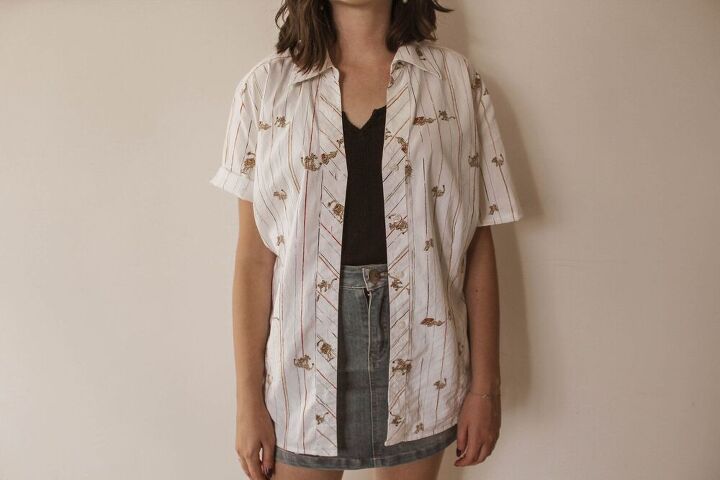
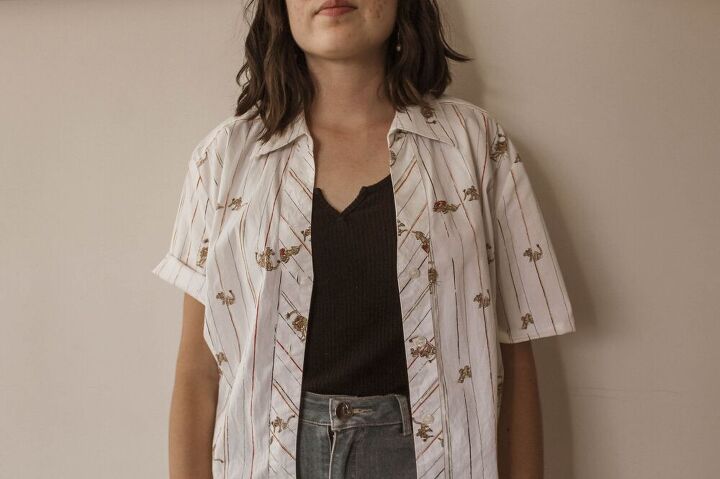
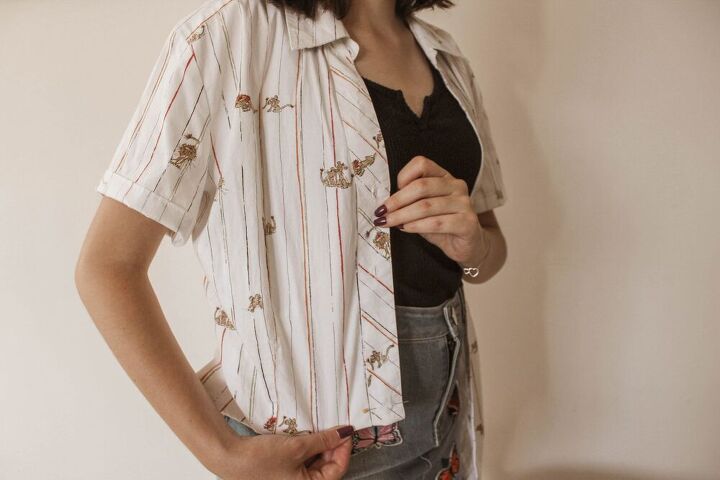
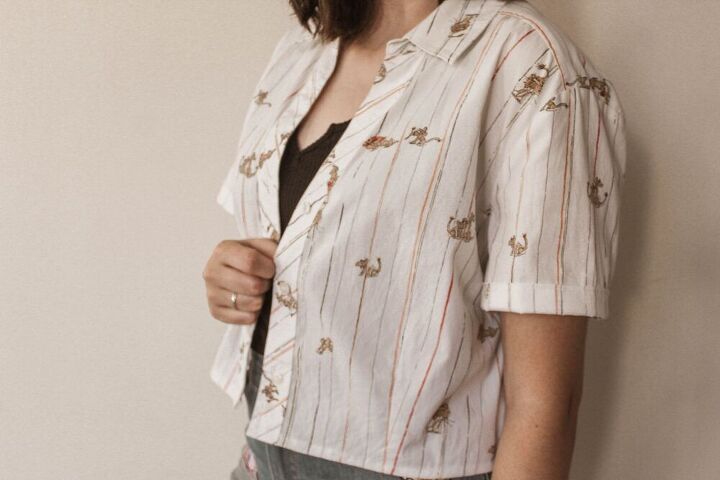
And that’s it for this tip. Look at how it looks on me after taking it in on the sides. Ignore the sleeves, you’ll see that tip next.
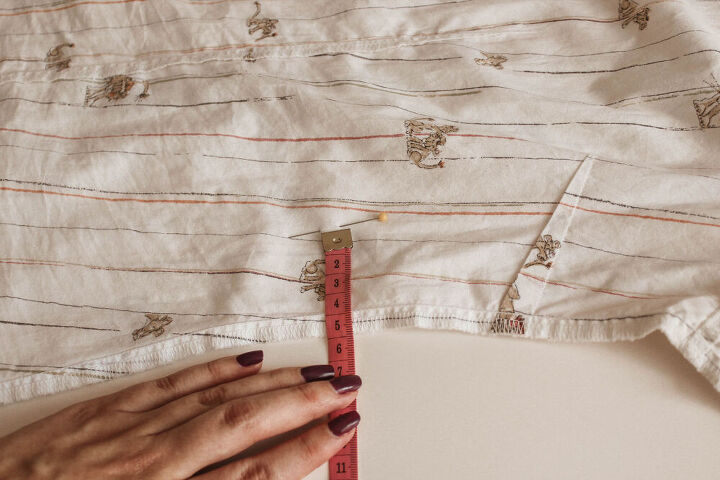
This tip will help you shorten any kind of sleeve. For this one, I used the same shirt as before, because that one is a good example.
At first, the sleeves were kind of funky on me, they were 3/4 but since the shirt was too big it had a weird length.
Try on your piece of clothing and with the help of a mirror adjust the garment until you decide on what length you want it to be.
I rolled it up until my desired length, and then mark it with a pin.
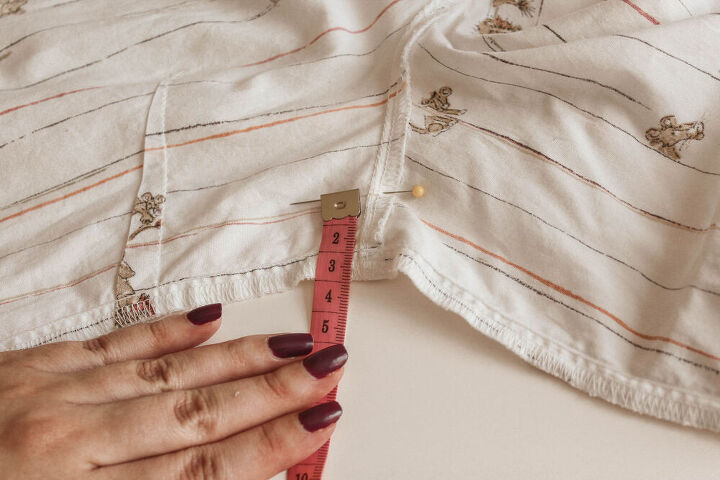
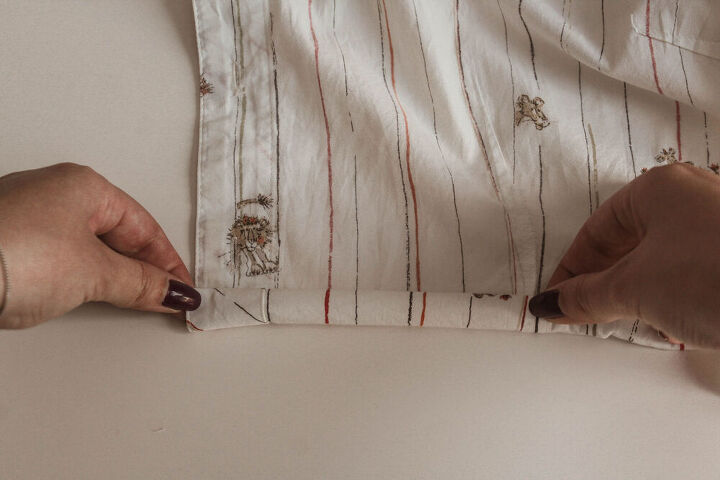
Turn your garment upside down and mark from this side the new length. Then add the seam allowance you wish and make another mark. In my case, it was 3 cm, like a normal hem.
Once you have that mark, you’ll make a straight line at that height. Like this…
Now, cut it following that line.
Then sew the hem on that sleeve. First 1 cm in and then another centimeter.
Try it on one last time to see if it’s the length you like.
I tried it on and realized that I wanted it to be shorter. I rolled it to the outside, like a hem but on the contrary side, and liked how it looked.
As you can see in the photo the left side is the rolled sleeve, it looks so much better, isn’t it?
Since I liked how it looked with the hem rolled on the outside, decided to leave it like that.
You can do that as well if you like this style of sleeve.
This is how the sleeves turned out!
This one will help you if you have a short torso or if you want to crop a top.
I wanted to shorten my shirt as well, here’s the process I followed. Very simple and super effective. If your top is made from knit fabric like jerseys, you might want to take it to a professional since you will need a specific machine to do it. If you sew it with a normal sewing machine it will not stretch at all. If the style of the top is oversized and you don’t need it to stretch, then go ahead, you can use your lock stitch sewing machine.
This is the original length…
This is the length I wanted.
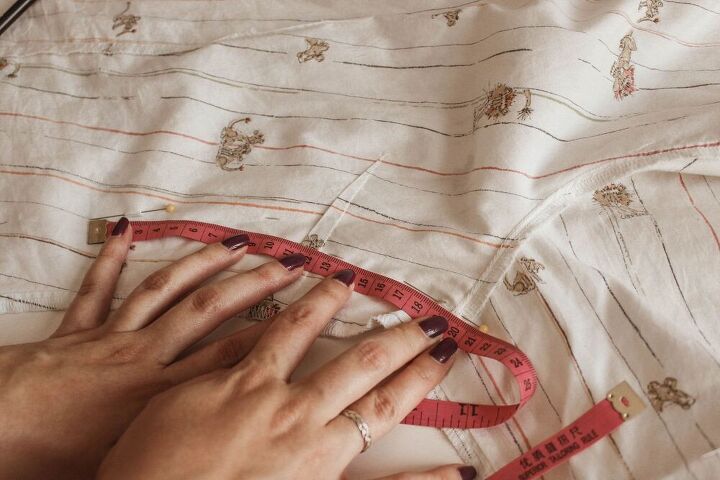
For this one, you can fold inside the shirt to see how it would look like until you find the perfect length for you. Mark that fold with a pin.
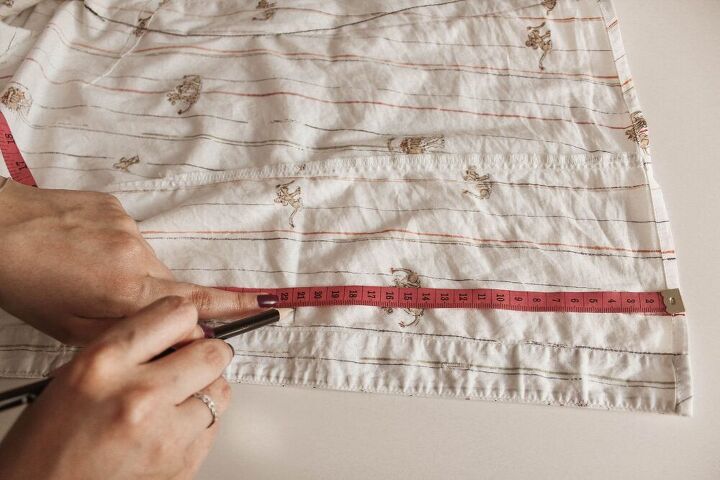
Now take your tape measure and measure from the bottom (old hem) to that mark you made with the pin.
Mine was 21 cm.
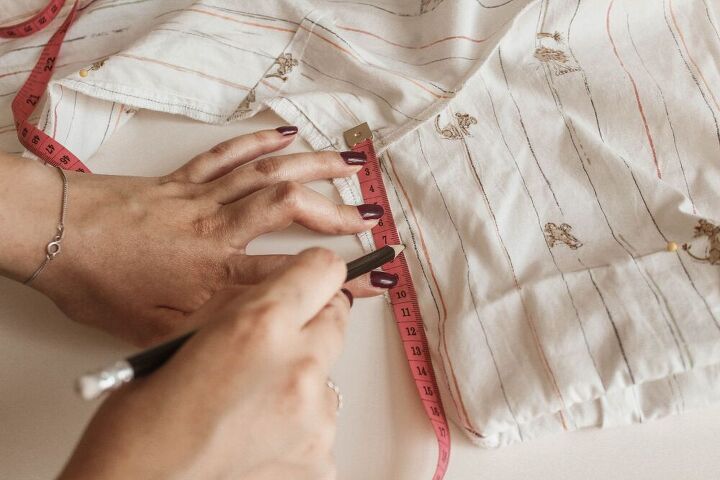
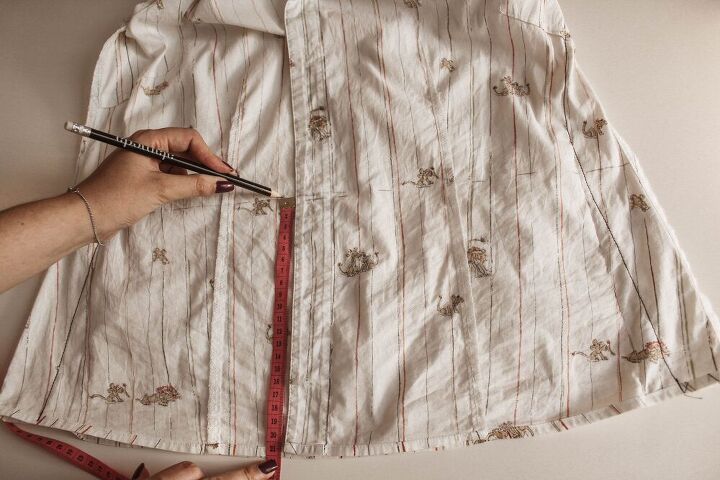
Then unfold your shirt and make another mark of that measurement on the center of the garment, if you’re altering a shirt it should be where your placket is.
Make a straight line on that mark to make your new length. If you want to make a hem at the bottom, add 3 cm to that measurement.
I did not add them because I wanted it very short, almost like cropped.

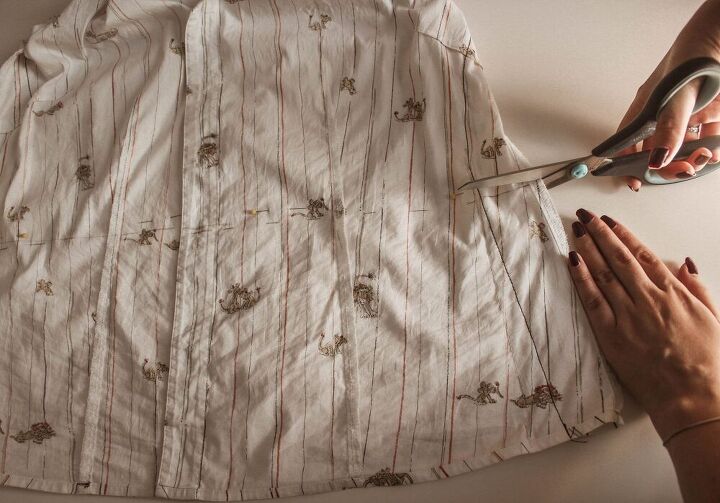
Cut it where the line is.
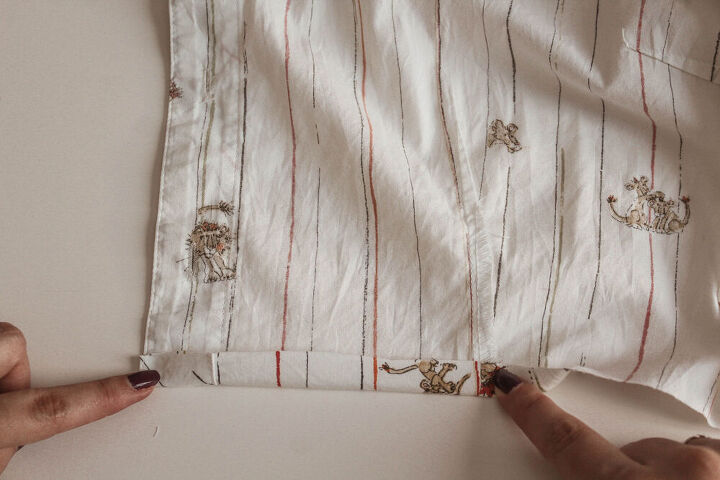
Finally, make a hem at the edge. To give it a better finished look.
Fold 1 cm in and then fold that one more time, 1 cm.
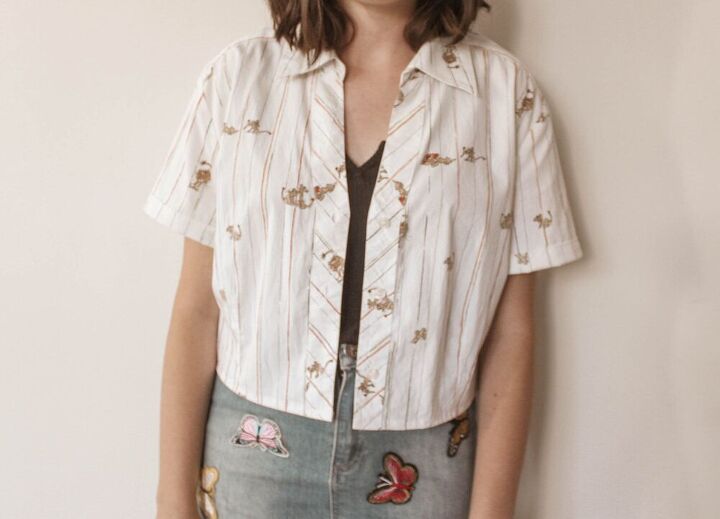
This is how it turned out, after all the alterations! I’m so much happier with it, it’s more flattering and cute.
Before – After
That’s it! You can alter almost any garment you might need. I won’t take you longer than 20 min if you’re doing something easy like shortening the shoulders/straps.
If you have any doubts on how to take your measurements, take a look at this blog post where we teach you How To Measure Yourself Correctly
These tips are the ones I use the most, but they are all to make clothes smaller or shorter. If you’d like me to make a whole other blog post on ways to make clothes bigger or longer, comment down below! I would love to research it and help you alter your clothes to fit better. We can always give your garments a second life 🙂
Hope these are helpful for you!
With love – Dani
The author may collect a small share of sales from the links on this page.


Comments
Join the conversation
I need to let out or remake my bustline fit. I have several dresses that need room across the bust. The sleeves are tight too. How do you suggest doing this project. Thanks much