Easy DIY Jacket Tutorial

Today I will be showing you how to make a kimono jacket. It’s an extremely simple pattern, made with my favorite fabric, Ankara. If you’re looking for a quick and easy project, this DIY jacket tutorial is perfect for you. Let’s get started!
Tools and materials:
- 1.5-2 meters of fabric
- Scissors
- Pins
- Measuring tape
- Ruler
- French curve
- Fabric chalk
- Iron
- Sewing machine
- Serger (optional)
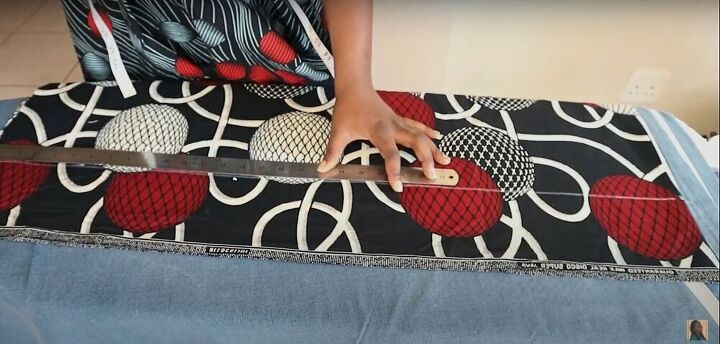
Mark and cut
To begin, I folded my fabric in half with the right sides facing each other. I measured 5 inches from the top edge and drew a line across the fabric from the folded edge to the opposite edge. Then I cut on the line. This gave me one long strip of fabric that I will use later for the collar of the jacket.
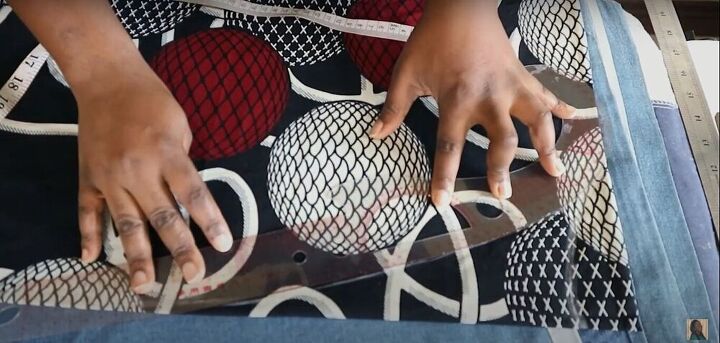
Mark and cut
For instructions on how to mark and cut the neckline for the jacket, see the video from 2:42-5:39.
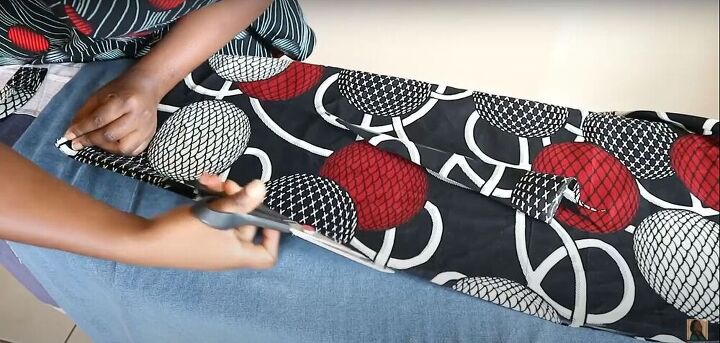
Cut
Once the neckline was done, I cut the opening on the front of the jacket by cutting the fabric along the fold.
Prepare collar
I measured the neckline and realized I needed to add a bit more fabric to the collar for it to be long enough to go all the way around the neckline. I recommend cutting the body of the jacket first, then measuring the neckline and cutting a collar that is long enough, instead of cutting the collar piece first, as I did, and having to add more fabric afterward.
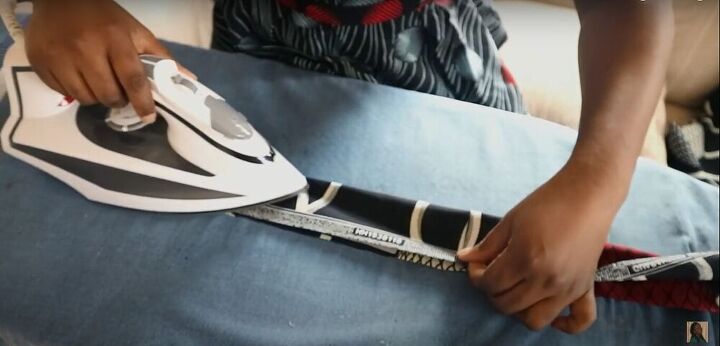
Once it was long enough, I folded the collar in half lengthwise, wrong sides together, and ironed down the crease.
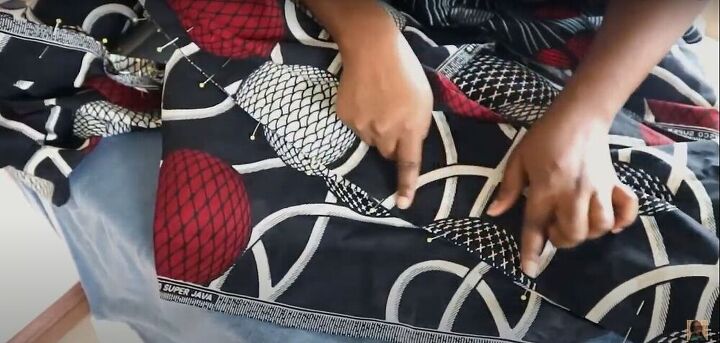
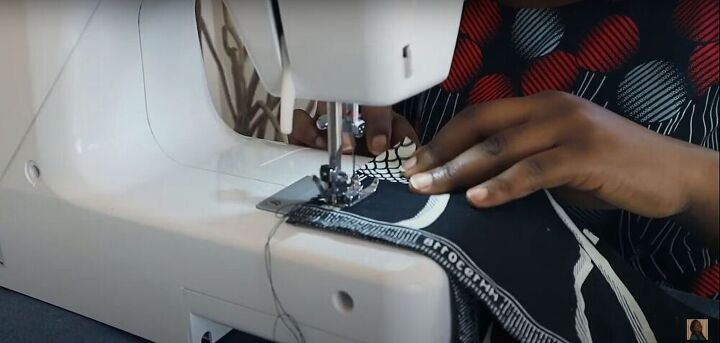
Pin and sew
I matched the center of the neckline with the center of the collar and pinned the collar all the way around the neckline. Then I sewed the collar in place.
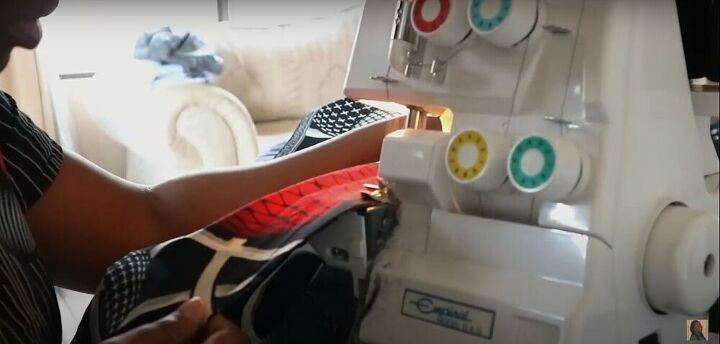
Serge
Next, I serged the raw edge of the collar, as well as the raw edges of the side and bottom edges. If you don’t have a serger, you can finish the edges with a zigzag stitch on a regular sewing machine.
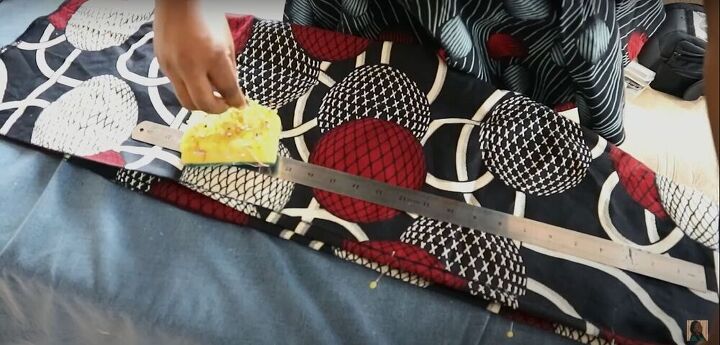
Measure and pin
I folded my jacket in half, right sides together, and measured 12 inches down the side edges from the top. I folded the fabric in ½ an inch along those 12 inches and pinned it down. This is going to be the hem of the sleeve.

Sew
To finish, I sewed down the hems of the sleeves, sewed the side seams together, and hemmed the bottom of the jacket.

My jacket is complete!

I hope you enjoyed my tutorial on how to sew a DIY jacket. Let me know how you would style this kimono jacket?
The author may collect a small share of sales from the links on this page.


Comments
Join the conversation