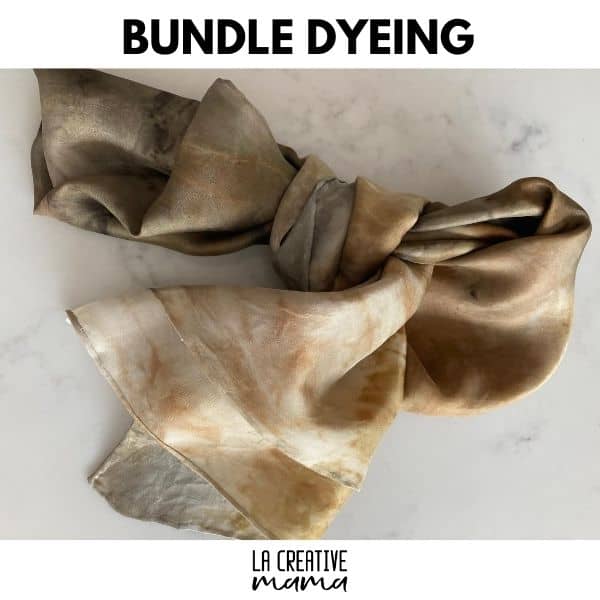
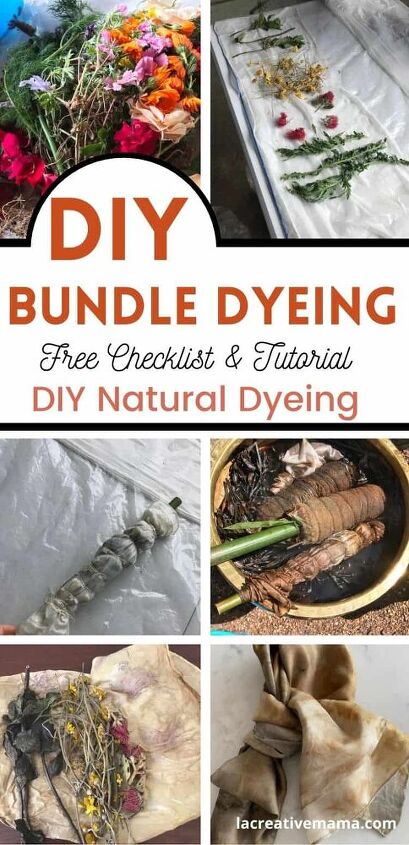
Natural Bundle Dyeing, Make Your Own DIY Scarf
Hi Creative mamas! In this post I want to share with you the beautiful method of bundle dyeing. It may yield uneven results but the process in itself is a joyous one. Also, once you understand the technique you can get really creative with it and it’s a great way to get the kids involved in natural dyeing as well! This tutorial will show you how to dye a silk scarf which is the best gift ever!
But first let’s recap what is natural dyeing.

Natural dyeing is the process of using natural dyes that are extracted from natural sources, such as plants, minerals and insects. You can extract beautiful colors from leaves, flowers, bark, roots as well as rocks, fruits and veggies.
In “The Ultimate Guide to Natural dyeing” I explain in detail all the processes involved in obtaining beautiful colors from natural dyes. Also make sure to read “The Beginners Guide to Natural dyes” for a comprehensive list of natural dyes and the colors that they produce.
Bundle Dyeing or ECO Bundle Dyeing or Botanica Bundle dyeing is a natural dyeing method. Leaves, flowers and other elements such as rusty nails are sandwiched in between two layers of fabric. These layers are then rolled and tied with string and made into little bundles which are steamed or cooked in a dye bath. I also call it Eco Print since its a way of printing the flowers and leaves onto a piece of fabric.
As a mom I find that bundle dyeing is a great way to do a craft activity with my kids and to bring nature into our daily lives. Printing nature into a piece of fabric allows us to transform it into a wall hanging, a pillow, a bed cover or a baby blanket. You can do anything with your printed fabric. So let’s get into the actual bundle dyeing printing technique itself.
When you are bundle dyeing you are making little bundles which will contain leaves, plants, metal objects and food waste. These bundles can be steamed or dipped inside a dye bath. When a bundle is steamed you will get a print of the leaves or flowers that you have sandwiched inside.
When the bundle is dipped inside a dye bath you will get a more smushed result because the print will merge with the dye bath and this will result in a combination of the color obtained by the dye bath and the print obtained by the object inside the bundle.
For a step by step tutorial on ECO PRINT click here. See illustration below as an example of eco print 🙂
The best part of bundle dyeing is that it allows you to experiment with different flowers and leaves that are in season or that are typical from the place that you are in. I love making my own dyed scarves with plants that are characteristic from my area. I live in Auckland New Zealand so I tend to use a lot of Eucalyptus leaves , Avocado leaves, geraniums, rose leaves and Liquidambar leaves.
You can experiment with different natural fibers but after much experimentation the best results are always when you use either 100% silk or 100% wool fabric. Check out this super quick trick that will allow you to know if your fabrics are 100% natural.
In this post I have used a silk scarf and I have also used a length of an old 100% woolen blanket.
Bundle dyeing is a fun way to extract color from leaves and flowers through the process of making little bundles and leave them marinating for a few days. Get a collection of in season flowers and try them following the tutorial below.
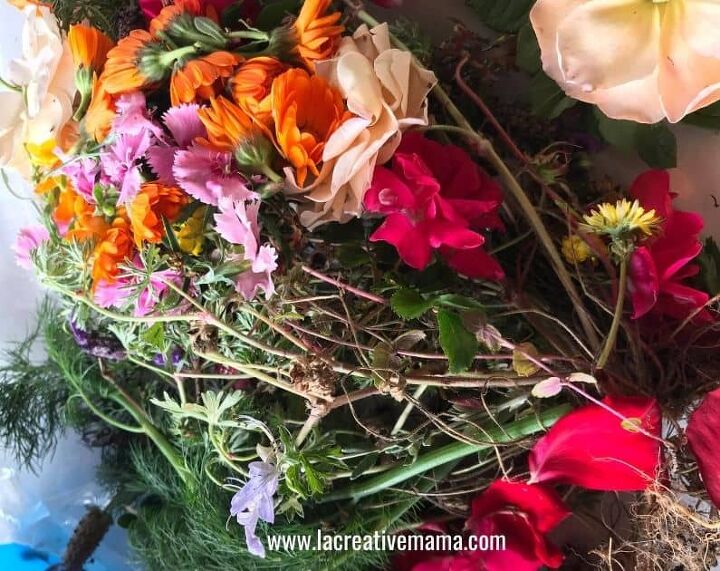
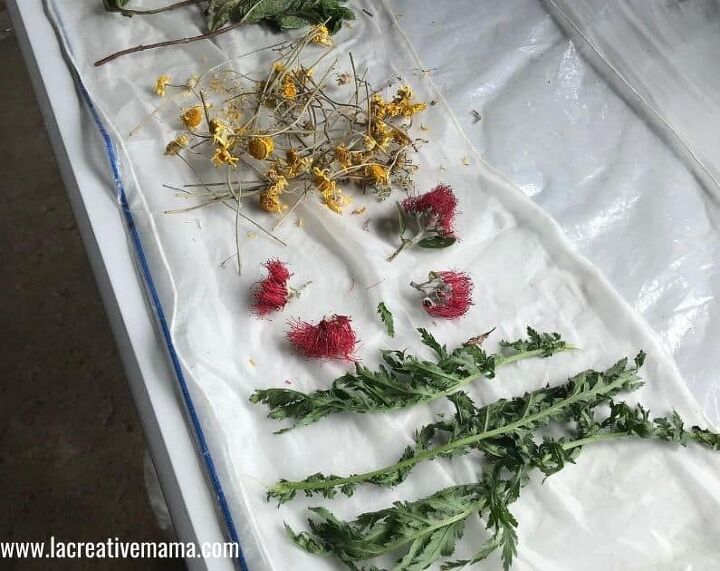
I love geraniums and they can give beautiful print. I also like using Dyers Chamomile flowers which gives you a beautiful bright yellow. The leaves of any kind or rose plants will give a nice print as well.

Over the years I have made some many experiments with different flowers. leaves, rusty objects etc. The problem was that I never took photos or made notes. This was a problem because I couldn’t re create the results because I hadn’t made detailed notes about which dye materials I used and the combinations etc.
When I started teaching natural dyeing I quickly realized that I needed to start documenting everything. So created checklists, process lists, best dyes lists, etc.
For this tutorial I have included a FREE Resource for you. A FREE Checklist and Process list to get you started in Bundle dyeing. Download the checklist and record everything you do and use in the process!
This post contains affiliate links, which means I receive a small commission, at no extra cost to you, if you make a purchase using this link. Click here to read my full disclosure policy.
In this tutorial I will show you how to create a beautiful scarf which will be printed with flowers and leaves. Let’s get started!
- Silk scarf
- Leaves and flowers (rose leaves are a great way to start)
- Water and White vinegar solution
- String
- Metal rod or bamboo stick (the width of the scarf)
- Pot for dye bath
The nice thing about Bundle Dyeing is that you don’t have to use a heavy mordant. Using white vinegar is enough of a mordant in this process.
If you want to learn all about mordants in natural dyeing check out this article.
Grab your silk scarves. Prepare your water/vinegar solution by mixing 1 cup of water with 1/2 cup white vinegar. It’s a good idea to pour this liquid into a spray bottle.
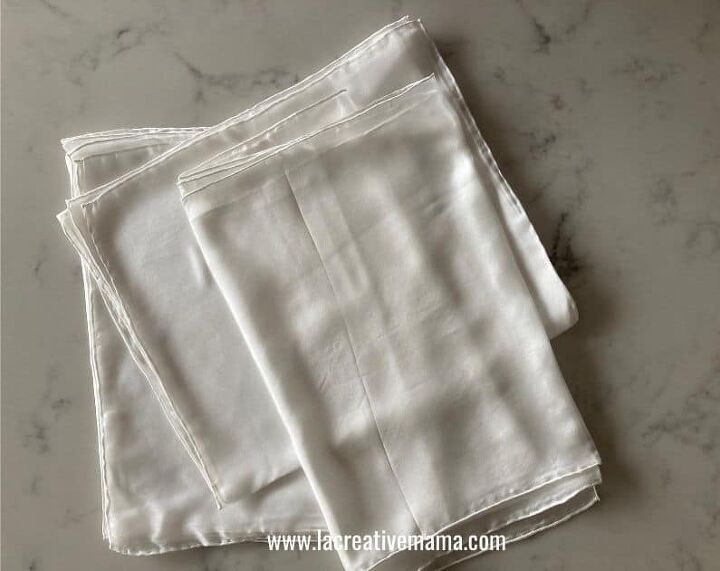
Lay your white silk scarf on your working table. You may want to cover your working surface with a plastic sheet. Spray the scarf with a solution of water and white vinegar.
Place leaves and flowers on top of the scarf.
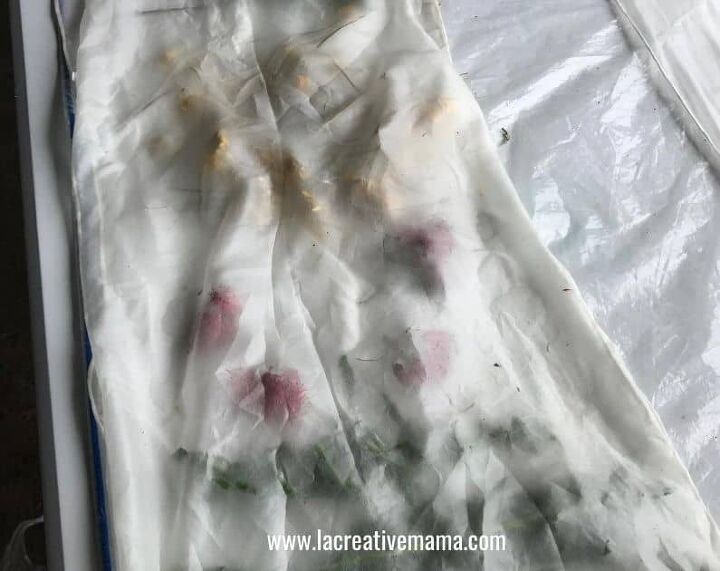
Cover half way. Fold the other half of the scarf on top of the flowers and leaves. Spray top layer with water and vinegar solution again.
Place the metal rod on the folded edge and slowly start rolling the fabric. Make sure you are applying lots of pressure so that the leaves and flowers are tightly squeezed against the fabric.
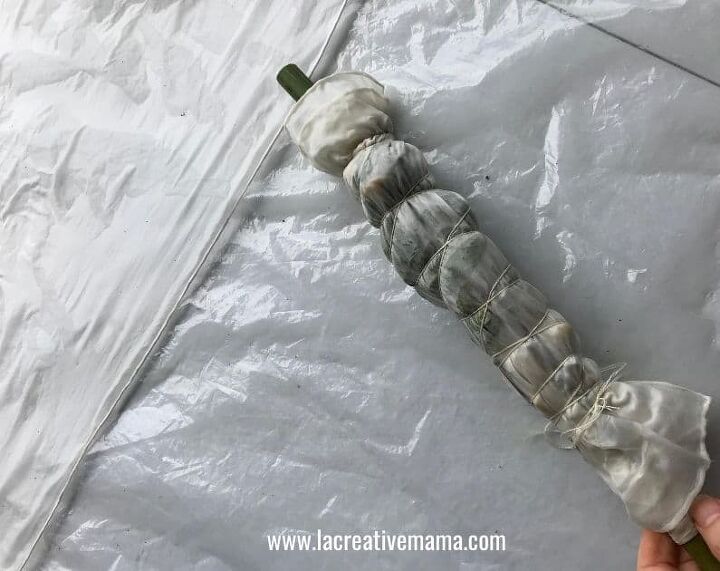
When you get to the end of the scarf start placing string all around the roll. Make sure you do this very tightly as well. Congrats ! You have made your little bundle.
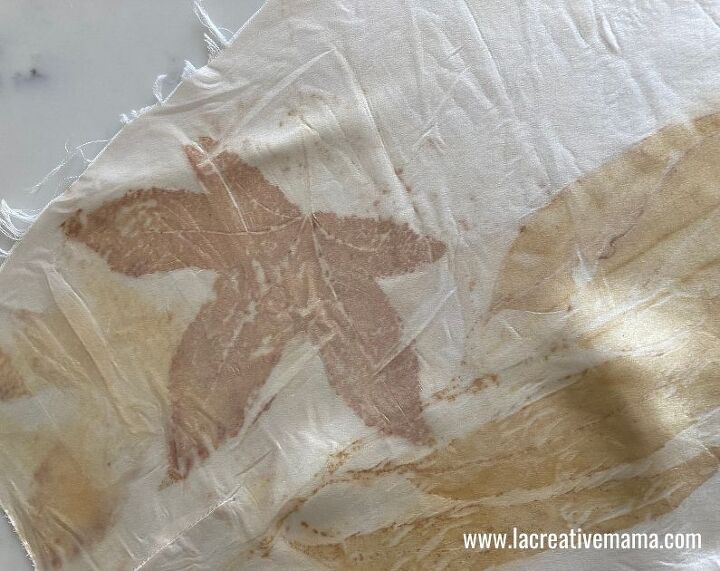
At this stage you can decide to just steam it in which case you would be getting a print of the leaves and flowers inside your bundle. Check out how to print on fabric here.
In case you are wondering what would happen if you simple steam your scarf check out the pic below Read here for a tutorial on Eco Print which is the same as bundle dyeing but without the dyeing step.
But if you want to get the real bundle dyeing effect keep going!
Place bundle inside a dye bath or a steam bath.
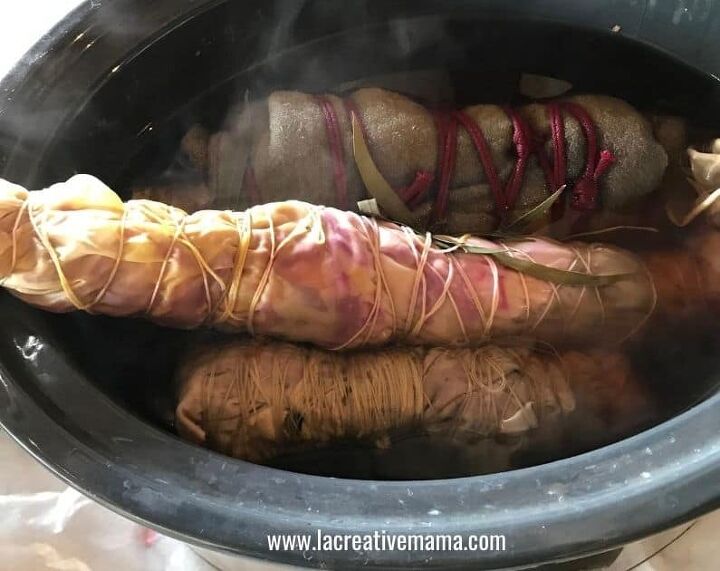
Fill a big pot with water and your chosen leaves or flowers. In this case I have used a combination of onion skins and avocado skins and stones. Bring to a simmer. Keep simmering for 1 hour. Strain and use as dye bath.
PRO TIP: Basic rule is 100% WOF (weight of fabric) which means that if you have 100 grs of fabric you need to use 100 grs of flowers or leaves. Higher percentages may be used for deeper color results. If in doubt I use up to 300% WOF and if I feel the color is too dark I will dilute the dye bath with clear water.
For a full article on natural dyeing process click here.
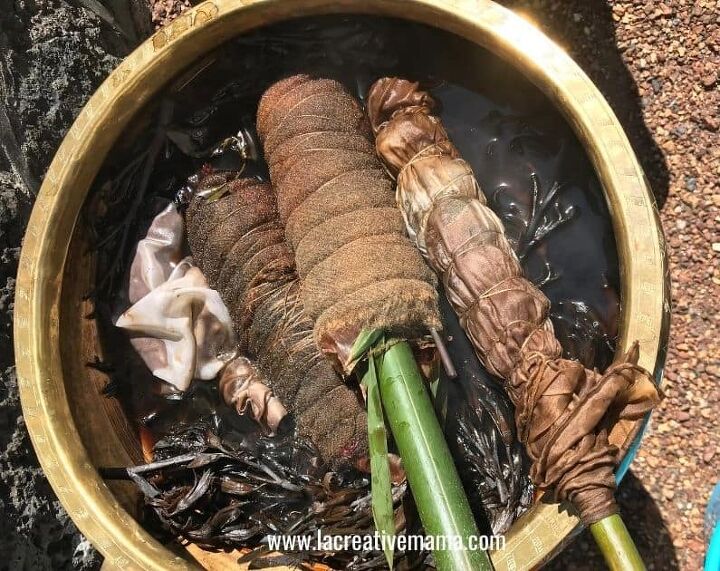
You can dip the bundles and keep turning them around or you can immerse them fully as shown is both photos abobe and below.
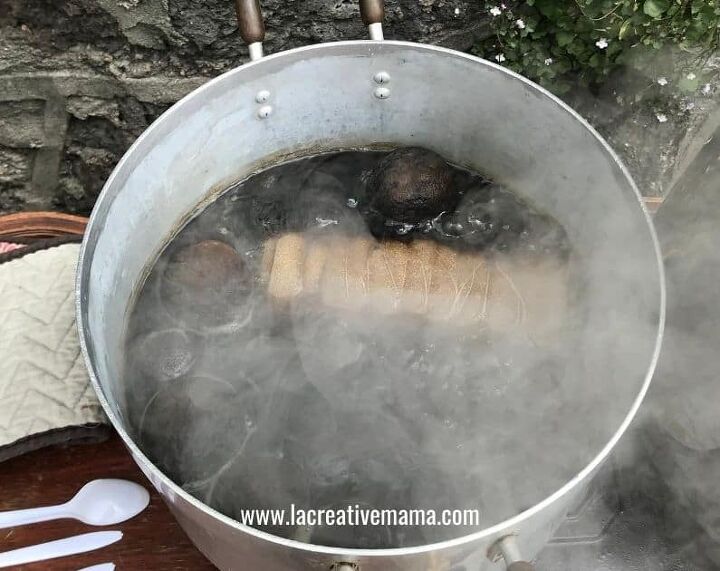
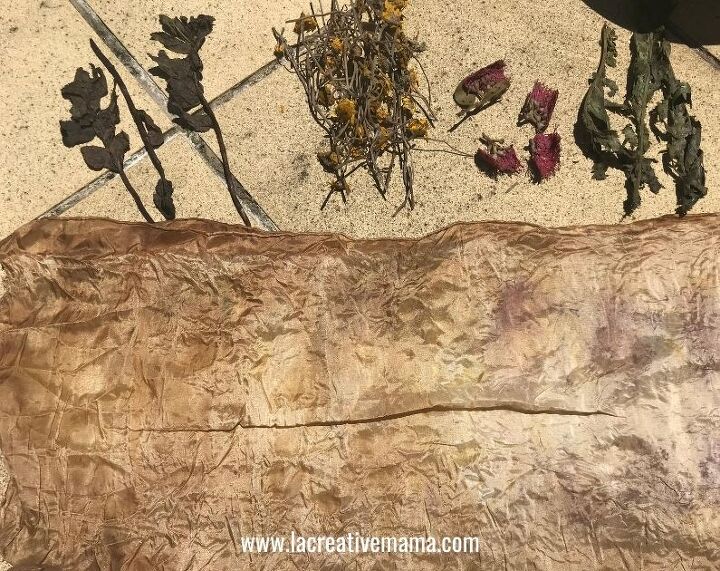
After 1 hour of simmering the bundles in the dye bath you can remove them. Leave the bundles to air drying for a few days. The more you leave the bundles the better the result will be. after a few days you can untie them and be amazed but he results!
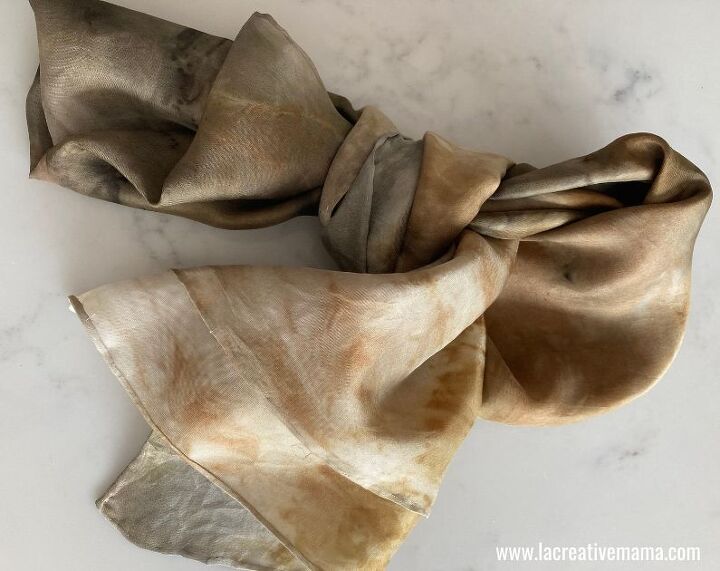
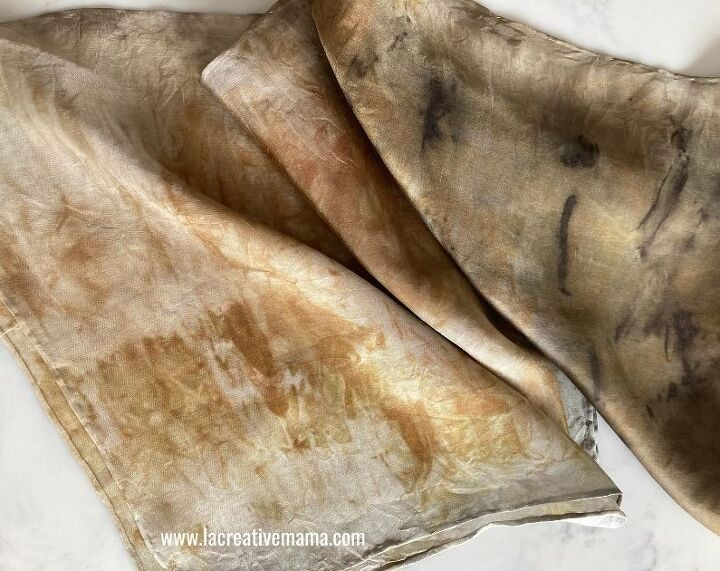
This silk scarf was left in the dye bath for 1 hour (I dipped it) and was only left to dry for 1 day. As you can see the color is lovely and soft. I was after a golden ochre tone.
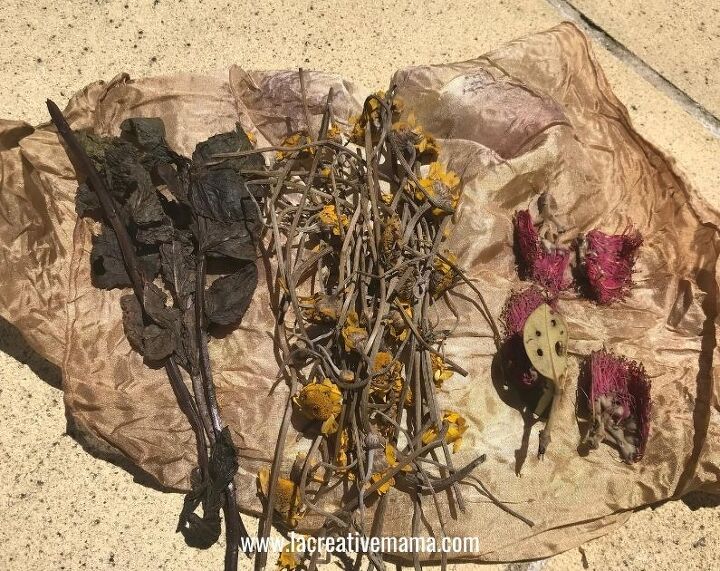
This scarf took on the tones of the avocados and the onions from the dye bath, a mix of blushes and golds.
This is the final result. It made for a fab gift to one of my friends and she absolutely loved it!
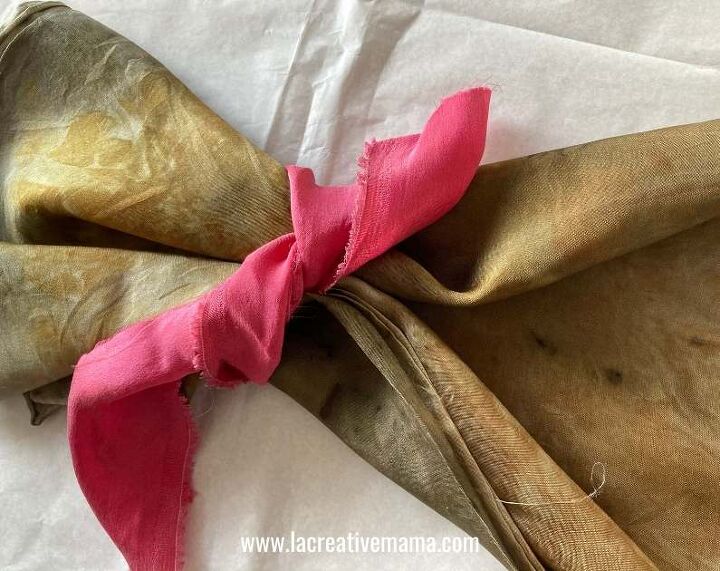
I packaged this silk scarf in a nice wooden color box and wrapped it in white silk paper! She is still going on about the lovely present I made her :).
The photo below shows the brown craft box and the white tissue paper.

I also used a scarp piece of silk as a little knot. this pink piece of silk was hand dyed using cochineal. Find out how to create a bright pink with cochineal dye.
In this other example I left my woolen piece for 3 hours fully immersed in the dye bath and I left it drying for 3 days and I got a much more intense result.
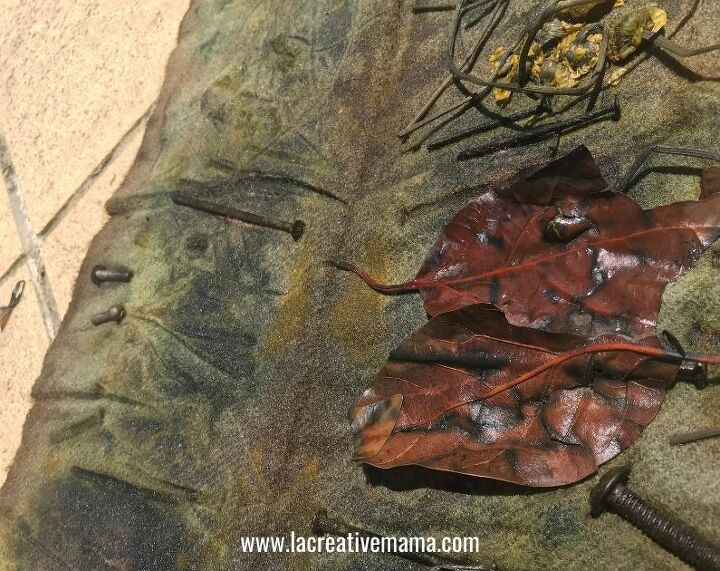
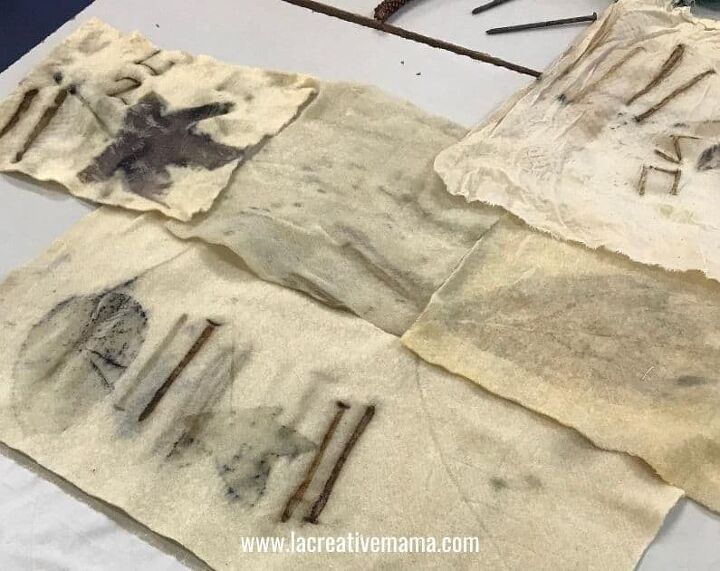
As you can see with this woolen piece I got experimental with some rusty nails. I bundled some rusty nails mixed with the flowers and it produced a very dark almost black print on the fabric. It also made the fabric much darker since iron acts as a color modifier in natural dyeing.
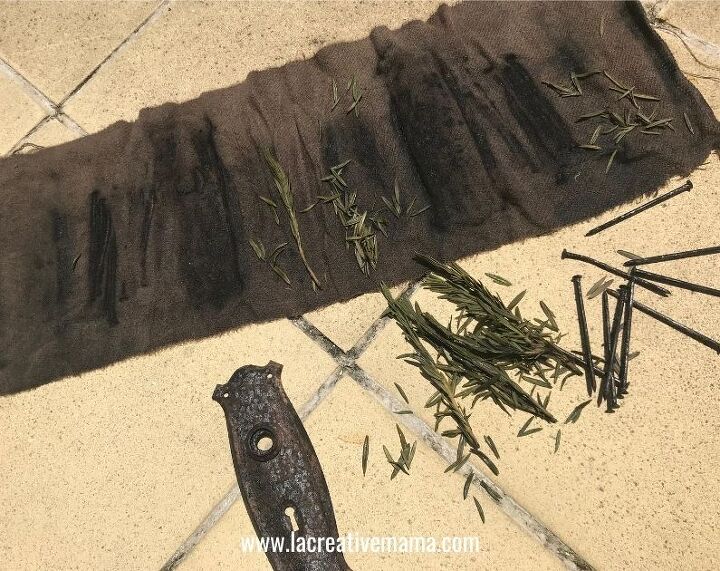
In the example below I have used iron water in combination with leaves to produce these really dark prints. Check out the full tutorial here.
How to dye fabric with onion skins
How to dye beautiful pinks with Avocado dyes
How to make natural black dye with acorns
The best way to dye fabric with tea
How to give fabric a vintage look
Bundle Dyeing can be used to:
- Upcycle old white cotton t shirts
- Upcycle old woolen blankets
- Upcycle silk blouses
- Make woolen patches
This book is a super good resource to have if you are serious about your natural dyeing, specifically if you are interested in bundle dyeing and Eco printing.
India flint goes in great detail about natural dyes and she clearly lays out her philosophy around sustainability and the power of going back to nature.
There are detailed explanations about what materials are required for the practice of natural dyeing, as well as safe practices for the dyer, the wearer and the environment. The book also explains how to prepare, process and apply natural dyes, the different types of mordants available and their pros and cons.
India Flint is based in Australia and she writes extensively about the qualities of the different Eucalyptus varieties and the color they produce.
A wonderfully photographed book that is worth having in your library as a resource but pretty enough for your coffee table as well.
Check out the Hapa – Zome Technique and how you can get your kids really excited about natural dyeing and discovering the leaves and plants that surround them!
Check out the Eco Printing on paper post which is an amazing activity to do with the kids on a long weekend or a school holiday!
Please reach out and send me some pics of how your bundled dyeing has turned out! Would love to check it out and include it in the blog!
You can make your little bundles and place them inside the Solar Dyeing jars. The difference with this method is that you won’t be able to roll the bundles around a rod, so just roll the fabric in itself and place inside a jar filled with the plant material of your choice.
Fo llow the solar dyeing tutorial and video for more information about this method.

The author may collect a small share of sales from the links on this page.


Comments
Join the conversation
This is gorgeous!!! I love this! I am definitely going to do this!! Thank you!