Before & After - DIY Lace-Up Sleeve Detail

I've heard people say.. That too much of anything is not good for you baby, Oh no, but I don't know about that. - Barry White
Life is short, add grommets to everything. - Julia
It may seem like my newfound affinity for grommets is still contained in this project and that lace-up neck blouse from a few months back, but that's just because many a venture is either sitting in my drafts folder or waiting for my return to warmer climates to be photographed in action. Rest assured moderation was left behind a long time ago. Edit: Proenza Schouler has just fueled my madness in a big way.
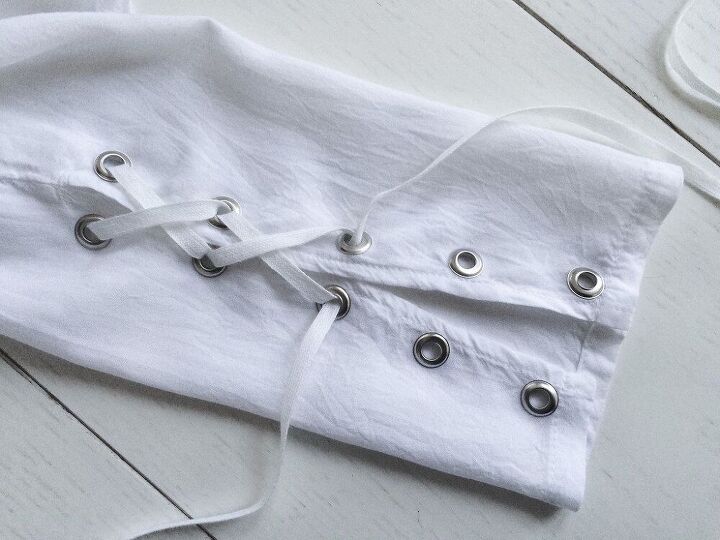
I got this basic shirt from the Monki sale, and the slits on the sleeves seemed like a lovely idea at the time. But when I wore it, it turned out the concept of the flappy sleeves really doesn't work with this fabric - you'd need more stiffness in the material. In this case the result is just an annoying in-the-way kind of feeling. The time had come for laced-up sleeves. To a non-pre-slit sleeve this would be super easy to do as well, just open up the sleeve underseam the desired length of your slit and re-finish the sides, before proceeding to add the grommets.
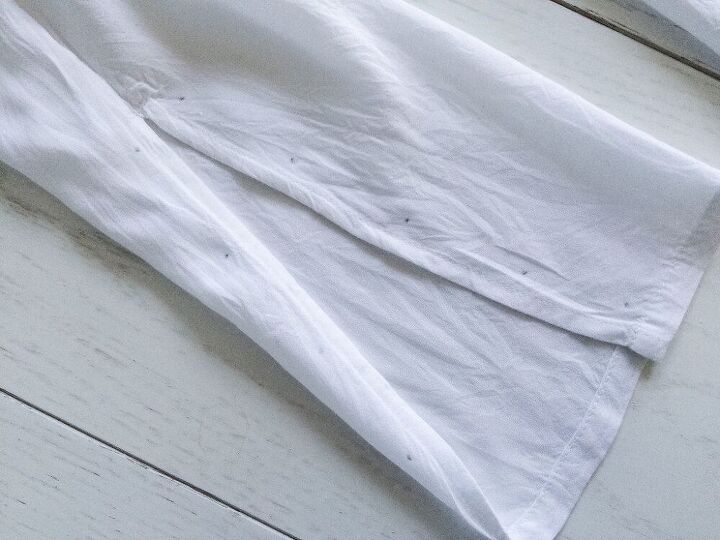
BEFORE:

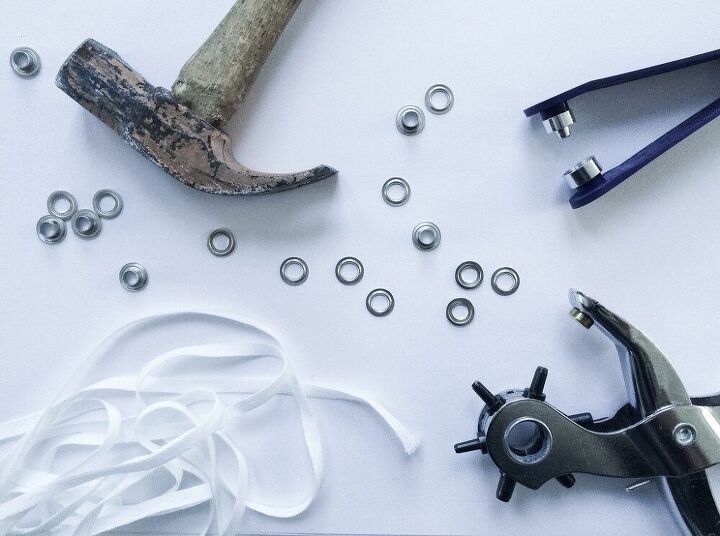
TOOLS:
- Grommet kit (I used 10 grommets for each sleeve)
- Hole puncher
- Hammer
- String (matching or contrasting color with your top)+ Fray-stop glue or clear nail polish if your fabric frays
I. Mark the spots for your holes. My sleeve slits were about 20 cm long, and I added my holes about 5 cm apart.
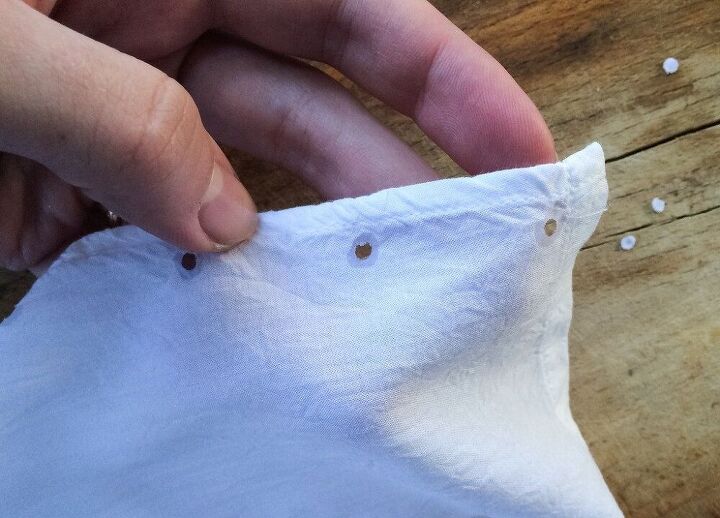
II. Use the hole puncher to make the holes in the marked spots. Important: in the grommet kit you typically get a cheap hole puncher (probably something like this). I'm sure good ones exist, but I've explored 3 different grommet kits now and have yet to encounter one that is sharp enough. So I would recommend using a proper hole puncher. It leaves a much cleaner hole, especially on more delicate fabrics. I also recommend making your holes a size down from what the hole puncher in the kit is - The hole will give enough for you to get the grommet base through, and will be less likely to fray when it's really snug.
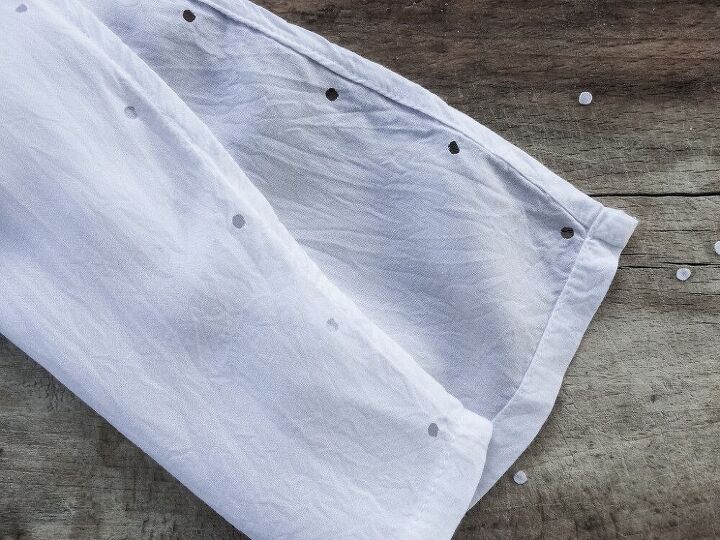
III. Important step if you're working with a fabric that frays at all! I learned this the hard way when I installed my first grommets in another project. Treat your punched holes with either fray stop glue or clear nail-polish - this will prevent your holes from expanding as you install the grommets. Especially if using the latter, be careful to only apply a tiiiny bit right at the raw edge. Otherwise your grommet won't cover it and you'll have a nasty stain around it. This is typically not an issue with fray stop, as it tends to dry invisible. Test on a non-visible part of your fabric first to be sure.
IV. Install your grommets. I went over this in more detail here, or if you need a video, this one is pretty universal.

V. Then just add your lace! I went with the classic corset-style X lacing, but you could change it up and look for inspiration e.g. in shoe lace tying patterns.
xo,
Julia
The author may collect a small share of sales from the links on this page.


Comments
Join the conversation