How To Make DIY Pom Pom Shorts
This post may contain affiliate links for products I love and recommend.
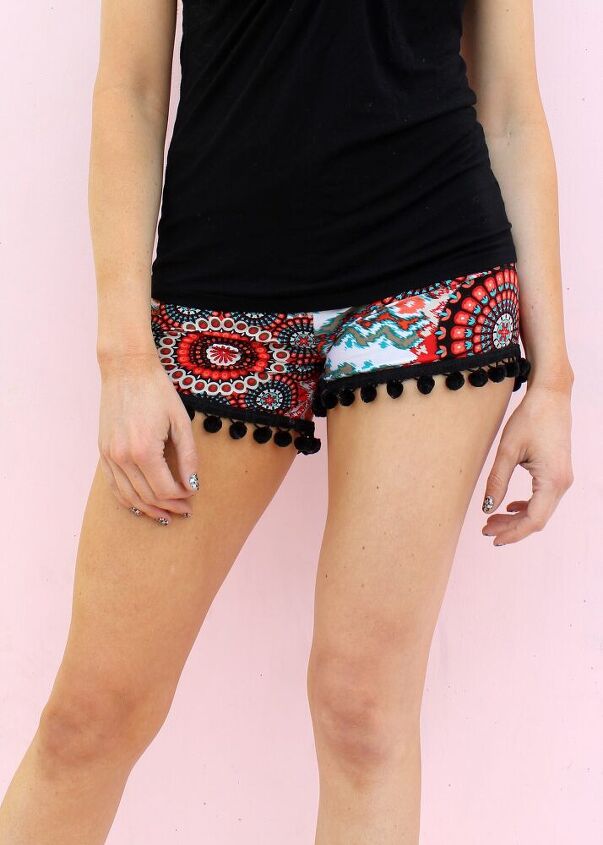
I absolutely love the comfortable-chic look of Pom Pom Shorts lately. They’re surprisingly versatile and easy to style. Wear them as a beach cover-up or with gladiator sandals and a simple t-shirt on a casual day. It feels like cheating to slip out of your pjs and into these comfy little things. Today I’m excited to share this DIY pom pom shorts tutorial so you can make your own!
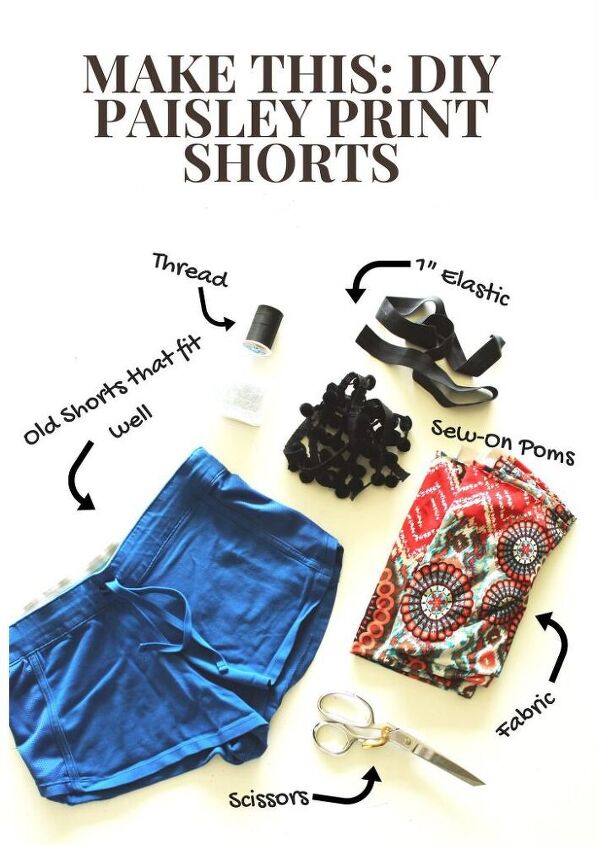
DIY Pom Pom Shorts Supplies:
My supply lists are now shoppable for your convenience! Just click any aff. link below to get everything you need to complete this project without adding extra shopping trips to your day.
- Black Thread
- 1″ Elastic
- Dressmaker Shears
- Old Pajama Shorts or Gym Shorts
- Jersey Knit Stretch Paisley Fabric
- Basic Sewing Machine
- Sew On Pom Pom Fringe Trim
How To Make DIY Pom Pom Shorts:
Since we want your shorts to be comfortable and fit you perfectly, we’ll be drafting a simple pattern from the clothes you already have and love. Before you start to panic, take some deep breaths and just go through the tutorial with me step by step. I’ll walk you through the whole process in a way that is super simple.
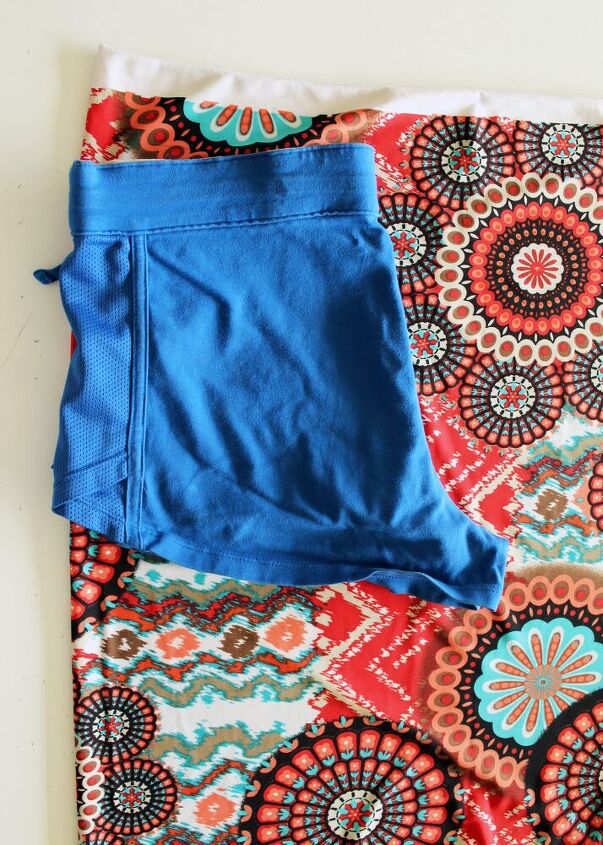
Start out by folding a pair of shorts you already have in half.
Now, fold your stretch fabric in half. Then, place your folded shorts on the folded edge like this:
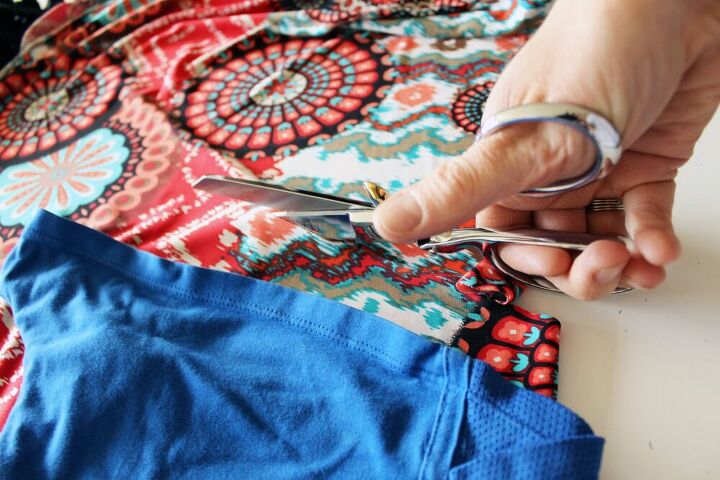
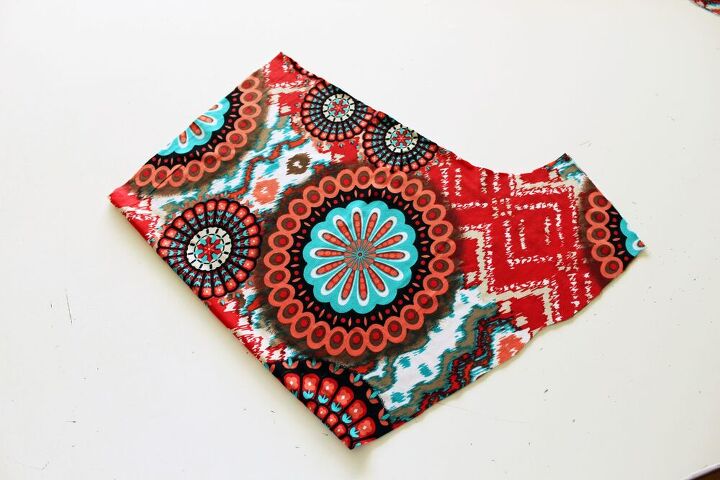
Loosely cut out the shape of your shorts. Leave at least 1″ around the edge to sew the pieces together.
When you are done, you should have a basic shape that looks like this:
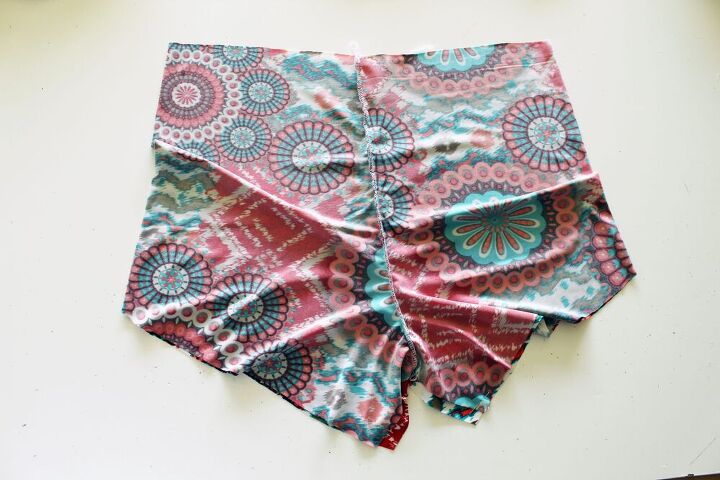
And when you open the folded piece of fabric, you should be left with a piece that looks similiar to this:
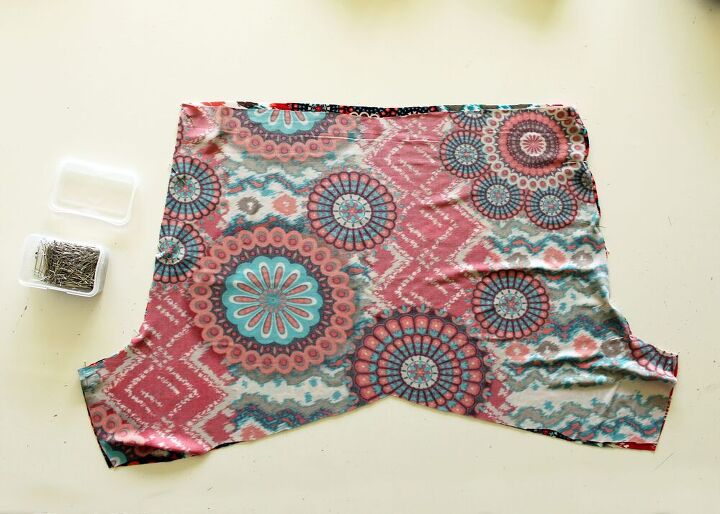
Repeat to create two identical pieces of fabric. Open and fold in half (right sides together) and pin the two pieces along the center front/back lines like this:
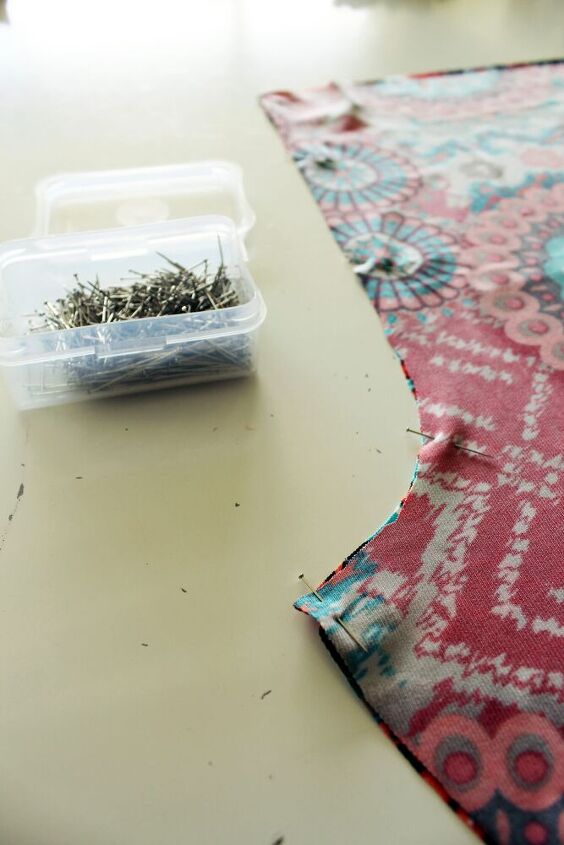
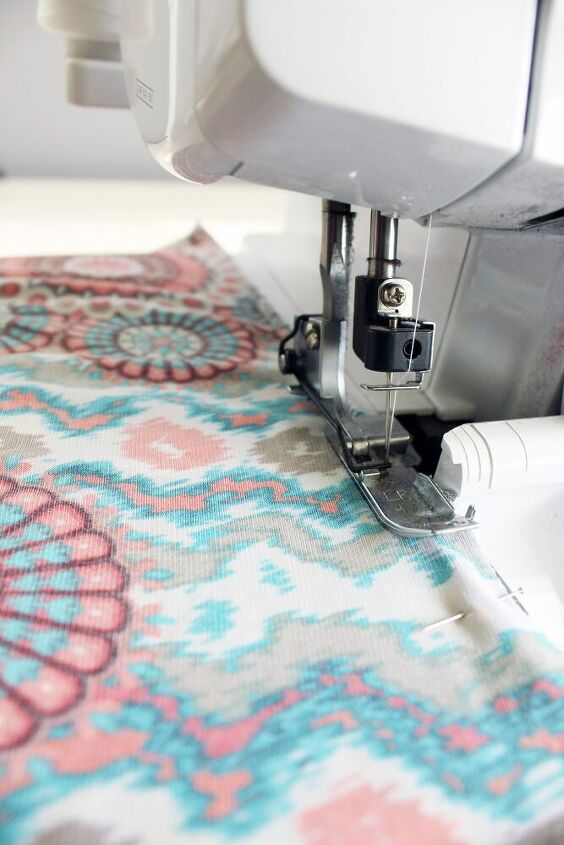
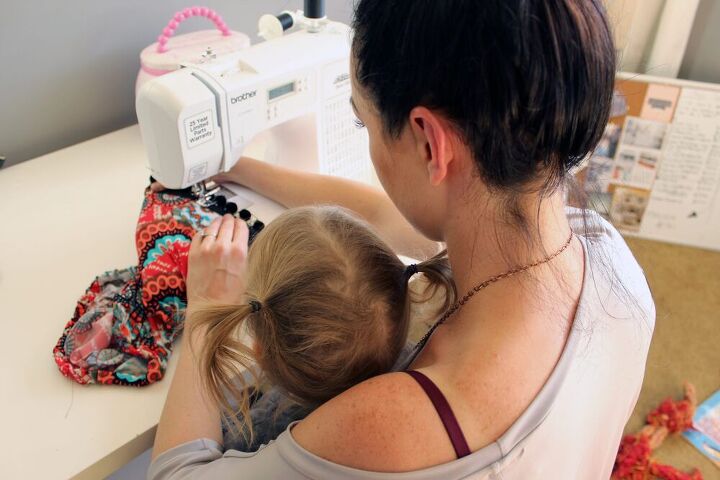
Sew the seam together. If you are using a standard sewing machine, use a narrow zig zag stitch with a close stitch length and a stretch/ ballpoint needle. Taking these extra steps will allow your fabric to stretch slightly without popping threads.
When you open them up, you should have something that looks like this:
Now, lay your shorts flat and pin along the bottom crotch/ leg line.
Sew the front and back pieces together using the same method.
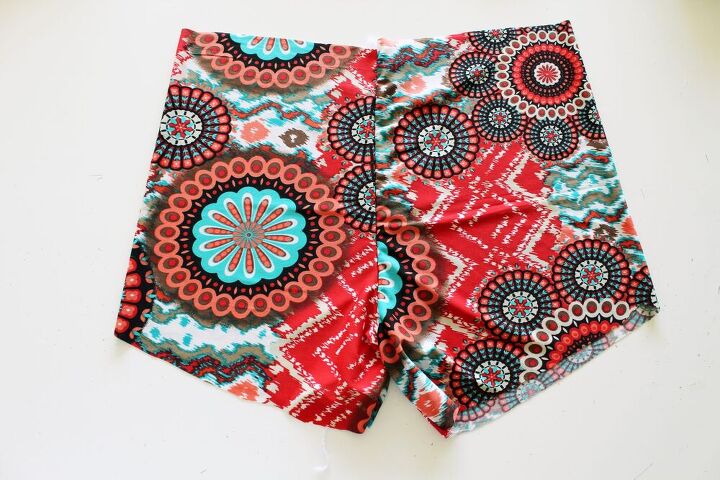
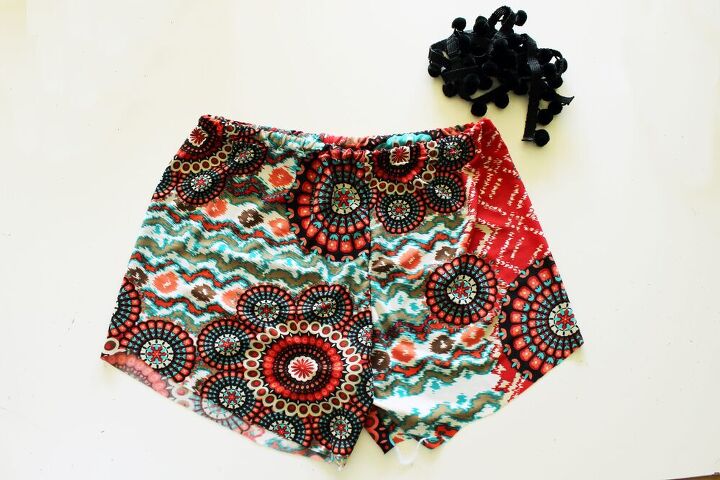
You should be left with basic shorts that look like this:
Next, create a casing for your elastic by folding the top of your shorts over 1 1/4″ and pinning into place. Sew along the edge to create a casing and slip your elastic in. For this stitch, I prefer to use a twin needle for a finished edge and some extra stretch.
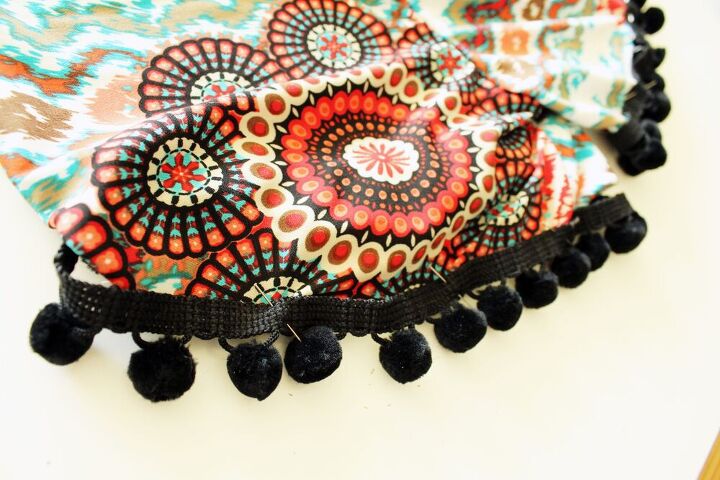
Now, let’s sew on the pom embellishments to finish it off!
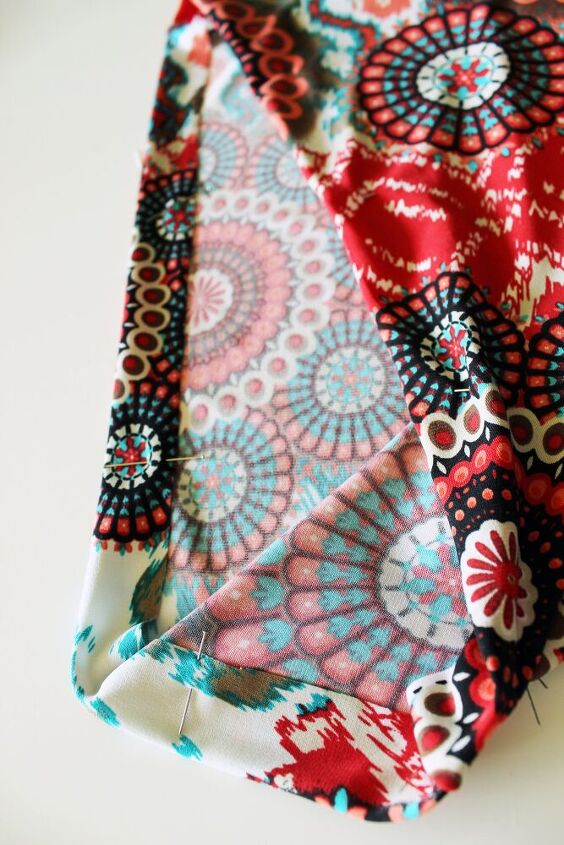
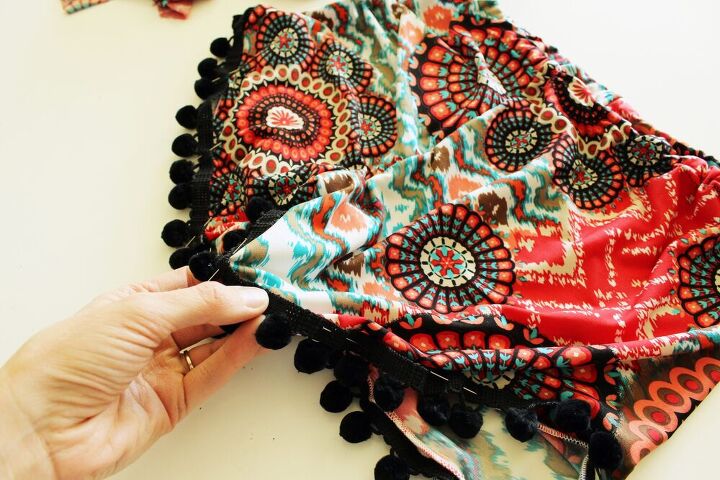
While gently stretching the leg hemline, pin your pom pom embellishment into place.
Sew on your embellishments and try on your new shorts! Wasn’t that easy?!
These shorts are so incredibly comfortable and took less than 30 minutes to make from start to finish. I really hope you liked this little DIY and as always, please share your finished project on Instagram by tagging me @CreativeFashionBlogger


The author may collect a small share of sales from the links on this page.


Comments
Join the conversation