Learn How to Make a Versatile Bucket Bag With Pleats

A bucket bag looks complicated to sew, but in this bucket bag tutorial, you'll be amazed at how easy it is to make! I have all the measurements for you to make a bucket bag, and what's more- It's super trendy and practical! All you need is to get down to your nearest fabric store and get an "eggshell" leather-like fabric, and you're all set to make this easy bucket bag! Keep scrolling to find out more!
Tools and materials:
- Cardboard
- Marker
- Paper
- ½ yard of eggshell leather-like fabric
- Fabric glue
- Scoring tool or flat screwdriver
Make the pattern
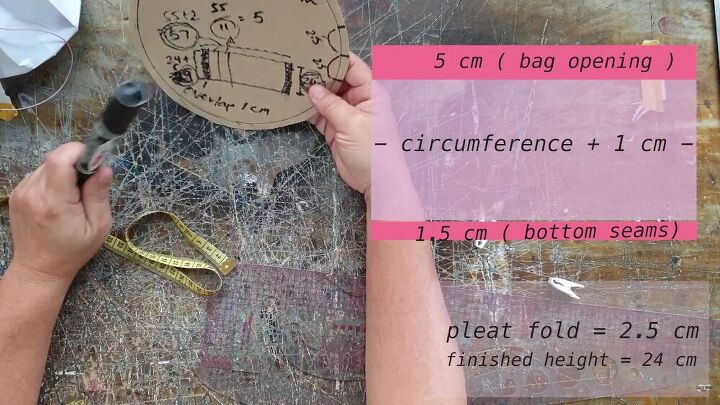
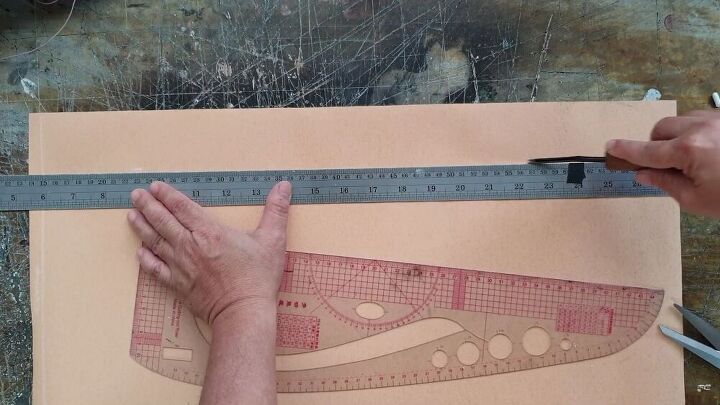
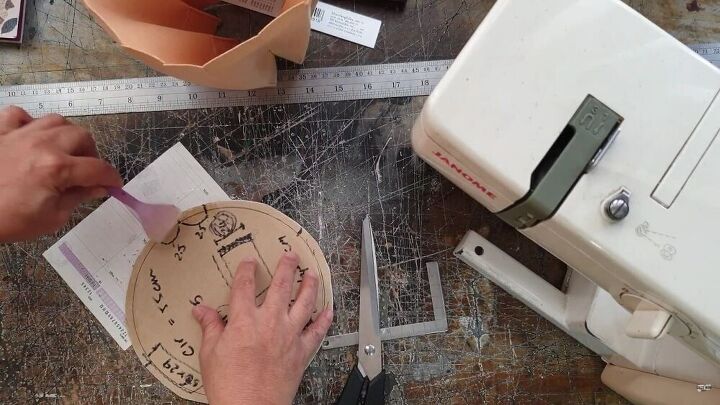
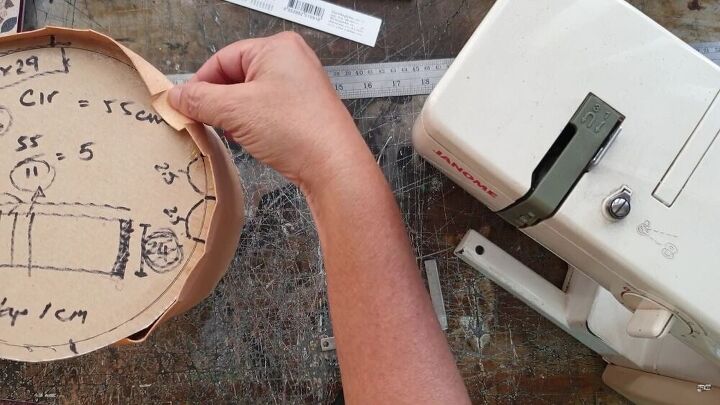
To make the pattern for this simple bucket bag, start with some easy equations to get to your desired measurements. Or, you can simply follow my measurements. Firstly, trace a circle. Here, I traced one from a bowl, and the circumference was 55cm.
TIP-
To convert the metrics, simply use this online conversion tool.
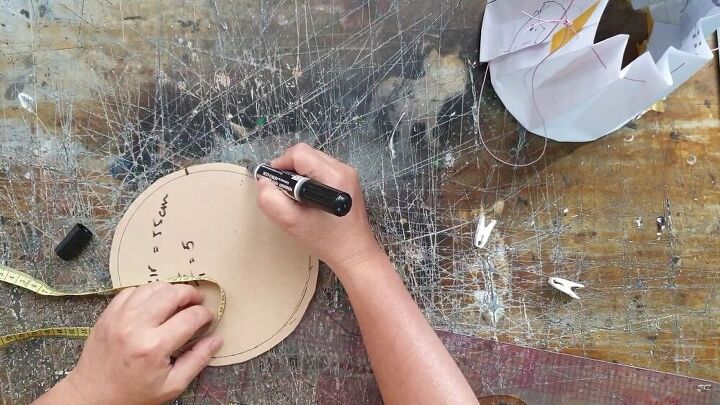
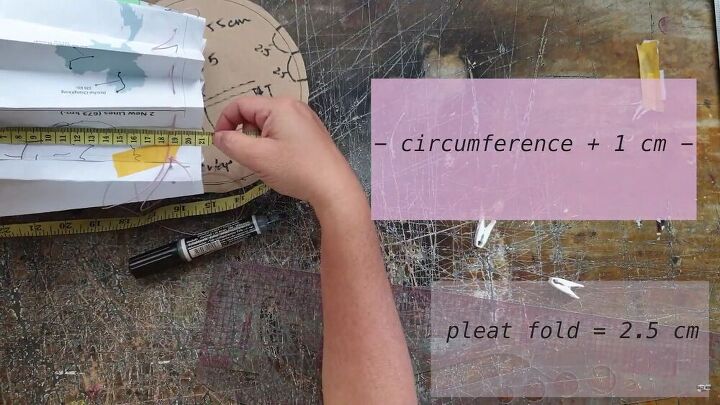
The body piece will be the same as the circumference plus 1cm.
I divided the circumference into even segments. This meant that from 55 cm (21.6 inches), I could fit 11 pleats, each measuring 5 cm (2 inches), and each fold being 2.5 cm (1 inch).
For the height of the bag, I added 1.5 cm (0.6 inches) for the bottom (glued onto the circle), and I added 5 cm (2 inches) for the top for the bag's opening.
TIP-
Get the exact pattern here.
Start gluing!
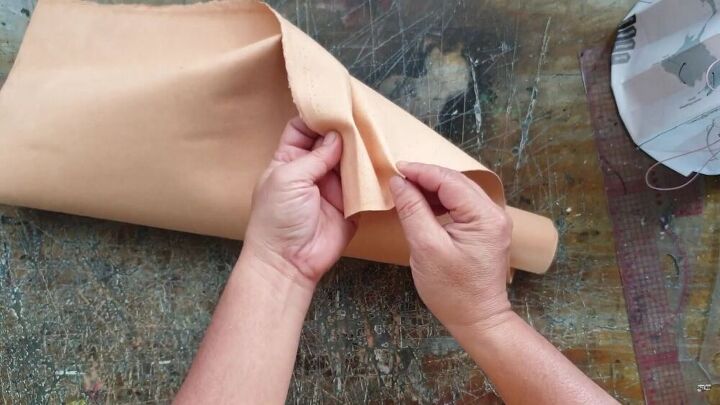
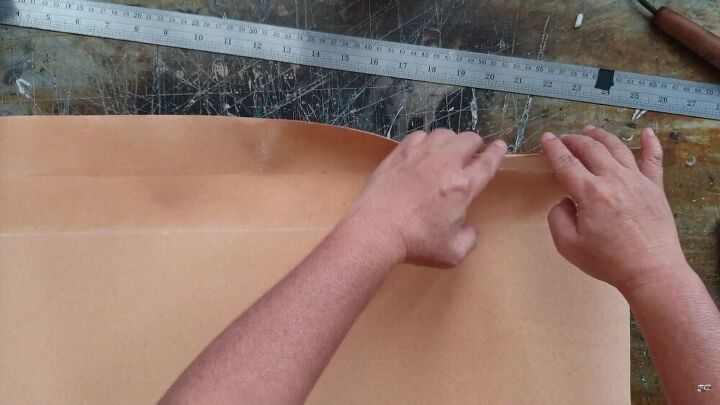
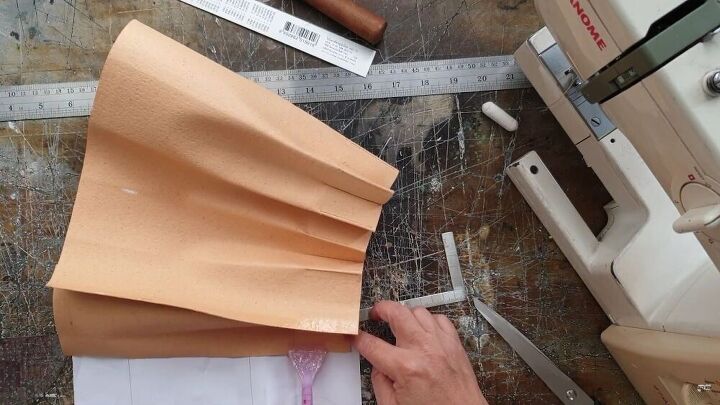
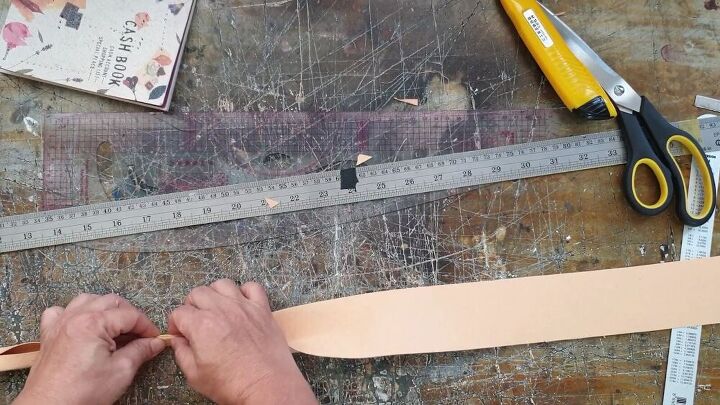
Cut out your fabric accordingly and work on the fabric's wrong side. Measure 5 cm (2 inches) across the bag from the top. Next, use a scoring tool or flat screwdriver to score the fabric and add a neat indentation.
Now add glue to the whole 5 cm (2 inches) area generously, and fold the fabric over so that it sticks together.
Score 1.5 cm (0.6 inches) from the bottom; this will help guide you when stitching the main fabric piece to the circle.
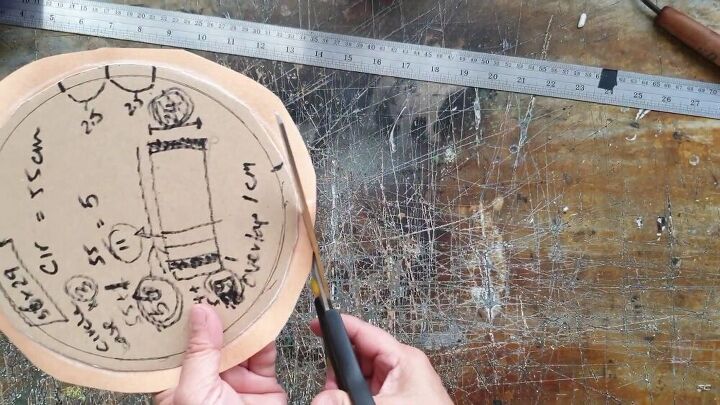
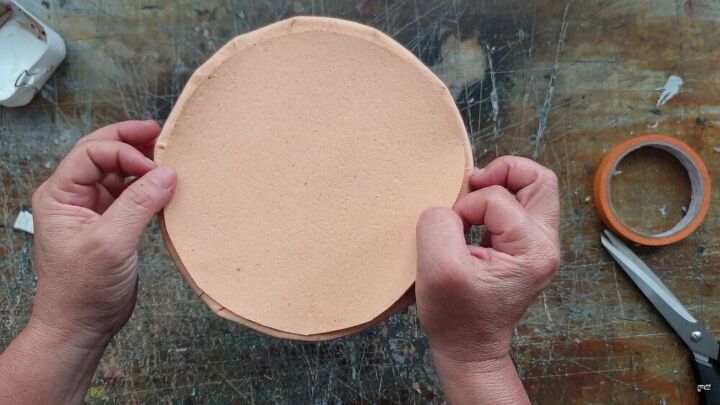
Cut out a circular piece for the bag's bottom and stick a piece of cardboard or plastic to make it sturdy. Cut around where needed.

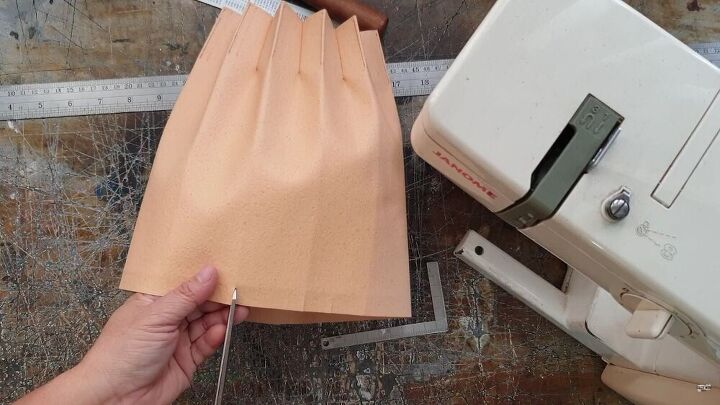
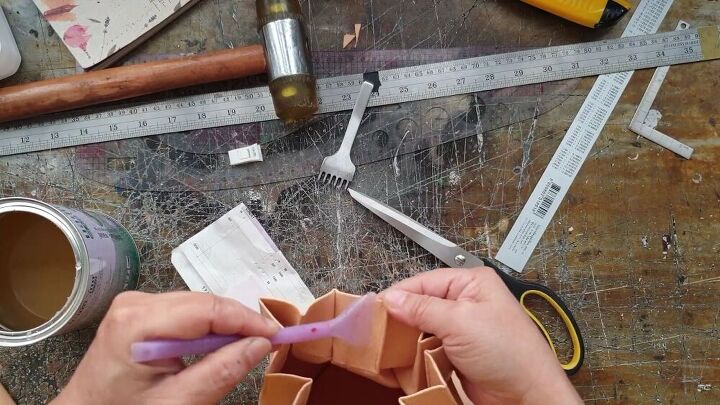
Sew the pleats
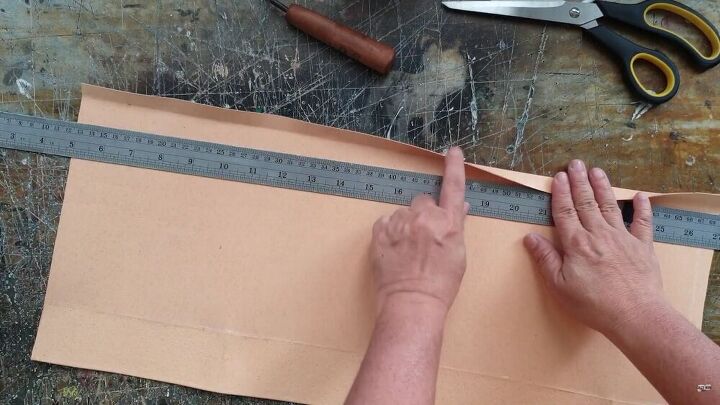
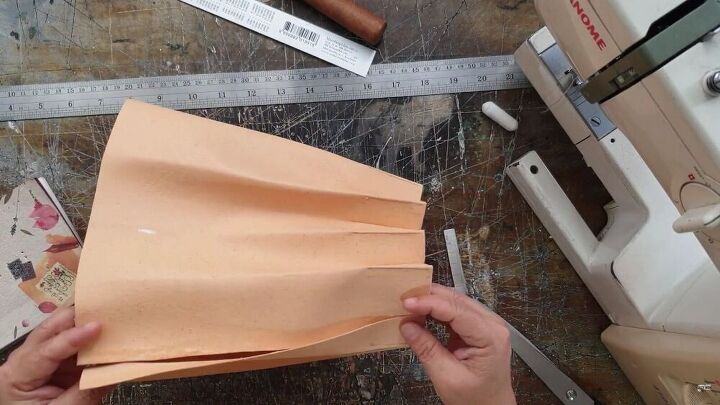
Fold the fabric in increments, with each fold measuring 2.5 cm (1 inch). Sew right on the fold of each pleat, as shown.
TIP-
Measure the pleats as you fold them; you will prevent any uneven pleats by doing this.
Before sewing the last pleat, glue the edges of each side. So, apply a generous amount of glue on the front part on one end and the backside of the other end.
Then, carefully glue the sides, making sure they are even and form a straight line when closed.
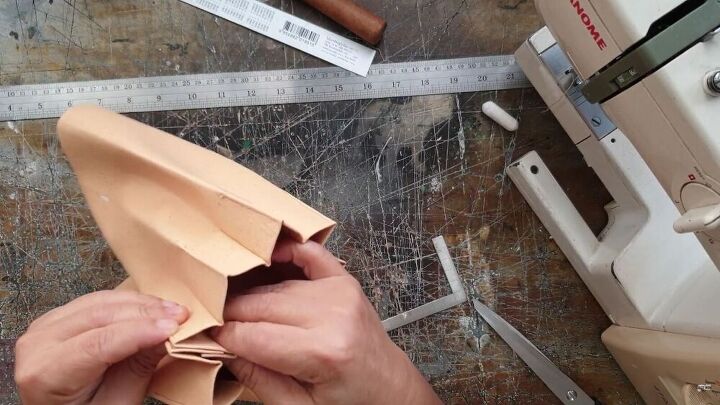
Now that the sides are glued together, you can sew the last pleat.
Attach the bottom
Snip around the bottom edge, as shown. This will help you glue the bottom edges easily.
Now, go ahead and start gluing the bottom. Start by gluing the cardboard, then gluing the fabric in segments. Be sure to take your time on this part, it can get tricky if you rush through the process.
Insert the circle 1.5 cm (0.6 inches) into the bag, and glue down the segments on the cardboard part that you also added glue. Check my video at 4:47 to see the process in action.
TIP-
If the glue is too wet, it won't stick, so be sure to lay an even amount of glue.
Make the handle
For me, the handle twisted and wasn't as sturdy as I wanted it to be. So I reinforced it with some plastic boning. Start by folding the strap as shown.
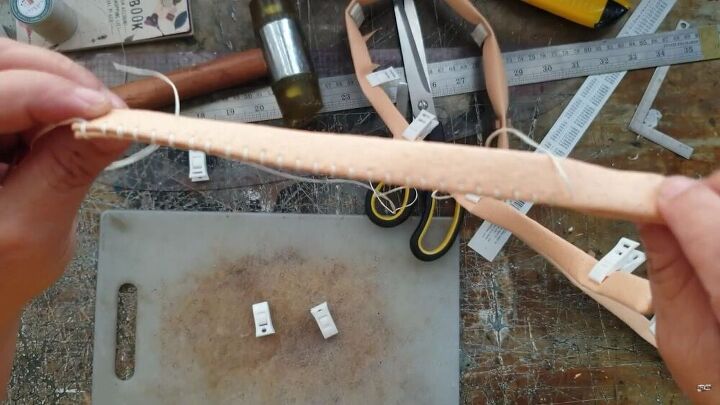
Then, stitch the edge by hand. Feel free to use whatever stitch style you desire.
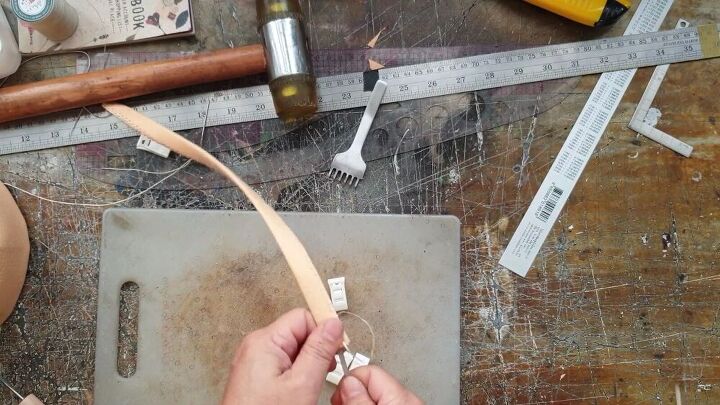
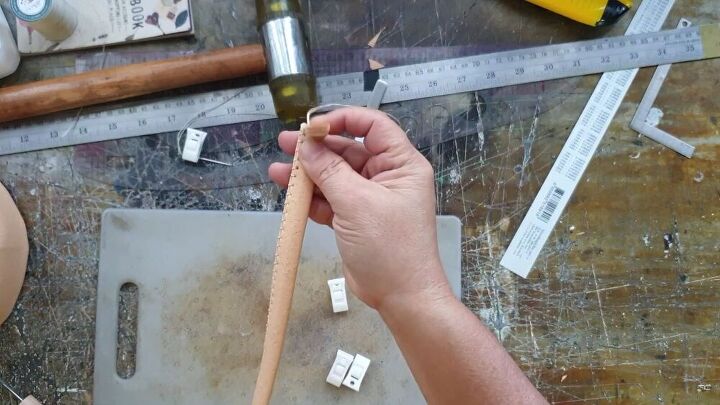
Now, insert the plastic boning and leave an inch on either side of the handle without boning so that you will be able to glue the sides onto the bag itself.
Spread some glue onto the handle and stick it onto the inside of the bag.
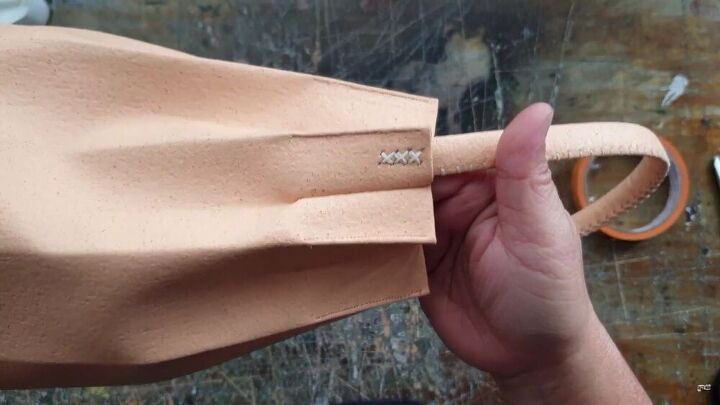
Punch some holes on the sides and finish them off with a lovely cross stitch.
Finish the bottom of the bucket bag
Now, turn your bag over; you'll notice the bottom still has cardboard. Simply cut another circle to size (from the same fabric) and glue it onto the cardboard.
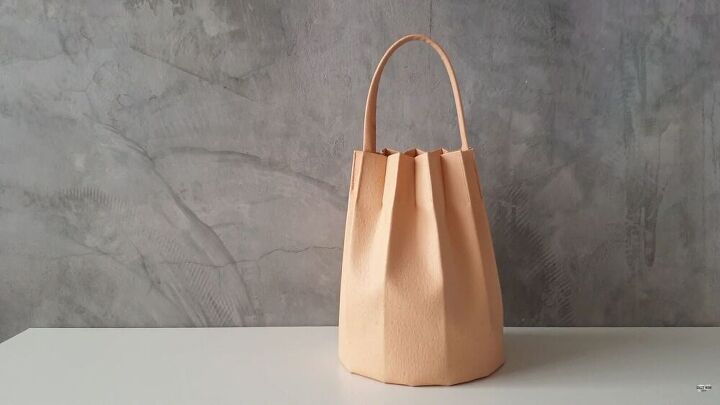
I hope you enjoyed this DIY bucket bag tutorial! Thanks for watching and good luck making your own easy bucket bag from scratch. It’s a fun and satisfying process, I promise!
The author may collect a small share of sales from the links on this page.


Comments
Join the conversation