Make a Fabulous Fabric-Covered Bracelet for Just $2

Do you have a fabric stash of scraps from all your previous DIY projects? Before throwing them out, why not consider doing another DIY project out of them? I’m going to show you how to make a fabric-covered bracelet using scrap fabric! You can get totally creative with this easy fabric-covered bracelet tutorial. Keep on scrolling for some great fabric-covered bracelet inspiration!
Tools and materials:
- Scrap fabric
- Fabric mod podge
- Bangle bracelets
- Scissors
- Ribbon
- Iron
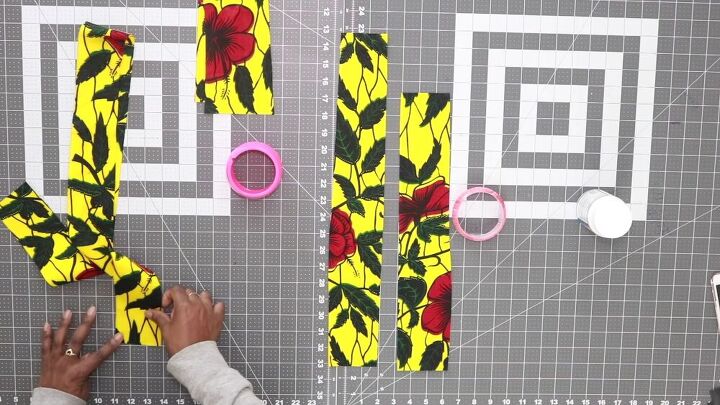
Cut your scrap fabric
Cut your strips as long as possible. The one I have measures around 45 inches in length and 3 inches wide. I cut this strap for my thicker, 3-inch bracelet. If you have a thinner bracelet, go ahead and cut the width accordingly. I didn’t have enough fabric to cut a long strip for the 1-inch fabric, so as you can see, I have two pieces.
TIP-
Leave some backup fabric aside in case you need it.

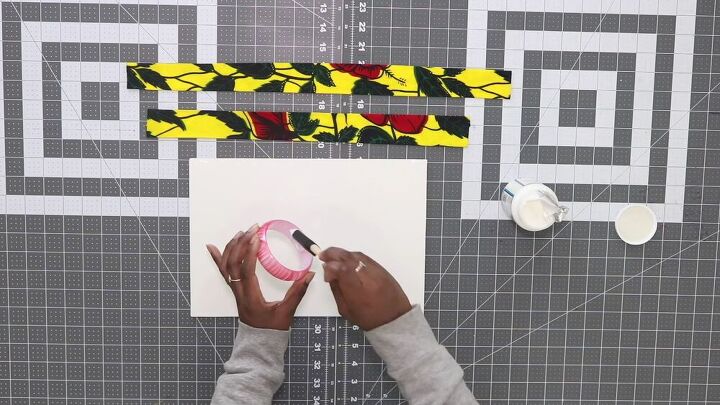
Prep the fabric
Take your strip and fold the edges inwards, as shown. Then with an iron, press the folds so that you have clean edges before continuing to the next step.
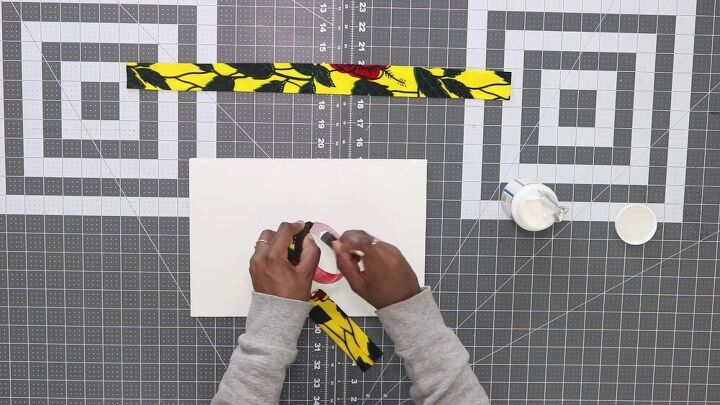
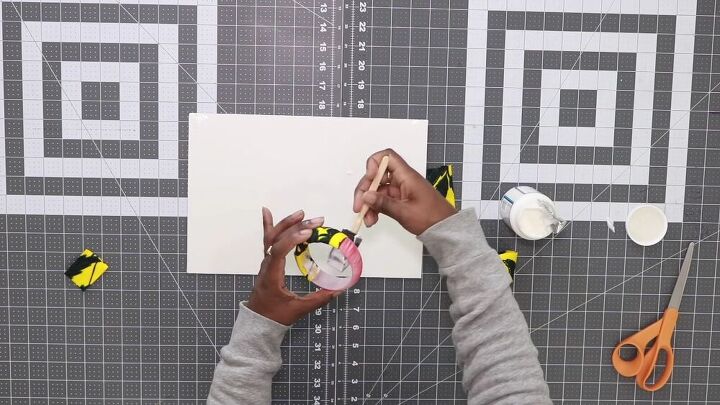
Glue the fabric
Take a generous amount of fabric mod podge and place it on the inside of the bracelet. Don’t add the mod podge all the way around, do this in increments.
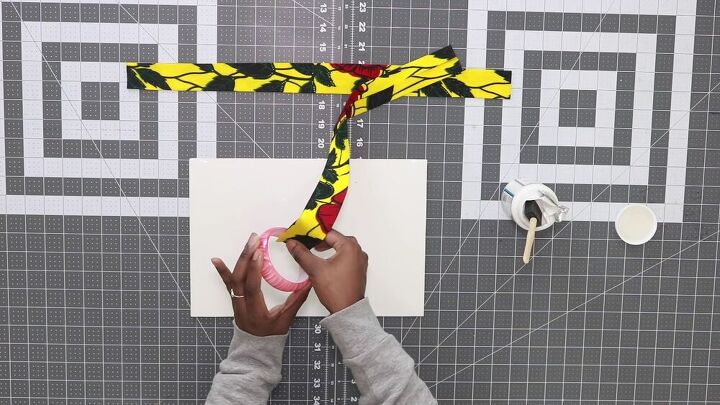
Then stick the edge of the fabric down on the portion of glue.
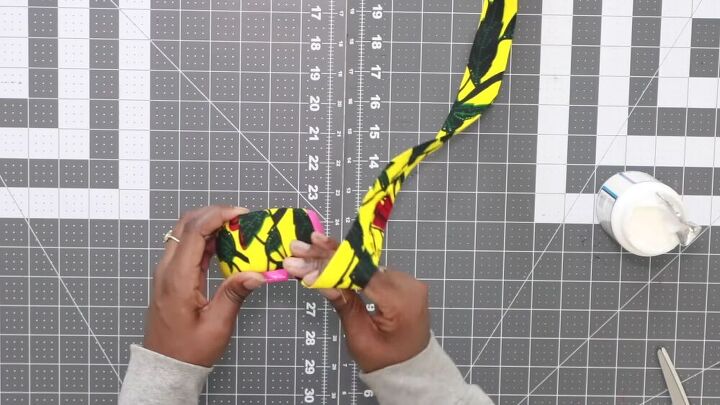
Then, pull the fabric and loop it over the bracelet. Make sure it’s a tight loop.
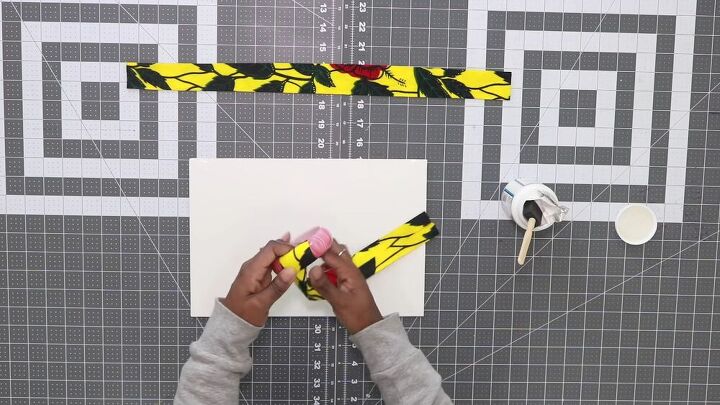
Repeat the process. Apply more glue to the inside and wrap again.
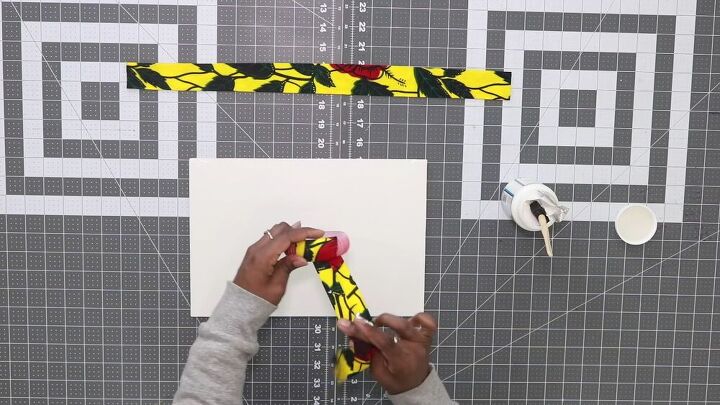
While wrapping, make sure to wrap the fabric at an angle.
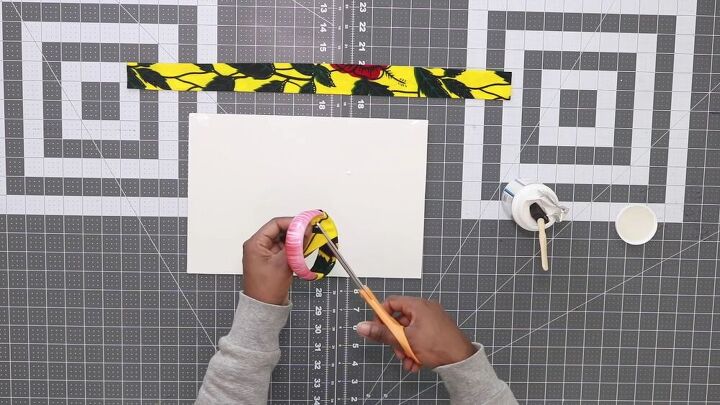
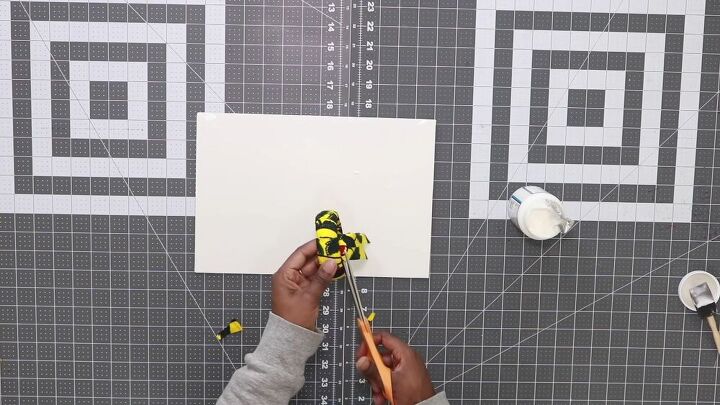
Ok, so when you get to the end of the strip, go ahead and cut the excess fabric so that the end of the strip is located inside the DIY fabric-covered bracelet.
Then, open up the flat, apply the fabric mod podge and press the end of the strip down.
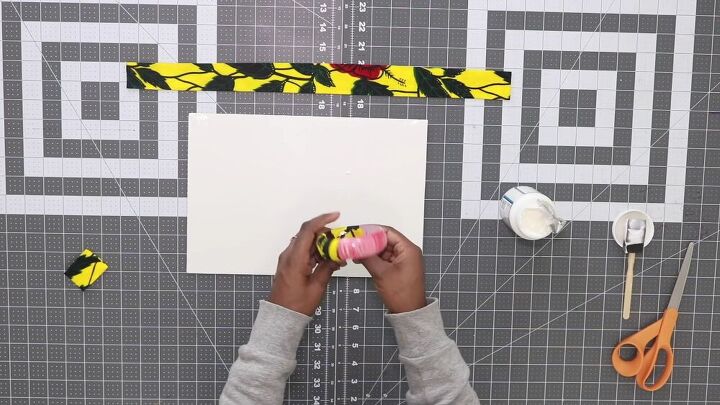
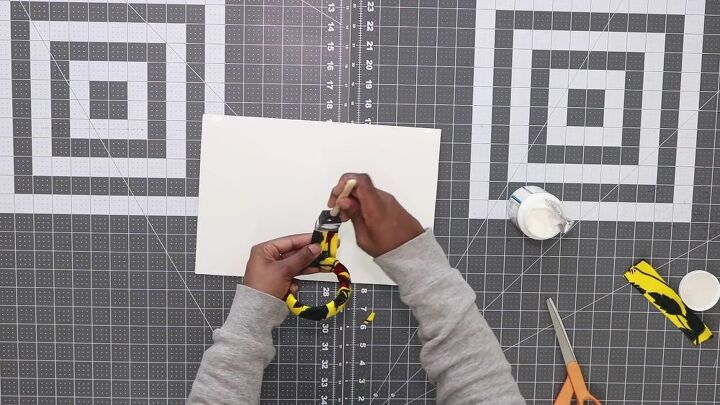
To start the new strip, add some glue to the endpoint as shown and proceed to wrap the rest of the strip around the bracelet.
Here’s a close-up of how to do the wrapping technique. Each wrap is at an angle; so that it maximizes the space.
Once you get to the end, cut off any excess.
Before you apply glue, conceal the raw edge of the strip by gluing the fold in. Then, like the first strip, glue the end on the inside of the bracelet.
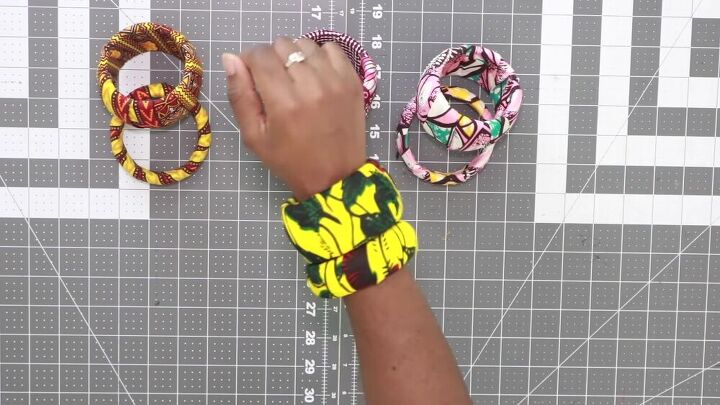
That’s it! The fabric-covered bracelet tutorial is complete! Wasn’t that super quick? You can create a whole bunch of these stunning DIY fabric-covered bracelets in no time! If you want to grow your accessory collection or make some gifts, this easy fabric-covered bracelet is the perfect solution.
The author may collect a small share of sales from the links on this page.


Comments
Join the conversation