Beginner Friendly Summer Ruffle Hem Dress

This easy ruffle hem dress is the perfect summer outfit. It is pretty, girly, and easy. I love wearing mine on summer nights and know you will too!
Tools and materials:
- Fabric
- Measuring tape
- Tailor’s chalk
- Facing
- Scissors
- Pins
- Sewing machine
Mark your measurements
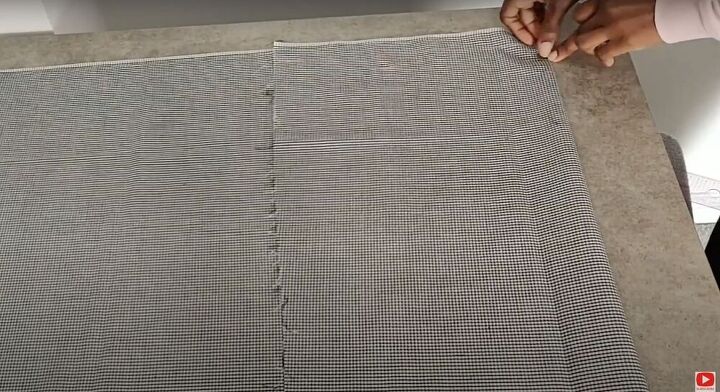
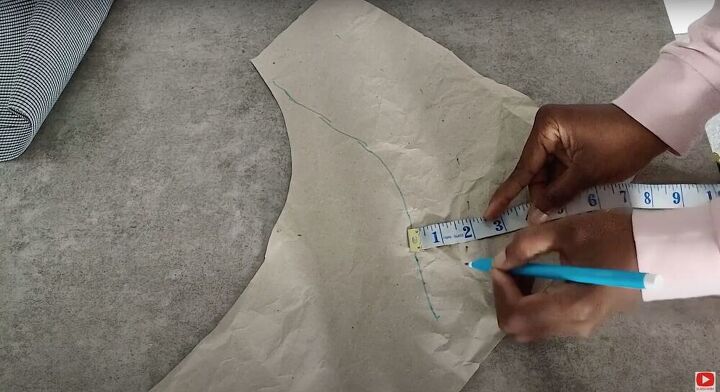
The first step is to cut out your fabric. The width should be your waist measurement plus three inches. Once your fabric is cut out, fold it, mark an inch from the top and draw a lion across the entire thing. Next, mark your shoulder measurement on the line and add an inch down (from the shoulder measurement) for the shoulder slant. On your folded edge mark the neck measurements; mine came out to be two inches down on the front and one inch on the back (as pictured above). Finally, finish your neck by marking the width - mine was 3.5 inches. Connect the shoulder and neck markings and freehand the curves of the neck to finish. (For clarity, watch the first couple minutes of the video).
Cut out your fabric
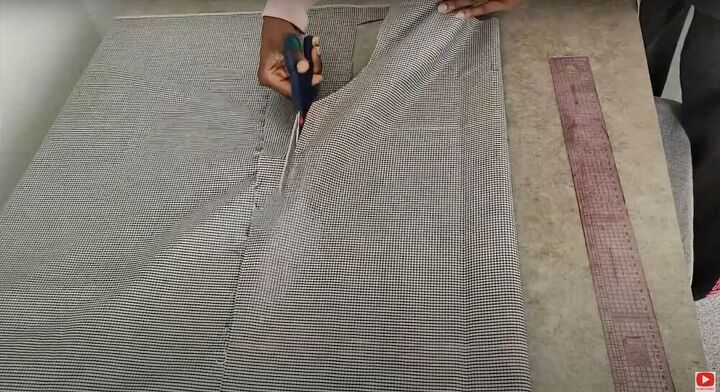
Mark the length of your dress by laying the measuring tape flat across the folded fabric and tracing a line. Next, mark your armhole measurement starting from the shoulder slant. My measurement comes to eight inches and I am squaring off the area. Mark your bust measurement on the armhole line (add an inch or two for a looser fit). Draw from the end of the bust line to the bottom of the dress and finish by drawing your underarm curve. To do that, find the midpoint of your armhole measurement and draw out your underarm curve. Add seam allowance and cut out your fabric. Once it’s cut, place it over the fabric and cut out the back piece using the front piece as a template. Finish by cutting out the necklines.
Cut out your sleeve
Grab paper to draft your sleeve pattern and follow the video from 4:00.
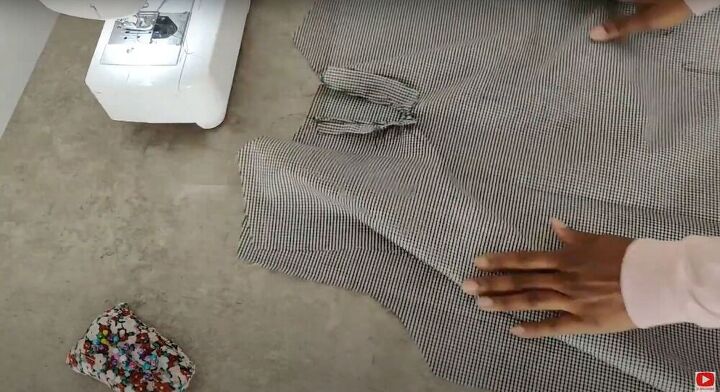
Connect the front and back
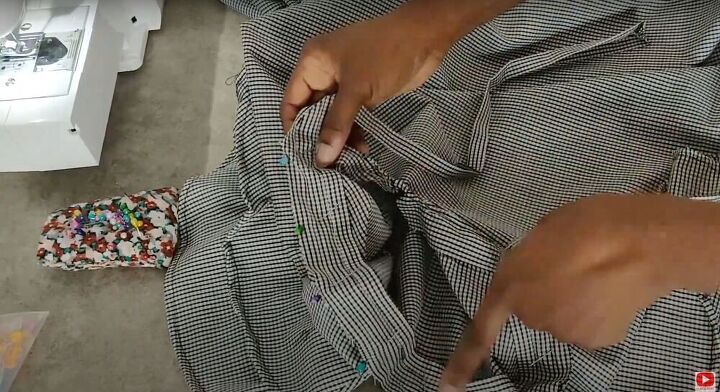
For the ruffle, grab two identical pieces of fabric that are 10x60 inches. Mark 3-4 inches down on your bodice and about half an inch by the neckline. Draw a line connecting the two points and cut (diagonally). Add facing to the opening and sew. Place your front and back pieces together, right sides touching, and align the shoulders. Pin and sew.
Make the sleeves
If you did NOT cut your sleeves on the fold, pin them together and sew so that you end up with four sleeve pieces. Hem the end that you are not attaching to the bodice. Lay the smaller piece over the bigger piece (aligning the raw edges), clip, and sew. Next, pin the sleeves to the bodice and mark two inches from the end of the armhole on the bodice (keep those two inches unclipped). Fold the sleeve over so its right side is touching the right side of the bodice and then sew.
Make your ruffle
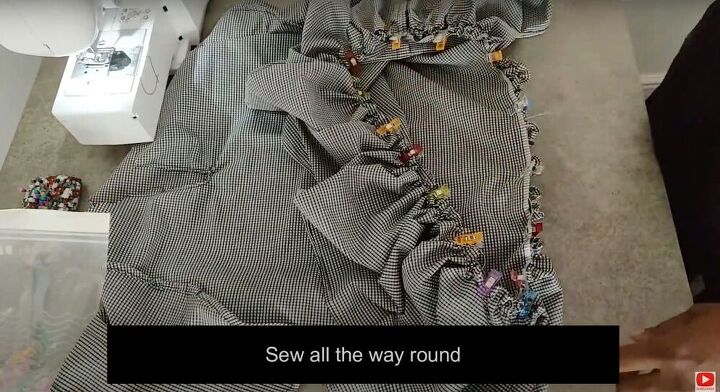
Pin the side seams of the bodice and sew. Next, join the two ruffle pieces by placing them together, pinning, and then sewing. Hem one end of the ruffle and sew a gathering stitch on the other. Grab onto the edges of the gathering stitch and pull to gather. Place the top into the ruffle (upside down and right sides touching) and pin. Once you’ve pinned (aligning the seams) sew all the way around the ruffle, connecting it to the top.
Add bias tape
To finish the neckline, make a bias binding (folding the fabric inwards on either side and then in half - the long end - so there are no raw edges). Make sure your binding is long enough to cover the neckline and serve as a necktie. Sandwich the binding around the fabric of the neckline (starting by pinning the back center and working your way outwards) until you have covered all the raw edges of the neckline. Once there are no more raw edges, sew. To secure the short edge, fold it upwards and then inwards and sew it down. Sew the bias tape starting with one tip and ending at the other.
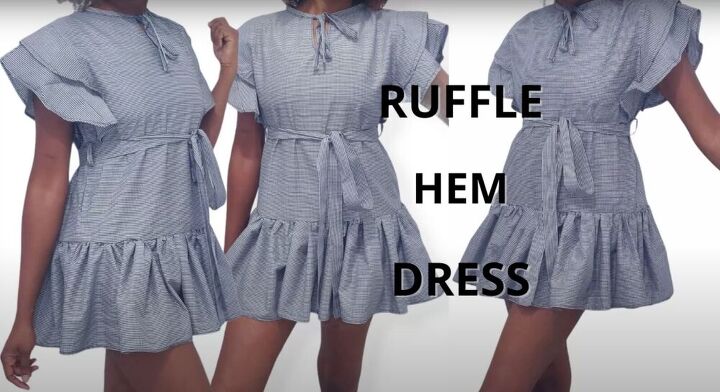
This DIY ruffle hem dress is a super great tutorial for beginners. Not only is it simple to follow, but the end result is definitely something worth working for. I’m really happy with how mine turned out and can’t wait to see what types of summer creations you all came up with!
The author may collect a small share of sales from the links on this page.


Comments
Join the conversation