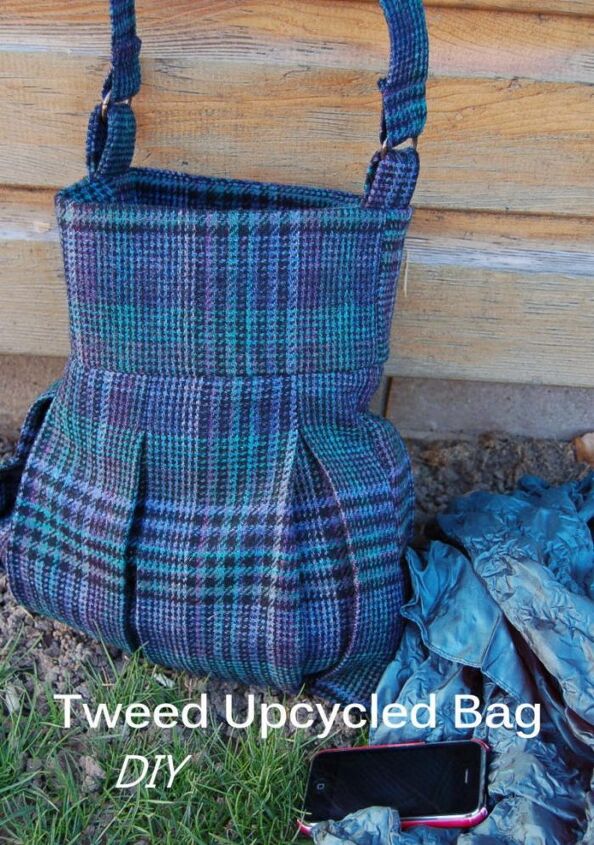
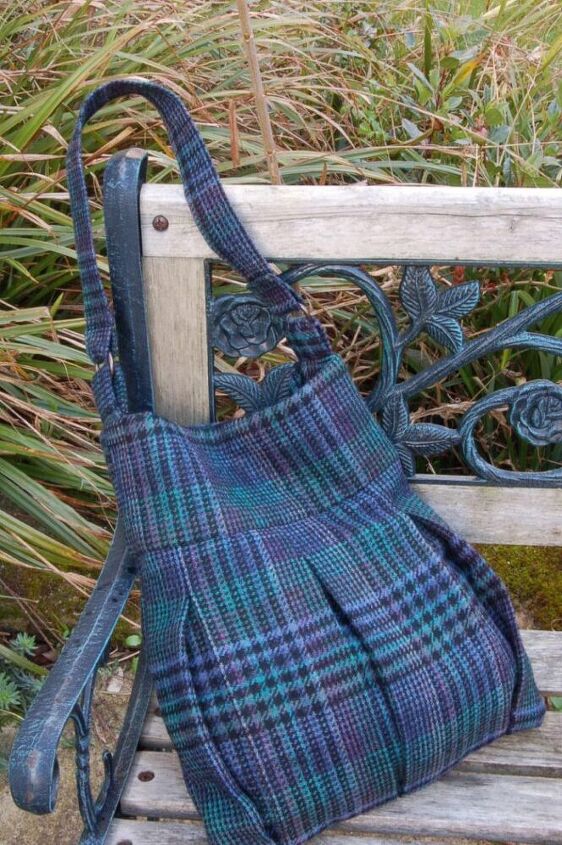
Skirt Upcycled Into a Tweed Bag
Introducing this weeks Quick Mid Week Upcycled Make, woollen tweed bag.
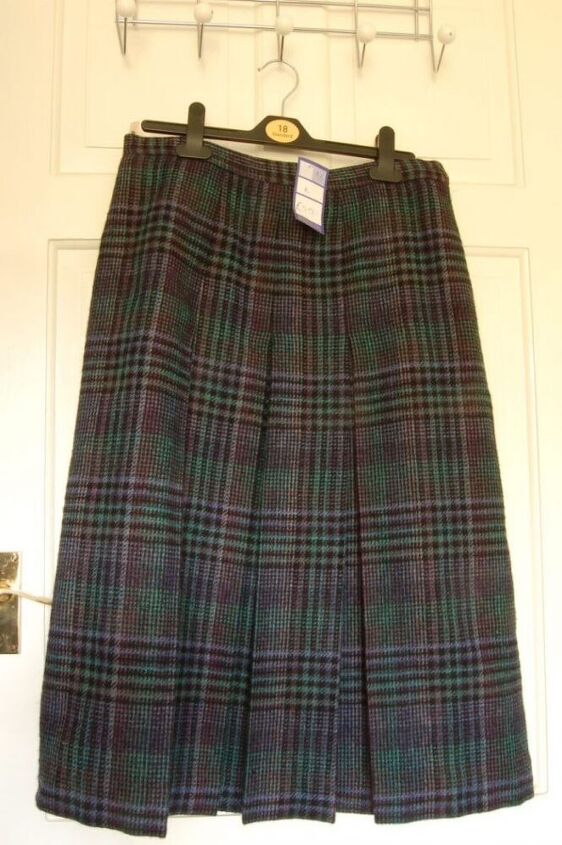
This weeks quick mid week make transforms a tweed pleated woollen skirt into a stylish recycled bag.
You will need:
- Skirt
- Lining (I used an old shirt)
- Scissors
- Tape messure
- Heavy weight iron on interfacing
- Thread
- Sewing machine
- Magnetic snapper
Optional:
- Zip
- Rings for handle
To make:
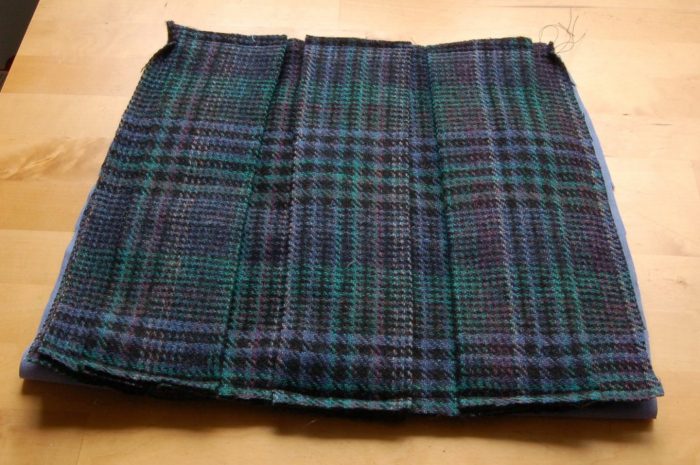
Cut out main body of the bag, taking into consideration the placement of the pleats. This bag has a pleat in the centre of the bag. The piece measures 12″ across the top & bottom (when pleats are neatly folded in), and 14″ down. Use the grain of the tweed to guide you.
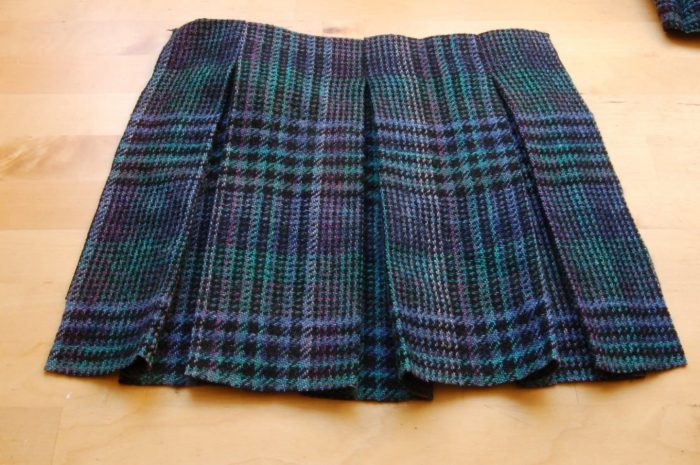
Cut an identical piece from the back of the fabric, this will enable you to line up the pleat folds on the bottom of the bag.
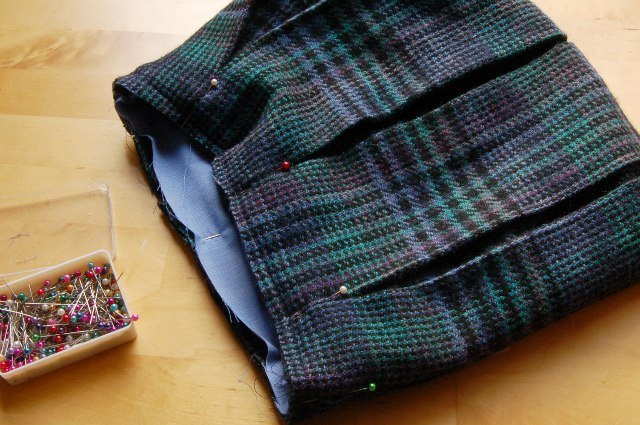
Baste stitch the top of the front and back, this keeps the pleats neat and easy to work with.
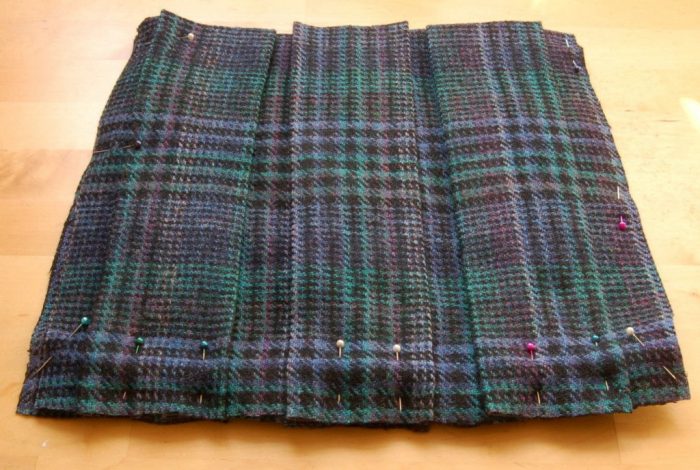
Pin the right sides together. Take care to ensure your pleats are folded neatly and match at the base of the bag. Stitch together the sides and bottom
Use this as your pattern for cutting out your lining, ensure to add in seam allowance. Insert any internal pocket you would like. Sew up the sides and bottom of your lining.
Turn the main body of the bag right side out, and insert the lining wrong sides together. Pin into place. Place aside.
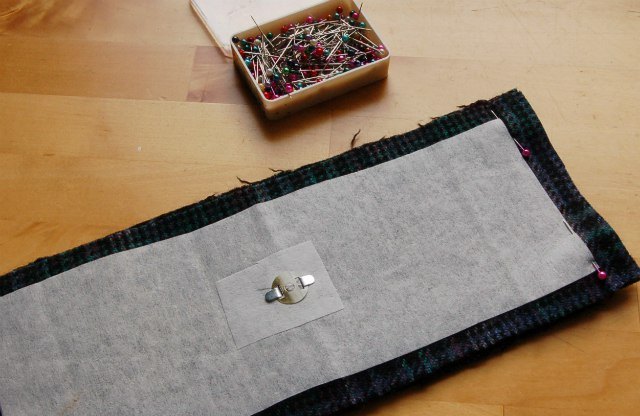
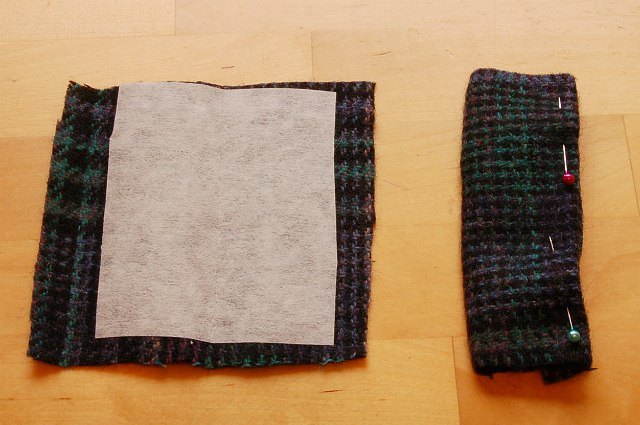
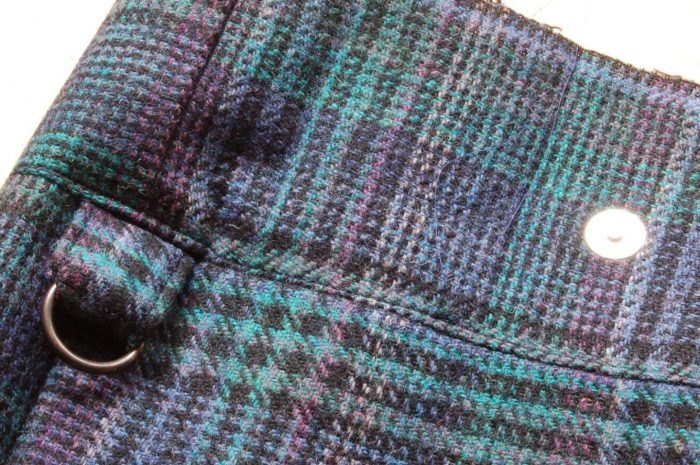
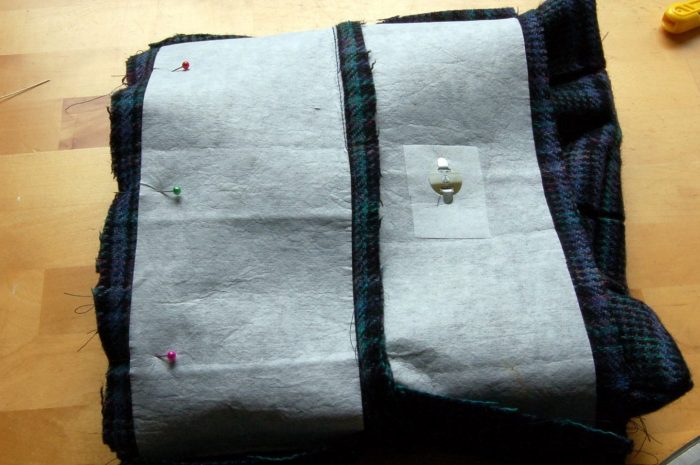
Next cut out four pieces of the skirt to make the band, and four pieces of interfacing. The main fabric to measure 13″ by 5″, the interfacing 11″ by 4″. Iron on the interfacing. mark the centre on two of the pieces and insert magnetic snapper. You can see I added additional interfacing at this point for extra strength. Stitch the sides of the internal band together, and the sides of the front of the band together (with half an inch seam allowance)
To make the strap. Cut out two pieces of the main fabric 6″ by 5″ and a piece 25″ by 5″. Cut out tw0 pieces of interfacing 6 by 4″ and one piece 25″ by 4″. Iron on. Fold each piece in half and turn in seams. Stitch down both sides of the straps.
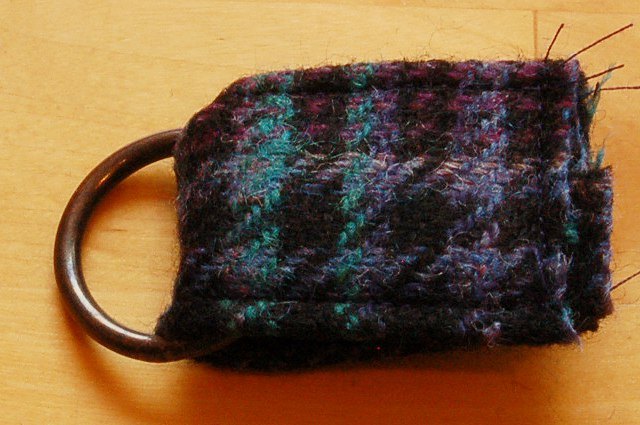
For your two smaller pieces pass through rings and stitch the ends together.
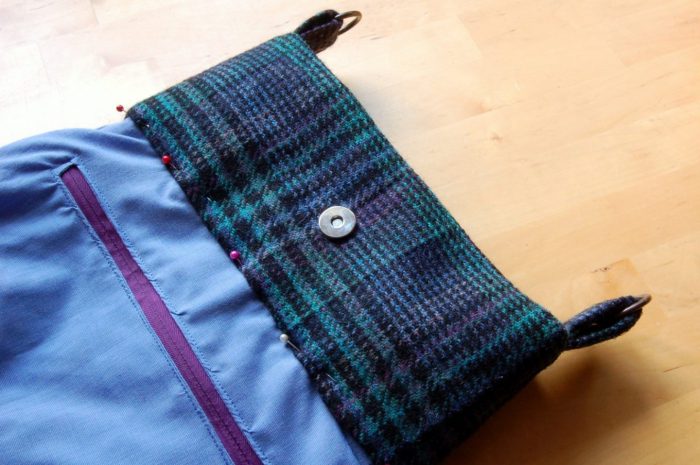
Pin the rights sides of the bands together. Insert the base of your straps at the seams. Stitch together. Double stitch where your strap joins the bag. This is a high stress point in the bag. When turned out to the right side it looks like this:
Top stitch the top of your band. If your sewing machine does not cope with the thickness of the fabric I suggest you understitch, as shown. This is a row of neat stitching just on the inside of the inside of the band, which captures all the internal fabric from the seams.
Pin the right side of the band to the right side of the bag. Ensure your external band is next to the top of the bag as shown, this ensures your magnetic snapper ends up inside the bag! Stitch through the three layers, lining, bag and band.
Turn over the band and pin into place. Hand slip stitch into place, and then machine stitch from the outside of the bag following the band round the bag. Hand stitching is not strong enough to hold over any length of time but holds the fabric into places whilst you machine stitch round.
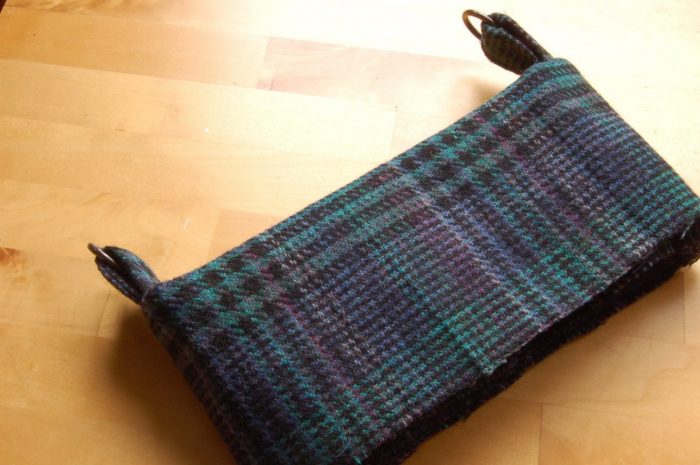
Finally add the main strap, threading through the rings, doubling up and stitching across several times. One finished bag:)
The author may collect a small share of sales from the links on this page.


Comments
Join the conversation
That is just so cute and a flash back to my uniform wearing Catholic school days. 🍁
Love it!