This Cute DIY Crop Top and Skirt Set Was an Enormous Shirt

If you want to find out how I made this adorable DIY crop top with a skirt to match, keep reading!
I found an oversized button-down shirt at the thrift store for only three dollars, and I wanted to make a summer outfit out of it. I decided to turn it into a matching crop top and skirt, and I’m so happy with how it came out.
Tools and materials:
- Oversized button-down shirt
- Wide elastic band
- Elastic thread
- Scissors
- Seam ripper
- Pins
- Fabric pen
- Serger
- Sewing machine
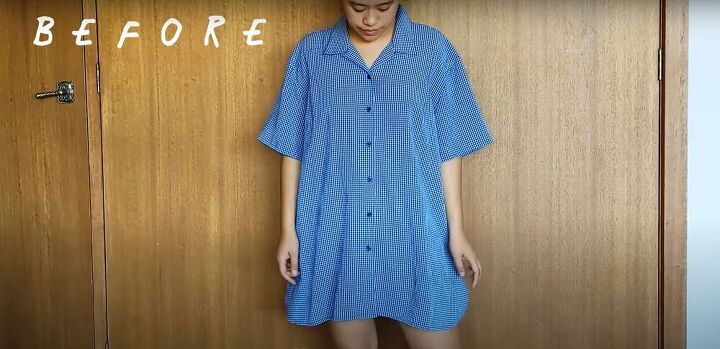
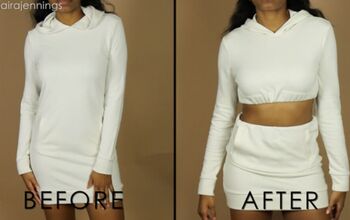
This is what the enormous button-down shirt looked like before I decided to thrift flip it into a DIY crop top and skirt.
1. Cut off the sleeves
First, I cut the sleeves off the button-down shirt.
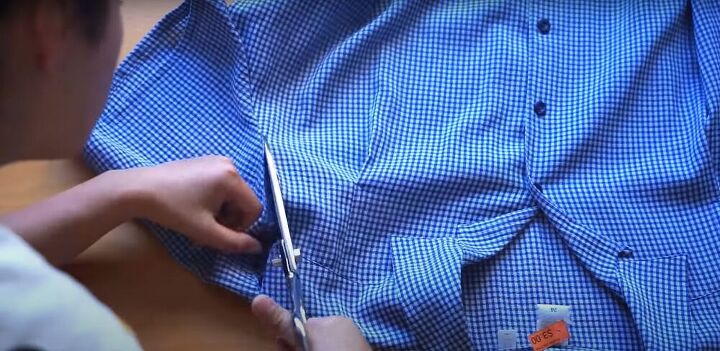
2. Measure and mark
Next, I drew a pentagon shape on one of the sleeves, which will be half of the front bodice.
To ensure the crop top fits your body, measure from above your bust to directly below it. This is how big the pentagon needs to be. Don't forget to leave space for seam allowance.
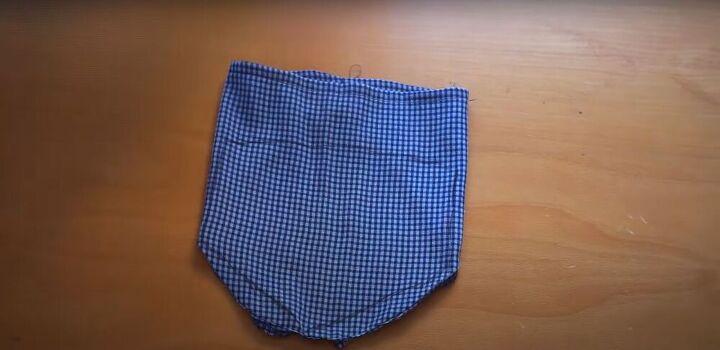
3. Cut the second pentagon
I cut out my pentagon and used it as a guide to cut a symmetrical shape from the fabric of the second sleeve.
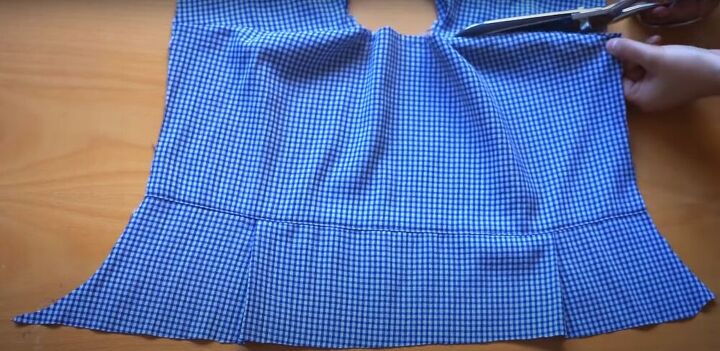
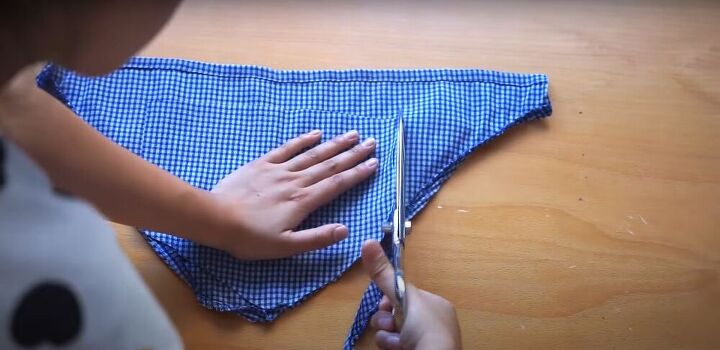
4. Cut across the shoulders
Next, I flipped the shirt open and cut across the shoulder seams.
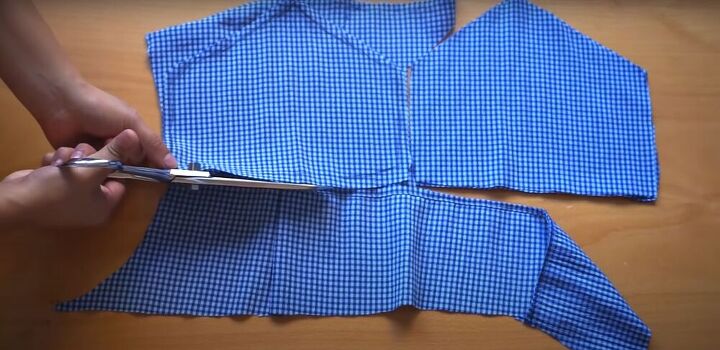
I used the yoke of the shirt to cut two more pentagon shapes.
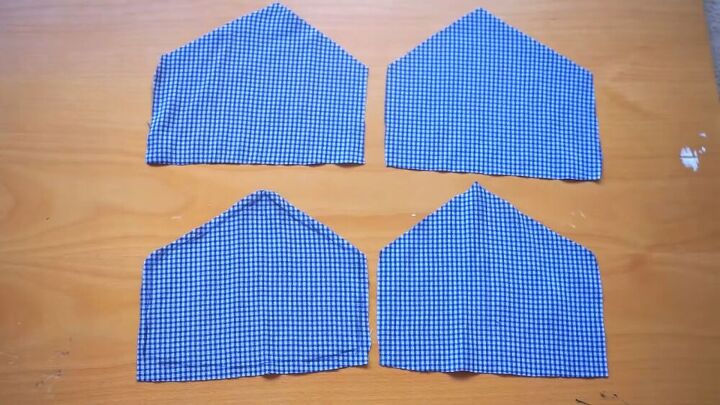
Once I was done, I had four identical pieces. Two will make up the front bodice, and two will be the lining of the front bodice.
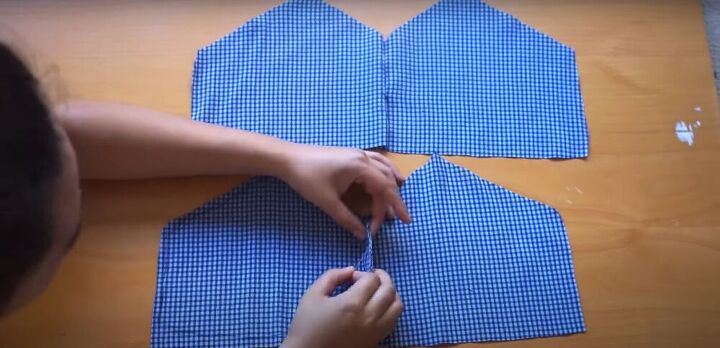
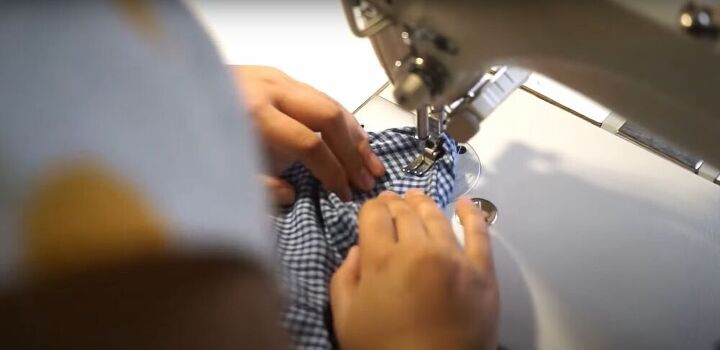
5. Pin and sew
I pinned and sewed the center seams on both the front bodice pieces, as well as the lining pieces.
6. Cut out the back of the crop top
Next, I used the remainder of the back yoke of the shirt to cut a rectangle that will become the back panel of my crop top.
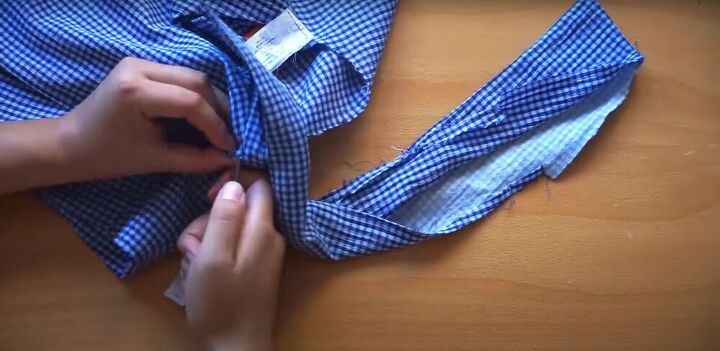
7. Remove collar
After that, I removed the collar of the shirt by picking out the seam with a seam ripper. This part of the shirt will be used to make the bow detail on the front of the crop top.
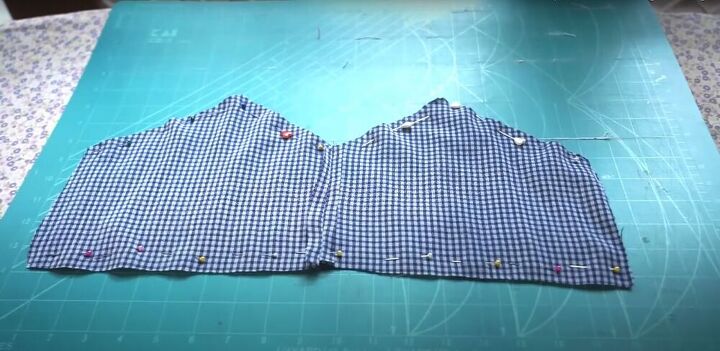
8. Pin and sew
I pinned and sewed the front bodice and lining together at the top and bottom edges, leaving the sides open.
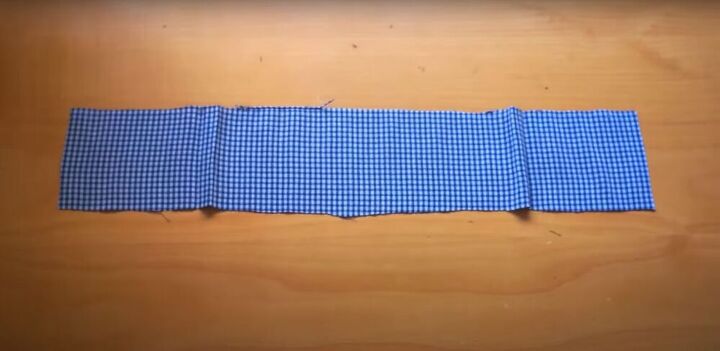
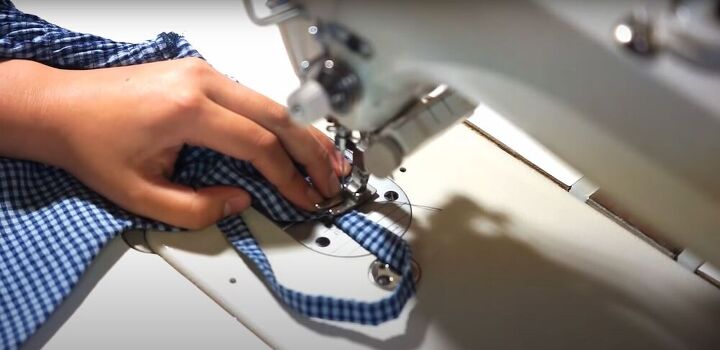
9. Sew the collar
Now that the collar has been opened up to make a larger strip of material, I sewed down its open edges.
10. Backstitch
Then, I backstitched along the seams on the lining side of the fabric.
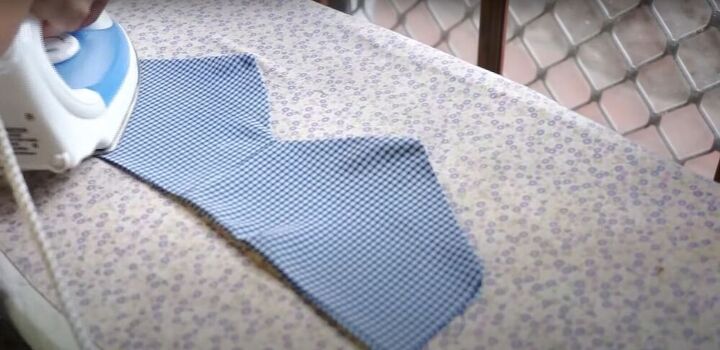
11. Iron the bodice
Once I was done sewing the bodice, I ironed it flat.
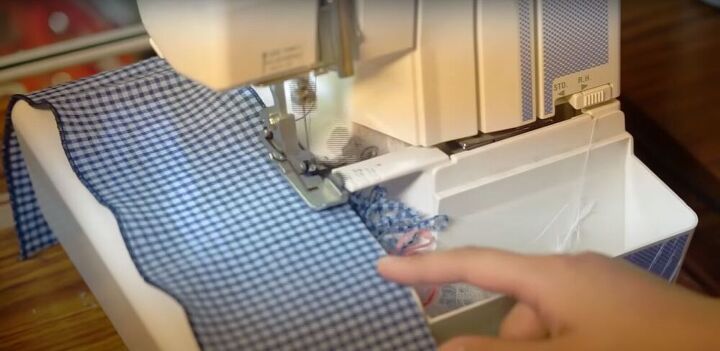
12. Overlock
Next, I overlocked all the edges of the back panel of the top.
13. Sew the front and back together
Then, I sewed the front bodice and back panel together at the sides.
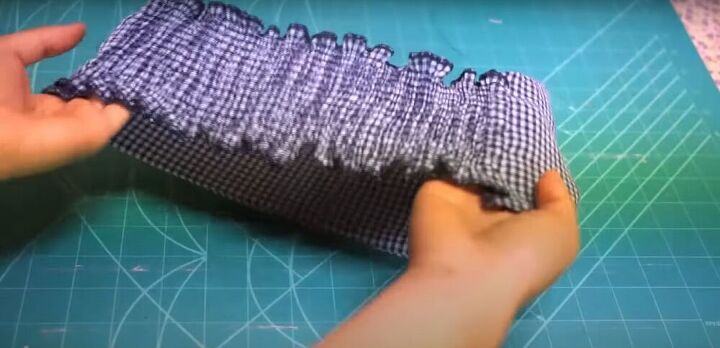
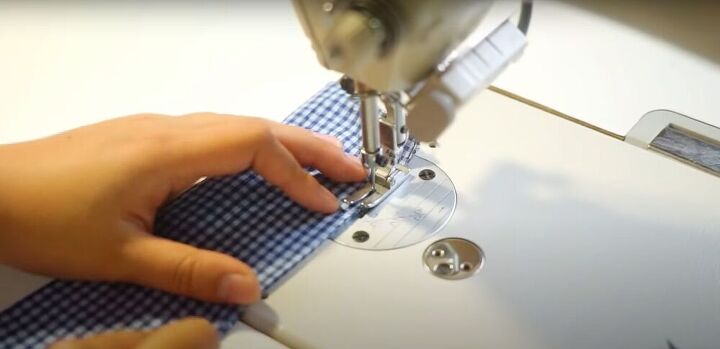
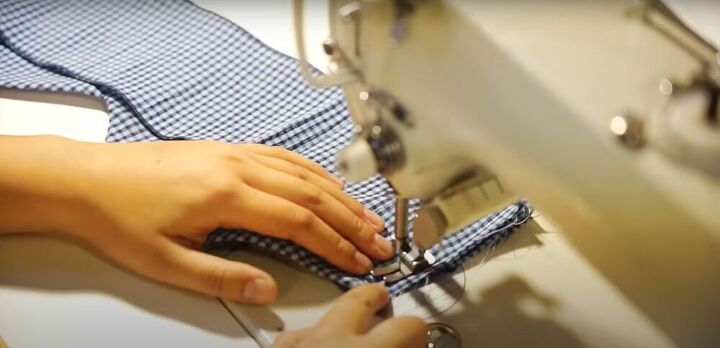
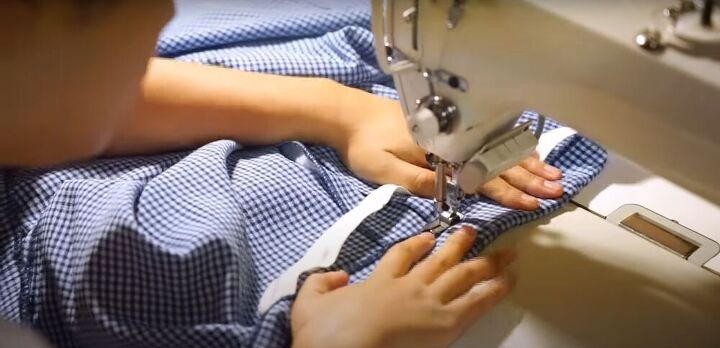
14. Create shirring
To create shirring on the back panel, I sewed multiple horizontal lines of stitching using elastic thread in the bobbin of my sewing machine. The lines are about a centimeter (0.4 inches) apart.
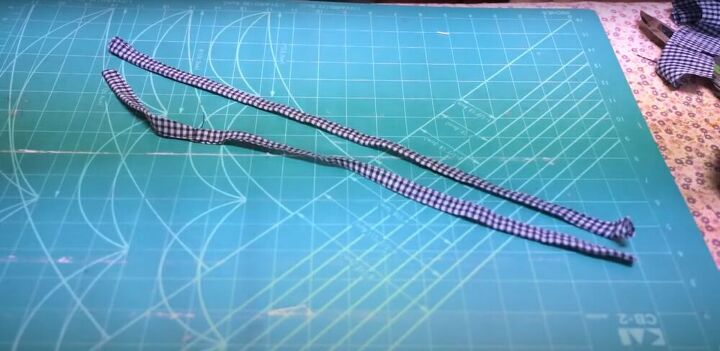
14. Cut the hems off the sleeves
I cut the hems off what was left of the sleeves to use as straps for my DIY crop top. This saved me from having to finish the edges of the straps.
15. Sew on the straps
I sewed the straps onto the front and back of the crop top.
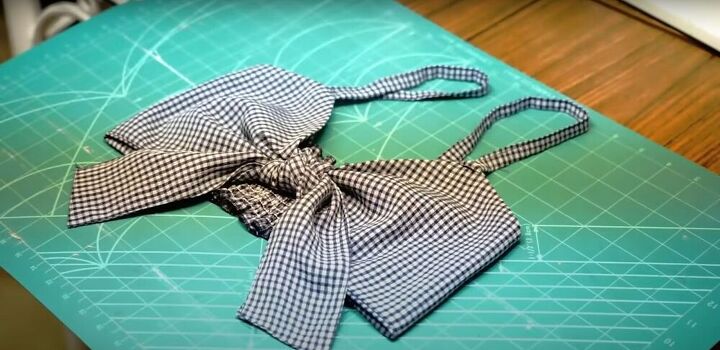
16. Use the shirt collar to make a bow
I used the collar piece to tie around the center of the front bodice to create a bow.
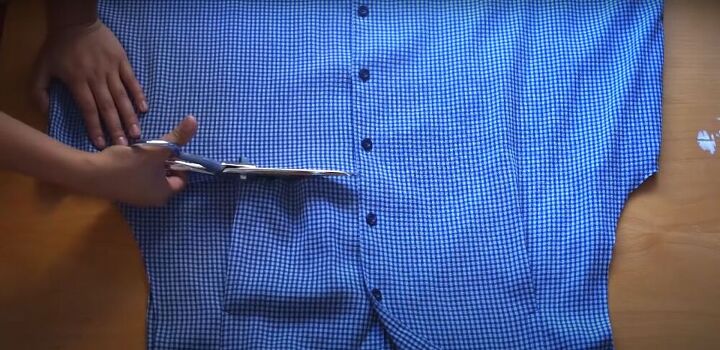
17. Cut out the skirt
To create the skirt, I cut across what was left of the shirt, starting right under the armholes.

18. Cut and sew a band of elastic
I cut a piece of an elastic band that fit comfortably around my waist and sewed the ends of it together.
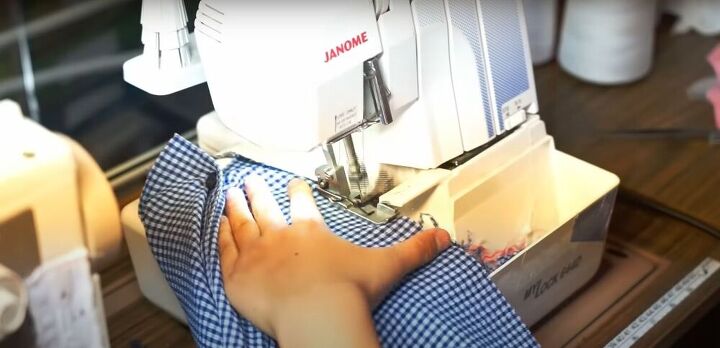
19. Overlock the top edge
I overlocked the edge that I cut on the shirt, which will become the top edge of my skirt.
20. Sew the waistband
I folded the top edge of the skirt over the elastic band and sewed it down to create a tunnel for the elastic. If any of the buttons of the shirt are in the way, make sure to remove them first before sewing.
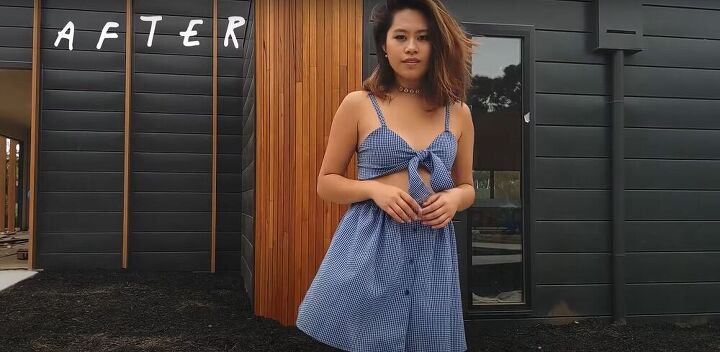
Once the waistband was complete, my matching crop top and skirt DIY outfit was ready to go!
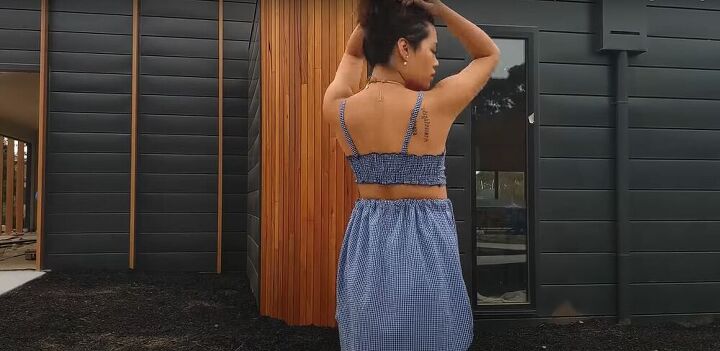
This is what the outfit looks like from the back.

What do you think of this thrift flip? If you use this tutorial to sew a DIY crop top and skirt set of your own, I’d love to see your results.
The author may collect a small share of sales from the links on this page.


Comments
Join the conversation
This is SO cute! You did an AWESOME job and it looks great on you! I'm sure you're a far better seamstress than I am, though. Thanks for sharing!
Adorable outfit! You are a very creative and talented seamstress . . . and your instructions are clear and logical. Great work!