Follow This Manicure DIY Tutorial For Amazing, Salon-Quality Nails

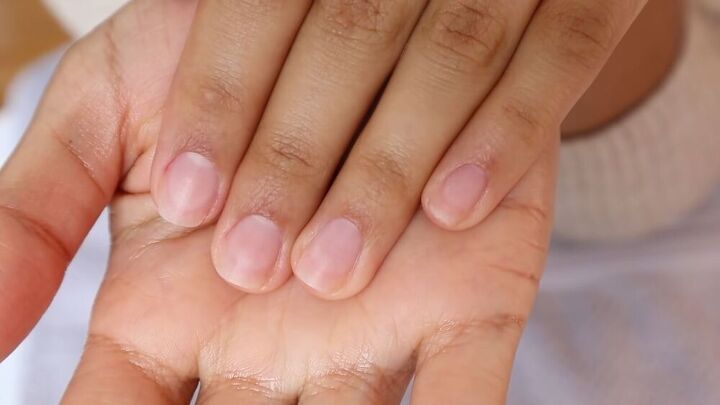
My nails don't look awful, but they definitely need a little bit of love; they need to be taken care of. In this manicure DIY tutorial, I'm going to show you how to manicure your nails to get a salon finish. Grab your tools, and let's begin!
Tools and materials:
- Nail polish remover or acetone
- Cotton ball
- Nail file
- Cuticle pusher
- Base coat
- Nail polish
- Top coat
- Optional: cuticle clippers
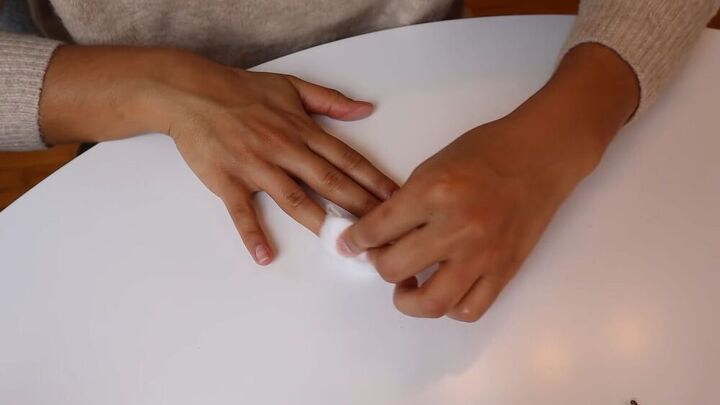
1. Clean your nails
The first step is to clean your nails using a cotton ball and your nail polish remover or acetone - either one is fine to use. You want to make sure that you get rid of every single trace of any product that you may have on your nails.
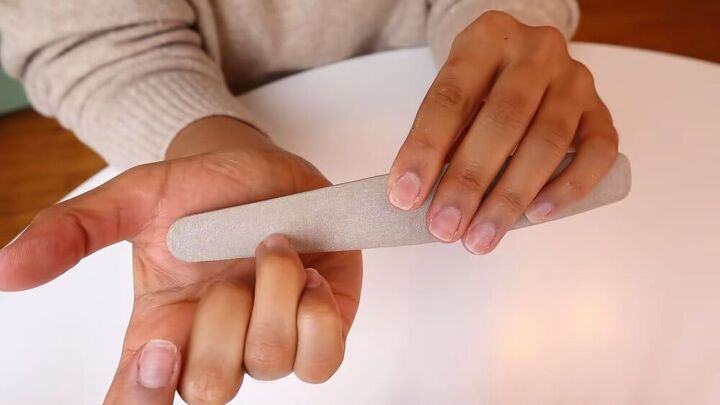
2. Trim or file
Once you’re done cleaning your nails, you can trim them, or file them if you like the length you already have.
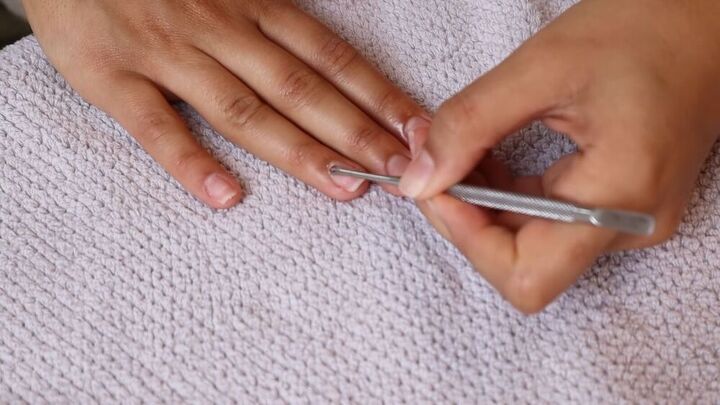
3. Push your cuticles back
Then, you want to push your cuticles back with the cuticle pusher.
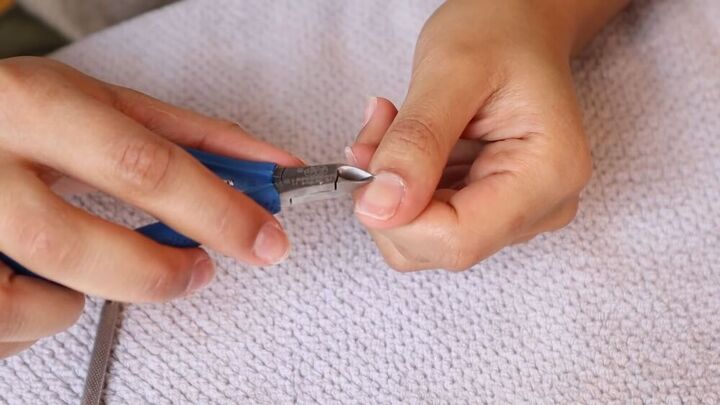
4. Trim your cuticles
Once done, this next step is completely optional, but I’m going to go ahead and trim away all of the excess skin around the cuticle that is sitting on my nail that I’ve pushed back.
If you don’t feel comfortable doing this, you can always use a little bit of cuticle oil or coconut oil to moisturize your cuticles, then push them back instead of trimming them away.
5. Check and wash
After trimming, look over your nails and make sure that you have the exact shape that you want. Here, you can touch up anything that you’re not happy with. Proceed to wash your hands to get rid of all of the debris. Now they are nice and clean, and ready to be painted!
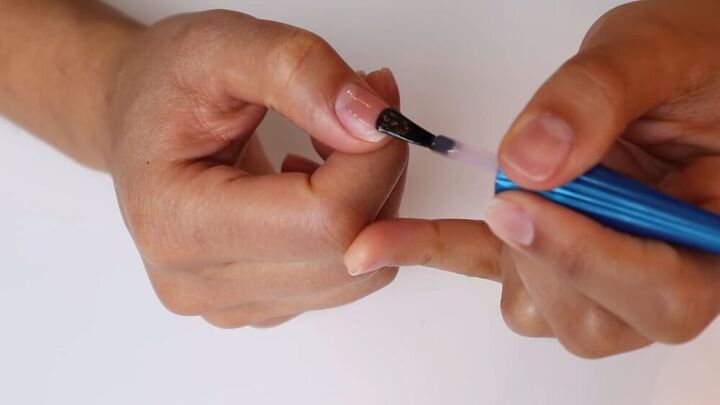
6. Apply the base coat
Now you’re going to grab your base coat. The technique that I’m using to apply the base coat is the same one that I’m going to use throughout the entire nail painting process.
I don’t like to work with thick layers, I like to work with super-thin, multiple layers - I just think that gives a better finish. So you’re going to go ahead and apply the base coat to every single nail.
When you’ve finished applying the base coat, let it sit for a couple of minutes to dry. This is something that you’re going to do for each one of your layers.
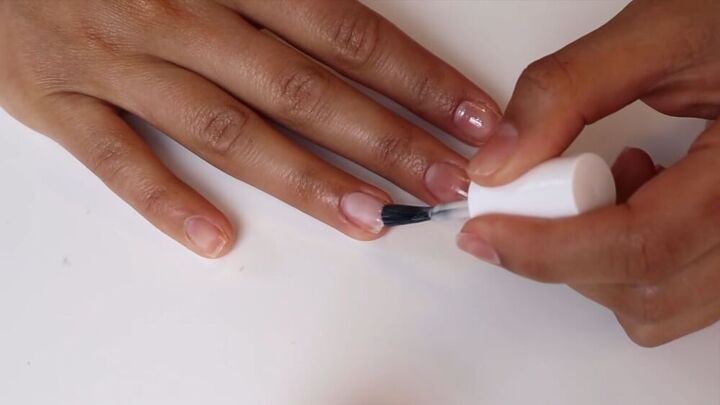
7. Apply the first coat of nail polish
Go ahead and apply the nail polish using very thin layers. For the very first coat, it doesn’t need to be super perfect. It’s not going to look beautiful right away; it’s something you’re going to have to build upon. If you make a mistake, you can fix it with the cuticle pusher.
8. Apply the second coat
When your first coat is dry, you can begin to apply the second coat. This is where you’re going to see the beautiful color pop through.
You can stop after this layer, but I like to do a bit extra. So, I’m going to add a third coat once the second one is dry. I think it makes the nail look thicker and looks more like gel when I do this.
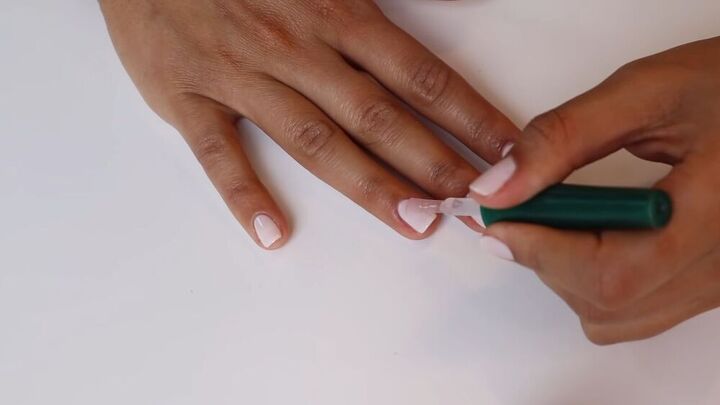
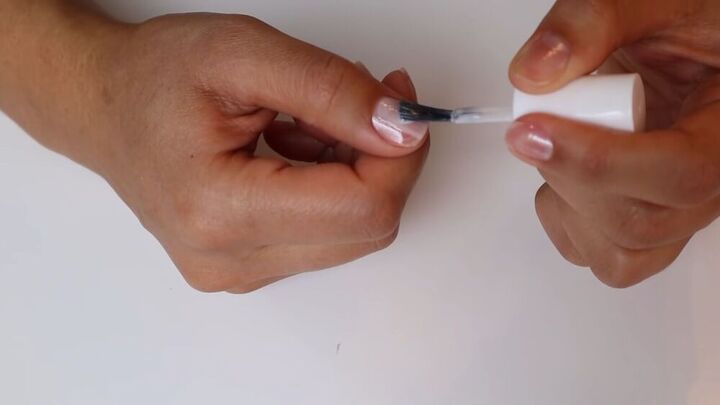
9. Apply the top coat
Now it’s time for the very last step, which is your topcoat. I don’t like to be super heavy with the top coat because I'm using three layers of polish.
If you like that gel, thick nail look, then you can definitely go for a thicker topcoat; just beware that it’s going to take a little bit longer to dry.
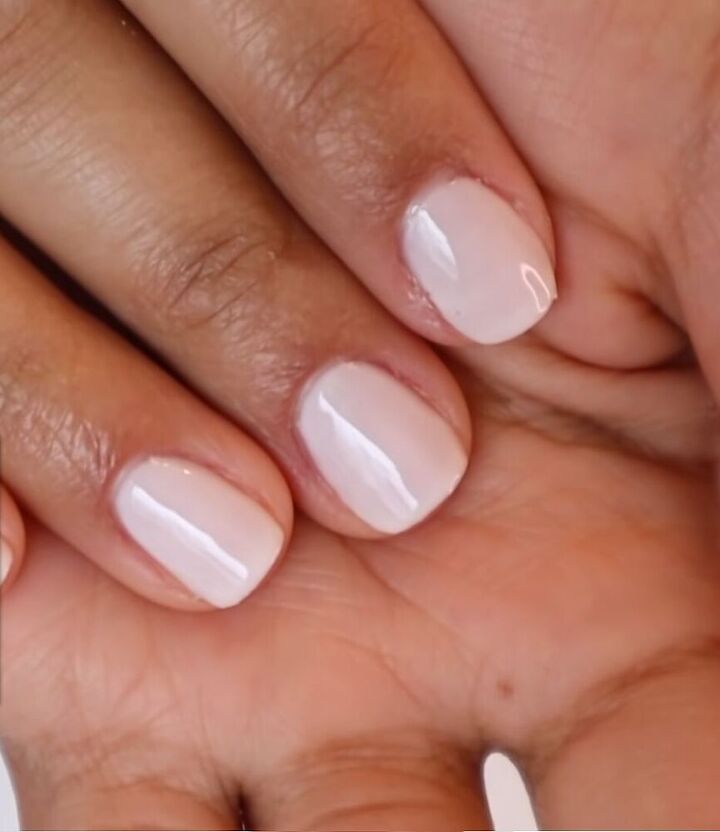
Manicure DIY tutorial
This is the final result and I love how my nails come out every single time. It looks like I went to the salon, yet it only cost a fraction of the price. You can’t get much better than that. I hope that you’ve enjoyed this manicure DIY tutorial and that you’ll try it at home!
This tutorial is by Paloma.
The author may collect a small share of sales from the links on this page.


Comments
Join the conversation
I was glad to see someone else FINAL had heard of this good little idea - everyone thought l made it up myself Haaahaaa
Nice instructions! You have beautiful nails🥰
I have a tip to add - this may help people who don't like to cut their cuticles: Every time I take a shower or bath, after I've been in the water long enough to soften my cuticles, I use my wet washcloth to push my cuticles back - I use the thumb nail of the opposite hand, drape the washcloth over it and use my thumbnail like a cuticle tool, gently pushing the cuticle away from the nail.
I've been doing this for years and my cuticles stay off my nails! I do the same thing for my toe nails🥰