How to Make Macrame Bracelets With Rhinestone Detail - Easy Tutorial

One of my most popular macrame bracelet ideas of all time is the Layer Me Up bracelet. All these years later, it’s still very on-trend, so I thought I would share this DIY macrame bracelet tutorial. I’m sure you’ll enjoy learning how to make macrame bracelets with rhinestone chain, so come and join me, and I’ll show you how to create your very own Layer Me Up bracelet.
Tools and materials:
- Tray or something similar
- G-S Hypo Cement or other hobby glue
- 20 inches of rattail cord or any other type of string
- Decorative loop-back button
- A few inches of rhinestone chain
- 2.2 Yards of Chinese knotting cord
- 24 Inches of leather cord
- Thread zapper or lighter
- Chain nose pliers
1. Place the button and knot the leather cord
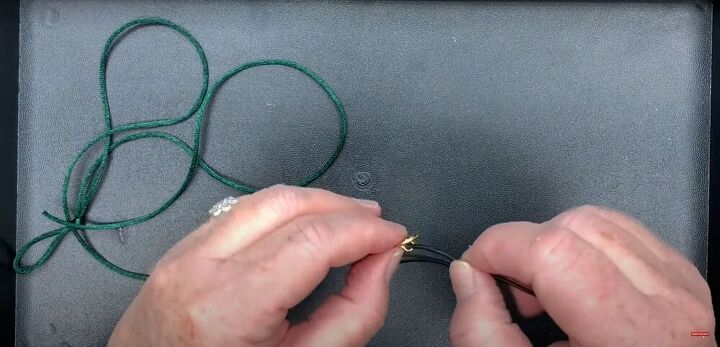
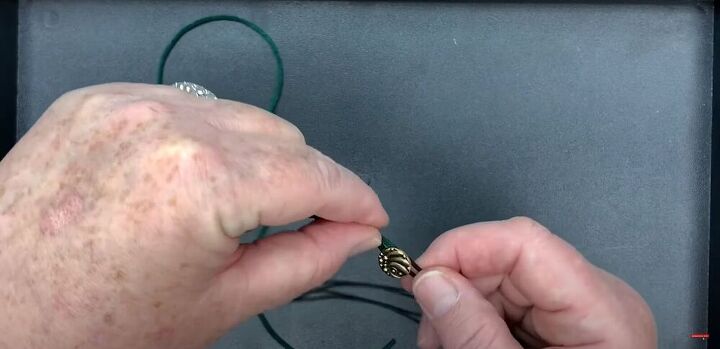
To begin, slide your button to the center of the leather cord. Then, bring the two ends of the cord together and make a knot.
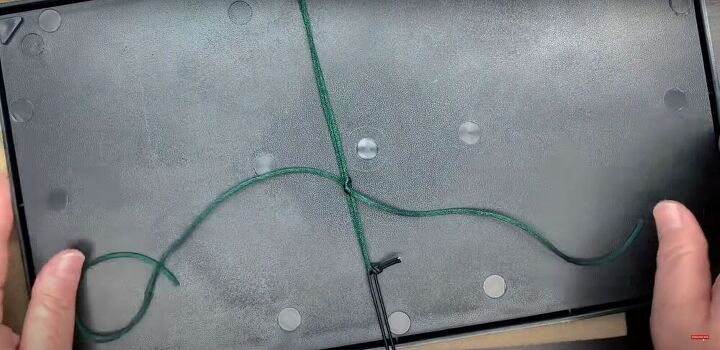
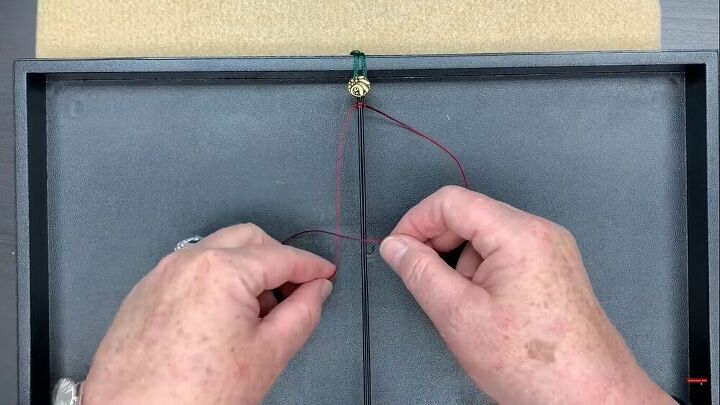
2. Loop around the button
Next, make a loop in the center of the rattail cord or other string, and insert the button through the loop. This string is solely used for securing the bracelet while you’re working on it, so you can use whatever kind of string you have lying around.
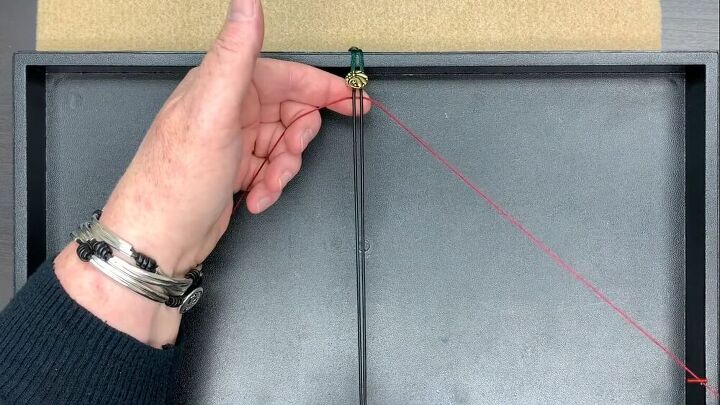
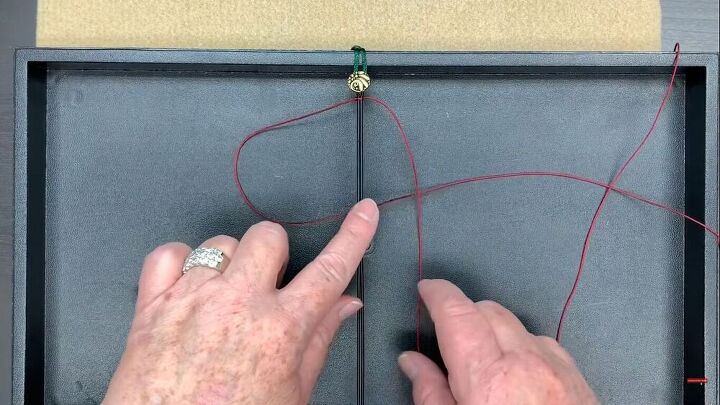
3. Secure the cord and string to the tray
Place the part of the cord with the button on it at the top of your tray. Run the securing string over the edge of the tray and around to the back. Run one end of the string through the space between the two sides of the leather cord, pull it taut, and tie the string in a knot in the back of the tray.
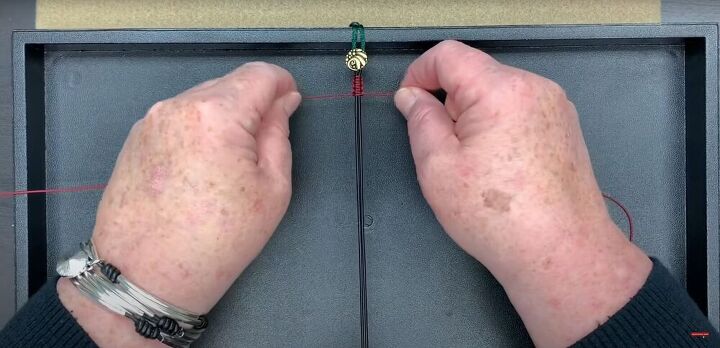
4. Make square knots
Begin making square knots with the Chinese knotting cord along the leather cord, starting about a quarter-inch below the button.
To make a square macrame knot, simply remember your "ps and qs"! Take your Chinese knotting cord and find the middle. Place it behind the leather to start.
Create a "p" shape with a loop to the right - the end of the loop goes on top of the leather. The lefthand side of the cord, the tail, points down, over the loop end. Next, thread the tail under the loop end and tail, into the loop on the right, then pull through to create the knot.
Then, repeat the process on the opposite side. Create a "q" shape with a loop and tail, then thread the tail under the middle and through the loop. Tighten into a knot.
The knots don't have to be perfect - you have a lot of Chinese knotting cord to work with - but do make sure they are tight. It takes a while to get into the rhythm, but once you have your "ps and qs" down, you'll find you can work quickly and efficiently.
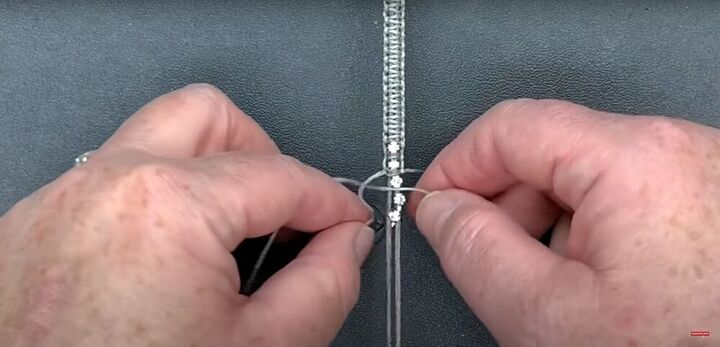
5. Add rhinestones
Once you have about 2.5 inches of knots along the leather cord, it's time to add your rhinestones. Balance the rhinestone chain in the center of the leather cords, and make a square knot between the first and second rhinestones on the chain.
Make sure you do a full square knot (a p and a q!) by knotting the cord on one side of the leather and then the other, before moving onto the next rhinestone. Repeat between each rhinestone on the chain.
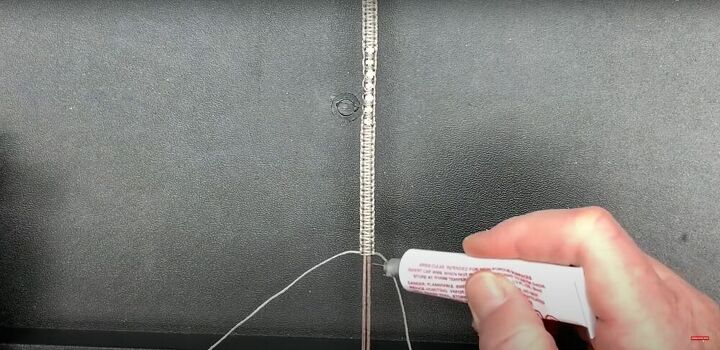
6. Secure knots with glue
Once the rhinestones are secured in place, continue to make another 2 inches of square knots along the leather cord. Then, apply the hobby glue to the final half an inch of the leather cord before making the last half-inch of square knots. This will help keep everything in place.
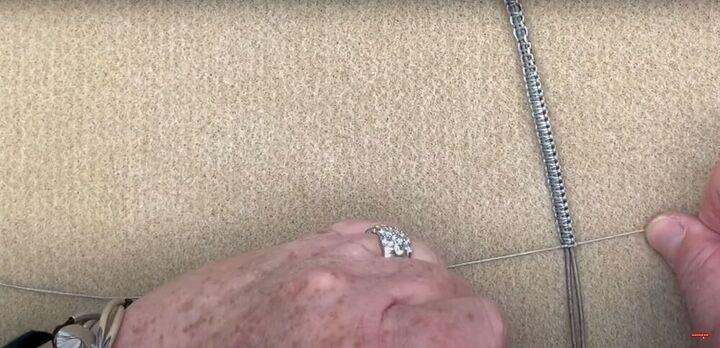
7. Knot the end
Make a single knot with the knotting cord on the front of the bracelet, and then a surgeon’s knot on the back. Pull it tight to secure.
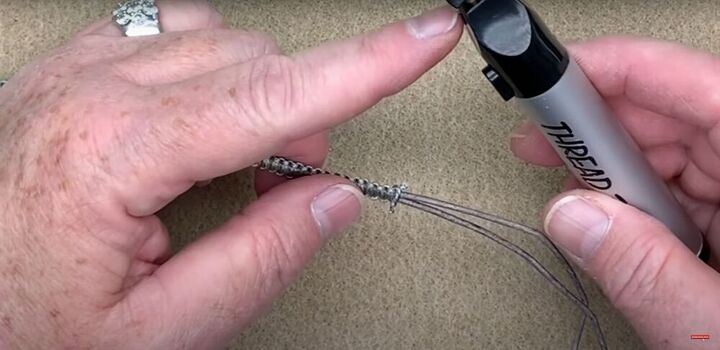
8. Cut and burn
Cut the excess knotting cord and burn the frayed ends with a thread zapper or lighter.
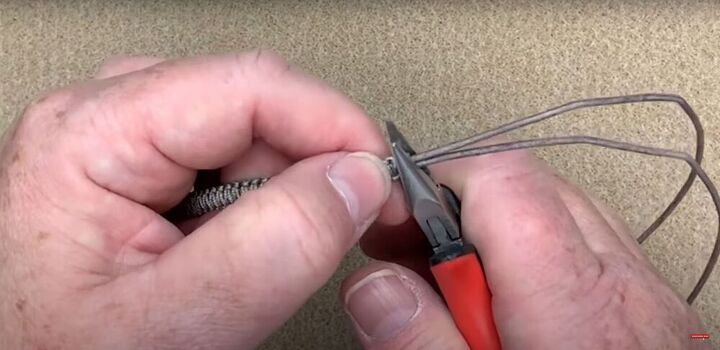
9. Squeeze
Squeeze the knot with chain nose pliers to soften the edges of the knot a bit.
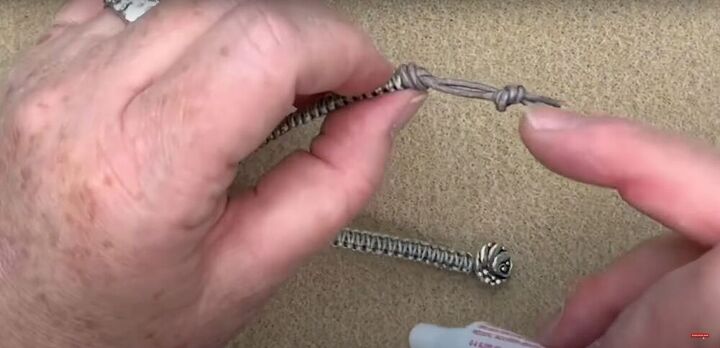
10. Knot the leather and cut
Make an overhand knot at the end of the bracelet, right on top of the macrame end. Then, make a second overhand knot a bit farther down the leather cord, leaving enough space to push the button through the two sides of the leather cord. This will be your closure.
Once you’re happy with the placement of your knots, trim the excess leather.
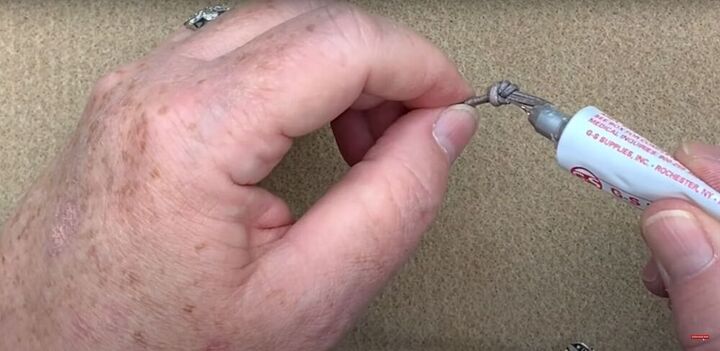
11. Apply glue
Apply glue to the knots to ensure they don’t come undone.
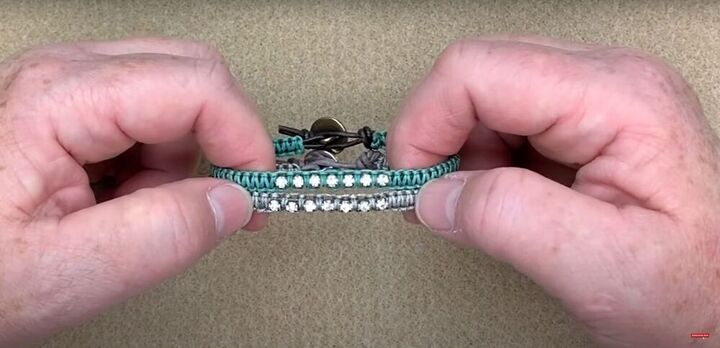
How to make macrame bracelets tutorial
You’ve made a gorgeous, handmade macrame bracelet! Let me know what you think of this DIY macrame bracelet tutorial. If you use this tutorial to make a macrame bracelet of your own, please share your macrame bracelet ideas in the comments!
The author may collect a small share of sales from the links on this page.


Comments
Join the conversation
I love this type of bracelet! And it looks really easy. I'm going to try it and make Xmas presents for my granddaughters. They'll love them!
You said the materials would be for sale???