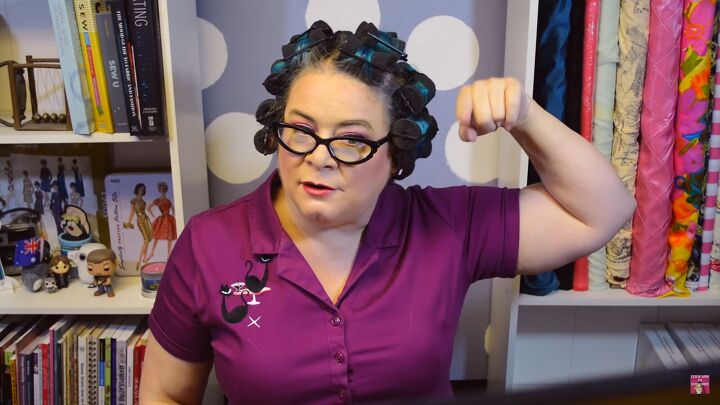
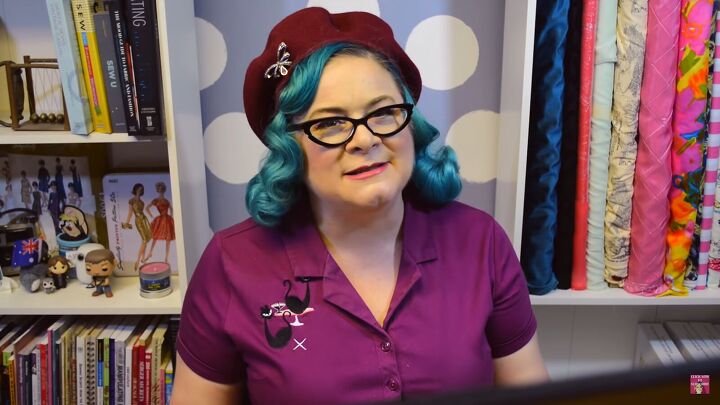
Fun 1930's Hairstyle Tutorial

I am going to show you how to get 1930’s hair. I love retro and get ideas for my vintage style from old photographs.
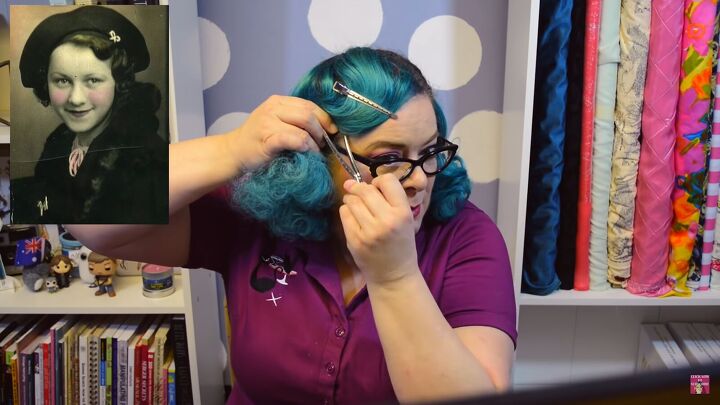
For this look I took inspiration from a 1930’s photograph of my friend’s grandmother. I love the way she paired her vintage waves with an adorable beret.
Tools and materials:
- Curlers (1-1 ¼ inch)
- Hair brush
- Comb
- Alligator clips
- Beret
- Hair spray
- Palm aid
1. Overnight wet set with curlers
For this look I did an overnight wet set using foam rollers.
For the setting pattern everything on the front row of the top of your head is rolled back, the next row is rolled forward, and the next set back.
You’re going to be reversing directions all the way to the back of your head. That will give more of a wave to the hair.
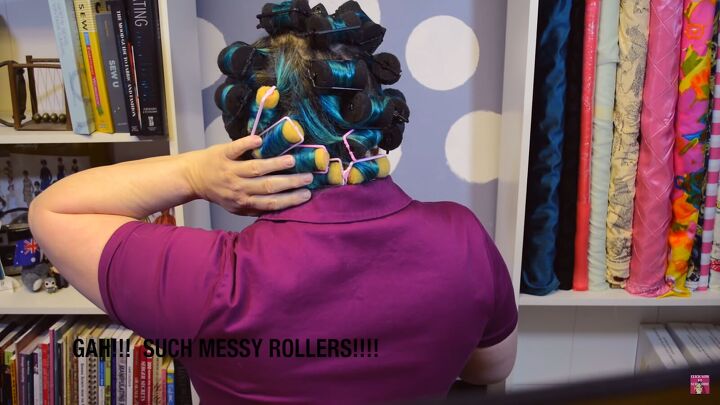
Use the same setting pattern on the sides of your head too.
Set the top row rolling down and then reverse as you go down. For the back of the hair, roll them all under.
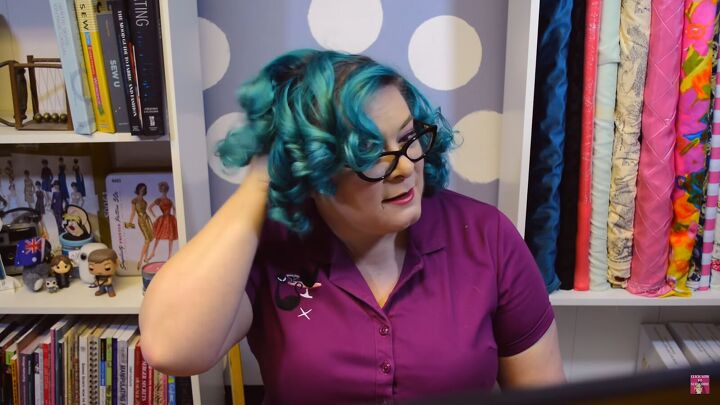
2. Release the curls and brush them out
Release the curls from the rollers and break them up a bit with your fingers.
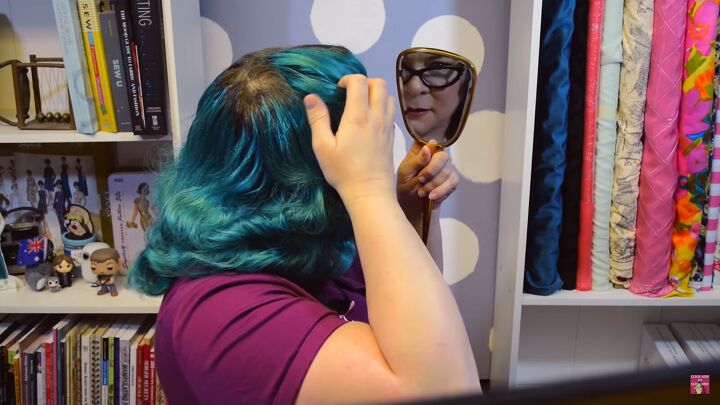
Part your hair slightly in from one corner of your forehead.
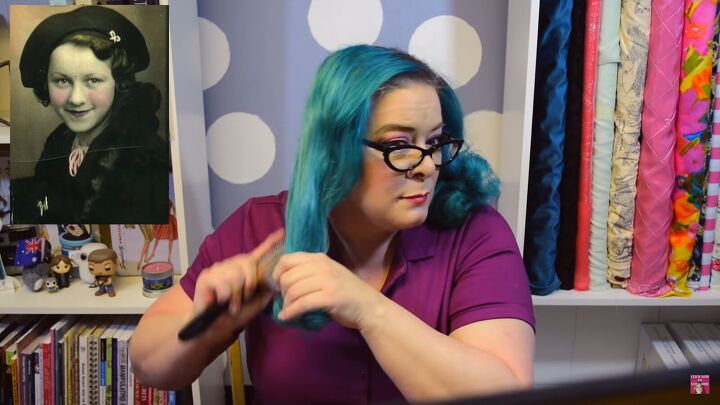
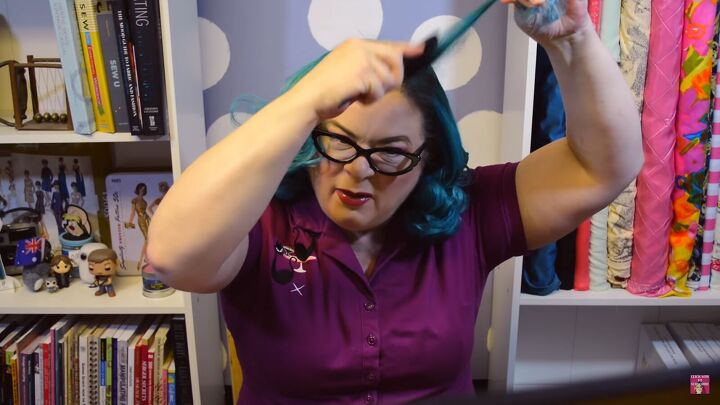
Take a brush and brush through the curls.
Brush all the way through and when you get to the ends make sure you’re brushing the hair up against your hand. That will help minimize any frizz you may have from the curls.

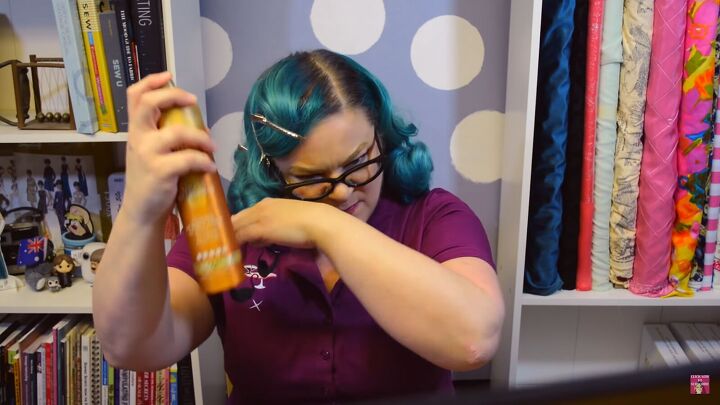
After brushing, tame the frizz a little bit more with some palm aid. Warm it up in your hands and just smooth it out over your hair.
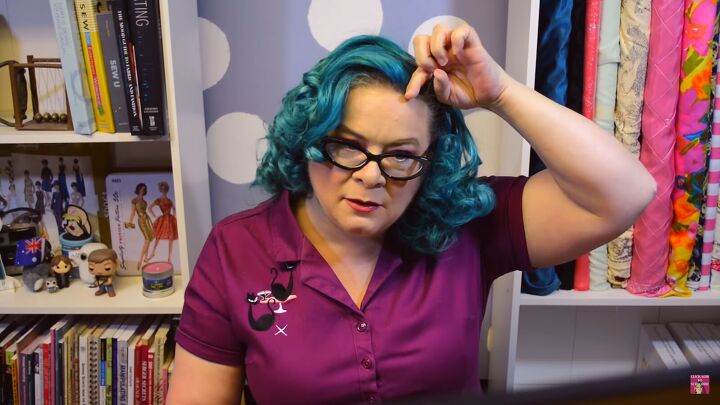
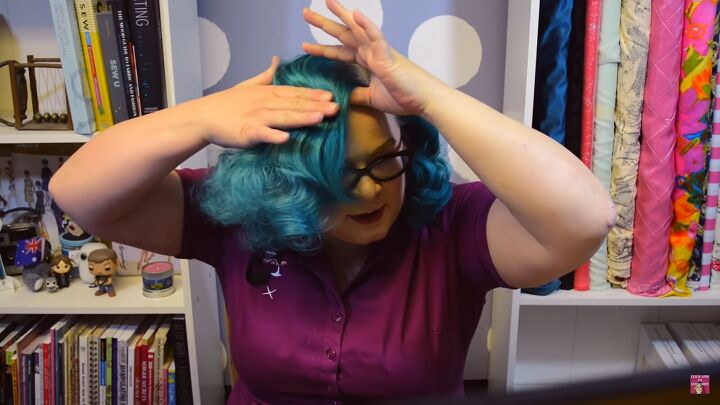
If your hair is sitting too flat on your head, like mine, do a little bit of back combing just at the base of the hair to give it some lift. You can use a teasing brush to do that.
Remember, when you’re backcombing you don’t want to seesaw up and down with it, you just want to tease it down in one direction. Spray it with some hair spray and brush it down a bit.
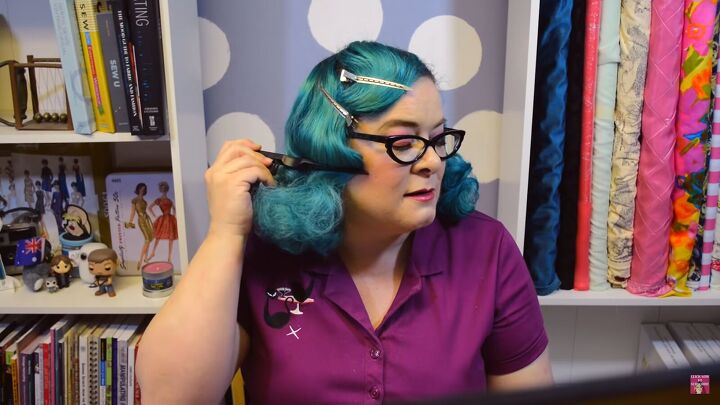
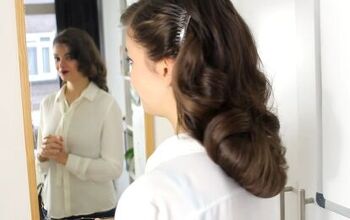
3. Create your waves
You can already start to see the lift at the top of the hair. That’s going to help us create our first wave.
We don’t want that high S curve, so we’re going to brush it pretty flat.
We’re not going to brush all the way to the scalp because we want to keep some of that volume.
Start brushing your hair forward.
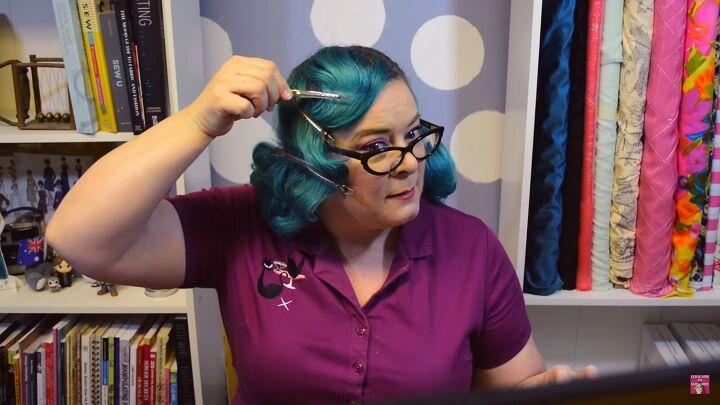
For a look like this you are going to need some long alligator clips.
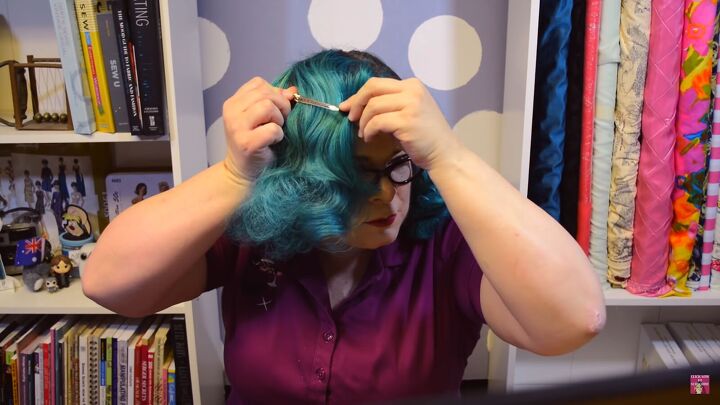
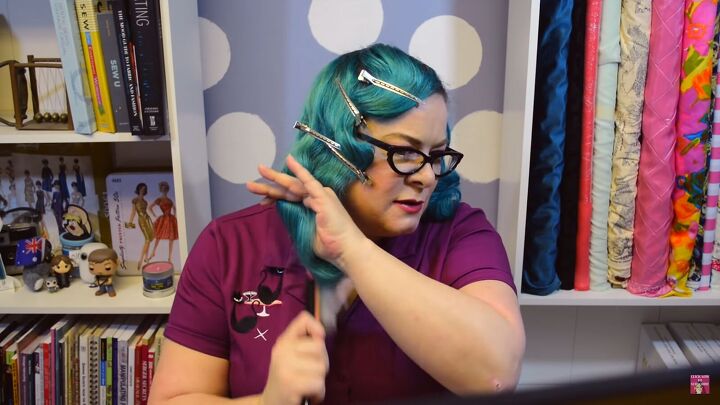
After brushing it forward, use your hand and your comb, denting it into the hair and moving it around. The wave is there, you just have to coax it to come out. Now use your alligator clip to pin your wave.
Now you’re going to want to work on pushing the wave back. You want to keep that first wave right above the eyebrow by pointing the clip towards your eyebrow.
Keep in mind that you’re not going to be brushing the waves after, so the way it looks when you’re clipping it is pretty much how it’s going to look when it’s done.
If you’ve got some backcombing showing or it’s not laying right, you need to work that out before you clip it.
Clip again where the wave goes back and hairspray it. Continue creating waves.
For the second wave, to get more of a 1930’s look, really push it forward onto the face. You really need to work at pulling and manipulating the wave to sit just right. Then put more clips in to help reinforce that wave.
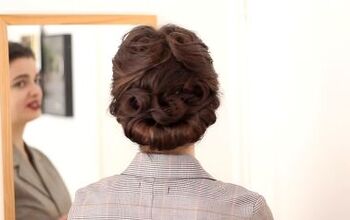
4. Create a barrel curl at the bottom
Be careful as you get down to the ends of your hair. You don’t want to pull on it so hard that you pull the waves straight.
You’re going to make a barrel curl at the bottom. That means you're making one big curl at the bottom, by brushing it over your hand.
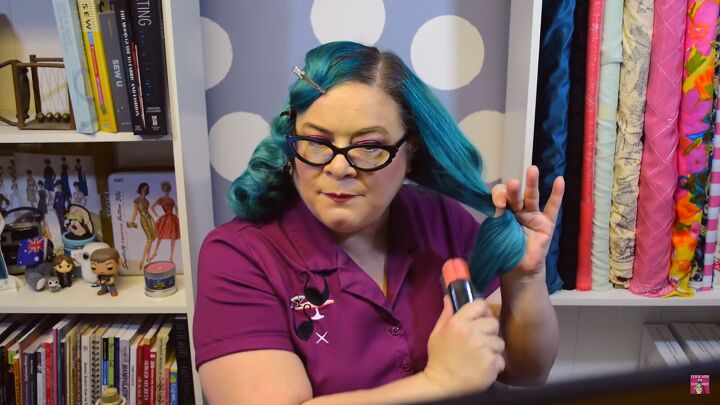
The other side of the hair is going to mostly be covered with the beret, but you’re going to brush the curls and smooth them out and tuck it behind the ear and bobby pin it.
5. Final touches
Spray your hair with hairspray.
Carefully remove your clips. If you see some gaps in the waves, use your fingers to loosen things up a bit.
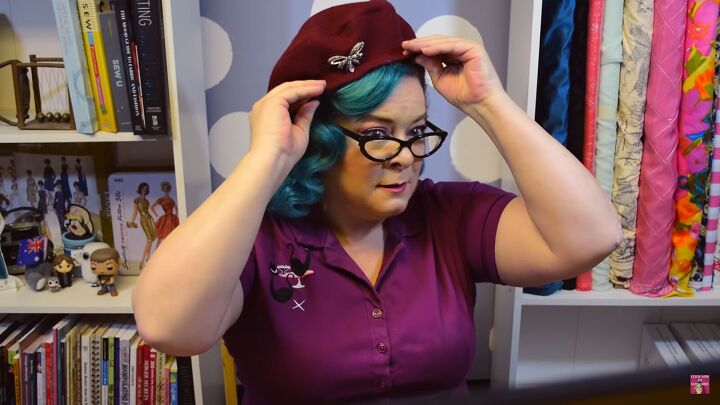
To complete the look, place the beret on your head.
To accentuate that first wave you can take a bobby pin to the curve and pin it in under the beret.
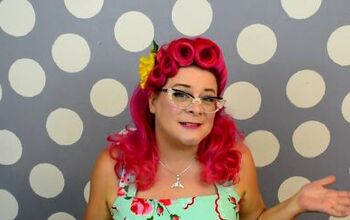
1930's hair
How amazing does this hairstyle look? I love the vintage vibes. I feel like I’ve traveled back in time to the 1930’s.
The beret adds a lot of character to the look. How did yours come out? Tell me in the comments.
The author may collect a small share of sales from the links on this page.


Comments
Join the conversation