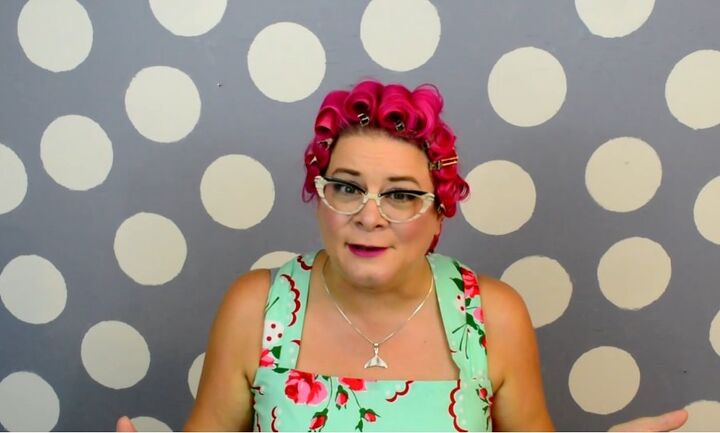
Glam 1940s Hairstyle Tutorial

Today's hair tutorial is about putting a crown of curls on your head.
If you love vintage 1940s hairstyles and want to recreate them yourself, this is for you. It’s such a great look, and even better, it’s super easy to do.
Tools and materials:
- Curling iron
- Clips
- Brush
- Hairspray
- Pomade
- Bobby pins
1. Curl your hair
First, use whatever curl method you prefer to curl your hair.
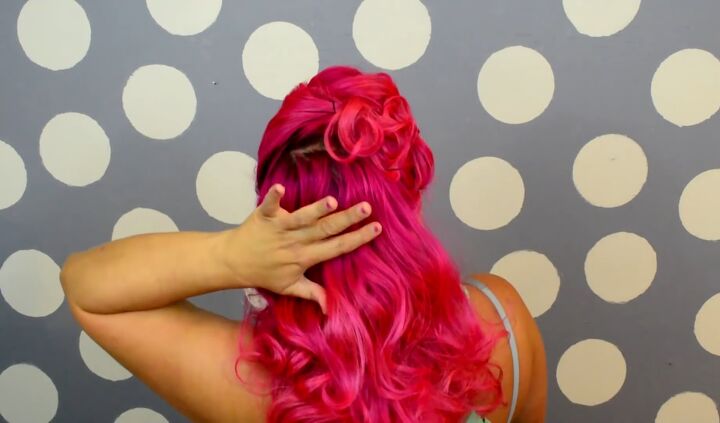
I used a half-inch curling iron. While the curls were still hot, I separated my hair into a side part, curled the top of it over, and pinned it as elevated pin curls, which gave me more height on the curl.
The rest of the hair I rolled under and then pinned it rolling forward as flat pin curls.

2. Unpin the curls
Once everything has cooled down, remove the pins. Then run your fingers through your hair and shake up all the curls.
Proceed to brush through them as well.
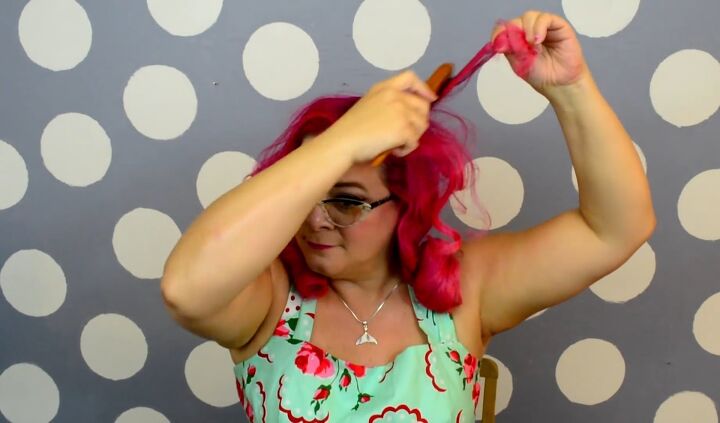
3. Backcomb hair
With the parting still at the corner of your forehead, start backcombing your hair from halfway through the hair to the roots.
You want most of that volume at the base of the hair. Then spray it with hairspray.
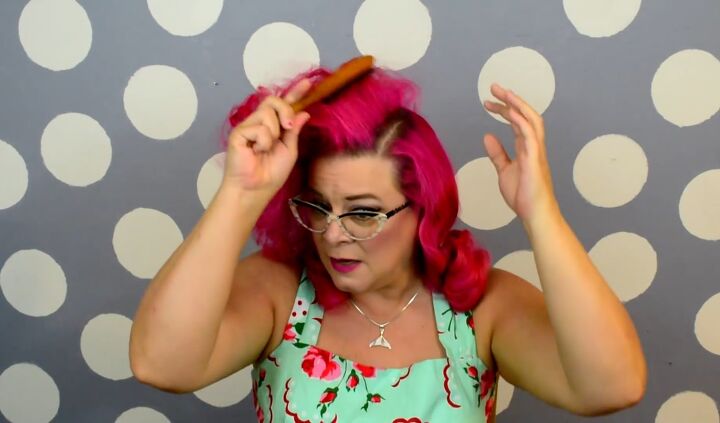
4. Smooth the hair
Take any type of brush that has a lot of dense bristles in it to smooth over the top of the backcombing.
5. Split the front hair
Now split your hair in the front and then split that section in two.
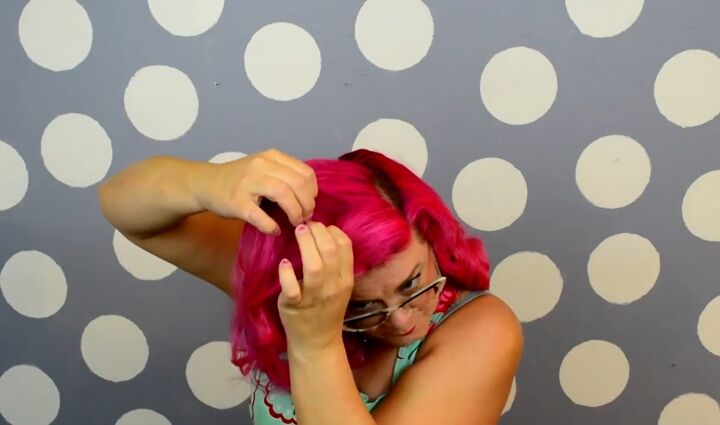
6. Apply pomade
Brush the front curl again, so it looks nice and smooth.
Then, to tame any frizziness, take a smidge of wax or pomade and run that over the hair, concentrating on the part line where you tend to get some flyaways.
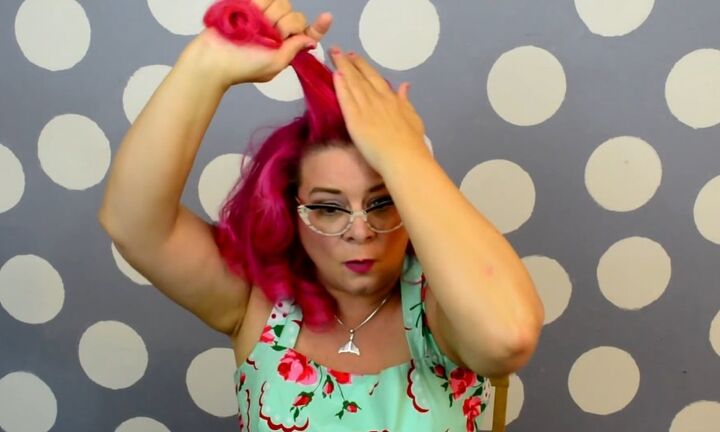
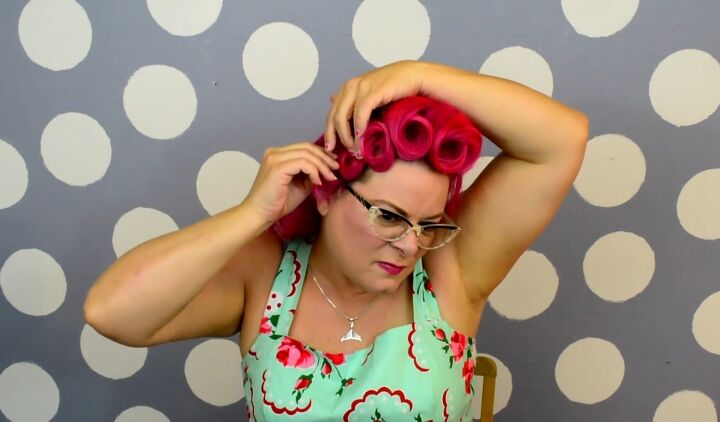
7. Roll the curl
Then we're going to let that curl, curl. You want to roll it up, then tuck it onto the base of the hair like a top roll and pin it.
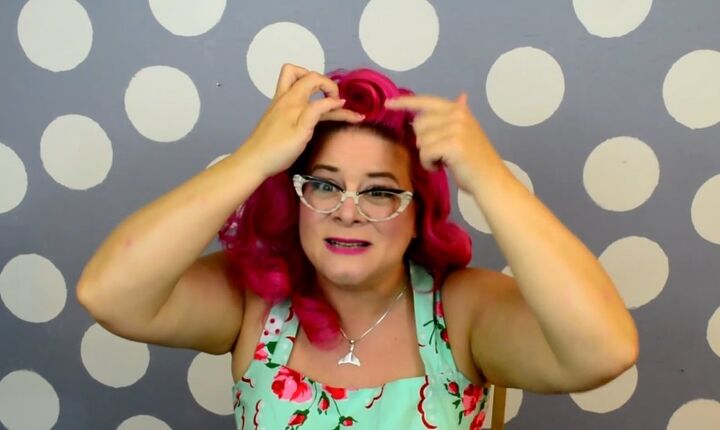
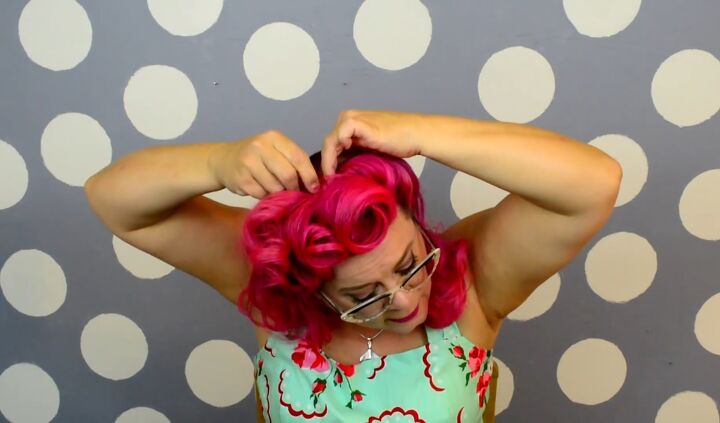
8. Curl the other top section
Take the other section of hair behind that and do the same thing.
Brush it through to make it look nice and smooth on the outside, apply a little bit of wax, and roll the curl up.
But, this time, wrap it around the front and place it next to the curl you just put in. Pin it right at the base.
As you can see, this second curl is slightly smaller than the first one.
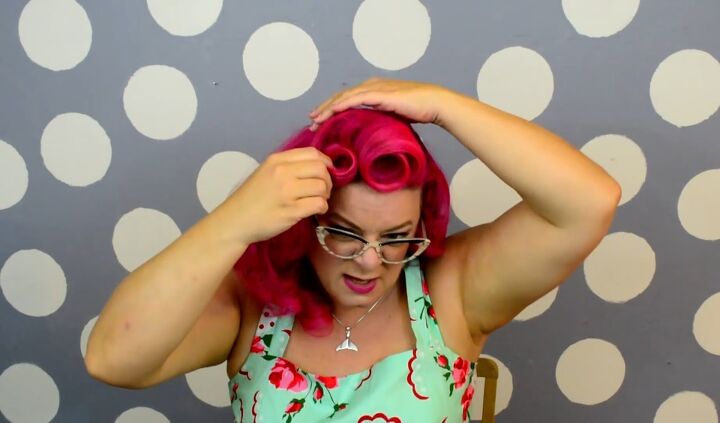
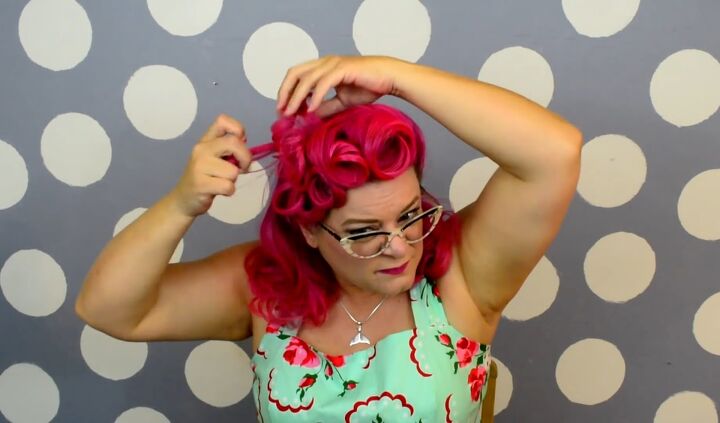
9. Curl a side section
Section off another section of hair and repeat the process as before by brushing through the ends and smoothing it out.
Curl this piece of hair up, so take it around two fingers, wrap it, and then roll it up to the top.
Then you want it to join the curl you have at the top, so the two are touching. This time, instead of pinning at the base, pin up at the top.
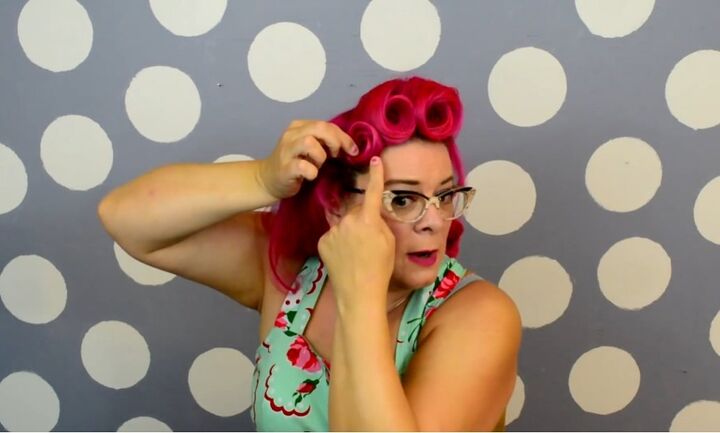
10. Curl the last section
With the last section of hair, do the same thing.
Again, wrap it around two fingers and roll it up to the top to meet the previous curl.
Then, take a bobby pin and pin at the top up into the other curl.

11. Pull out the curls
Because we don’t want these curls to lay too flat, pull them out just a little to give them more volume.
12. Pin back the other side
Section off a large section of hair on the other side of the parting and backcomb it. Then lightly brush the outside and the ends.
Bring the section of hair up and set it right behind the first big curl so that you will have a nice bit of volume on the side.
If you have very thick hair, be sure to use long straight pins for this or take two bobby pins and cross them to secure your hair.
13. Bring the curls around
Smooth out the curly ends of that section of hair, let them curl around, and group them behind the curls right at the side.
If you have long hair, so you’re not left with just little ends, you can roll up those curls.
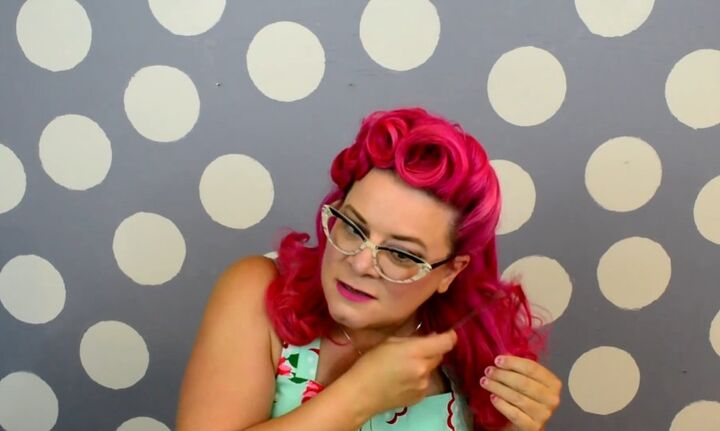
14. Brush your hair
Give the rest of your hair a good brush. Break the curls up with your fingers, and give them a slight backcomb.
This will make them a little more voluminous and keep them in your hair longer. Finish off by applying some hairspray.
You can see we've got these nice voluminous curls in the back.
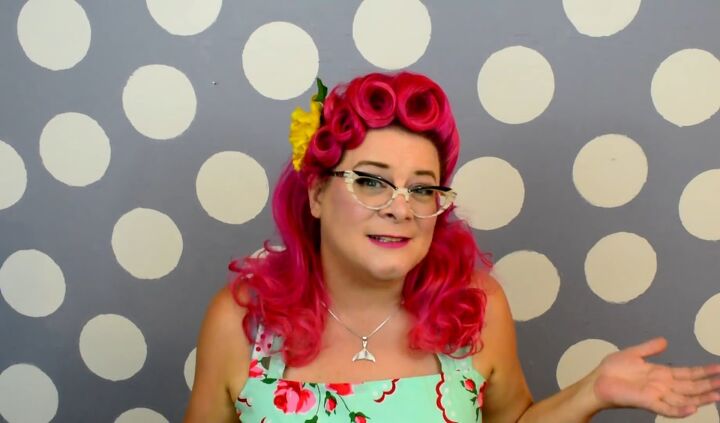
1940s hairstyle
And the beautiful rolled up curls at the front. That is our crown of pin curls hair tutorial, I hope you guys really enjoyed it. If so, leave a comment!
Check out my Easy Hair Tutorial: How to Make Your Curls Last Longer.
The author may collect a small share of sales from the links on this page.


Comments
Join the conversation