Super Cute and Easy DIY Accessories for Fall

Hi everyone, welcome back! This week I will be showing you two quick and easy DIY accessories. The first is a corset belt DIY, perfect for Fall.
The second was a request from my mom, so how could I say no? They are both really cute and simple to make, so, let’s get started!
Tools and materials:
- Piece of faux suede
- Belt with grommets
- Suede cording
- Piece of scrap fabric
- Sewing machine
- Scissors
DIY corset belt
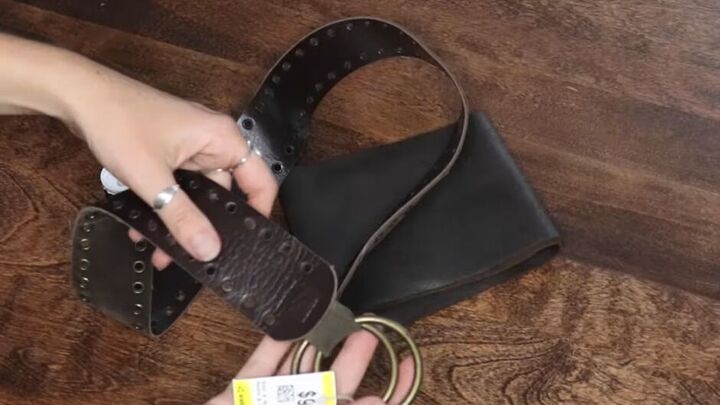
I’ll begin with the DIY leather belt. I made this from a belt I found at the thrift store which had these grommets that I loved. I thought I could make a trendy corset belt from it.
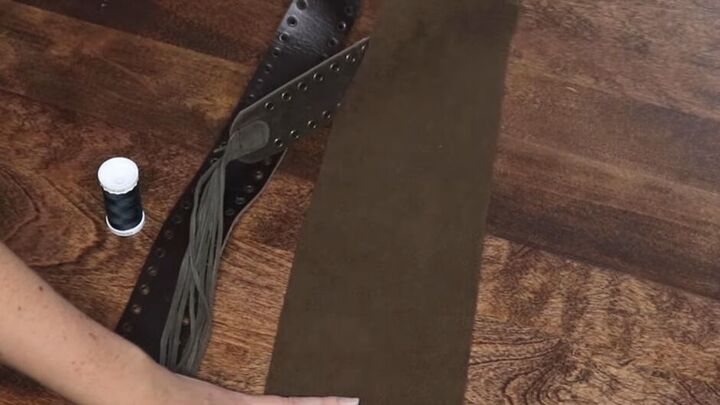
1. Cut a piece of faux suede fabric
I found a piece of faux suede fabric in my stash at home and cut a thick piece of it long enough to almost fit around my waist.
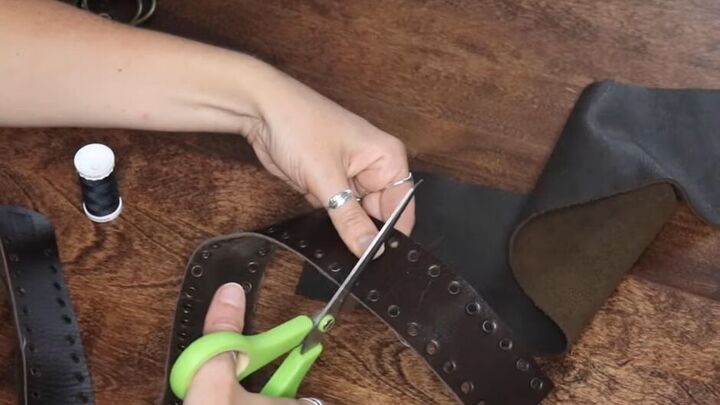
2. Measure and cut your belt
Measure your belt by the width of your faux suede fabric and cut two pieces.
Double-check that the two pieces you cut match the width of your suede fabric.

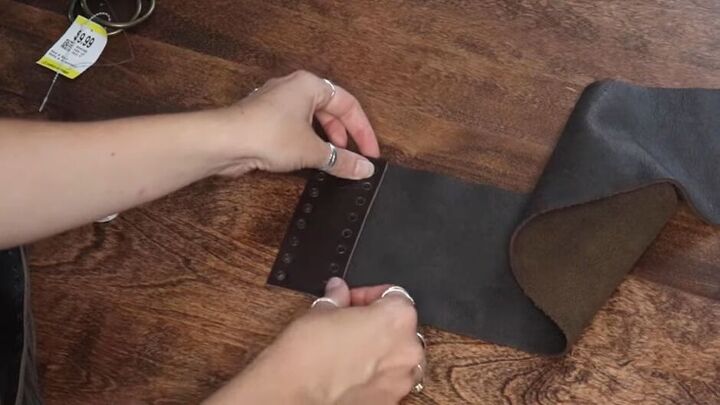
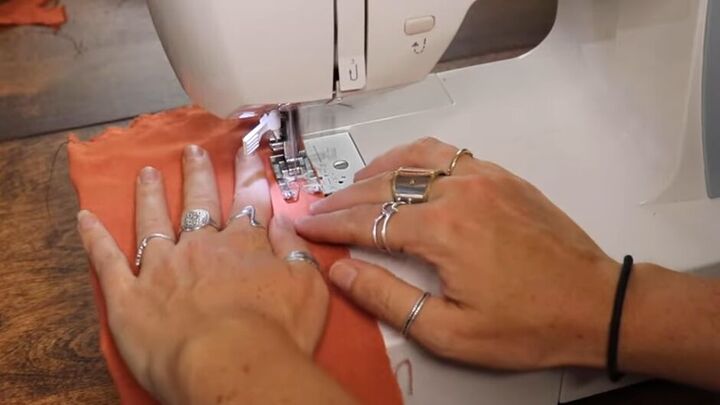
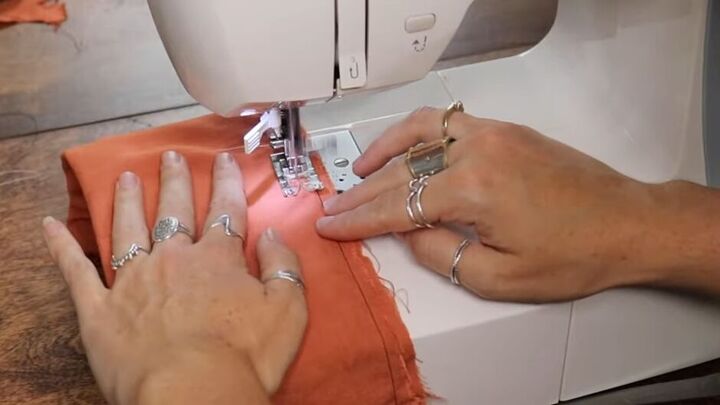
3. Sew the pieces together
Sew each piece of the belt to the end of the imitation suede, positioning it so that the grommets are covered on one side and open on the other.
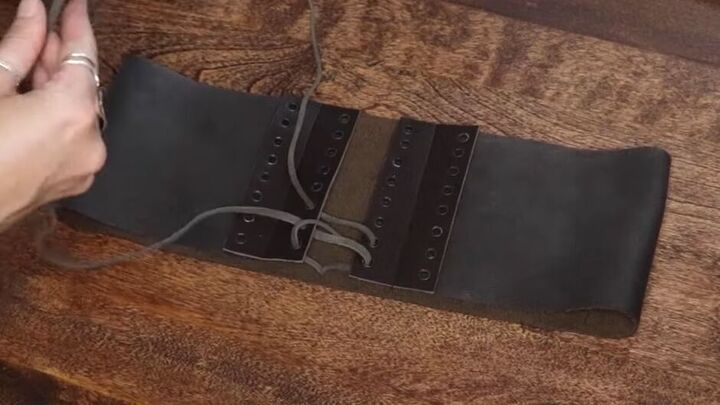
4. Lace up the belt
Take a long piece of suede cording and feed it through the grommets as if you were lacing a pair of shoes.
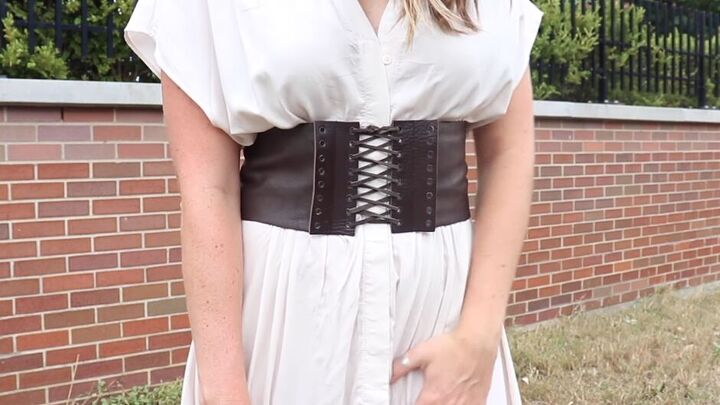
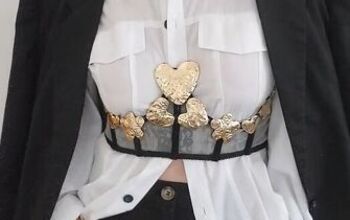
This is what the belt looks like. I love it with this dress!
I can see it going well with oversized shirts and maybe leggings, but I think it's perfect for fall and it was so easy and quick to make.

DIY hair tie
1. Cut your fabric
Take a piece of fabric and cut it to 15 by 9 inches.
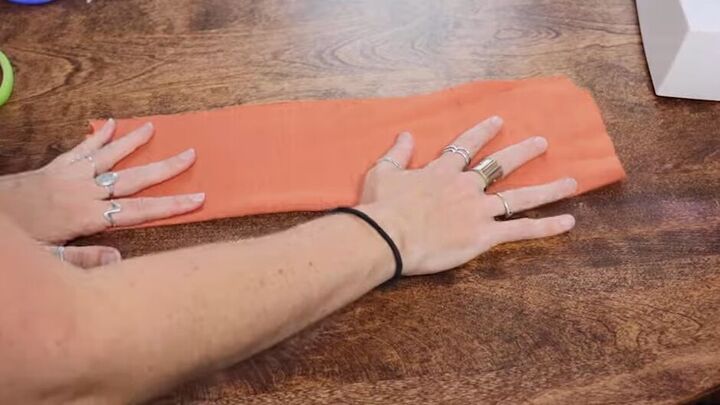
2. Fold the fabric in half.
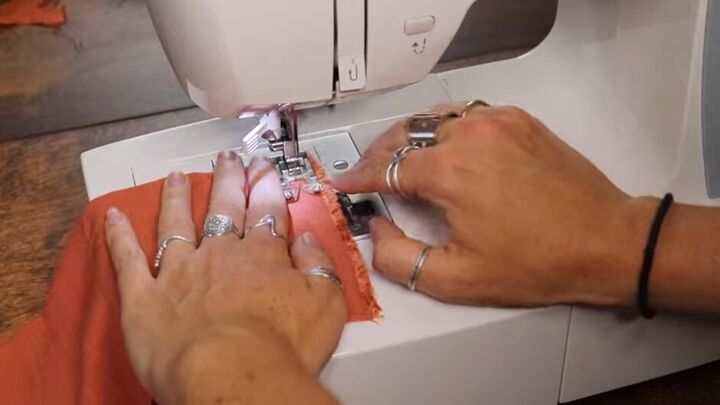
3. Sew the edges
Now all you need to do is sew two sides. One long side is already closed because of the fold.
Sew along the cut edge of the second long side and one short side, leaving the second short side open.
Now go back and sew a second line that runs along the inner perimeter of the three closed edges.
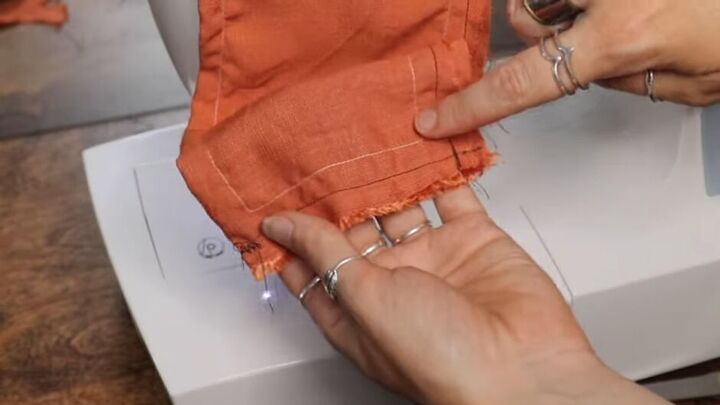
By doing this, you will create an enclosed space through which the wire will be threaded.
Flip the piece right side out.
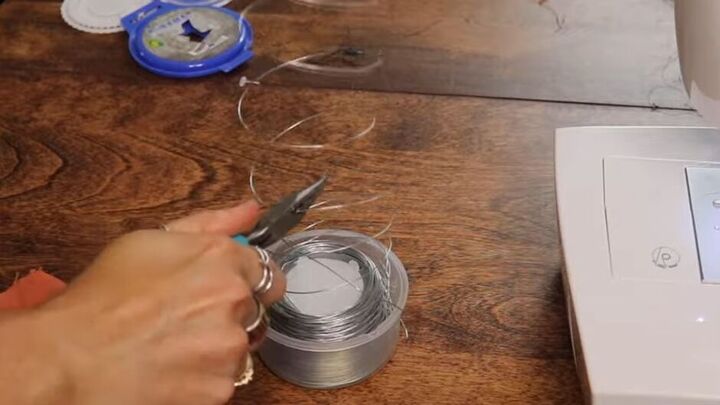
4. Cut wire
Cut a long piece of wire, I used 20 gauge, but it would be better to go thicker.
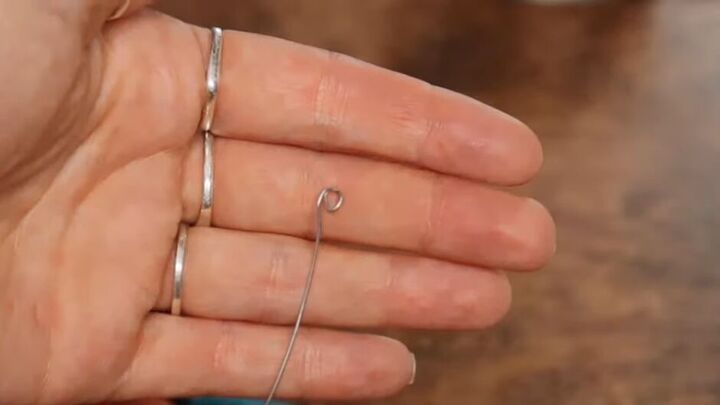
5. Thread the wire
Create a loop on both ends of the wire.
Twist each end of the wire together after it is pulled through the narrow space you created.
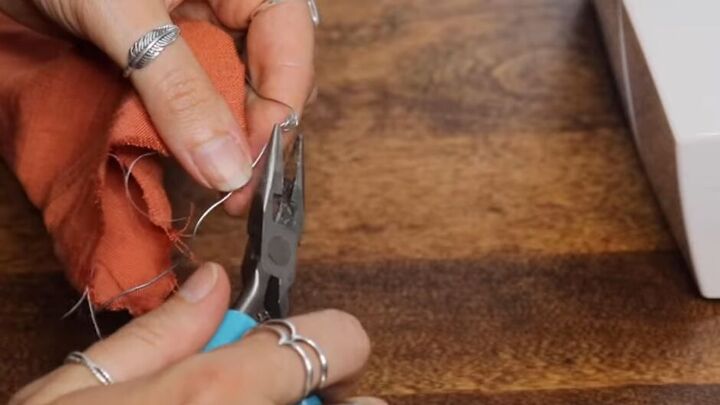
6. Sew the open side of the DIY accessory
Cover the wire with the fabric edges.
Using a sewing machine, sew the edges together.
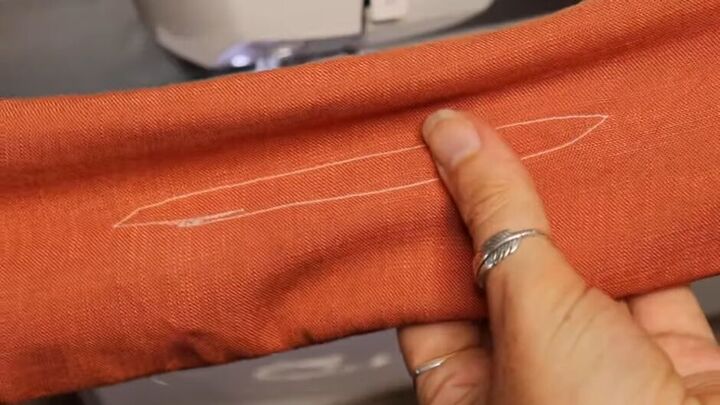
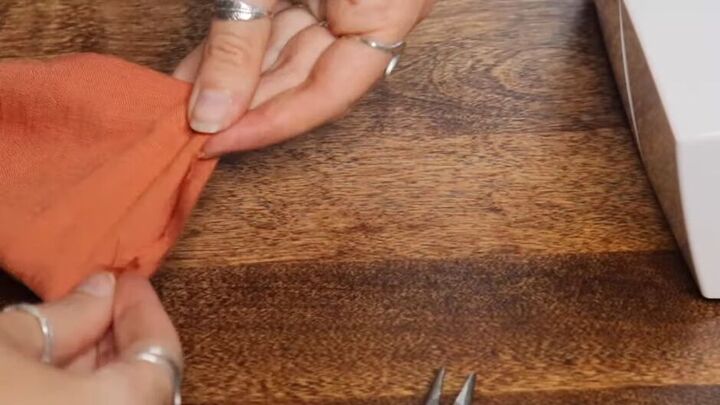
7. Create a hole in the center of your DIY accessory
Sew a long, narrow, oval shape in the middle of your hair accessory.
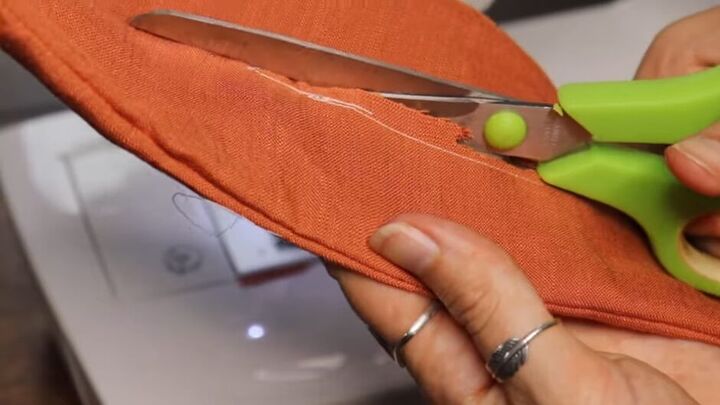
Cut straight through the inside of your stitched oval shape.
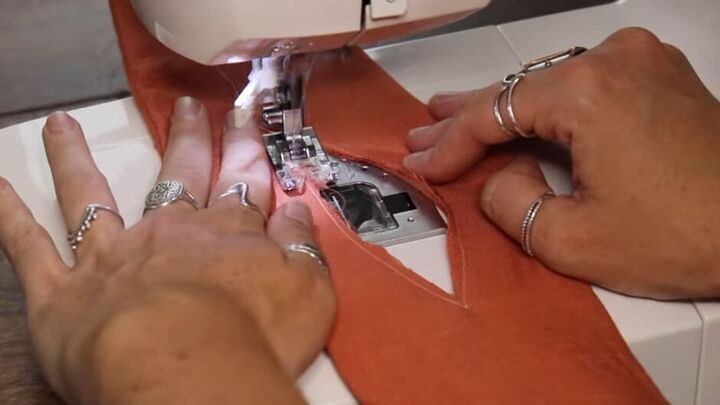
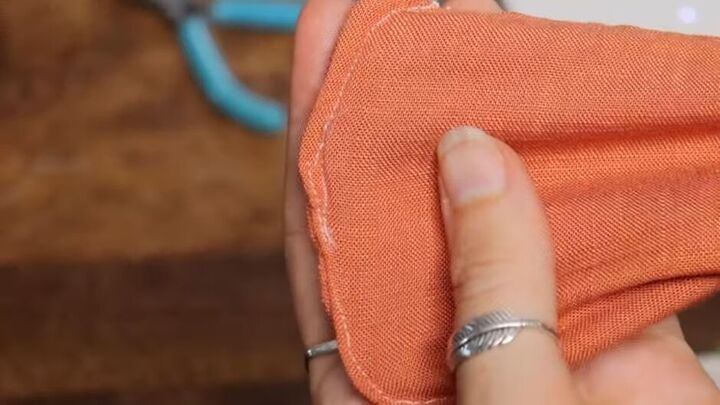
Using your sewing machine, zigzag stitch the cut closed to make sure you do not get any frayed edges.
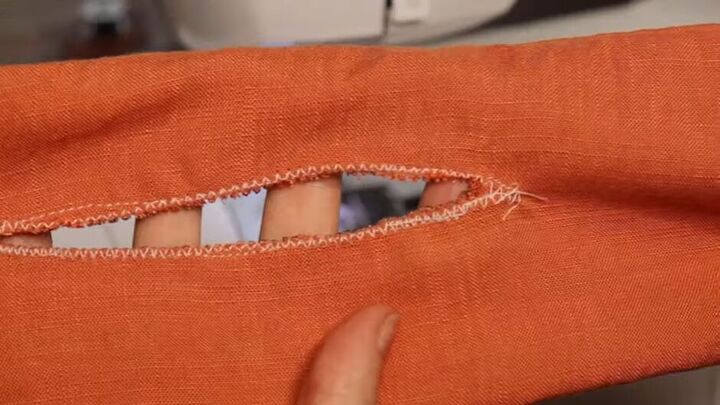
The center of your hair accessory should look like this. This part will never be seen, so don't worry if it is a bit messy.
How to use your DIY accessory
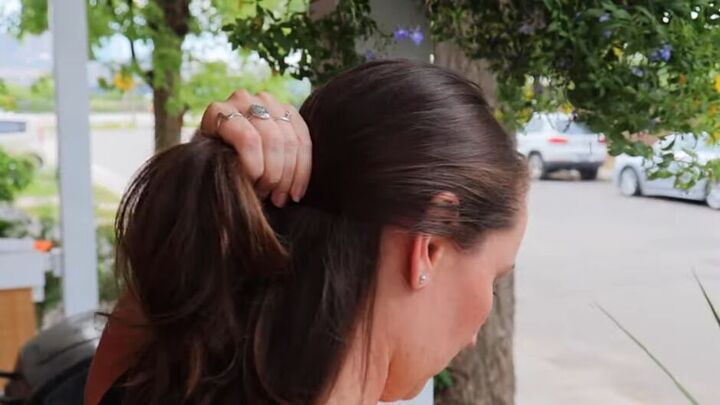
1. Grab your hair
I did a half pony, but you can definitely do a full pony.
2. Slip your hair through the hole in the center of your DIY accessory
3. Slide it down the shaft of your hair, almost to the end.
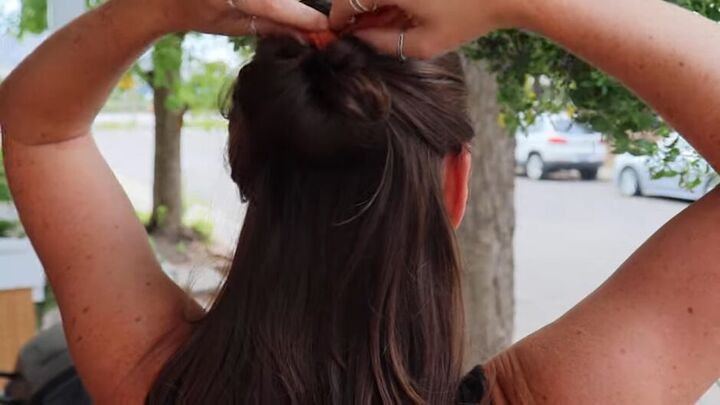
4. Start rolling It up toward your head.
Twist the hair piece downward and back up.
When you start getting near your head it should tighten.
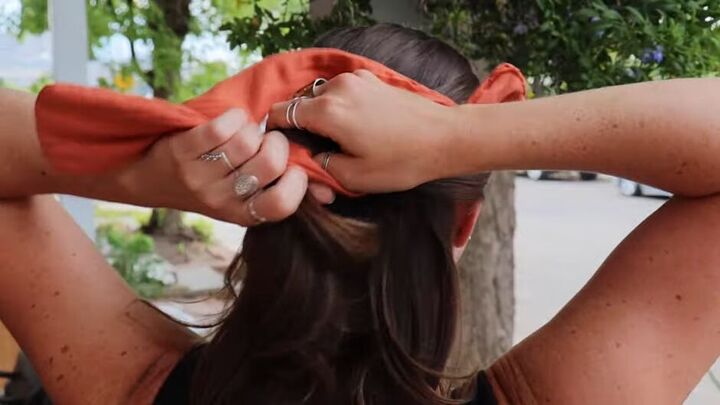
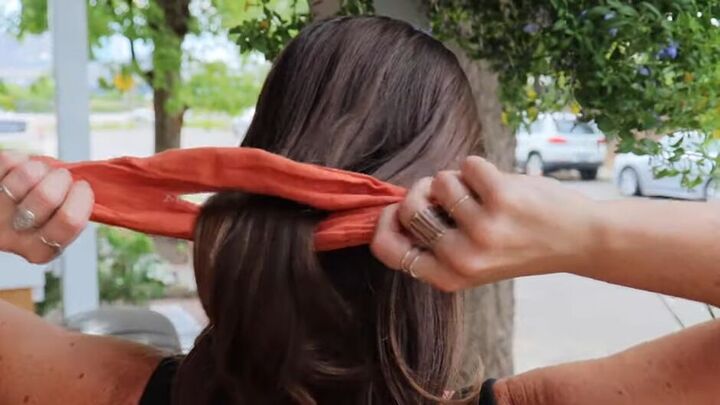
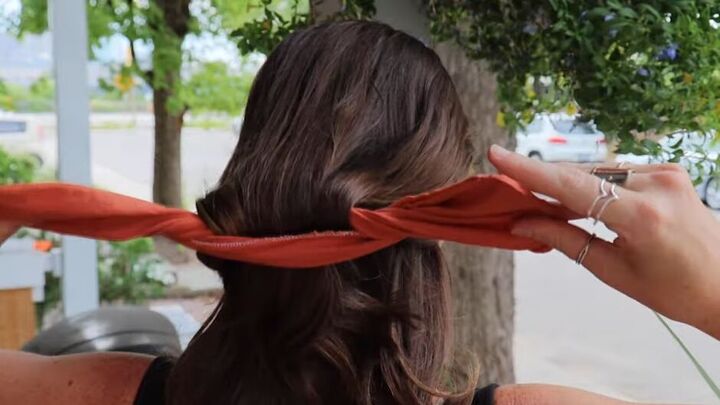
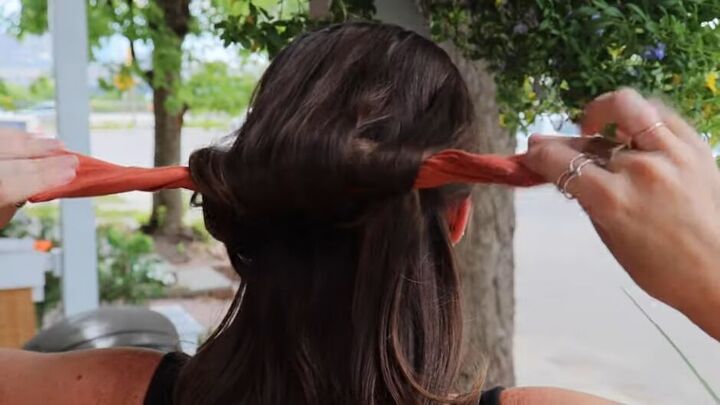
5. Pull the two sides up toward each other
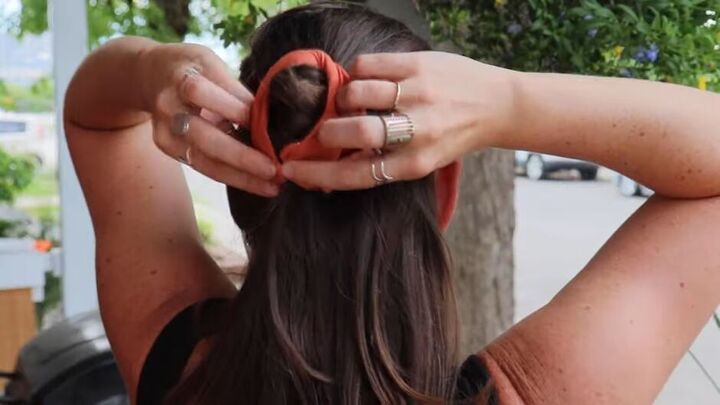
6. Twist them at the top
Then bring each side down to the opposite side.
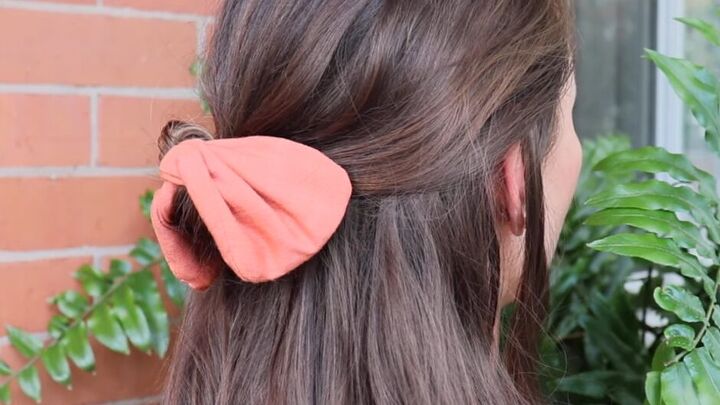
You will end up with this really cute bow effect.
DIY accessories
Those are my two DIY accessories, let me know which one was your favorite!
I love getting suggestions, so if there is a DIY you would like me to make, please comment down below. Bye for now!
The author may collect a small share of sales from the links on this page.


Comments
Join the conversation