How to Make a Super Cute Knotted Hair Tie in 6 Easy Steps

In this tutorial, I’m showing you how to make a bow hair tie, specifically knotted hair ties.
You can use any fabric for scrunchies. I’m going to be making these with two different kinds, linen and organza fabric. Let’s see how it turns out!
Tools and materials:
- Fabric
- Hair elastic
- Sewing materials
- Ruler
- Fabric chalk
- Scissors
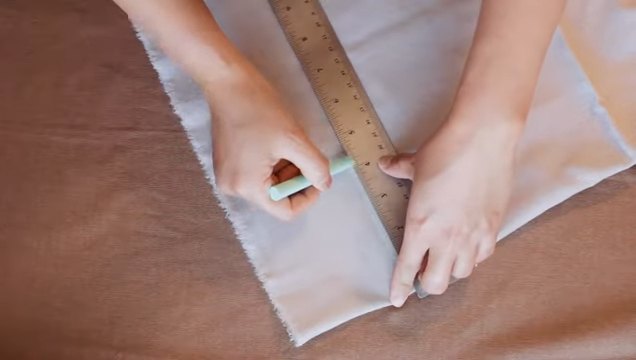
1. Measure and cut your fabric
Using whatever fabric you choose, measure and mark the width of your fabric, using a ruler to keep your lines straight.
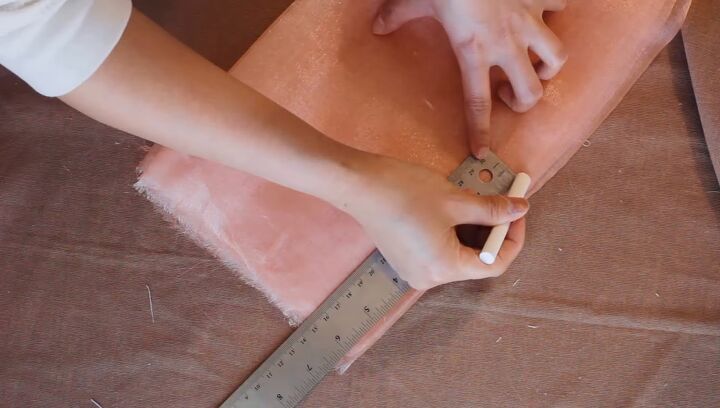
For the linen, I measured 3-4 inches in width and for the organza, I measured around 6-7 inches in width.
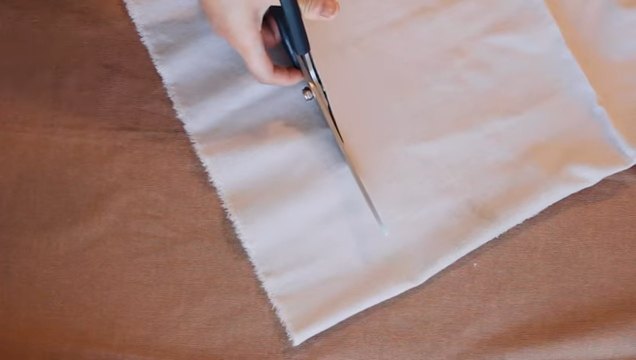
Then, cut out the strip of fabric.
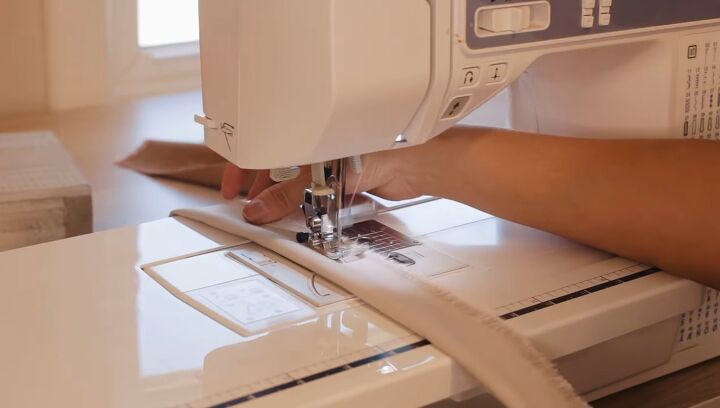
2. Fold and sew
Fold the fabric strip in half and then sew along the cut and rough edges.

3. Cut a triangle
On one end of the folded fabric, cut a triangle from edge to corner.
Then turn the tube inside out and sew the open edge closed.
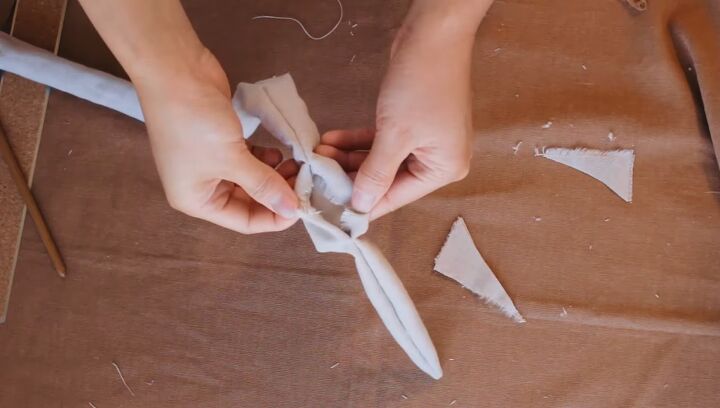
4. Tie a knot around an elastic
Insert the sewn tube through the elastic and then tie a simple knot.
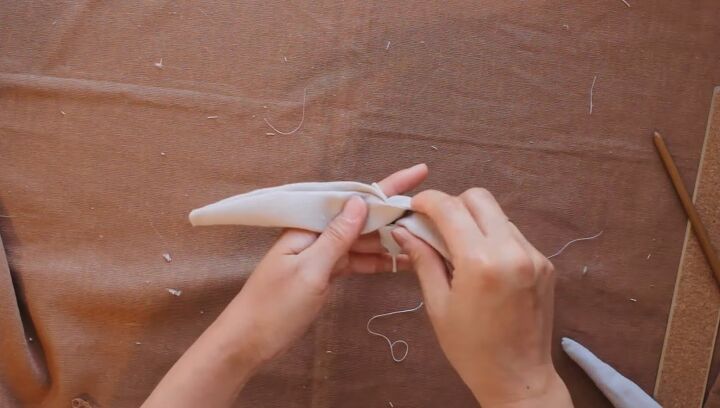
5. Tie knots around the entire elastic
Continue tying knots around the entire elastic until you run out of space.
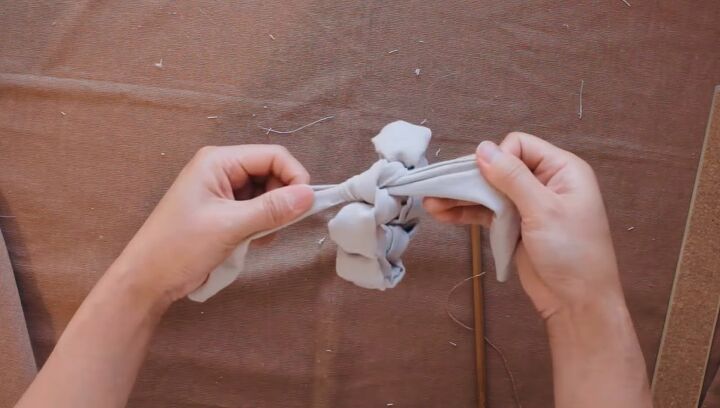
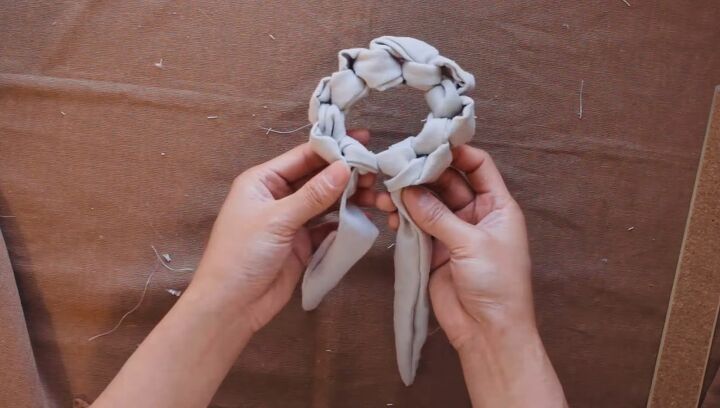
6. Secure
Finally, tie together the two tails in a knot to close off the scrunchie. Use multiple knots to make sure it’s super secure.
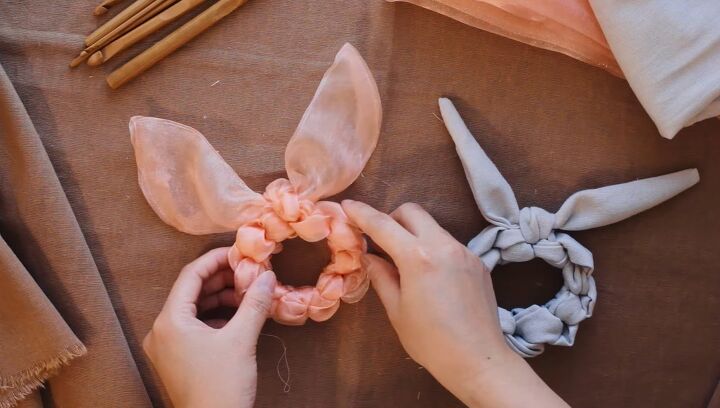
Knotted hair ties DIY
Here are the finished knot hair ties!
These scrunchies are so simple and only require a few materials but the hair tie knots make them incredibly unique!
You can use any fabric to suit the style of your choice and the scrunchies will turn out beautiful regardless. Let me know what you think about these scrunchies below.
The author may collect a small share of sales from the links on this page.


Comments
Join the conversation