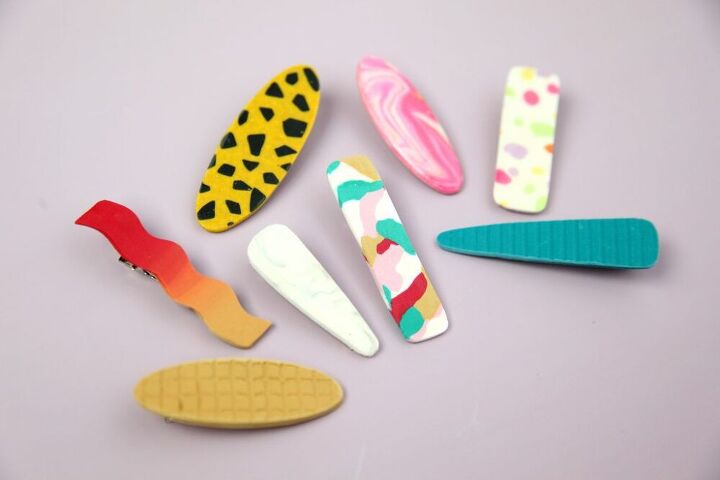
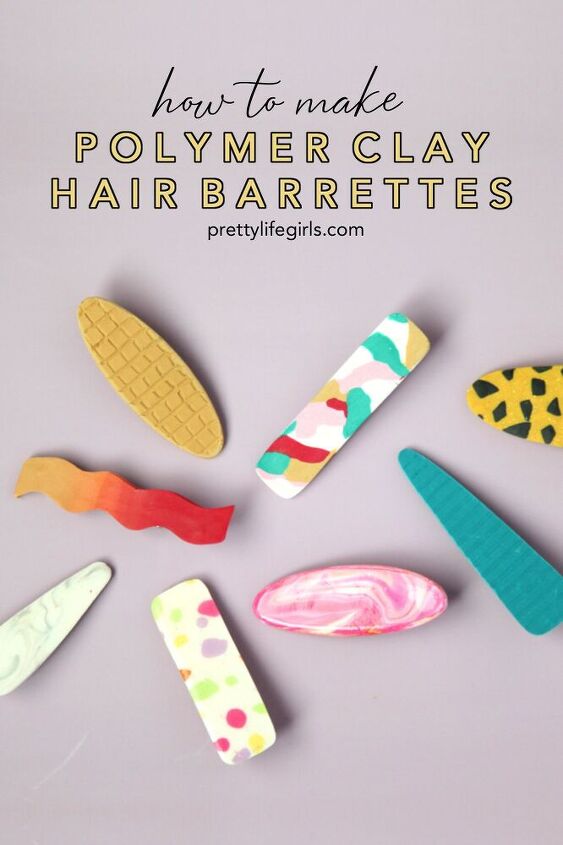
How to Make Polymer Clay Hair Barrettes With the Silhouette Curio
When I saw this and this tutorial for cutting and embossing clay with the Silhouette Curio, I knew I needed to try it out, and I knew exactly what I would make! Hair barrettes are all the rage right now, and they lend themselves perfectly to being made with polymer clay. I'm no expert with clay or with the Curio, but with a little trial and error, I was able to make these fun polymer clay hair barrettes, and I can't wait to make more! Keep reading for the tutorial!
Supplies needed to make your own polymer clay hair barrettes
- Silhouette Curio
- Polymer clay in a variety of colors
- Alligator clips
- Super glue
Make your polymer clay design
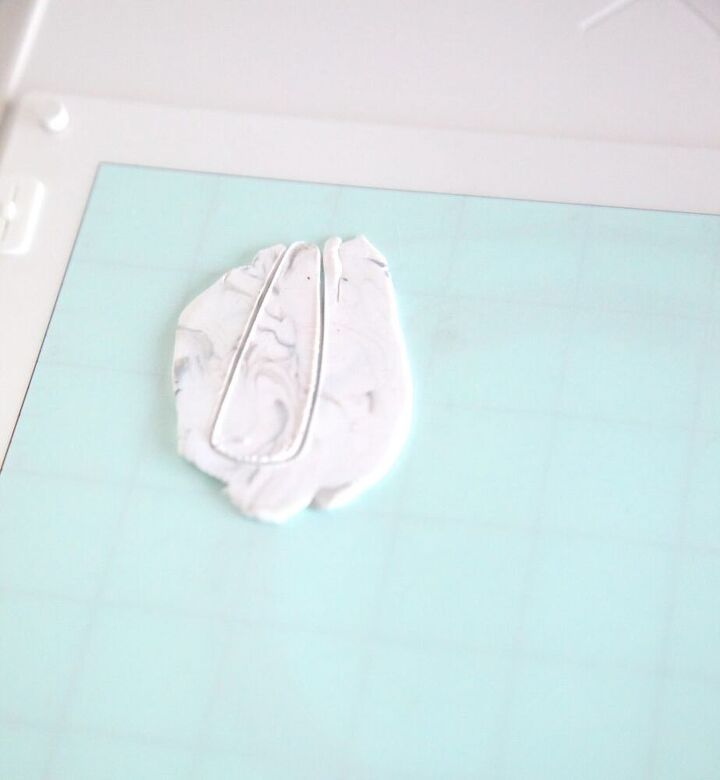
Marbled Clay Pattern
1. Make a ball out of your primary color (white for this example). Place little pieces of your secondary color (gray) on the ball.
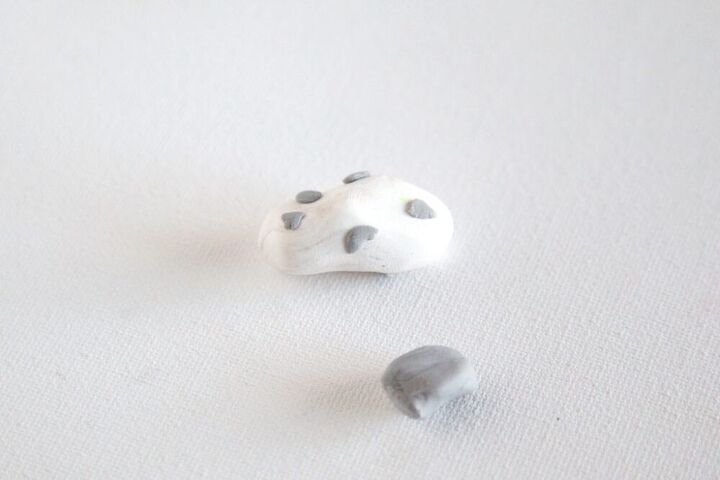
2. Pull and twist the colors until it looks nice and swirly.
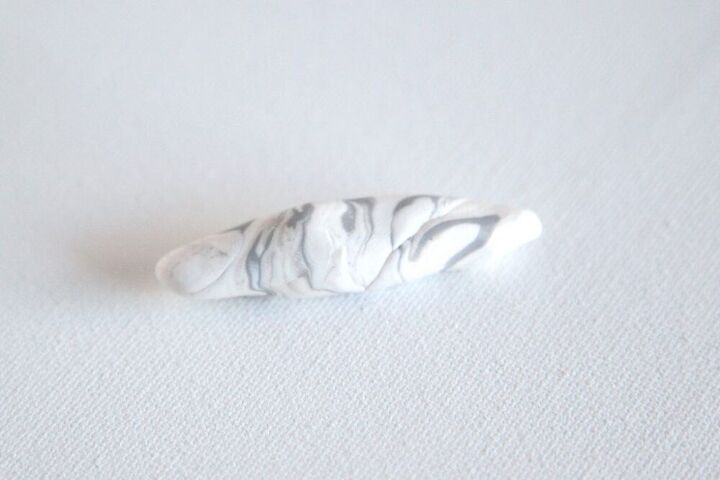
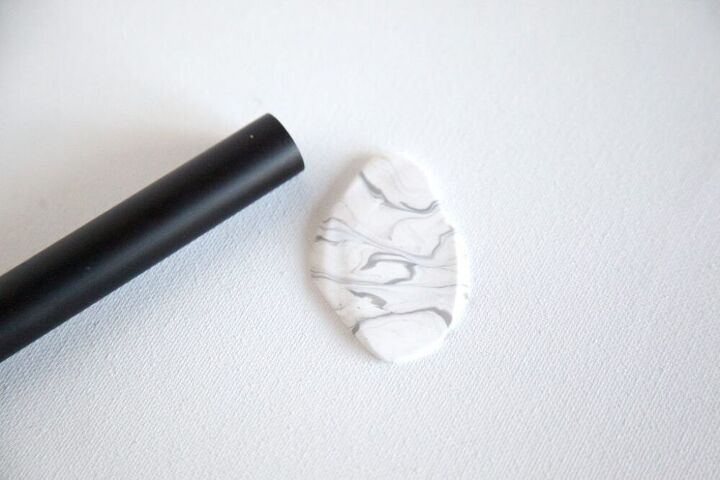
3. Roll flat (about 1 mm).
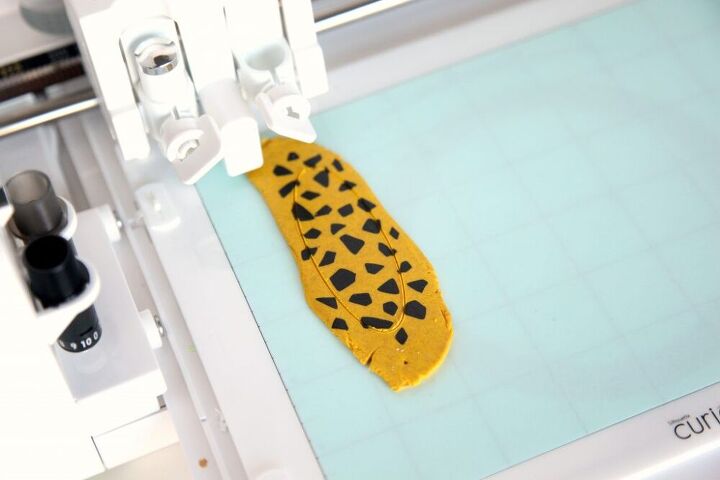
Terrazzo/Leopard Clay Pattern
1. Roll out your primary color (gold). Roll out your secondary color (black) super thin, then use a blade to cut little geometric shapes and place on top of the primary color.
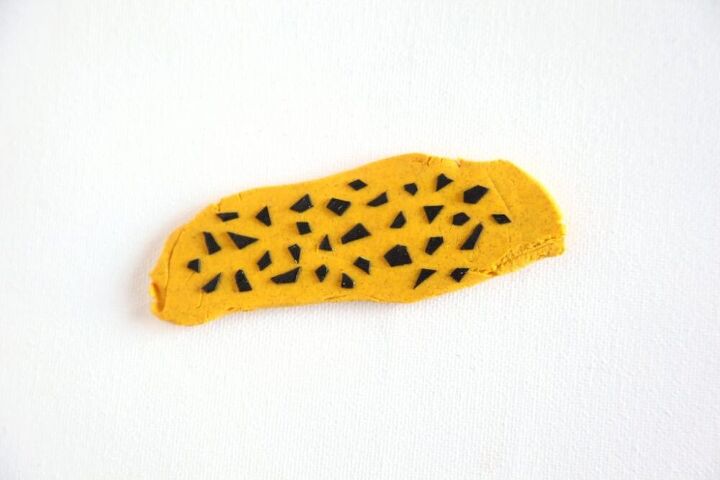
2. Roll over the top to press the secondary color into the primary color, and roll to 1 mm in thickness.

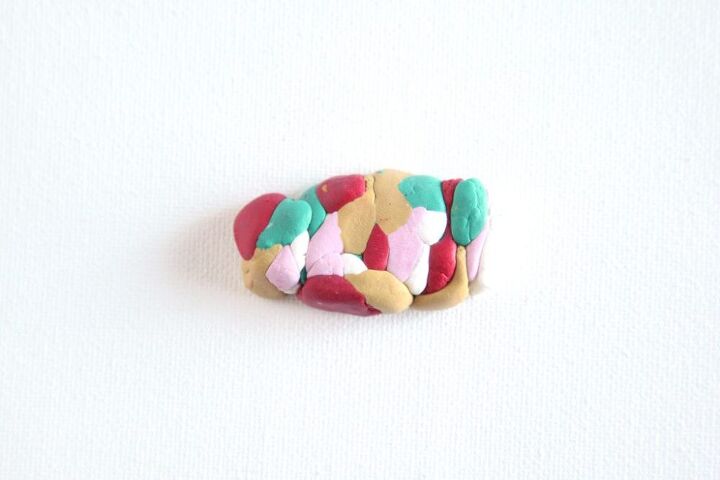
Abstract Clay Pattern
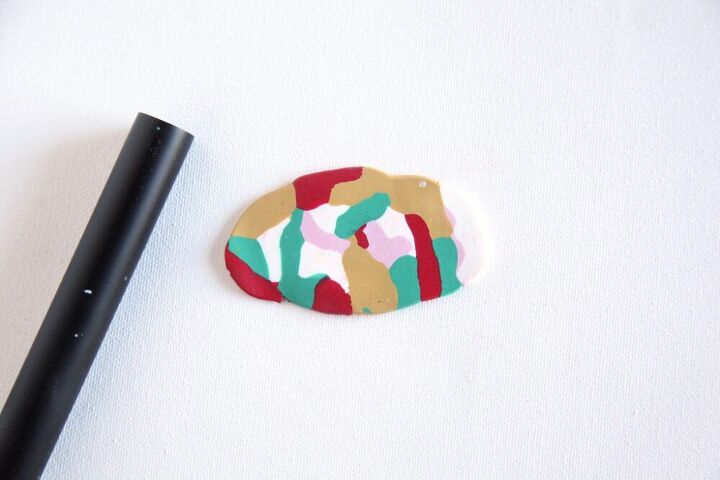
1. Divide colors (I used red, tan, pink, white, and teal) into small pieces. Then press them together into one multi-colored cluster.
2. Roll flat (about 1 mm).
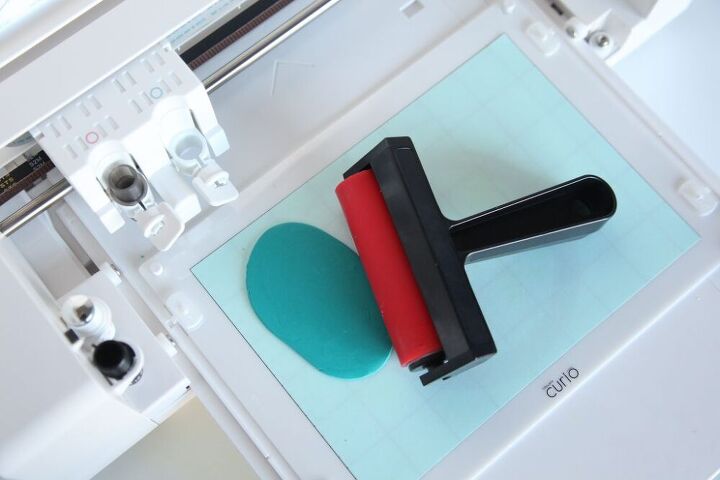
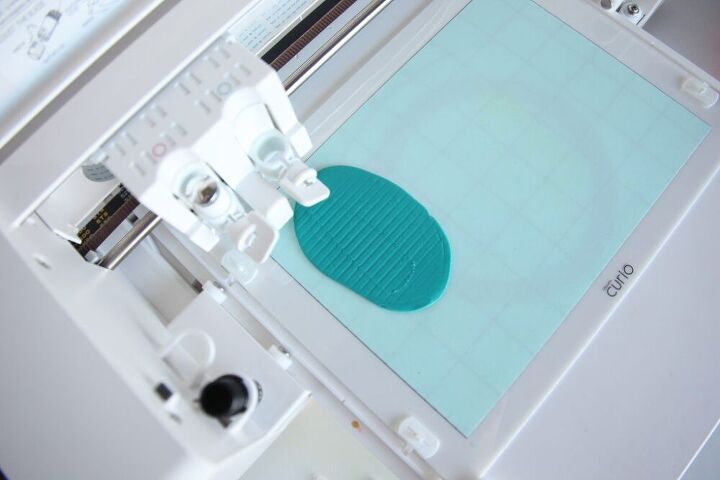
Embossing polymer clay with the Silhouette Curio
1. Set your Curio mat to a level 2 (you might need to adjust based on the thickness of your clay and the embossing effect you're using). Roll your clay to about 2 mm thick, then place on the Curio mat, with the mat's protective cover or parchment paper underneath. Gently roll over the clay so it stays in place during embossing.
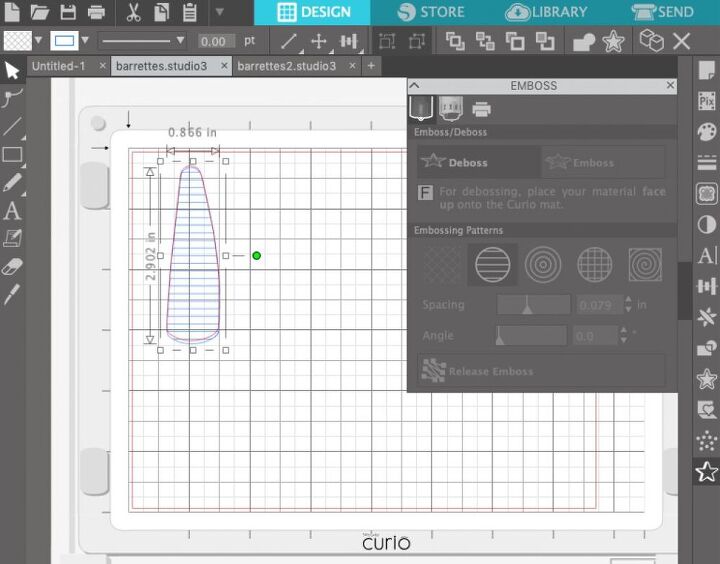
2. Prepare your design in Silhouette Studio. The emboss panel has some basic patterns you can use to add dimension to your projects. Add a new material in the Send panel, select the emboss action, then change your settings to Speed 1, Force 2, and Platform 2 (again, you might need to adjust this for your project).
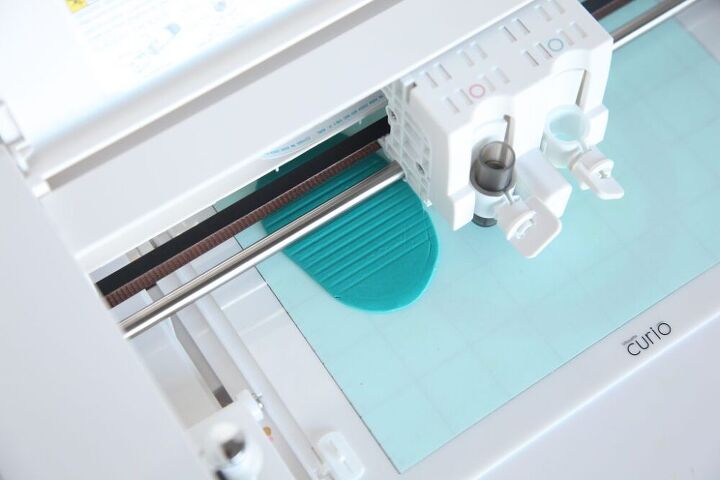
3. Load your mat and fine embossing tool into the machine (make sure the tool is in the correct red or blue slot), and send it through the Curio.
Cutting polymer clay with the Silhouette Curio
1. Set your Curio mat to a level 4. Remove the cap from the deep cut blade (thanks for this tip Persia Lou) by setting the blade to the lowest level and then twisting off the cap. This will help prevent dragging or pulling during cutting. Load the mat and the blade into the machine.
2. Place the rolled out clay on the covered (protective sheet or parchment paper) mat, and gently roll over it to secure it.
3. In the new material type, select the cut action, and change your settings to Depth 12, Speed 3, Force 1, Passes 1, and send it through the Curio.

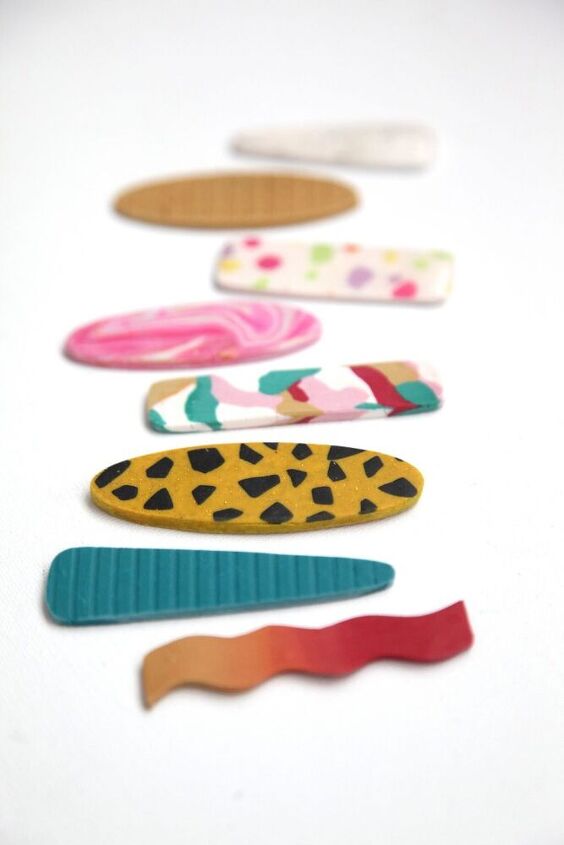
4. Remove excess clay.
Finishing the polymer clay barrettes
1. Carefully transfer the clay shapes to a baking sheet, and bake at 275°F, for 30 minutes per quarter inch of thickness.
2. Let cool completely. If there are any bumps or rough edges, use sandpaper under running water to smooth them out.
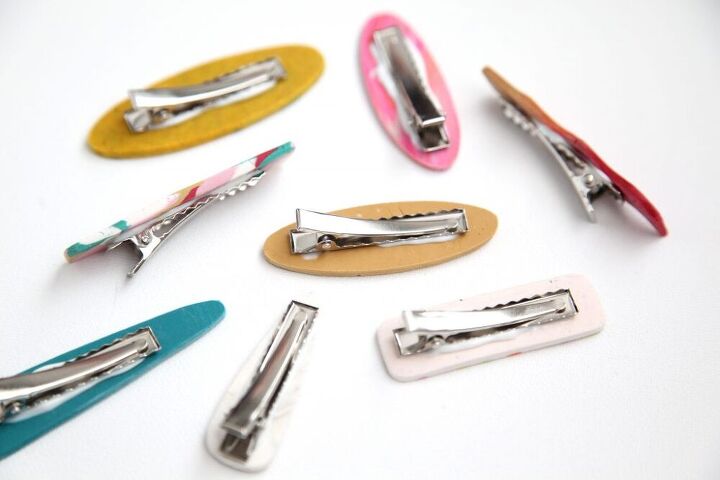
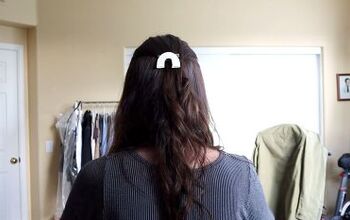
3. Attach alligator clips to the bottom side of the clay pieces with super glue.

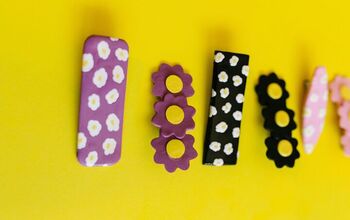
Are they cute or what!? The possibilities are endless!

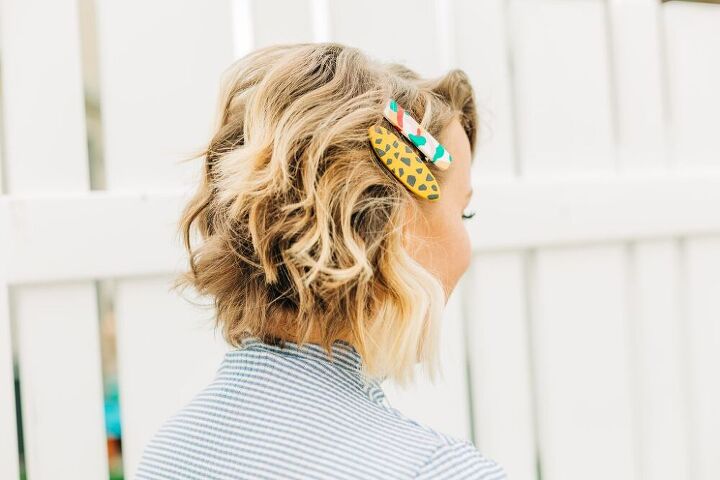

Happy crafting!
xo, Sam
Check out these other DIY Hair Barrettes tutorials!
The author may collect a small share of sales from the links on this page.


Comments
Join the conversation
Can these be made without the Curio machine?