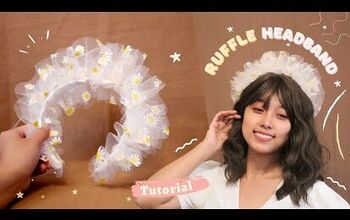
How to Make a Cute Ruffle Headband

In this short and sweet tutorial, I’m going to show you how to make a ruffle headband with that scrunchy look. It’s the perfect accessory to effortlessly upgrade your outfit, or even to give as a gift. Let’s get started!
Tools and materials:
- 1.5” headband (or whatever size you choose)
- Fabric piece 6” x 27”
- Fabric scissors
- White pencil or chalk
- Sewing machine
- Needle and thread
- 2 safety pins
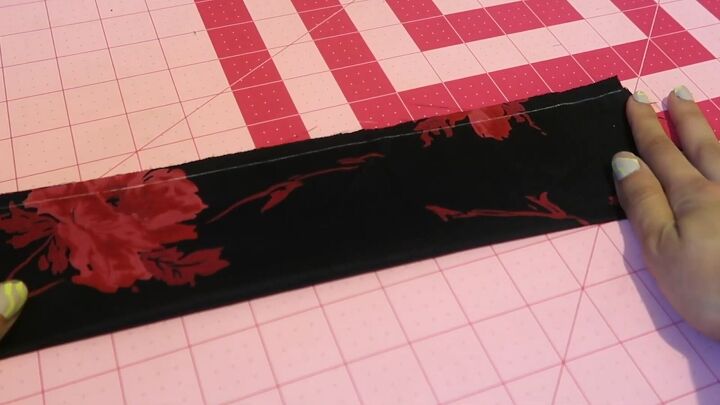
1. Prepare scrap fabric
Cut a 6” by 27” rectangle from any fabric you like. Fold it in half, lengthwise. Draw a seam allowance of 1.4” with a white pencil or chalk. Then carefully iron the crease.
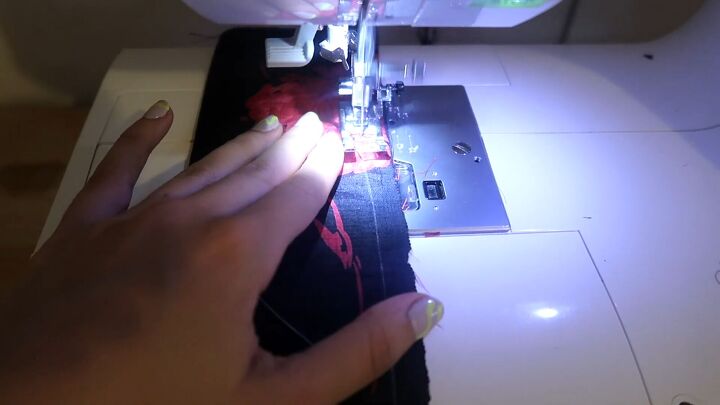
2. Sew
Once the fabric is nice and flat, sew along the line that you drew. That’s the seam allowance and it will be the pipe.
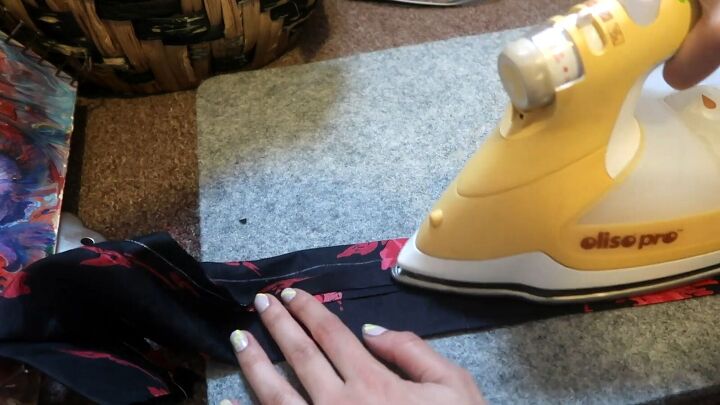
3. Iron
Next, fold the sewn rectangle in half and iron along the seam. Essentially, you are ironing down the seam allowance and creating a wider piece.
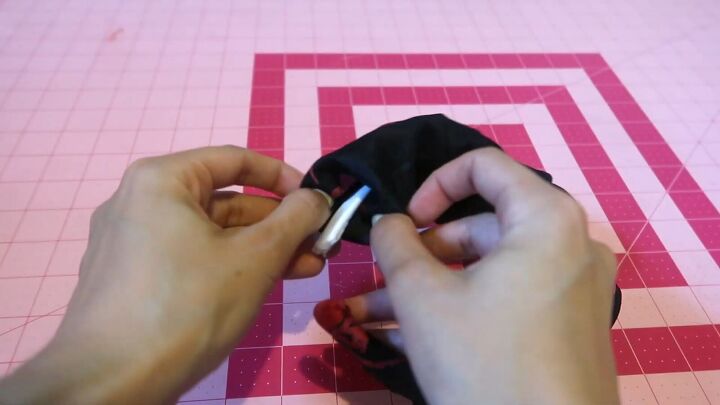
4. Insert the plastic headband
Make the fabric right-side out. You can use a device, or simply push some scissors through to reverse it.
The excess fabric is what gives a scrunchy look to the ruffle headband. Then thread your plastic headband through. Fold the edges of the fabric inward:
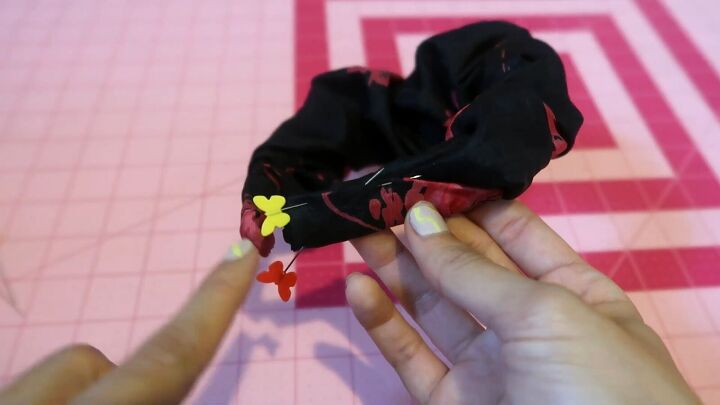
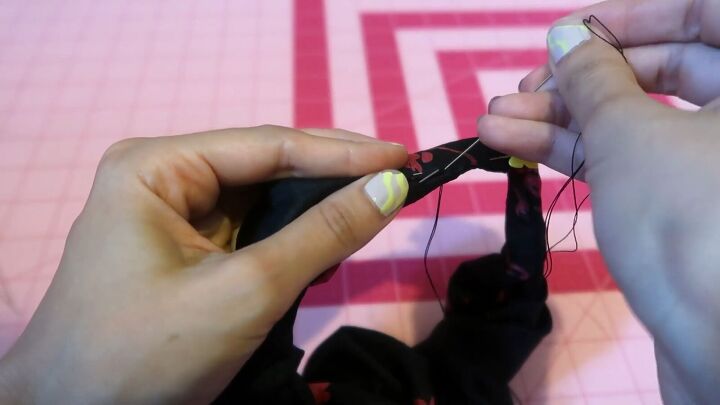
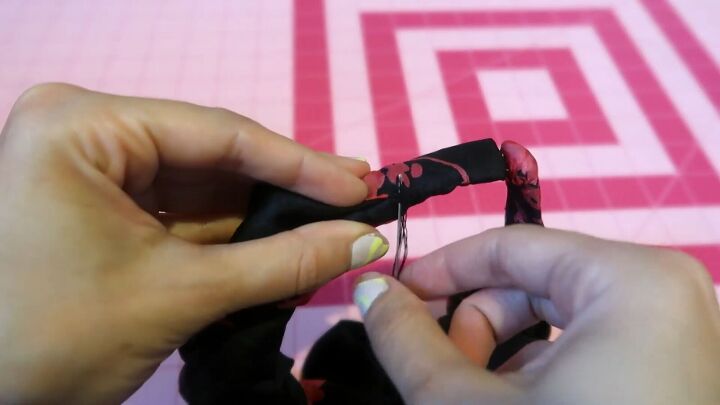
5. Pin and sew the ends
Secure the end with safety pins.
Then carefully sew with a needle and matching thread with a backstitch.
If you are going for more volume, sew that bottom rectangle of fabric so that it is wider. If you are going for more “crunch”, make the rectangle longer.
I almost forgot– extra credit! If you have several kinds of scrap fabrics, you can sew them together to make the initial rectangle for this project.
Then, follow the steps as usual, and the result will be a one-of-a-kind fabric covered headband with a “mixed media” look.
Here’s the final look:
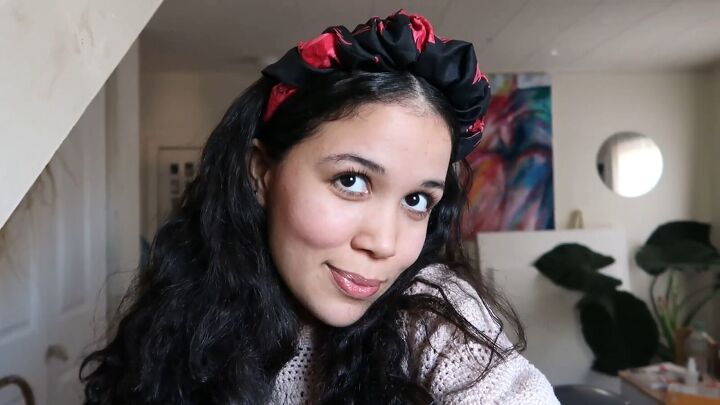
I hope you enjoyed this easy fabric headband tutorial! I’d love to see your unique, ruffle headband. Show me your end-product in the comments below!
The author may collect a small share of sales from the links on this page.


Comments
Join the conversation