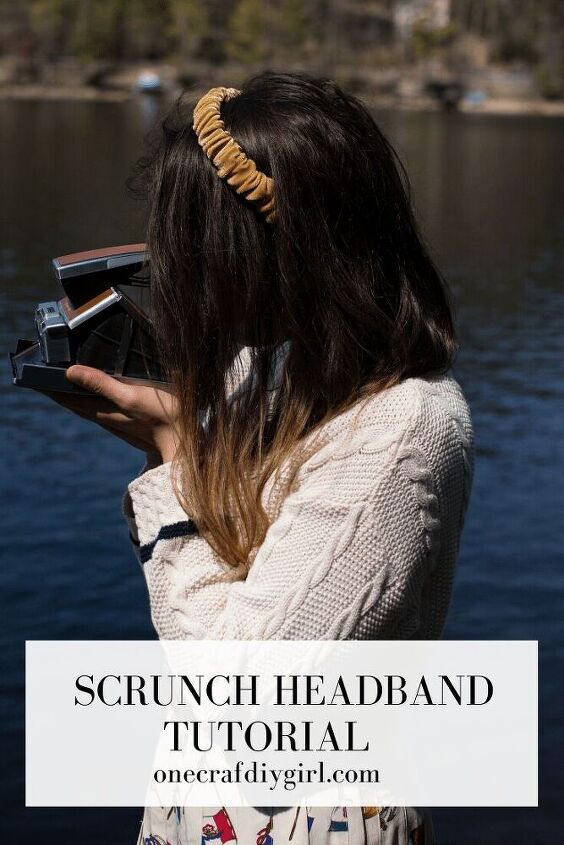
Velvet Scrunch Headband DIY
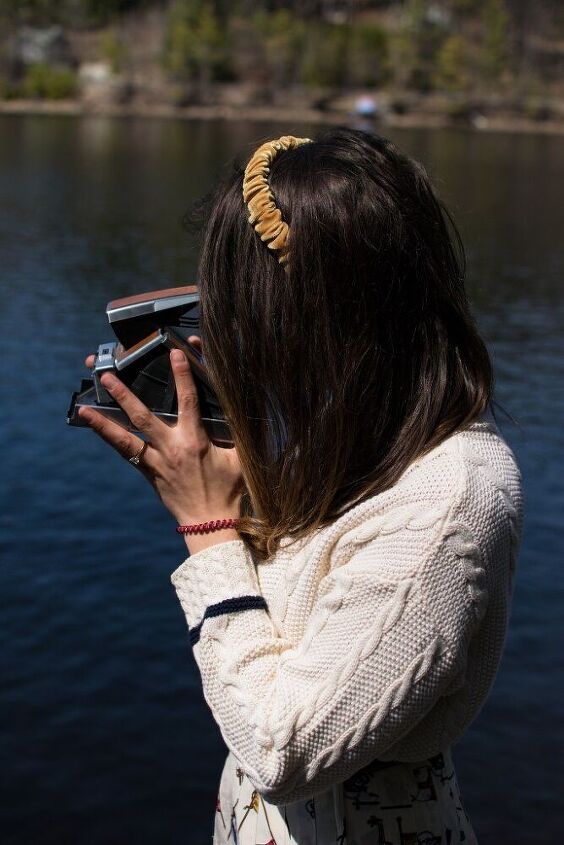
I used to have a love hate relationship with headbands. Then I realized, I had dated all the wrong ones. This scrunch headband DIY is the perfect downtime activity that would never betray you with a headband headache. It is the perfect use of scrap fabric and creates a gorgeous textured look to any outfit.
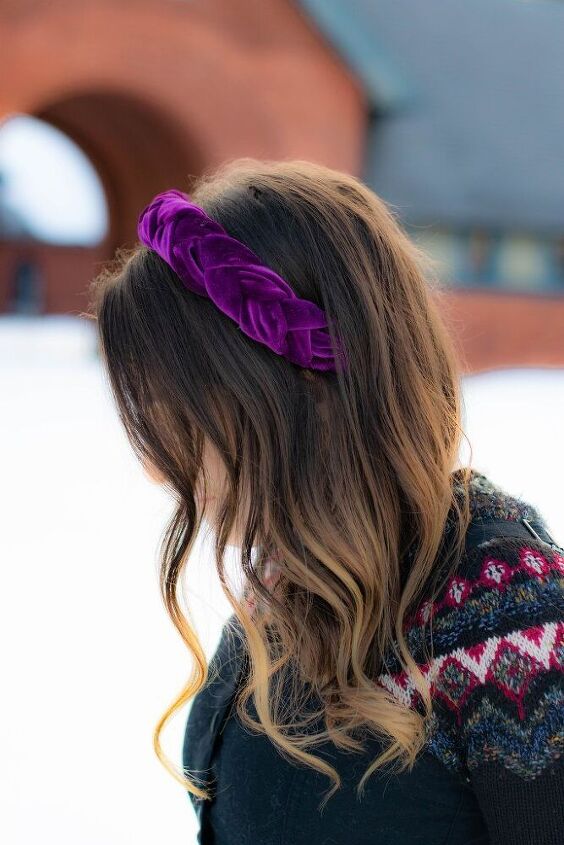
If you love making headbands – you’re in luck I have a few tutorials that would look great on you! For example, this braided headband (a CrafDIY Girl favorite!), this turban style headband, this padded headband, and this headband I created from a men’s tie!
Alright, amazing! Now we are ready to get crafting! I can’t wait. This is the perfect activity to do with the kids (or the girls over zoom!). Just add fabric and purchase these plastic headbands from Amazon for the best craft night ever!
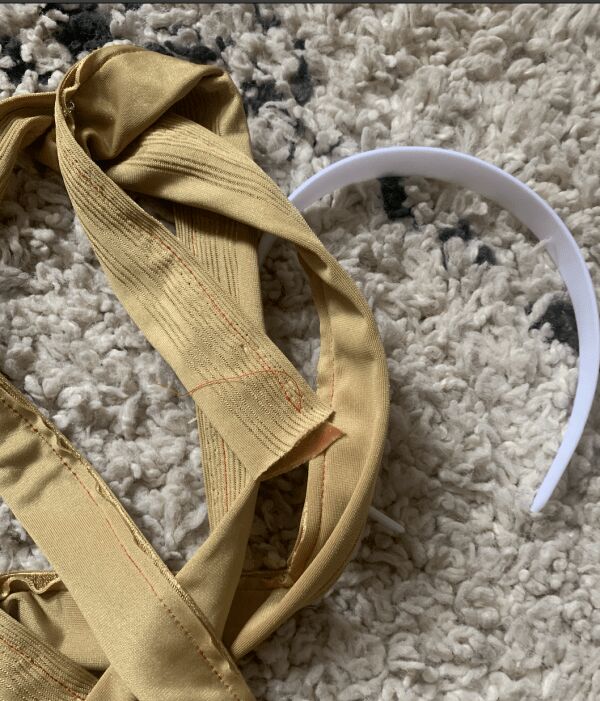
Materials
- 1/8 yard of stretch velvet1
- 1-1/5 inch wide plastic headband
- hot glue gun
- sewing machine or needle/thread
Step one: Cut a strip of fabric with width ( width of your headband + 1/2 inch) and length (length of headband x 1.5).
Step two: Sewing down the length, fold the fabric with the right sides (or velvet/soft) side in. When finished, flip right side out.
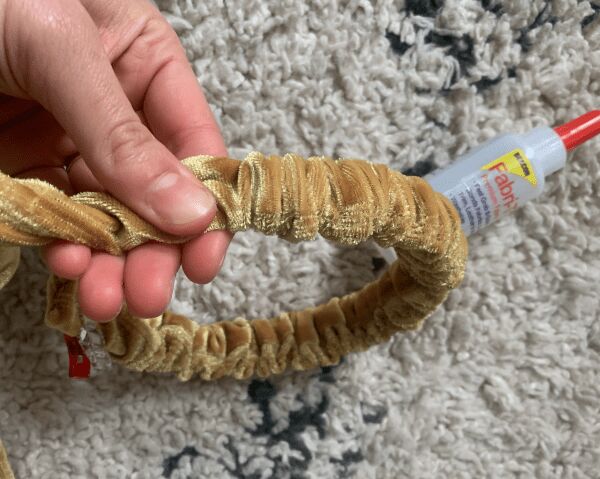
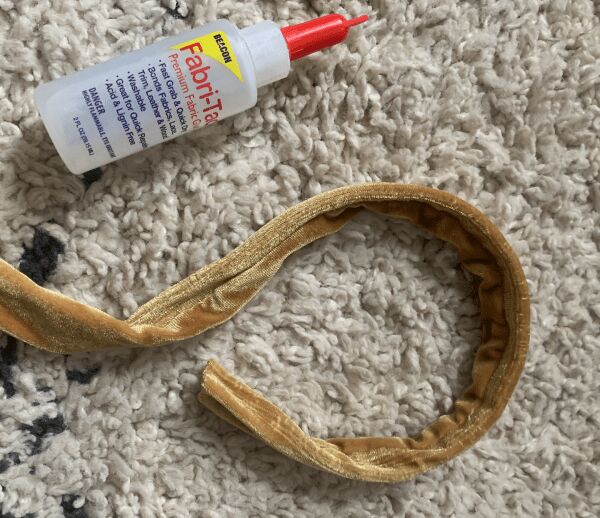
Step three: Push the headband through the opening, making sure the seam in on the inside. Glue the end of the velvet fabric to the end of the headband. Hold for about 30 seconds to make sure a firm bond is created. I love hot glue BUT if you are looking for a stronger hold: this is the best glue.
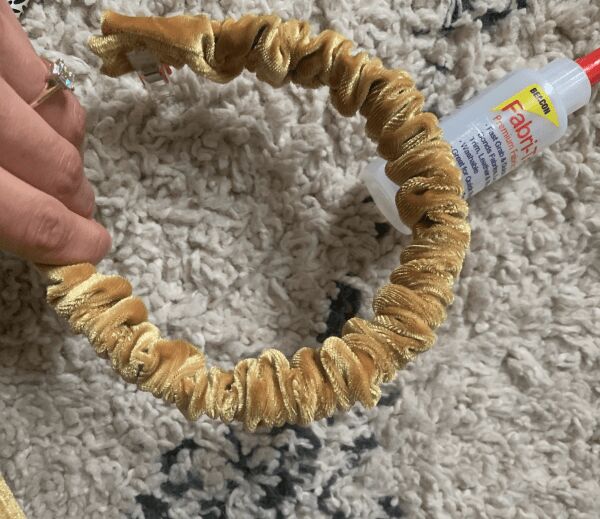
Step four: Push the fabric onto the headband to create that rippled, scrunched look.
To finish: I glued the end of the fabric up and behind the headband. Then I folded in each side. Any questions? I’m very responsive on instagram. There are for Pinterest. Do you follow me there?
Marissa
The author may collect a small share of sales from the links on this page.


Comments
Join the conversation
What happened the braided one? You had a pic of one.